
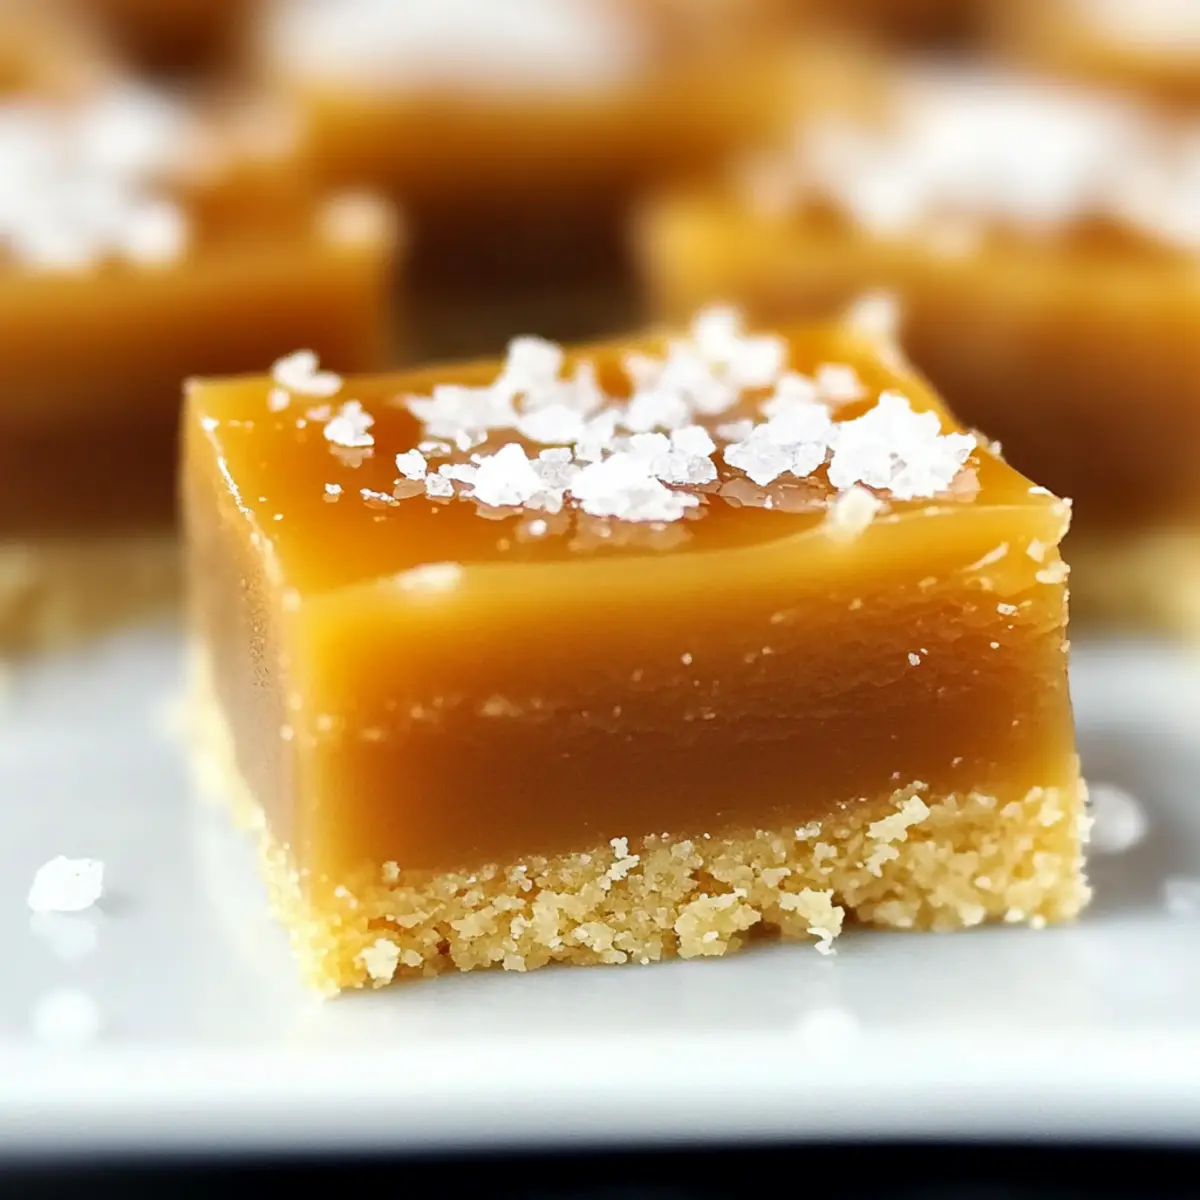
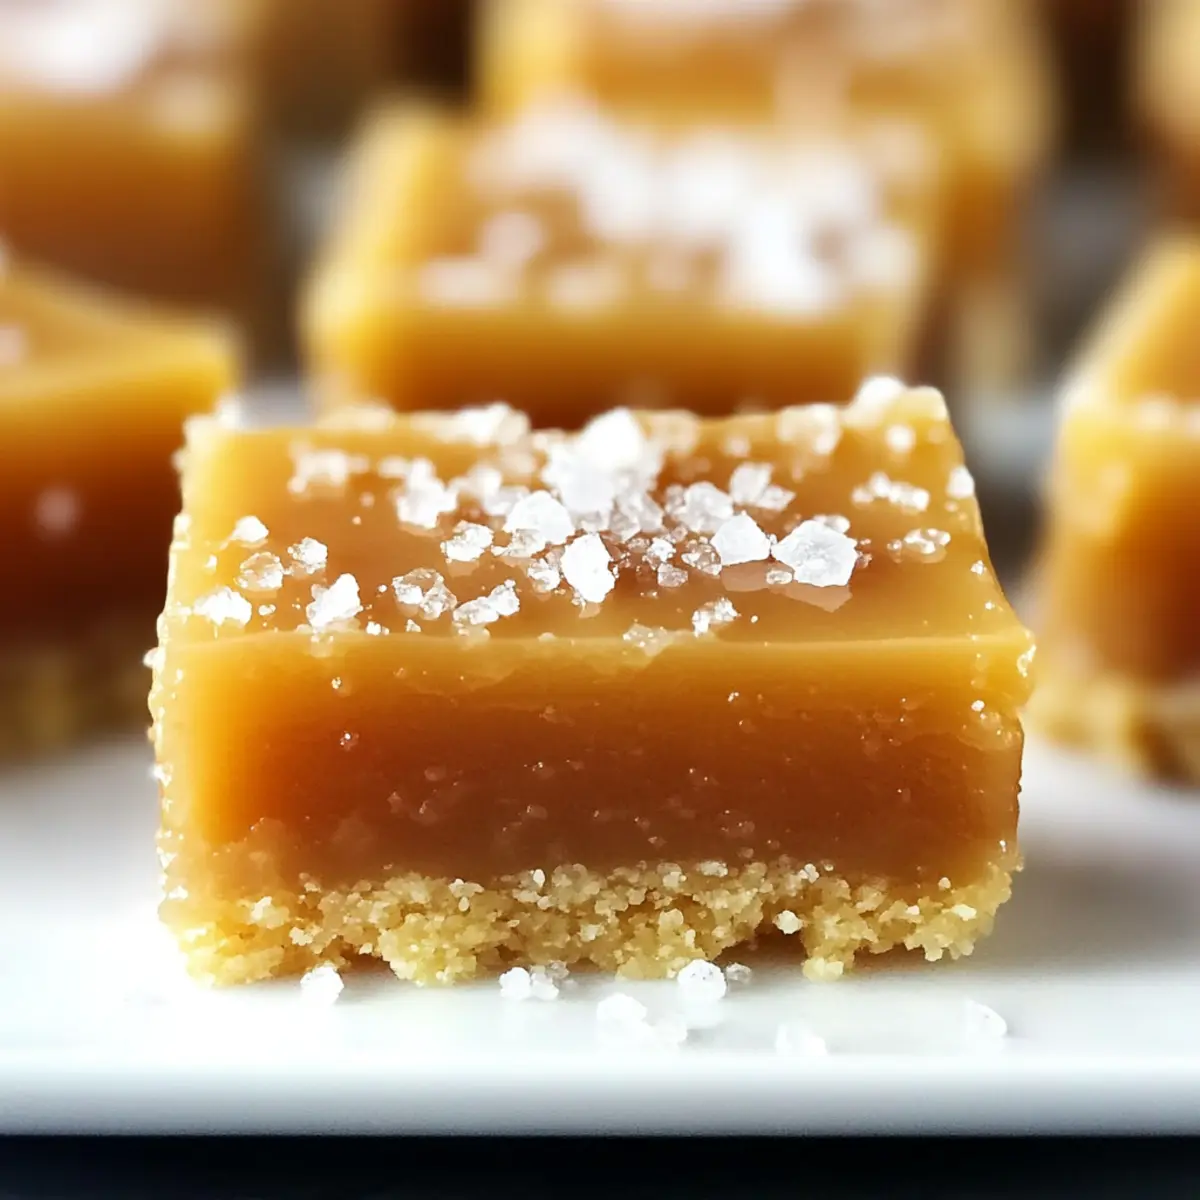
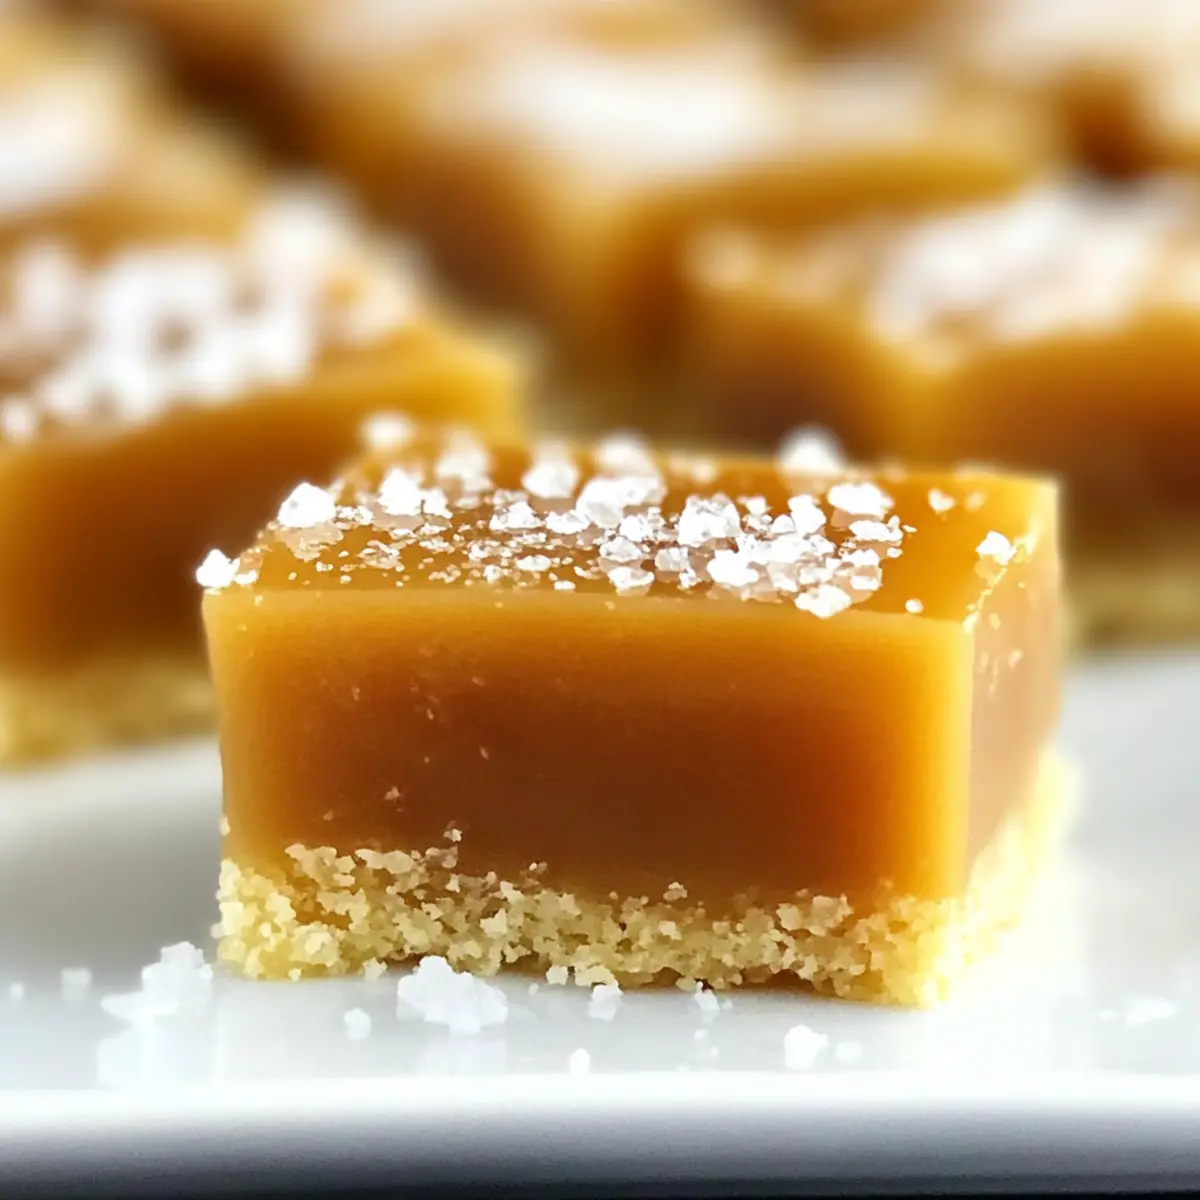
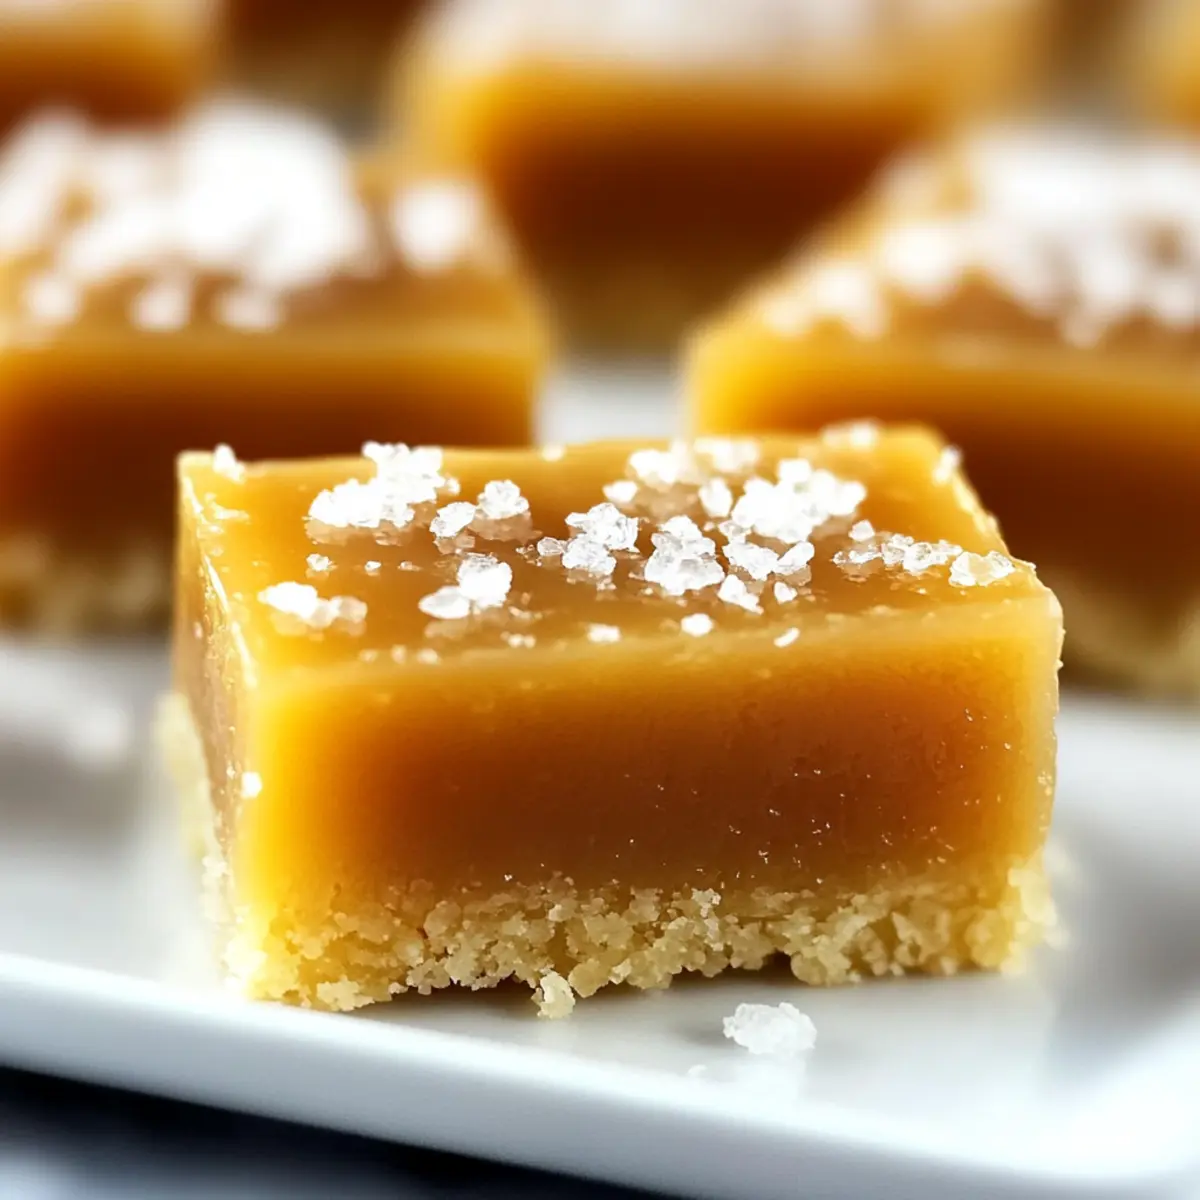
The first time I took a bite of Salted Caramel Bars, it felt like a celebratory explosion of flavors and textures in my mouth. With their rich, buttery shortbread crust cradling a gooey salted caramel filling, these delightful treats are an irresistible fusion of sweet and salty goodness. They not only come together in a snap but can also impress your guests without requiring hours in the kitchen! Whether you’re looking to satisfy a sweet tooth or create memorable moments with loved ones, these bars are sure to win hearts everywhere. Curious about how you can whip up this delicious treat and maybe even customize it to your taste? Let’s dive in!
Why are Salted Caramel Bars irresistible?
Decadence, these bars are a luxurious treat that combines the richness of buttery shortbread with a gooey caramel filling, making every bite special. Customization is key; with options for nuts or flavored extracts, you can easily adapt this dessert to your liking. Ease of preparation keeps them accessible, allowing you to whip them up quickly for any gathering. Crowd-pleaser status means they are perfect for impressing your family and friends without the fuss—ideal for potlucks or casual get-togethers. You can discover the versatility in variations that cater to different tastes or dietary preferences, such as gluten-free options. Who wouldn’t love a dessert that combines sweet and salty in such a delightful package?
Salted Caramel Bars Ingredients
• Dive into the sweets with these essential components!
For the Crust
- Butter – provides richness; ensure it’s at room temperature for easy mixing.
- Granulated Sugar – adds sweetness and helps the crust caramelize; coconut sugar can be used for a healthier option.
- Flour – gives structure to the crust; for gluten-free versions, almond flour or a gluten-free blend works well.
- Sea Salt – enhances the flavor of the crust; a pinch is enough to elevate sweetness.
For the Caramel Filling
- Packed Brown Sugar – contributes depth and moisture to the caramel; both light and dark brown sugars yield delicious results.
- Light Corn Syrup – ensures a smooth texture for the caramel and prevents crystallization; honey can substitute for a unique flavor twist.
- Half and Half – lends creaminess to the caramel; swap it with heavy cream for richness or dairy-free milk for a vegan alternative.
- Vanilla Extract – adds a warm, aromatic depth; using vanilla bean paste can heighten the flavor.
- Sea Salt – for that iconic sweet-salty contrast in the caramel; consider using flaky sea salt for a delightful finish.
With these simple yet rich ingredients, you’re just a step away from creating unforgettable Salted Caramel Bars that will charm everyone around you!
Step‑by‑Step Instructions for Salted Caramel Bars
Step 1: Preheat the Oven
Begin by preheating your oven to 325º F (163º C). This essential step ensures that your Salted Caramel Bars bake evenly from the get-go. While the oven heats, gather your ingredients for the crust to streamline your process.
Step 2: Prepare the Crust Mixture
In a mixing bowl, use an electric mixer to beat together 1 cup of softened butter, ½ cup of granulated sugar, and a pinch of sea salt for 2-3 minutes until the mixture is light and fluffy. The texture should resemble whipped cream, creating a delightful base for your bars.
Step 3: Form the Crust Dough
Gradually add in 2 cups of flour to the creamed butter and sugar mixture, mixing until a soft dough forms. The dough should feel slightly crumbly but hold together when pressed. Once combined, transfer it over to a greased 9×13-inch baking pan and press it down evenly across the bottom using your fingers or a spatula.
Step 4: Bake the Crust
Place the crust mixture in your preheated oven and bake for 15-20 minutes. You’ll know it’s done when the edges turn a light golden brown. As you bake, the aroma of buttery dough will fill your kitchen—this is a delightful precursor to your Salted Caramel Bars!
Step 5: Cool the Crust
Once baked, carefully remove the crust from the oven and allow it to cool in the pan for at least 10 minutes. This cooling period is crucial, as it helps the crust firm up and makes it easier to pour the caramel on top later.
Step 6: Make the Caramel Filling
In a medium saucepan, combine 1 cup of packed brown sugar, ½ cup of light corn syrup, ¼ cup of butter, ½ cup of half and half, and a teaspoon of sea salt. Heat it over medium heat, stirring constantly until the mixture melts together, about 5 minutes. Make sure to watch closely to prevent any burning!
Step 7: Boil and Thicken the Caramel
Bring the mixture to a gentle boil, increasing the heat if necessary, until it reaches 250º F (120º C), known as hard ball stage, which typically takes around 5-7 minutes. Stir continuously to ensure an even consistency. The caramel should be silky smooth and a warm, inviting golden color.
Step 8: Flavor the Caramel
Once the caramel reaches temperature, remove the saucepan from the heat and stir in 1 teaspoon of vanilla extract for that warm, aromatic finish. Allow the caramel to cool for about 5 minutes; it will thicken slightly as it cools, creating that dreamy texture for your Salted Caramel Bars.
Step 9: Assemble the Bars
Carefully pour the warm caramel over the cooled shortbread crust in the baking pan, spreading it evenly with a spatula. Let the bars sit at room temperature for 10 minutes before transferring them to the refrigerator. This step allows the caramel to set up nicely, ensuring a perfect cut later on.
Step 10: Chill Until Firm
Refrigerate the assembled bars for 1-3 hours until the caramel is firm. This chilling time is vital for achieving clean cuts when slicing the bars. While waiting, resist the temptation to sample too much of that lovely caramel!
Step 11: Slice and Serve
Once fully chilled and set, take the pan from the refrigerator and let it sit at room temperature for about 20 minutes. This slight warming helps soften the caramel, making it easier to cut into neat squares. Use a sharp knife to slice through and serve your homemade Salted Caramel Bars!
How to Store and Freeze Salted Caramel Bars
-
Room Temperature: Store Salted Caramel Bars in an airtight container at room temperature for up to 3 days. Keep them away from direct sunlight to maintain their texture.
-
Fridge: If you want to keep your bars fresh longer, refrigerate them in an airtight container for up to a week. Layer them with parchment paper to prevent sticking.
-
Freezer: For longer storage, freeze the bars wrapped in plastic wrap and aluminum foil for up to 3 months. Thaw in the fridge overnight before enjoying again.
-
Reheating: If you prefer a warm treat, reheat individual bars in the microwave for about 10-15 seconds. This will soften the caramel and enhance the flavors!
What to Serve with Salted Caramel Bars
Imagine a delightful spread that complements the sweet and salty notes of these indulgent bars, creating a symphony of flavors for your next gathering.
-
Vanilla Ice Cream: The creamy, cool texture of vanilla ice cream beautifully contrasts the warm, gooey caramel, creating a heavenly bite.
-
Fresh Berries: Juicy strawberries or raspberries add a tartness that brightens the richness of the salted caramel, refreshing the palate with each bite.
-
Chocolate Sauce: Drizzling a warm chocolate sauce over the bars provides a decadent twist that intensifies the sweet flavors, making every mouthful a treat.
-
Whipped Cream: Light and airy whipped cream adds a silky layer that balances the density of the bars, offering a lovely melt-in-your-mouth experience.
-
Coffee or Espresso: A cup of rich coffee or espresso provides a deep, roasted flavor that enhances the sweetness of the caramel, perfect for an after-dinner treat.
-
Salted Caramel Latte: Sip on a salted caramel latte that echoes the flavors of the bars, giving you a cozy, comforting beverage to savor alongside your dessert.
These pairings will elevate your Salted Caramel Bars, making your gathering a culinary delight that will linger in everyone’s memory!
Variations & Substitutions for Salted Caramel Bars
Feel free to explore these delightful twists that will take your Salted Caramel Bars to new flavor heights!
- Nutty Delight: Add a layer of chopped pecans or walnuts for a wonderful crunch that complements the gooey caramel perfectly.
- Chocolate Drizzle: Drizzle melted chocolate over the bars for a rich contrast to the sweet caramel. A sprinkle of cocoa nibs enhances the chocolate experience!
- Flavored Extracts: Swap vanilla for almond or hazelnut extract to infuse your bars with a unique twist. It’s a simple change that brings a delightful surprise!
- Gluten-Free Option: Use almond flour or a gluten-free blend instead of regular flour for a delicious gluten-free version that everyone can enjoy.
- Spicy Kick: Add a dash of cayenne or chili powder to the caramel for a surprisingly delightful, spicy finish that makes every bite memorable.
- Coconut Bliss: Incorporate shredded coconut into the crust or sprinkle on top of the caramel filling for a tropical flair that contrasts beautifully with the salted caramel.
- Fruit Fusion: Top with fresh berries or thin slices of bananas for a burst of freshness that cuts through the sweetness. Pair with a scoop of vanilla ice cream for an indulgent dessert.
- Sea Salt Variations: Experiment with different salts, like smoked sea salt, for an added layer of flavor that will elevate your bars to gourmet status.
For ideas on how to store and freeze Salted Caramel Bars or to explore more about their irresistible ingredients, feel free to check out those sections! Enjoy customizing this sweet treat!
Helpful Tricks for Salted Caramel Bars
-
Butter Temperature: Make sure your butter is softened to room temperature—it’s crucial for achieving a light and fluffy crust texture.
-
Caramel Monitoring: Keep a close eye on the caramel while boiling; it can quickly go from perfect to burnt. Aim for a warm golden brown.
-
Using Parchment Paper: Line your baking pan with parchment paper for easy removal of the bars and to prevent them from sticking.
-
Even Cooling: Allow the crust to cool completely before pouring on the caramel; this prevents the layers from mixing together.
-
Chilling Time: Be patient during the chilling phase; the longer you let the bars set, the firmer and easier they will be to slice.
-
Variations: Don’t hesitate to customize your Salted Caramel Bars with nuts, chocolate, or flavored extracts to make them uniquely yours!
Make Ahead Options
These Salted Caramel Bars are perfect for meal prep enthusiasts! You can prepare the buttery shortbread crust up to 24 hours in advance; simply bake it, cool it, and store it tightly wrapped at room temperature. For the caramel filling, it can be made up to 3 days ahead and stored in an airtight container in the refrigerator. When you’re ready to assemble, warm the caramel slightly to make it easier to pour over the crust. Remember to allow the assembled bars to set in the refrigerator for 1-3 hours; this ensures the flavors meld beautifully while maintaining freshness. Following these make-ahead tips will have you enjoying these delicious Salted Caramel Bars with minimal effort on busy weeknights!
Salted Caramel Bars Recipe FAQs
How do I select the right butter for Salted Caramel Bars?
Absolutely! Using unsalted butter is recommended for these bars, as it allows you to control the level of salt in the recipe. Ensure it’s at room temperature for a smoother mixing process, which helps create that light and fluffy crust texture everyone loves.
What’s the best way to store Salted Caramel Bars?
You can store Salted Caramel Bars in an airtight container at room temperature for up to 3 days. For extended freshness, they can be kept in the refrigerator for up to a week, layered with parchment paper to avoid sticking. This makes them an easy treat to grab when cravings hit!
Can I freeze Salted Caramel Bars?
Yes, you can easily freeze your Salted Caramel Bars! Wrap them individually in plastic wrap and then in aluminum foil. They can be stored in the freezer for up to 3 months. When you’re ready to enjoy them, simply thaw in the fridge overnight. This way, you can savor this indulgence anytime!
What if my caramel does not thicken properly?
Very! If your caramel isn’t thickening, it could be due to not reaching the hard ball stage at 250º F. If it seems too runny, simply return it to medium heat, stirring constantly until it reaches the right temperature. Make sure to use a candy thermometer for accuracy, and avoid getting distracted—this caramel deserves your full attention!
Are there any dietary modifications for Salted Caramel Bars?
Definitely! If you’re looking to make the bars gluten-free, substitute all-purpose flour with almond flour or a gluten-free flour blend. For a vegan option, swap dairy ingredients with plant-based alternatives: use coconut oil instead of butter and coconut milk or almond milk in place of half and half. Enjoying these bars can be made accessible to various dietary preferences!
Can I add toppings or fillings to my Salted Caramel Bars?
Absolutely! The beauty of Salted Caramel Bars lies in their versatility. Feel free to add chopped nuts like pecans or walnuts for crunch, sprinkle sea salt on top for an added salty kick, or drizzle melted chocolate for a rich contrast. The more the merrier—customize these bars to your heart’s content!
Indulge in These Heavenly Salted Caramel Bars Today
Ingredients
Equipment
Method
- Preheat your oven to 325º F (163º C).
- In a mixing bowl, beat together softened butter, granulated sugar, and sea salt for 2-3 minutes until light and fluffy.
- Gradually add in flour, mixing until a soft dough forms. Press into a greased 9x13-inch baking pan.
- Bake the crust mixture in the preheated oven for 15-20 minutes until edges turn golden brown.
- Cool the crust in the pan for at least 10 minutes.
- In a medium saucepan, combine brown sugar, corn syrup, butter, half and half, and sea salt. Heat over medium, stirring until melted.
- Bring to a gentle boil, stirring continuously until it reaches 250º F (120º C), about 5-7 minutes.
- Remove from heat and stir in vanilla extract. Allow to cool for 5 minutes.
- Pour warm caramel over the cooled crust and let sit at room temperature for 10 minutes.
- Refrigerate assembled bars for 1-3 hours until caramel is firm.
- Once chilled, let sit at room temperature for 20 minutes before slicing into squares.
Leave a Reply