
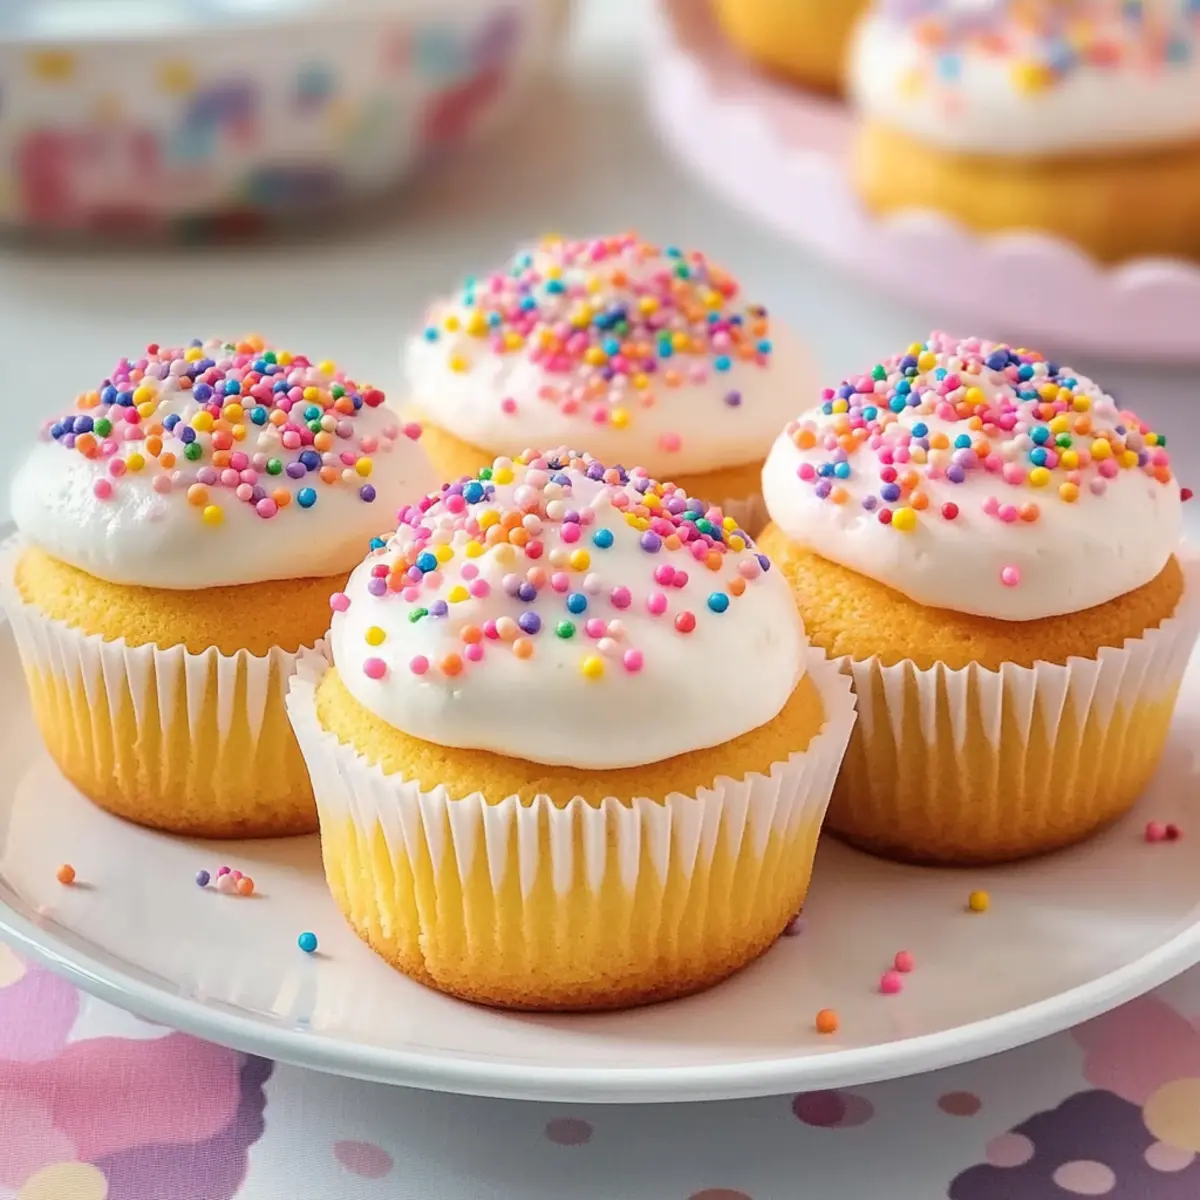
As I sifted flour and sugar through my fingers, a soft cloud of nostalgia enveloped me, transporting me back to sunny afternoons in my grandmother’s kitchen. Today, I’m thrilled to share my recipe for Fairy Cakes, a light and whimsical dessert that captures the joy of those cherished moments. This easy-to-make treat features a fluffy texture and a gentle vanilla flavor that can instantly brighten any occasion. Perfect for baking with kids or as a delightful addition to your afternoon tea, these cakes are not only kid-friendly but also offer gluten-free options for all to enjoy. Whether you’re celebrating a birthday or simply need a sweet pick-me-up, let’s bring a bit of magic into your kitchen! What fun decorations will you add to yours?

Why Are Fairy Cakes So Magical?
Nostalgic Delight: These Fairy Cakes evoke fond memories of childhood baking, making every bite a trip down memory lane.
Kid-Friendly Fun: Perfect for family cooking sessions, they invite little hands to get involved with decorating.
Versatile Treats: You can customize them endlessly, from fruity flavors like lemon zest to colorful icing—endless fun for all ages!
Effortless Baking: Minimal ingredients and simple steps make these cakes a breeze to whip up, even on busy days.
Gluten-Free Option: Everyone can indulge, thanks to the availability of gluten-free self-rising flour for those sensitive to gluten.
Crowd-Pleasing Treats: Light, airy, and oh-so-sweet, they’re bound to be a hit at parties or afternoon teas. Consider serving them alongside a refreshing cup of tea for that perfect afternoon pick-me-up!
Fairy Cake Ingredients
• Get ready to bake your own whimsical treats!
For the Batter
- Butter – Adds richness and moisture; ensure it’s softened for easy creaming.
- Caster Sugar – Provides sweetness and helps achieve a fluffy texture.
- Eggs – Binds the ingredients and aids in leavening; room temperature eggs yield the best results.
- Self-Raising Flour – Gives the cake its structure and lift; substitute with all-purpose flour plus baking powder (1½ tsp per 130g).
- Vanilla Extract – Enhances flavor with a gentle sweetness; almond extract is a delightful alternative for a twist.
- Milk – Adjusts the batter’s consistency; for a dairy-free option, try plant-based milk like almond or oat.
For the Icing
- Icing Sugar – Used for the topping, mix with milk to achieve your desired icing thickness.
With these Fairy Cake ingredients prepped and ready, you’re all set to unlock the magic of baking!
Step‑by‑Step Instructions for Fairy Cake
Step 1: Preheat the Oven
Begin by preheating your oven to 170°C fan or 190°C (375°F). While the oven warms up, prepare your cupcake tin by lining it with lovely paper cases. This step ensures your Fairy Cakes bake evenly and easily release once done—setting the stage for those airy, delightful treats!
Step 2: Cream Butter and Sugar
In a mixing bowl, combine softened butter and caster sugar, then beat them together with a hand mixer or stand mixer for 3-5 minutes. You’re aiming for a pale, fluffy mixture that appears light and airy. This crucial step helps incorporate air, ensuring your Fairy Cakes have that delightful lift!
Step 3: Add Eggs and Vanilla
Next, crack in your room temperature eggs one at a time, mixing well after each addition to ensure they’re fully incorporated. Also, pour in the vanilla extract at this point. The batter should remain smooth and cohesive, with a lovely aroma that fills your kitchen with the promise of deliciousness!
Step 4: Fold in Flour
Sift the self-raising flour over your batter to prevent lumps, then gently fold it in using a spatula or wooden spoon. Be careful not to overmix—stop just as the flour disappears, usually within 2-3 minutes. This should yield a thick, fluffy batter, perfect for your airy Fairy Cakes.
Step 5: Adjust with Milk
If your batter feels too thick, add 2-3 tablespoons of milk gradually to achieve a soft dropping consistency. This will help ensure your cakes rise beautifully and have that light texture you desire. Mix gently until combined, keeping an eye on its silky smoothness!
Step 6: Fill the Cases
Divide the batter evenly among the lined cupcake cases, filling them halfway to allow space for rising. You can use an ice cream scoop or a spoon for even distribution, ensuring that each Fairy Cake gets its fair share of that yummy batter before the magic happens in the oven.
Step 7: Bake
Place your cupcake tin into the preheated oven and bake for 15-20 minutes. Keep an eye on your Fairy Cakes as they transform into golden delights! You’ll know they’re done when the tops spring back lightly to touch and a toothpick inserted in the center comes out clean—pure bliss!
Step 8: Cool & Decorate
Once baked, carefully remove the Fairy Cakes from the oven and let them cool in the tin for a few minutes before transferring to a wire rack. Once completely cooled, whip up your icing by mixing icing sugar with a splash of milk to your desired thickness. Get creative with sprinkles before the icing sets, adding a whimsical touch to your delightful Fairy Cakes!
Storage Tips for Fairy Cake
-
Room Temperature: Store your Fairy Cakes in an airtight container at room temperature for up to 2 days to keep them soft and fresh.
-
Fridge: If you plan to keep them longer, place the cakes in an airtight container in the fridge for up to 4 days. Just remember, this may affect their texture slightly.
-
Freezer: For extended storage, freeze the undecorated Fairy Cakes for up to 2 months. Make sure to wrap them tightly in plastic wrap and place them in a freezer-safe bag to prevent freezer burn.
-
Reheating: When ready to enjoy, simply thaw at room temperature or pop them in the microwave for about 10-15 seconds to restore their delightful fluffiness before serving.
Make Ahead Options
These Fairy Cakes are an excellent choice for meal prep, helping to save time on busy days! You can bake them up to 3 days in advance and simply store them in an airtight container at room temperature to maintain that delightful airy texture. For those looking to prep even further ahead, try making the batter and refrigerating it for up to 24 hours—this lets the flavors meld beautifully while keeping your cakes just as fresh. When you’re ready to bake, simply scoop the batter into cases and pop them in the oven. Finish by cooling and decorating with icing just before serving to keep everything looking lovely and tasting fresh— you’ll have stunning treats ready to impress with minimal effort!
Expert Tips for Fairy Cakes
-
Room Temperature Ingredients: Always ensure your butter and eggs are at room temperature; this helps create a smooth, airy batter that leads to lighter Fairy Cakes.
-
Don’t Overmix: After adding flour, fold gently until just combined; overmixing can lead to dense cakes rather than the fluffy texture you want.
-
Oven Door Etiquette: Resist the urge to peek at your cakes for the first 10 minutes of baking! Opening the oven early can cause them to sink.
-
Consistent Filling: Use an ice cream scoop for even batter distribution; this ensures all your Fairy Cakes bake evenly and look delightful when decorated.
-
Cooling Time: Allow cakes to cool completely before icing; warm cupcakes can cause the icing to melt, ruining your whimsical designs.
Fairy Cake Variations & Substitutions
Feel free to let your creativity shine while making these delightful Fairy Cakes! With just a few tweaks, they can become even more magical.
-
Zesty Twist: Add lemon or orange zest to the batter for a refreshing citrus burst that enhances the overall flavor.
-
Colorful Icing: Use food coloring in your icing to create vibrant pastel shades. This not only makes your cakes visually appealing but also adds to the fun of decorating!
-
Dairy-Free Delight: Swap regular milk for your favorite plant-based milk for a dairy-free-friendly version. Almond or oat milk work particularly well and don’t compromise on flavor.
-
Nutty Flavor: Substitute vanilla extract with almond extract to introduce a delightful nutty essence. It’s a simple swap that can elevate your cakes to a whole new level!
-
Gluten-Free Goodness: For a gluten-free option, use gluten-free self-rising flour. This allows everyone to enjoy the magic of these cakes without worry.
-
Flavor Infusion: Consider adding a few chocolate chips to the batter for a chocolaty surprise in every bite. It adds a lovely texture and a touch of indulgence.
-
Fruity Fun: Incorporate chopped fruits like strawberries or blueberries into the batter, adding both color and flavor. This creates a delightful fruit-filled cake!
-
Spiced Variation: For a warm spice note, mix in 1/2 tsp of ground cinnamon or nutmeg. This little addition can evoke cozy memories, perfect for fall gatherings.
Looking for more delightful ideas? Try pairing your Fairy Cakes with a refreshing cup of tea or perhaps alongside some of my Blueberry Cheesecake Protein Bites for a delightful afternoon treat!
What to Serve with Fairy Cake
Elevate your magical baking experience by pairing Fairy Cakes with delightful accompaniments that enhance their whimsical charm.
-
Fresh Berries: Juicy strawberries or blueberries add a burst of tartness that contrasts beautifully with the sweetness of the cakes.
-
Whipped Cream: Light and airy, whipped cream mirrors the texture of Fairy Cakes, offering a creamy richness that elevates each bite.
-
Lemonade: A refreshing glass of lemonade complements the sweetness perfectly, adding a zesty twist that enlivens your tea or picnic.
-
Chocolate Ganache: Drizzling a silky chocolate ganache creates a luscious depth, beautifully balancing the delicate vanilla of the Fairy Cakes.
-
Fruit Salad: A vibrant mix of seasonal fruits provides freshness, creating a light and balanced contrast to the sweet Fairy Cakes. Serve it on the side for added color and crunch!
-
Herbal Tea: Sip on soothing herbal tea for a relaxed afternoon treat; it enhances the sweet flavors while adding a fragrant note to your experience.
With these pairings, you’ll create an enchanting table full of flavors and textures that turn your Fairy Cake experience into a memorable feast!
Fairy Cake Recipe FAQs
What type of butter should I use for the Fairy Cake?
You should use unsalted butter, as it allows you to control the salt content in your cake. Make sure the butter is softened at room temperature for easy creaming. This step is critical to achieving that light, fluffy texture that Fairy Cakes are known for!
How should I store leftover Fairy Cakes?
Store your Fairy Cakes in an airtight container at room temperature for up to 2 days. If you need to keep them longer, you can refrigerate them in an airtight container for up to 4 days. Just ensure they’re completely cooled before refrigerating to maintain their airy texture.
Can I freeze Fairy Cakes securely?
Absolutely! To freeze your Fairy Cakes, allow them to cool completely, then wrap each cake tightly in plastic wrap. Place them in a freezer-safe bag, and they will stay fresh for up to 2 months. When you’re ready to indulge, thaw them at room temperature or warm them in the microwave for 10-15 seconds.
What if my Fairy Cakes sink in the middle?
If your Fairy Cakes sink in the middle, it could be due to overmixing the batter or opening the oven too soon during baking. Ensure you mix gently after adding the flour and avoid peeking in the oven for at least the first 10 minutes. This will give your cakes the structure they need to rise beautifully!
Can I make gluten-free Fairy Cakes?
Yes, you can! Just substitute self-raising flour with gluten-free self-raising flour. You can find this at most grocery stores. The result will be just as light and magical—everyone can enjoy these delightful treats, regardless of dietary restrictions!
What decorations work well on Fairy Cakes?
The possibilities are endless! You can use colorful icing, sprinkles, edible glitter, or fresh fruit pieces. I often recommend adding a whimsical touch with pastel colors for the icing, making these cakes a delightful centerpiece for any occasion. Let your creativity soar!
Delightful Fairy Cake Recipe - Light and Magical Treats
Ingredients
Equipment
Method
- Preheat your oven to 170°C fan or 190°C (375°F) and prepare your cupcake tin by lining it with paper cases.
- Combine softened butter and caster sugar in a mixing bowl, then beat until pale and fluffy, around 3-5 minutes.
- Add eggs one at a time, mixing well after each addition, then pour in vanilla extract.
- Sift self-raising flour over the batter and gently fold it in using a spatula, stopping as flour disappears.
- Add 2-3 tablespoons of milk gradually, mixing gently to achieve a soft dropping consistency.
- Divide batter evenly among lined cupcake cases, filling them halfway.
- Bake for 15-20 minutes or until tops spring back lightly to touch and a toothpick comes out clean.
- Cool cakes in the tin for a few minutes before transferring to a wire rack. Prepare icing by mixing icing sugar and milk.
- Decorate with icing and sprinkles once cakes are completely cool.
Leave a Reply