
“Chocolate and peanut butter are the ultimate duo,” I overheard my friend exclaim during our last cookout, and I couldn’t agree more. These No-Bake Chocolate Peanut Butter Protein Balls take that irresistible flavor combo to a new level. This recipe is perfect for those busy days when you need a quick, healthy snack that keeps you energized without the hassle of baking. With just a handful of ingredients and minimal prep time, you can whip up these protein-rich bites that satisfy your sweet tooth while fueling your body. Plus, they’re completely customizable—swap in your favorite nut butter or toss in some dried fruit for a personal touch. Ready to indulge guilt-free? Let’s dive into a fun and easy way to make these protein-packed treats!
Why You’ll Love These Protein Balls!
Customizable: The beauty of these No-Bake Protein Balls lies in their versatility. You can easily swap ingredients like peanut butter for almond or sunflower seed butter to suit your taste or dietary needs.
No Baking Required: Skip the hassle and mess of the oven! With just a few simple steps, you can create a delicious treat in no time, making them perfect for busy individuals.
Nutritious Boost: Packed with protein, fiber, and healthy fats, these bites are not just a snack—they’re a smart nutritional choice. Each ball delivers around 120 calories of nourishment, ideal for meal prep or a post-workout snack.
Crowd Pleaser: Whether you’re sharing at a gathering or simply looking to treat yourself, these chocolate peanut butter delights are sure to impress. Everyone loves that rich flavor combo!
Quick and Fun: Making these protein balls can be a joyful kitchen activity. Gather your ingredients and enjoy the process, perfect for a fun weekend project or wholesome family snack preparation.
Discover additional tasty options like these Gingerbread Cheesecake Cups or Breakfast Protein Biscuits to keep your snacking exciting!
No-Bake Protein Balls Ingredients
For the Base:
• Rolled Oats – They provide structure and chewiness; quick oats work as an excellent alternative.
• Natural Peanut Butter – The star of the show for creaminess and flavor; swap for almond or sunflower seed butter if you prefer.
• Honey – Acts as a natural sweetener and binds the ingredients together; maple syrup or date syrup make great vegan substitutes.
• Protein Powder – Enhances the protein content for a satiating snack; chocolate or vanilla flavors work best.
For the Flavoring:
• Chocolate Chips – Adds that delicious sweetness and chocolatey goodness; use semi-sweet, dark, or milk chocolate based on your preference.
• Ground Flaxseed – A fantastic source of fiber and omega-3s; chia seeds can also be an excellent substitute.
• Alcohol-free Vanilla Extract – Elevates the overall flavor profile with a touch of sweetness.
• Salt – Balances the sweetness and enhances all the flavors; a pinch will do the trick.
Feel free to customize these no-bake protein balls to suit your taste, making them a delicious treat you’ll look forward to!
Step‑by‑Step Instructions for No-Bake Chocolate Peanut Butter Protein Balls
Step 1: Mix Dry Ingredients
In a mixing bowl, combine 1 cup of rolled oats, 1/2 cup of protein powder, 1/4 cup of ground flaxseed, and a pinch of salt. Stir these dry ingredients together until they’re evenly mixed, which will take about a minute. This provides a hearty base for your No-Bake Protein Balls that ensures a satisfying texture.
Step 2: Incorporate Wet Ingredients
Next, add 1/2 cup of natural peanut butter, 1/3 cup of honey, and 1 teaspoon of alcohol-free vanilla extract to the dry mixture. Use a spatula or wooden spoon to mix thoroughly, blending until you achieve a thick and sticky dough, approximately 2-3 minutes. The mixture should hold together well and look beautifully cohesive.
Step 3: Fold in Chocolate Chips
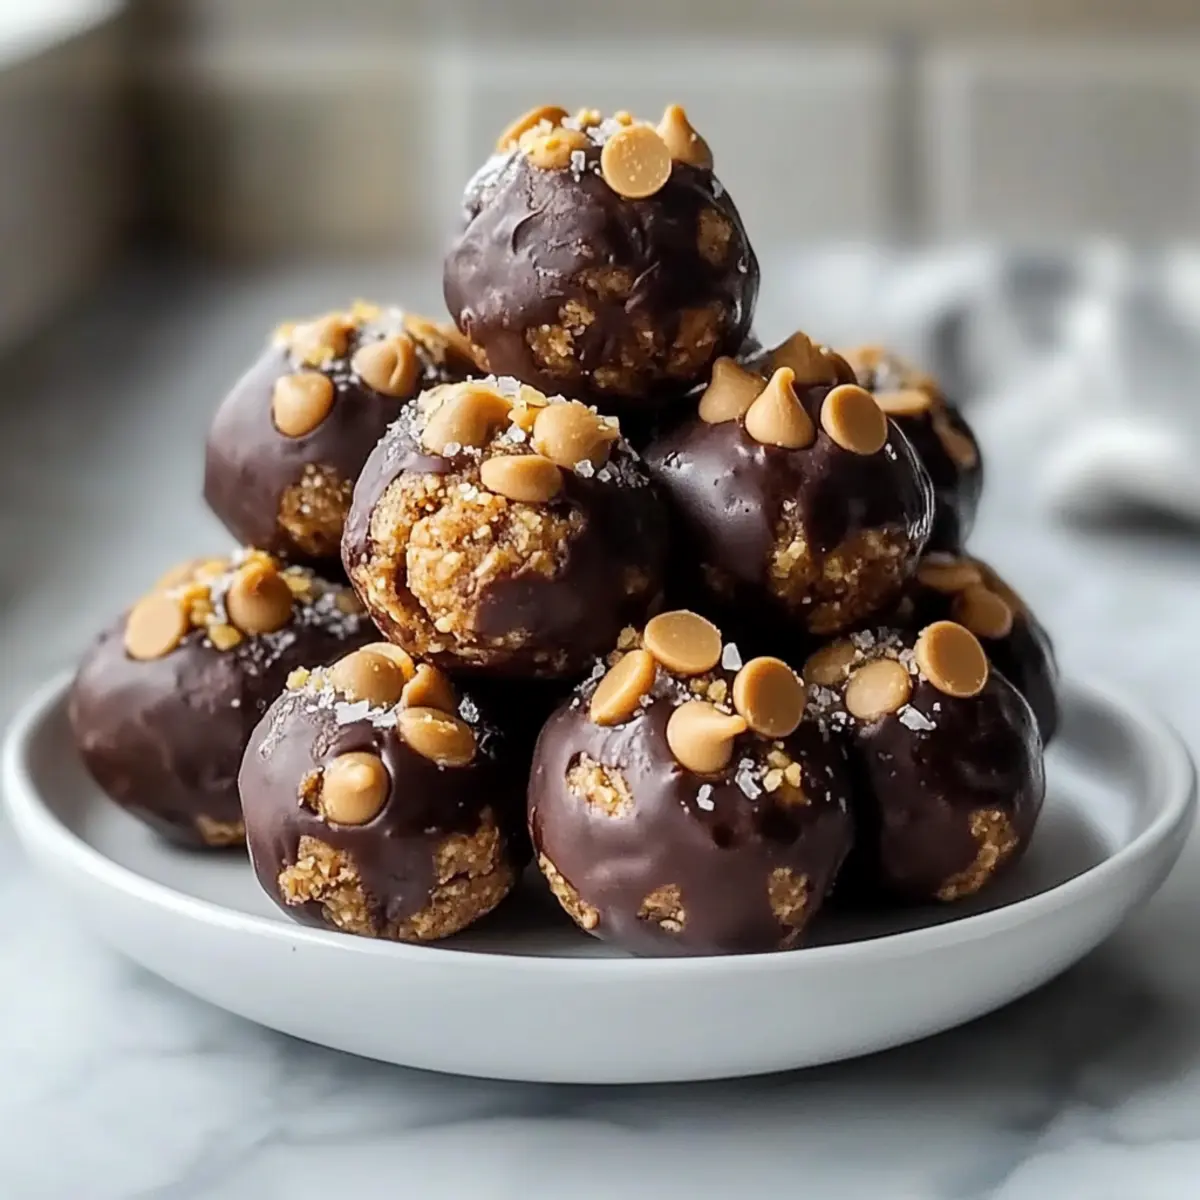
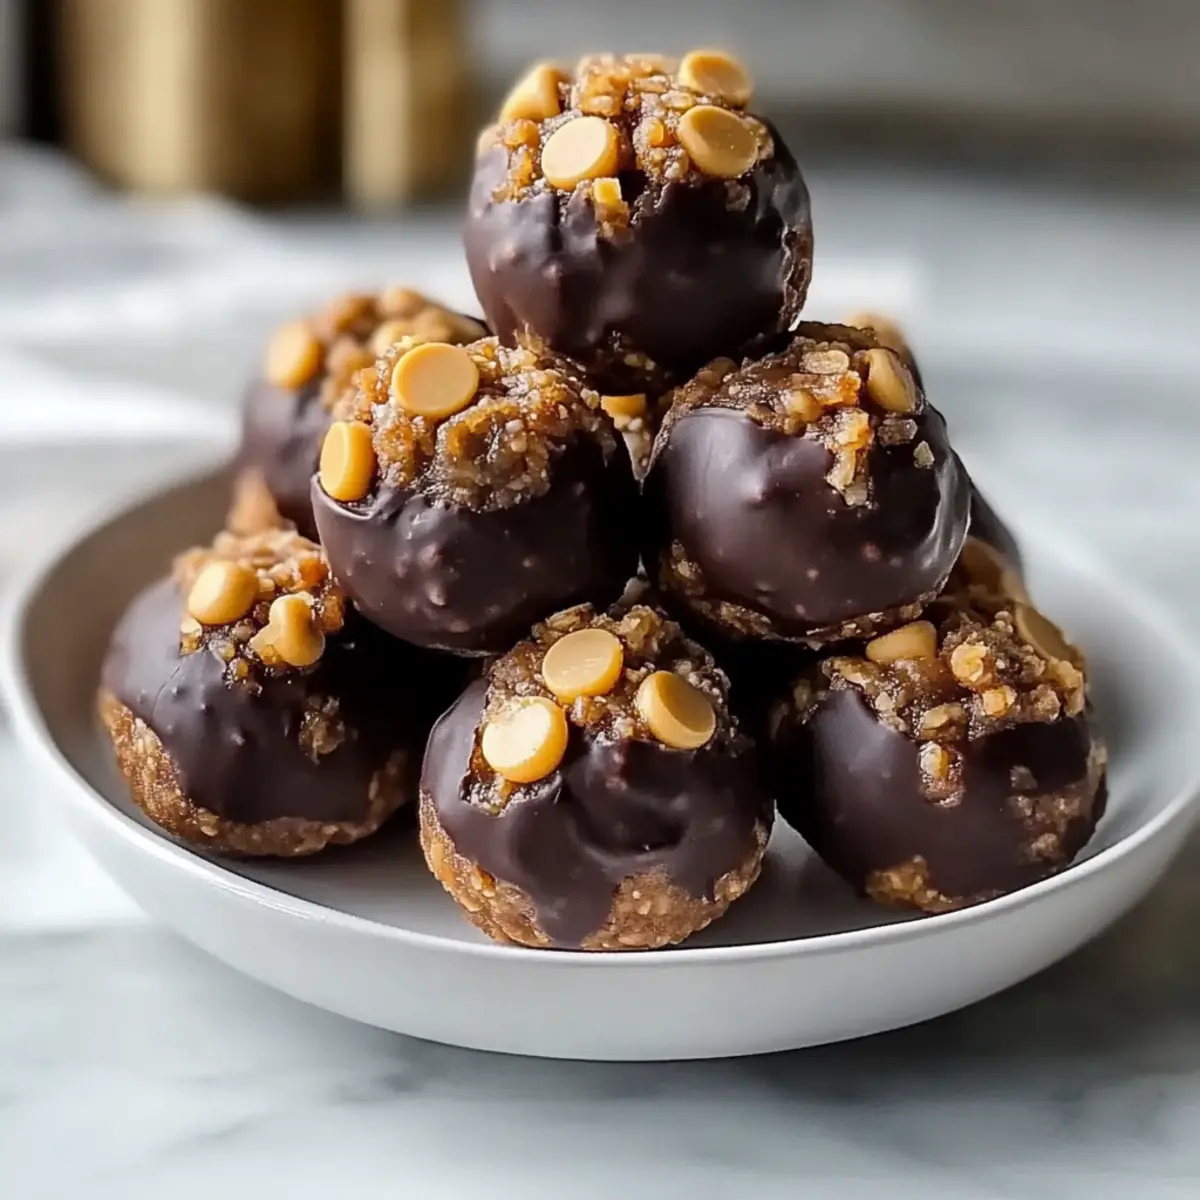
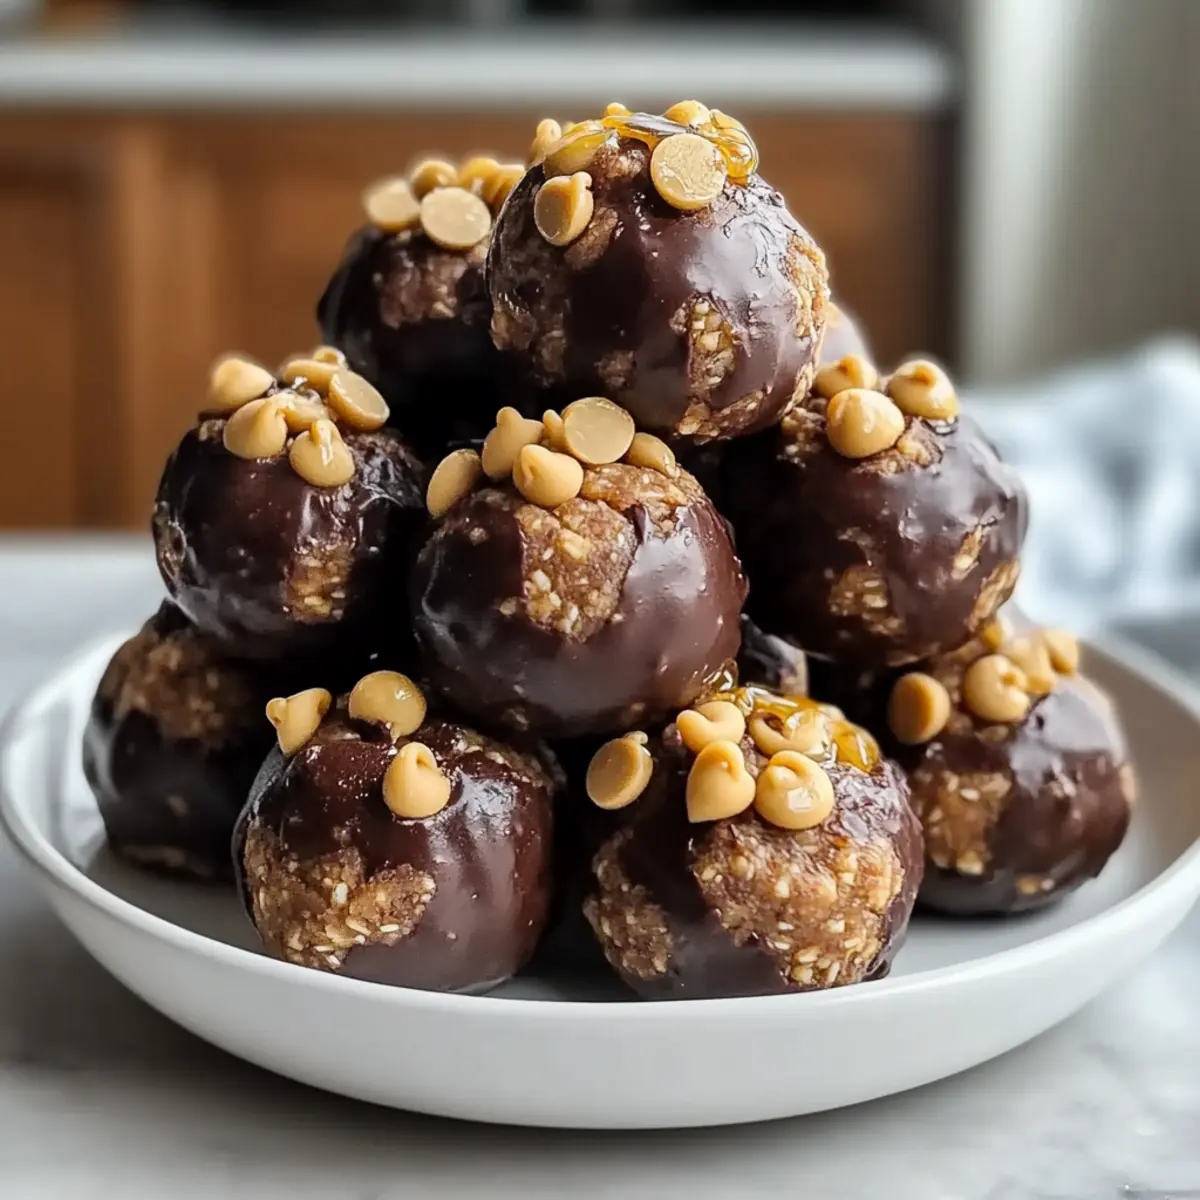
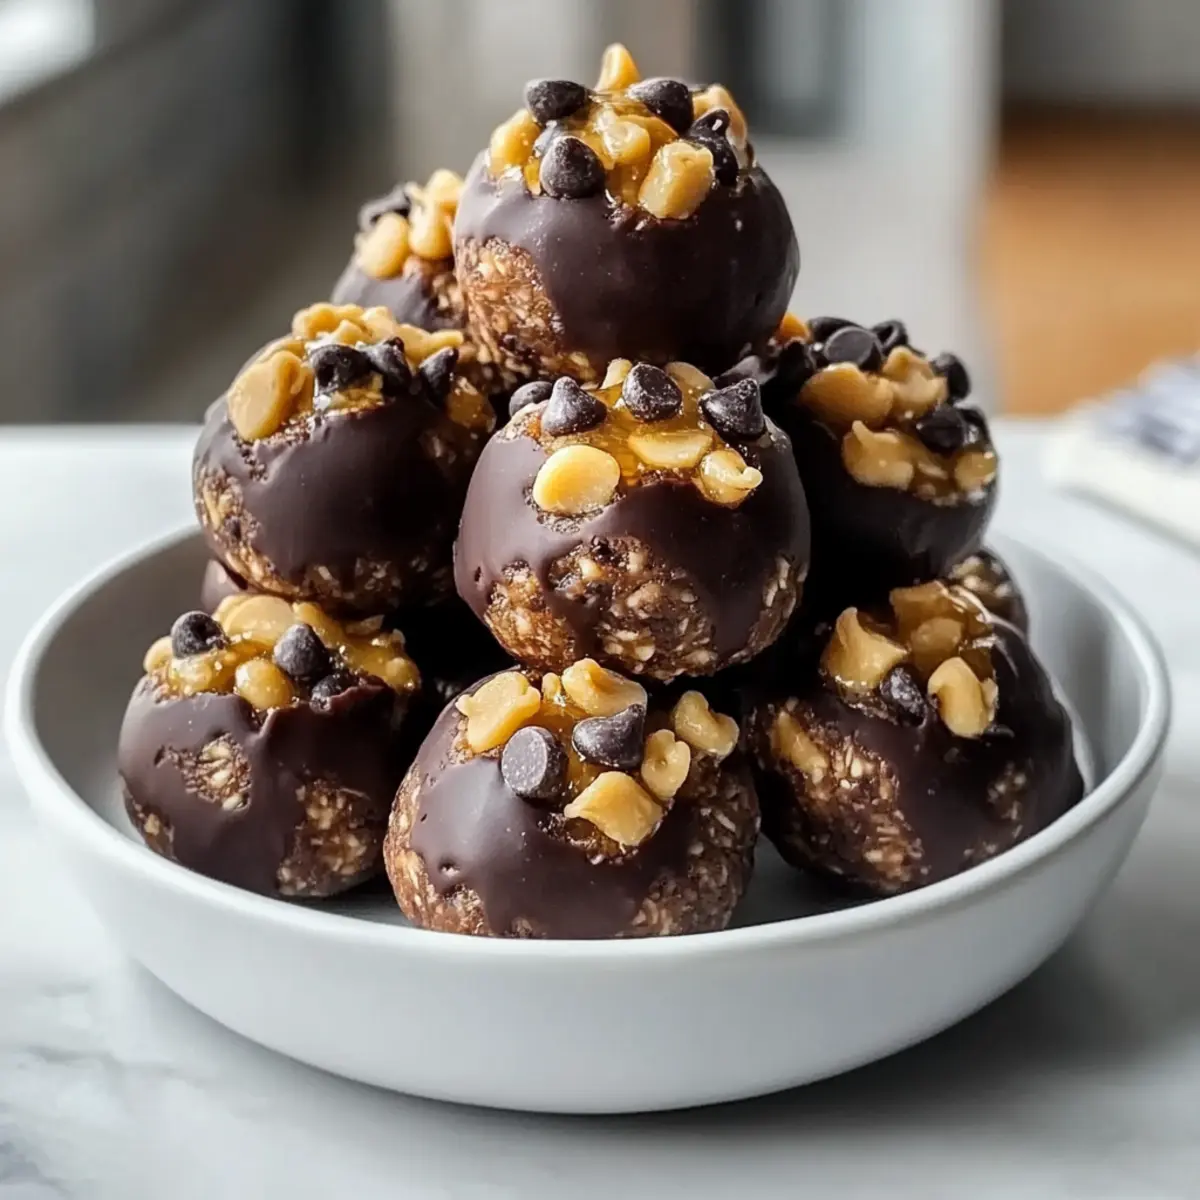
Once the dough is ready, gently fold in 1/2 cup of chocolate chips, ensuring they are evenly distributed throughout the mixture. This step typically takes about a minute. The chocolate will add delightful sweetness and bursts of flavor to your No-Bake Protein Balls, making them even more irresistible.
Step 4: Form the Balls
Using your hands, scoop about 1 tablespoon of the mixture and roll it into a ball, placing it on a parchment-lined plate or tray. Repeat this process to form about 12-15 balls, spending around 10 minutes on this step. Visualize each ball as a little energy booster waiting to be enjoyed!
Step 5: Chill to Set
Refrigerate the formed protein balls for at least 30 minutes to allow them to firm up. During this time, they will become easier to handle and provide the perfect chewy texture. Cover the tray with plastic wrap or a lid to keep them fresh while they chill.
Step 6: Store or Enjoy
Once chilled, your No-Bake Chocolate Peanut Butter Protein Balls are ready to enjoy! Store any leftovers in an airtight container in the refrigerator for up to a week. Alternatively, you can freeze them for up to three months; simply thaw briefly before indulging in these nutritious snacks.
No-Bake Protein Balls Variations
Feel free to unleash your creativity and customize these no-bake protein balls to suit your taste buds and dietary needs!
-
Nut Butter Twist: Swap peanut butter for almond or sunflower seed butter to create a different flavor profile. Each nut brings its unique taste and creaminess—perfect for experimenting!
-
Sweetness Switch: Instead of honey, try maple syrup or date syrup for a vegan alternative. This can change the texture slightly and infuse a new sweetness into your protein balls.
-
Flavor Boost: Add a teaspoon of cinnamon or espresso powder to the mix for a flavor kick. The warm spice perfectly complements chocolate, bringing depth to your snack.
-
Texture Addition: Mix in shredded coconut, granola, or chopped nuts for extra crunch. This not only enhances the texture but also adds delightful richness and flavor!
-
Fruit Infusion: Incorporate dried fruits like cranberries or apricots for a chewy surprise. They’re a great way to introduce natural sweetness while providing more nutrients.
-
Lower Sugar: Use sugar-free chocolate chips or omit them entirely and replace them with cacao nibs. You’ll still get that chocolatey goodness without the added sugar!
-
Protein Packed: Increase the protein content by adding hemp seeds or additional protein powder to the mix. It makes your protein balls even more satisfying and nutritious.
-
Spicy Kick: Add a pinch of cayenne or chili powder for a subtle heat. It’s an unexpected twist that will surprise and delight your taste buds.
Mix and match these variations to create your signature no-bake protein balls. For even more healthy snacks, consider trying these Breakfast Protein Biscuits or indulge in some rich Blueberry Cheesecake Protein. Happy snacking!
Expert Tips for No-Bake Protein Balls
-
Ingredient Quality: Use high-quality natural peanut butter and organic honey for the best flavor. Cheap alternatives may alter the texture and taste of your No-Bake Protein Balls.
-
Adjust Consistency: If your dough seems too dry, add a bit more peanut butter or honey. Conversely, if it’s too sticky, a sprinkle of oats can help balance it out.
-
Rolling Technique: Lightly wet your hands before rolling the dough into balls to prevent sticking. This simple trick makes the process smoother and cleaner!
-
Mix It Up: Feel free to experiment with different mix-ins like nuts, seeds, or dried fruit. Just keep the overall ratios consistent for perfect No-Bake Protein Balls every time.
-
Chill Time Matters: Allow the protein balls to chill in the fridge for at least 30 minutes. This step enhances their firmness and makes them easier to handle!
-
Storage Tips: Store your protein balls in an airtight container in the fridge for up to a week or freeze them for longer freshness!
How to Store and Freeze No-Bake Protein Balls
Fridge: Keep your No-Bake Protein Balls in an airtight container in the fridge for up to one week, allowing you to enjoy this nutritious snack anytime.
Freezer: For longer storage, freeze your protein balls for up to three months. Be sure to use a freezer-safe container or bag, and thaw briefly at room temperature before eating.
Reheating: These protein balls are best enjoyed chilled or at room temperature. Simply take them out of the fridge or freezer, let them sit for a few minutes, and they’re ready to munch!
Wrapping: If you prefer individual portions, consider wrapping each ball in plastic wrap before freezing. This makes grabbing a quick snack even easier!
What to Serve with No-Bake Chocolate Peanut Butter Protein Balls
These delightful bites make for a nutritious snack, and pairing them with complementary foods can create a satisfying meal experience.
-
Fresh Fruit: Crisp apple slices or banana halves add a refreshing sweetness that balances the richness of the protein balls.
-
Yogurt Parfait: Layer some Greek yogurt with granola and berries for a creamy and crunchy contrast that feels indulgent yet healthy.
-
Nut Butter Dip: A small bowl of almond or cashew butter for dipping rounds out the flavors, adding an extra touch of nutty goodness to your snack time.
-
Trail Mix: A combination of nuts, seeds, and dried fruits provides a beautiful medley of textures and flavors, making it a great side option alongside your protein balls.
-
Dark Chocolate: A few dark chocolate squares served on the side enhance the chocolatey richness of the protein balls while offering a decadent yet healthy treat.
-
Herbal Tea: A warm cup of chamomile or peppermint tea can be soothing, creating a cozy atmosphere that complements these delicious protein-packed snacks.
-
Smoothie: Blend up a quick fruit and spinach smoothie for a nutrient boost that pairs beautifully with these protein balls, perfect for fueling your day!
Indulging in these pairings will ensure your snack time is both delightful and wholesome!
Make Ahead Options
These No-Bake Chocolate Peanut Butter Protein Balls are perfect for meal prep enthusiasts who want to save time during busy weekdays! You can prepare the dough up to 24 hours in advance by mixing the dry ingredients (rolled oats, protein powder, ground flaxseed, and salt) and wet ingredients (natural peanut butter, honey, and vanilla). Once combined, refrigerate the mixture until you’re ready to roll it into balls. For the best quality, ensure the mixture is kept covered to prevent it from drying out. When you’re ready to serve, simply scoop, roll, and chill for an additional 30 minutes for that delightfully chewy texture! These prep-ahead tips make it easier than ever to enjoy a nutritious snack with minimal effort.
No-Bake Chocolate Peanut Butter Protein Balls Recipe FAQs
What ingredients should I use to ensure the best flavor?
Using high-quality natural peanut butter and organic honey is crucial for achieving the best flavor. These ingredients greatly enhance the overall taste of your No-Bake Protein Balls. Avoid using cheap alternatives, as they often contain added sugars and unhealthy oils that can affect the texture and taste.
How should I store my protein balls for optimal freshness?
Store your No-Bake Protein Balls in an airtight container in the fridge for up to one week. This way, you’ll always have a healthy snack ready to grab. If you plan to keep them for longer, they can be frozen for up to three months. Just ensure to use a freezer-safe container or bag, and thaw briefly at room temperature before enjoying.
Can I freeze these protein balls? If so, what’s the best method?
Absolutely! To freeze your No-Bake Protein Balls, first place them on a parchment-lined tray in a single layer. Freeze them for about an hour until firm, then transfer them to a freezer-safe container or bag. This method keeps them from sticking together. Just remember to thaw them briefly before eating; they’re best enjoyed chilled or at room temperature.
What should I do if my protein ball mixture is too dry or too sticky?
If your mixture seems too dry, simply mix in a bit more peanut butter or honey until you reach your desired consistency. If it’s too sticky, a sprinkle of rolled oats will help balance it out. It’s all about finding that perfect texture—don’t hesitate to adjust as needed!
Are there any dietary considerations for my pets or allergies?
Yes, be cautious if you have pets or allergy considerations! Avoid allowing your furry friends to indulge in these treats as ingredients like chocolate can be harmful to them. For allergies, consider using sunflower seed butter instead of peanut butter and ensure that any add-ins are nut-free and safe for your specific dietary requirements.
How long does it take for the protein balls to set in the fridge?
Give your No-Bake Protein Balls at least 30 minutes to chill in the refrigerator. This chill time is essential as it allows them to firm up nicely, making them easier to handle and ensuring they have the perfect chewy texture before you dig in.
No-Bake Protein Balls That Satisfy and Energize!
Ingredients
Equipment
Method
- In a mixing bowl, combine 1 cup of rolled oats, 1/2 cup of protein powder, 1/4 cup of ground flaxseed, and a pinch of salt. Stir until evenly mixed, about 1 minute.
- Add 1/2 cup of natural peanut butter, 1/3 cup of honey, and 1 teaspoon of alcohol-free vanilla extract to the dry mixture. Mix thoroughly for 2-3 minutes until you achieve a thick and sticky dough.
- Gently fold in 1/2 cup of chocolate chips until evenly distributed.
- Scoop about 1 tablespoon of the mixture and roll it into a ball, placing it on a parchment-lined plate. Repeat to form about 12-15 balls, taking around 10 minutes.
- Refrigerate the protein balls for at least 30 minutes to allow them to firm up.
- Enjoy your No-Bake Protein Balls! Store leftovers in an airtight container in the refrigerator for up to a week.
Leave a Reply