
The moment I bit into a no-bake Biscoff cheesecake at a friend’s gathering, I felt like I’d discovered a secret treasure tucked away in a cookbook. Imagine a creamy, luscious filling that effortlessly melts in your mouth, paired with a crunchy Biscoff cookie crust that crumbles just right. This delightful dessert not only showcases a unique caramelized-spice flavor but is also incredibly easy to whip up, making it perfect for any occasion. Plus, its no-bake nature allows you to save time in the kitchen while impressing guests with a showstopper dessert. Whether you’re a seasoned home-chef or just looking for a quick crowd-pleaser, this Biscoff Cheesecake will make you feel like a kitchen superstar. Ready to dive into this creamy bliss? Let’s get started!
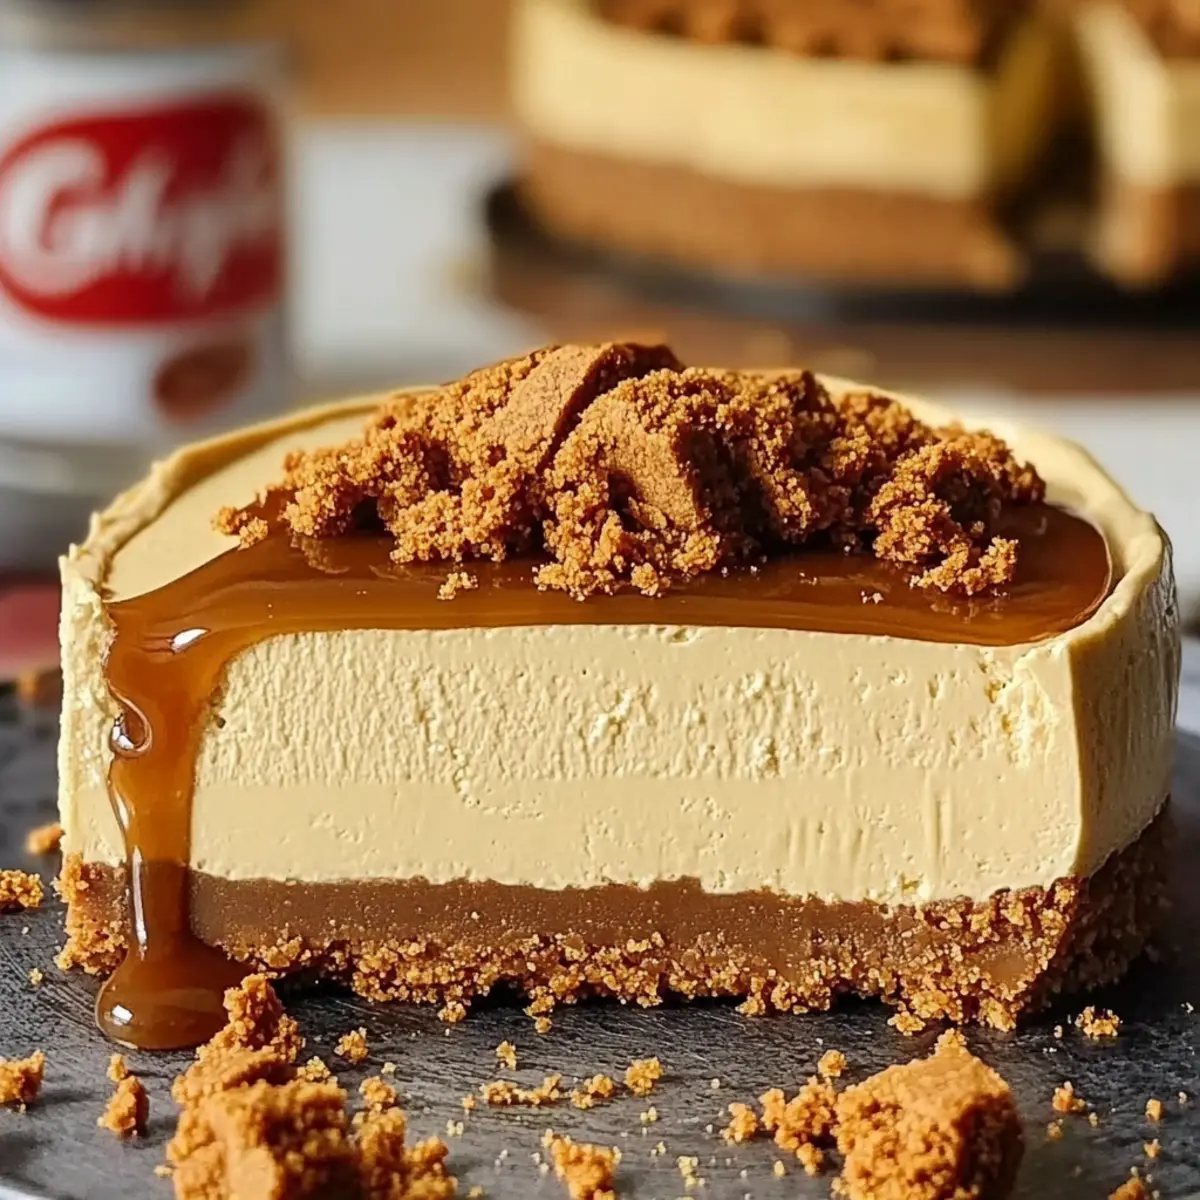
Why Is This Cheesecake So Irresistible?
Creaminess is the star of this recipe! The velvety filling melts in your mouth, leading to a satisfying contrast with the crunchy Biscoff cookie crust. Easy to make, this no-bake dessert eliminates long baking times, making it perfect for busy days. Plus, with its vegetarian-friendly gelatin alternative, it’s accessible for everyone! Impress friends at gatherings; a slice of this cheesecake will have them begging for the recipe. Looking for more delightful treats? Check out Blueberry Cheesecake Protein for a healthy snack or the mouthwatering Bake Gingerbread Cheesecake for festive occasions!
Biscoff Cheesecake Ingredients
For the Crust
• Biscoff Cookies – The crunchy base for this cheesecake, providing flavor and texture. Any similar spiced cookies can be substituted.
• Unsalted Butter – This binds the cookie crust together and enhances richness.
For the Filling
• Cream Cheese – Creates the creamy structure; ensure it’s at room temperature for easy blending.
• Biscoff Spread – Adds the iconic flavor and creaminess that makes this Biscoff cheesecake irresistible.
• Powdered Sugar – Provides sweetness and contributes to a smooth texture.
• Vanilla Extract – Enhances the overall flavor profile of the cheesecake.
• Unflavored Gelatin – Stabilizes the filling for clean slices; agar-agar makes for a great vegetarian alternative.
• Heavy Cream – Lightens the filling and creates a fluffy texture; it should be cold for optimal whipping.
For the Drip Topping
• Additional Biscoff Spread – Used to create a warm caramelized drizzle on top.
• Heavy Cream – Mixed with the Biscoff spread to achieve a pourable consistency for the topping.
Step‑by‑Step Instructions for Biscoff Cheesecake
Step 1: Prepare the Crust
Begin by crushing approximately 20 Biscoff cookies into fine crumbs using a food processor. In a bowl, mix the cookie crumbs with 8 tablespoons of melted unsalted butter until the mixture resembles wet sand. Firmly press this mixture into the bottom of a 9-inch springform pan, ensuring an even layer. Refrigerate for at least 30 minutes to set the crust while you prepare the filling.
Step 2: Make the Filling
In a large mixing bowl, beat 16 ounces of room-temperature cream cheese along with 1 cup of Biscoff spread, ¾ cup of powdered sugar, and 1 teaspoon of vanilla extract using an electric mixer. Blend on medium speed until smooth and creamy, ensuring there are no lumps. This will be the luscious filling for your Biscoff cheesecake. Set aside while you incorporate the gelatin.
Step 3: Add Gelatin
Dissolve 1 envelope of unflavored gelatin in ¼ cup of cold water and let it sit for about 5 minutes until it blooms. Then, gently heat the mixture in the microwave for about 20 seconds, just until liquefied but not boiling. Stir the warm gelatin into the cream cheese mixture until fully incorporated, ensuring stability in your cheesecake filling.
Step 4: Whip the Cream
In a separate bowl, pour 1 cup of cold heavy cream and whip it using the electric mixer until stiff peaks form, which may take about 3-5 minutes. This lightened whipped cream will add an airy texture to the Biscoff cheesecake. Carefully fold the whipped cream into the cream cheese mixture with a spatula, combining gently to maintain the fluffy consistency.
Step 5: Assemble the Cheesecake
Once the filling is well blended, pour it over the chilled cookie crust in the springform pan. Smooth the top using a spatula to create an even surface. Cover the cheesecake with plastic wrap and refrigerate it for a minimum of 4 hours, or ideally overnight, to allow it to set firmly and develop its delightful flavors.
Step 6: Add Drip Topping
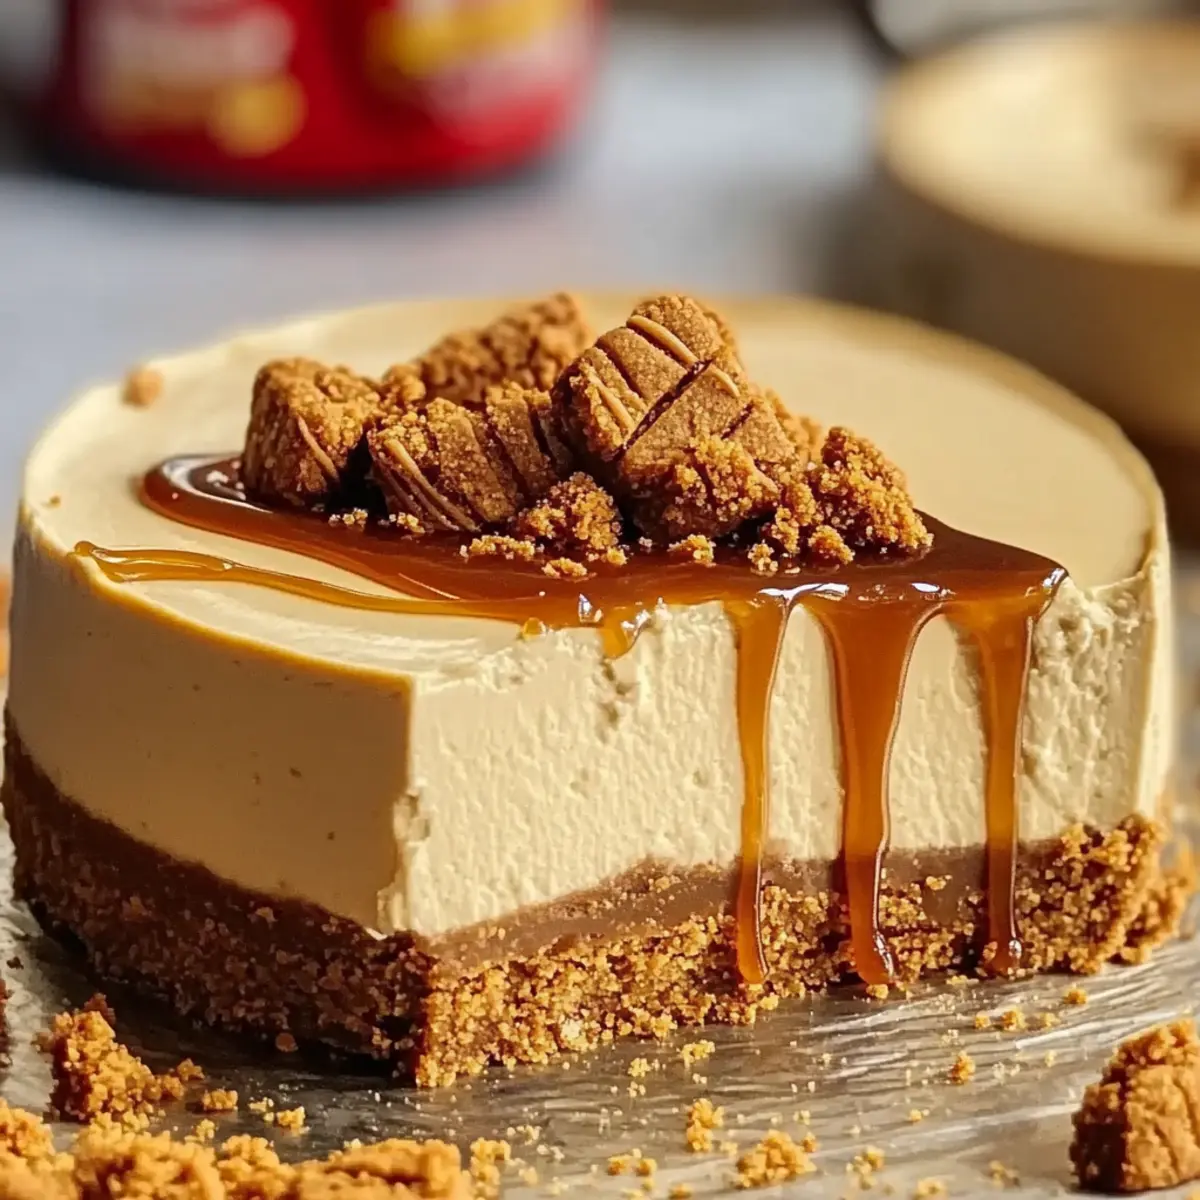
For the warm topping, combine ½ cup of additional Biscoff spread with ¼ cup of heavy cream in a small saucepan over low heat. Stir continuously until the mixture is smooth and pourable, taking care not to let it boil. Once combined, allow it to cool slightly before gently pouring it over the set cheesecake, letting it drip down the sides.
Step 7: Chill Again
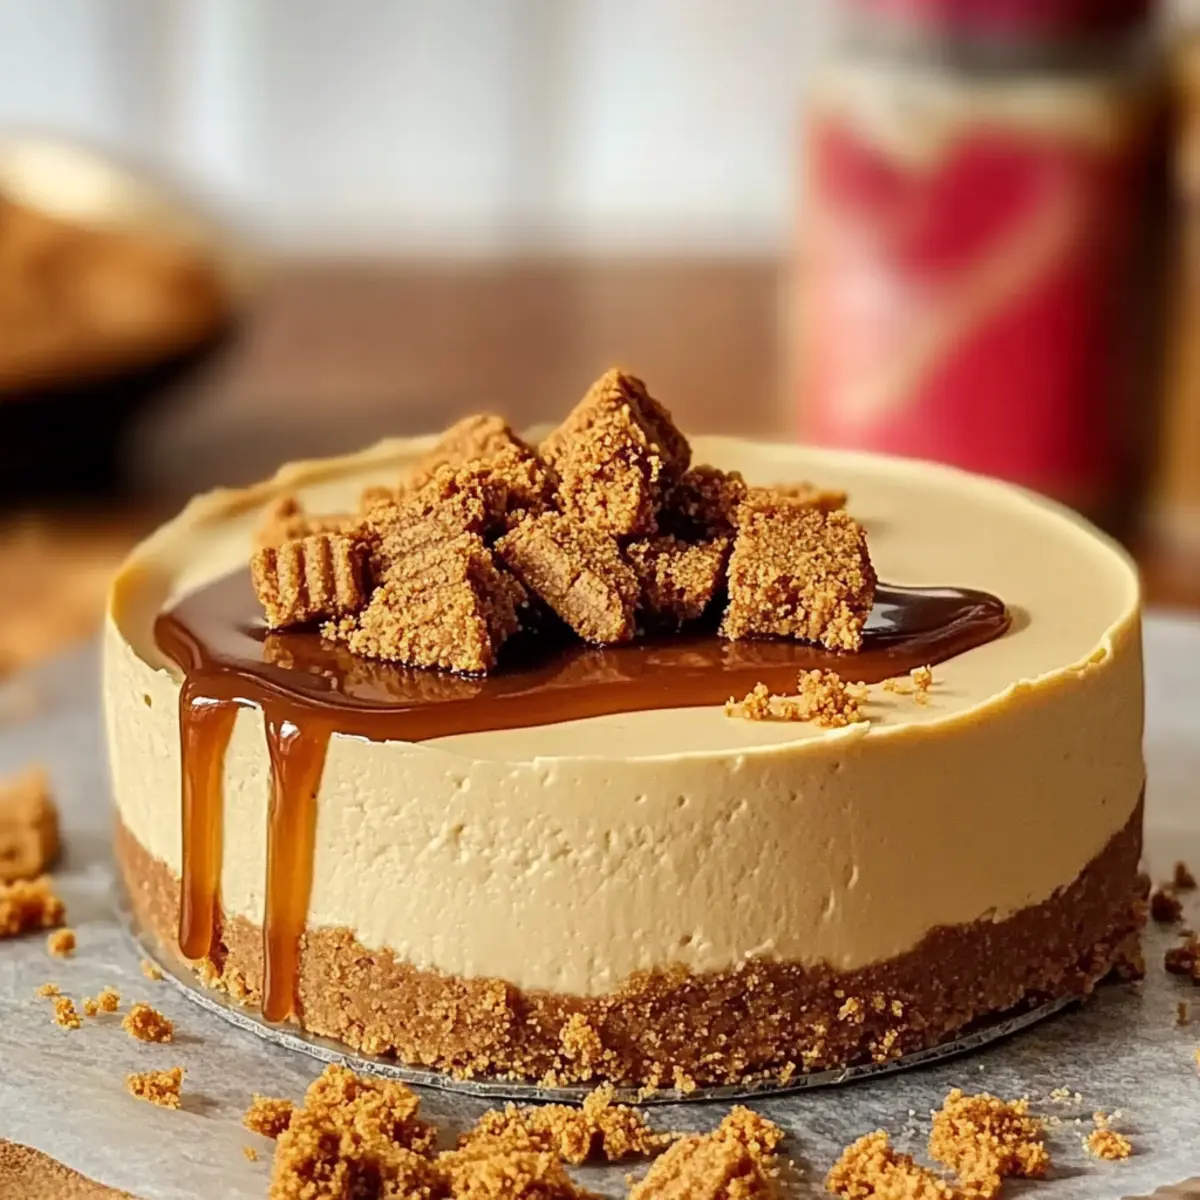
After adding the Biscoff drip, sprinkle crushed Biscoff cookies on top for decoration and flavor. Refrigerate the cheesecake for an additional 30 minutes to allow the topping to set. Once chilled, carefully run a knife around the edges of the springform pan before releasing the sides, ensuring a beautiful presentation for your impressive Biscoff cheesecake.
Make Ahead Options
These delightful Biscoff Cheesecakes are perfect for meal prep and can save you precious time during busy weeks! You can prepare the crust and filling up to 24 hours in advance. Simply crush the Biscoff cookies and mix with melted butter to set in the springform pan. For the filling, combine and blend all ingredients, but wait to add the gelatin until just before assembly to maintain the perfect texture. Once you pour the filling over the crust, refrigerate it overnight to allow it to set fully. When ready to serve, simply add the warm Biscoff drip and crushed cookies as a finishing touch. Your cheesecake will still be just as delicious and impressive!
Storage Tips for Biscoff Cheesecake
- Fridge: Keep the Biscoff cheesecake stored in an airtight container in the refrigerator for up to 5 days. This ensures it stays fresh and retains its creamy texture.
- Freezer: For long-term storage, wrap slices tightly in plastic wrap and aluminum foil, placing them in the freezer for up to 2 months. Thaw overnight in the fridge before serving.
- Reheating: If desired, allow each slice to sit at room temperature for about 20 minutes before serving to enhance the flavor and creaminess of the cheesecake.
- Leftover Drip Topping: Store any leftover Biscoff drip in an airtight container in the fridge for up to 5 days. Gently reheat in the microwave before using it again.
What to Serve with No-Bake Biscoff Cheesecake
Indulging in a slice of this creamy delight invites the perfect opportunity to complete your meal with complementary dishes.
- Fresh Berries: The tartness of strawberries or raspberries balances the sweetness of the cheesecake, enhancing every bite.
- Vanilla Ice Cream: A scoop of classic vanilla ice cream adds a delightful creaminess that pairs beautifully with the Biscoff flavors.
- Coffee or Espresso: A steaming cup of coffee provides a rich contrast, highlighting the caramel notes in the cheesecake for a well-rounded experience.
- Chocolate Drizzle: A light chocolate drizzle adds a luxurious twist to each slice, inviting rich cocoa flavors to mingle with the spiced cheesecake.
- Mint Chocolate Chip Cookies: Their refreshing mint helps cleanse the palate while complementing the delightful sweetness of the dessert.
- Chai-Spiced Whipped Cream: Infused with warm spices, this whipped cream enriches the overall experience, deepening the spiced character of the cheesecake.
- Spiced Tea: A warm cup of chai tea complements the cheesecake’s flavor profile, providing a comforting and aromatic experience.
- Nutty Granola: Crunchy granola sprinkled on top provides a wonderful texture contrast, keeping it fun and engaging with each bite.
Biscoff Cheesecake Variations & Substitutions
Feel free to get creative and customize your Biscoff cheesecake to suit your taste and dietary needs!
-
Baked Version: Omit whipped cream and gelatin; beat in 3 eggs and bake at 325°F (160°C) in a water bath for a denser texture. This variation transforms the creamy dessert into a rich, traditional baked cheesecake.
-
Dairy-Free: Swap cream cheese and heavy cream for vegan alternatives like cashew cream or coconut cream for a non-dairy version. Achieve the same creamy texture while catering to lactose intolerance.
-
Gluten-Free: Use gluten-free cookies such as almond flour-based cookies for the crust. This way, everyone can enjoy the delicious flavors without the gluten concern.
-
Flavor Boost: Add spices like cinnamon or nutmeg to the filling for an extra layer of warmth and complexity. These spices pair wonderfully with Biscoff’s signature caramel notes.
-
Chocolate Twist: Mix in some melted dark chocolate with the Biscoff spread for a decadent chocolate-Biscoff combination. You’ll get a rich depth that elevates this cheesecake to another level.
-
Nutty Variations: Fold in finely chopped nuts like pecans or walnuts into the filling for added texture and flavor. This brings a delightful crunch that complements the creaminess.
-
Banana Layer: For a fruity twist, layer sliced bananas atop the cheesecake filling before chilling. This fruity addition will add freshness and a lovely contrast to the rich flavors.
-
Heat it Up: Spice things up by adding a hint of cayenne pepper to the cheesecake mixture for a surprising kick. It’s an unexpected twist that pairs beautifully with the sweet Biscoff.
For more delightful treats, consider these recipes: the nutritious Blueberry Cheesecake Protein for a healthy snack or indulge in the festive flavors of a Bake Gingerbread Cheesecake.
Expert Tips for Biscoff Cheesecake
-
Room Temperature Ingredients: Ensure the cream cheese and Biscoff spread are at room temperature to avoid graininess in the filling. This helps achieve that creamy texture.
-
Gelatin Importance: Incorporate the gelatin carefully, as skipping it can result in a filling that doesn’t hold its shape. This is key for a beautiful Biscoff cheesecake slice!
-
Cold Cream for Whipping: Start with cold heavy cream for whipping; it holds its shape better when folded into the cheesecake filling, creating that luscious airy texture.
-
Proper Chilling: Allow the cheesecake to chill overnight for the best flavor and texture. If you’re short on time, give it at least 4 hours, but overnight is ideal.
-
Serving Temperature: Before serving, let the cheesecake sit at room temperature for about 20 minutes. This enhances the creamy experience and allows it to melt in your mouth.
Biscoff Cheesecake Recipe FAQs
How do I choose ripe ingredients for this recipe?
Absolutely! To ensure the best flavor and texture in your Biscoff cheesecake, it’s crucial to use quality ingredients. Opt for cream cheese that is fresh and at room temperature to blend smoothly. When selecting Biscoff spread, check for freshness; it should have a pleasant aroma and a creamy consistency, with no separation or dark spots on the surface. Try to use unsalted butter, as it allows you to control the sweetness of the crust better.
How should I store my Biscoff cheesecake after making it?
You want to keep that dessert heavenly! Store the Biscoff cheesecake in an airtight container in the refrigerator for up to 5 days. This helps maintain its creamy texture and flavors. It’s best to allow the cheesecake to sit at room temperature for about 20 minutes before serving, as this enhances the taste and creaminess. Just make sure to keep it covered to prevent any odor absorption from your fridge.
Can I freeze leftover cheesecake slices?
Yes, you can! To freeze your Biscoff cheesecake, wrap individual slices tightly in plastic wrap and then aluminum foil for added protection. This method prevents freezer burn and keeps the flavor intact. They can be stored in the freezer for up to 2 months. When you’re ready to enjoy a slice, just thaw it overnight in the refrigerator. For an even softer texture, let it sit at room temperature for about 20 minutes before serving.
What if my cheesecake filling isn’t firm enough?
Don’t worry, it happens! If you find that your Biscoff cheesecake isn’t setting well, first double-check if you added the gelatin correctly. Make sure you bloomed and dissolved it properly before mixing it into the filling. If it’s too warm, it can cause the filling to be runny. Next time, ensure that you refrigerate it for at least 4 hours, preferably overnight, for it to stabilize fully. If you plan to serve it sooner, consider adding a bit more gelatin next time to help firm it up!
Is this cheesecake suitable for everyone, including those with dietary restrictions?
Very! The Biscoff cheesecake is vegetarian-friendly, so those avoiding meat can enjoy it as well. If you want to cater to specific dietary needs, you can substitute unflavored gelatin with an equivalent amount of agar-agar for a vegan option. Always check for allergies, particularly with the Biscoff cookies and spread, as they may contain gluten and nut products. If you’re making this treat for someone with allergies, verify ingredient lists or potentially make your own spiced cookie base.
How can I make this cheesecake even more delicious?
The more the merrier! Consider adding chocolate chips or a layer of fruit at the base for an extra flavor twist. Another idea is to sprinkle some cinnamon or nutmeg into the filling for a warm, spicy note. And don’t forget, a drizzle of caramel or chocolate sauce on top can elevate its presentation and taste further – a sure way to wow your guests at any gathering!
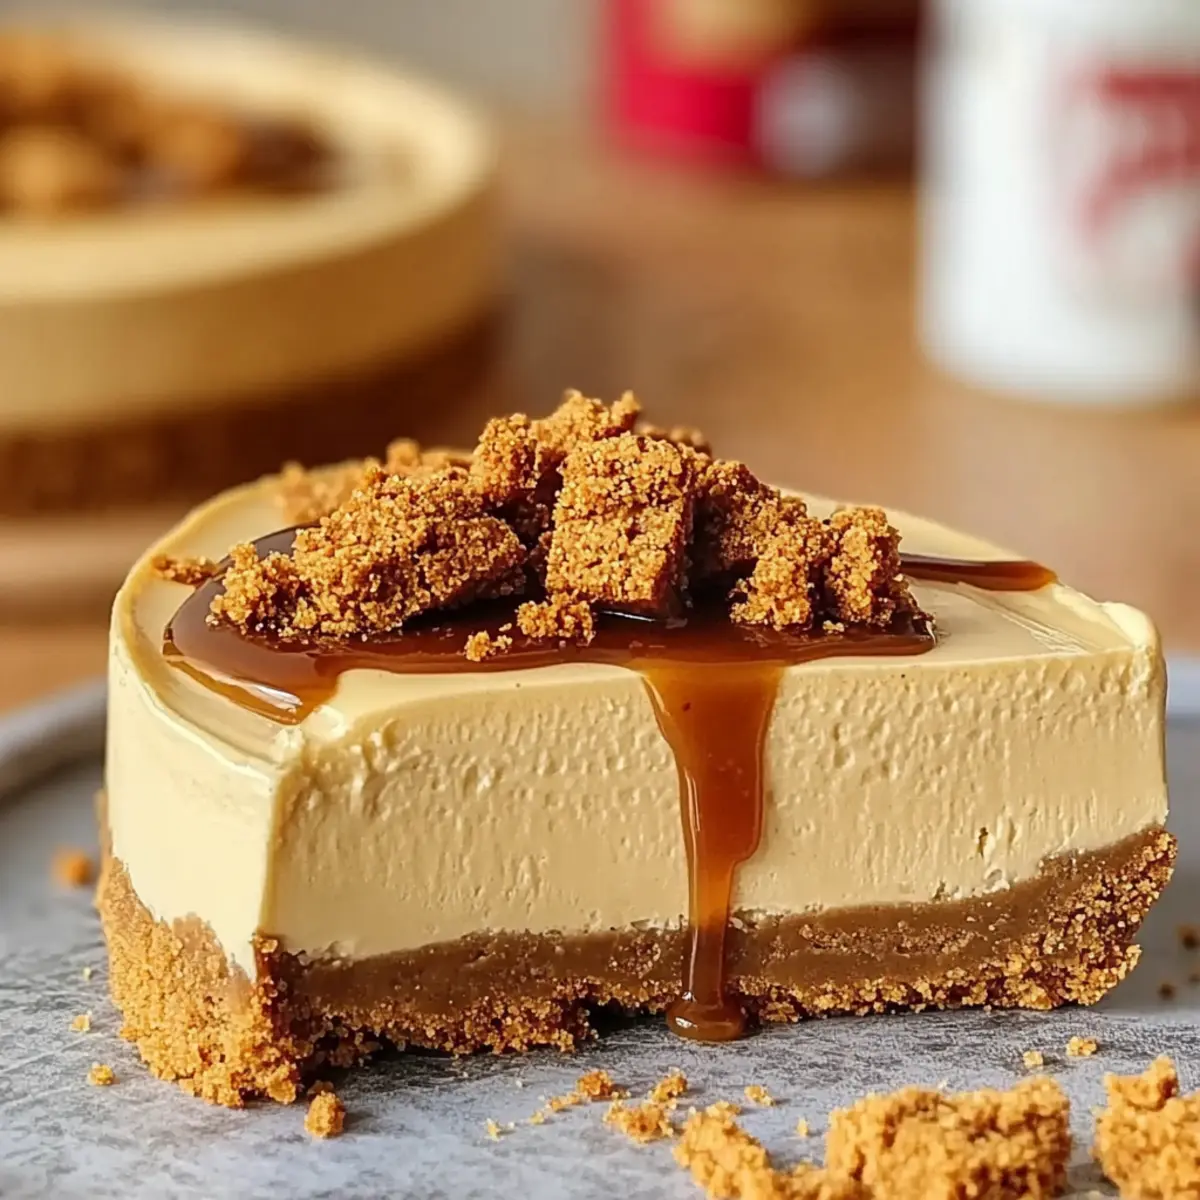
Creamy Biscoff Cheesecake That Melts in Your Mouth
Ingredients
Equipment
Method
- Prepare the crust by crushing Biscoff cookies and mixing with melted butter. Press into a springform pan and refrigerate for 30 minutes.
- Make the filling by beating cream cheese, Biscoff spread, powdered sugar, and vanilla until smooth.
- Dissolve gelatin in cold water, heat until liquefied, and mix into the cream cheese mixture.
- Whip the cold heavy cream until stiff peaks form, then fold into the cream cheese mixture.
- Assemble the cheesecake by pouring the filling over the crust and refrigerate for at least 4 hours.
- Make the drip topping by melting additional Biscoff spread with heavy cream, pour over the cheesecake, and let set.
- Chill the cheesecake again for 30 minutes before serving.
Leave a Reply