
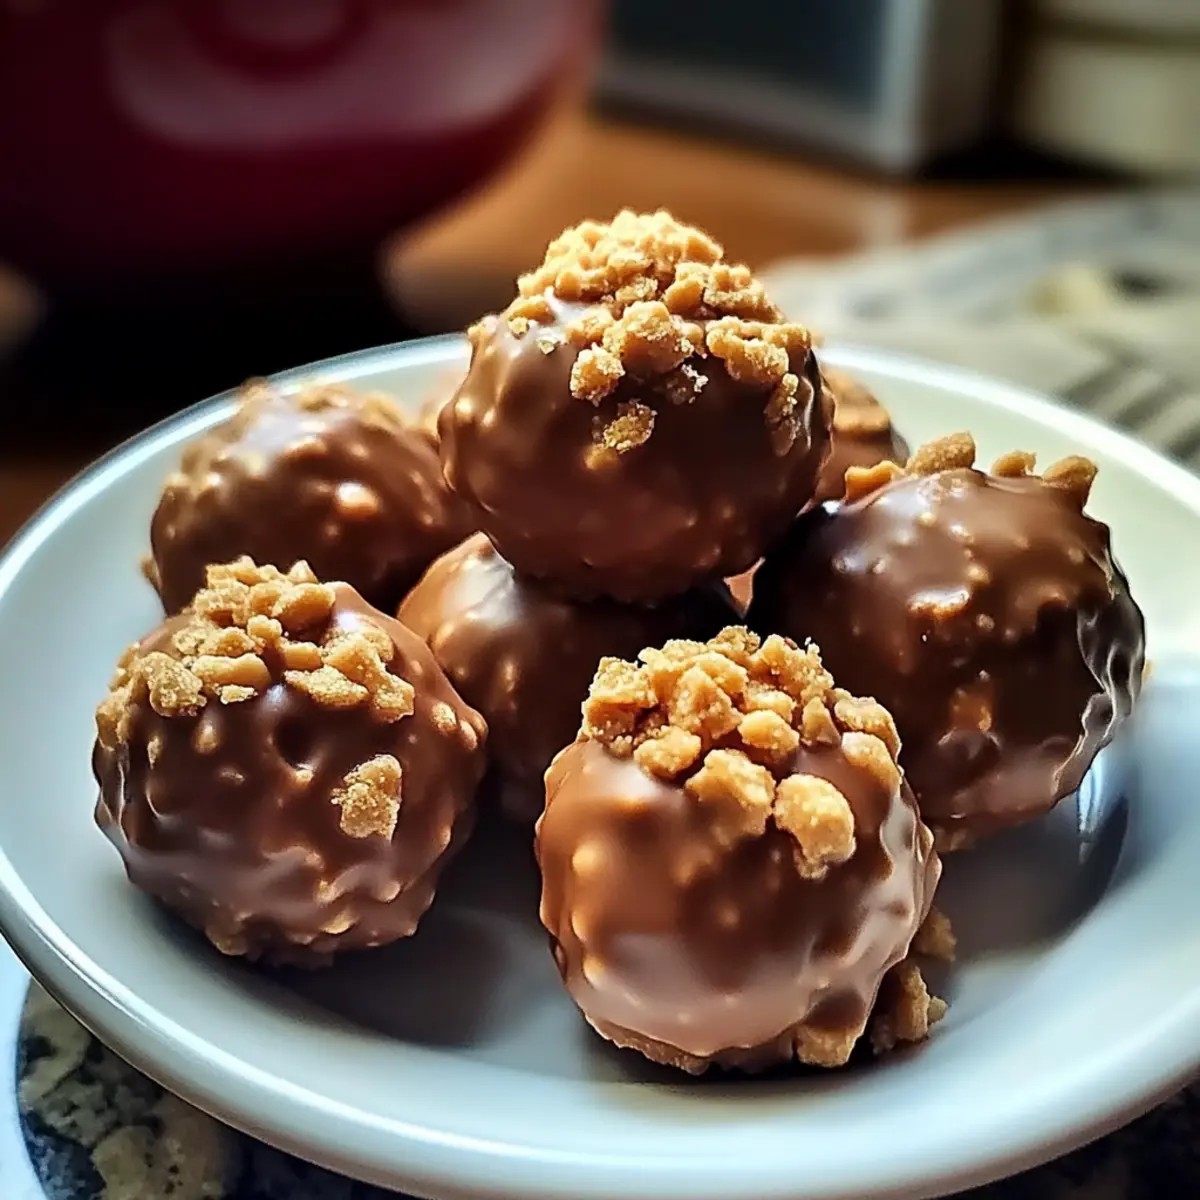
Have you ever stared into the pantry, yearning for something sweet yet quick to whip up? There’s a cozy satisfaction in crafting your own treats, and these Homemade Butterfinger Balls are here to save the day! This no-bake delight combines the smoothness of peanut butter with the crunchiness of crushed Butterfinger bars, all enveloped in a rich chocolate coating. Not only are these little gems a crowd-pleaser at gatherings, but they also come together in just 45 minutes and are only 120 calories each. Plus, with easy adjustments for gluten-free or lower-sugar versions, they can fit into just about any dietary preference. Want to discover the magic of this indulgent yet wholesome treat? Let’s dive in!
Why Make Homemade Butterfinger Balls?
Quick and Easy: These no-bake treats come together in just 45 minutes, making them perfect for those last-minute cravings or surprise gatherings.
Irresistible Flavor: Combining creamy peanut butter, crunchy Butterfinger pieces, and rich chocolate creates a delightful explosion of taste and texture.
Customizable Options: Don’t hesitate to personalize your Butterfinger Balls! Swap in gluten-free graham crackers or create a lower-sugar version using powdered erythritol. The possibilities are endless!
Crowd Favorite: Whether it’s a holiday potluck or a cozy movie night, these treats are sure to impress friends and family, keeping them coming back for more.
No Baking Required: Say goodbye to the oven! These sweet bites are perfect for hot days or busy schedules—no fuss, just delicious, homemade satisfaction.
For more delectable ideas, check out these Herb Chicken Meatballs or indulge in a guilt-free snack with Chocolate Quinoa Crisps.
Homemade Butterfinger Balls Ingredients
For the Mixture
• Peanut Butter – Provides creaminess and flavor; avoid all-natural varieties to prevent texture issues.
• Softened Butter – Adds richness and smooth texture; can use margarine as a substitution.
• Vanilla Extract – Enhances flavor depth; use pure extract for the best taste.
• Powdered Sugar – Sweetens and binds the mixture; can replace with powdered erythritol for a lower-carb option.
• Graham Cracker Crumbs – Adds crunch and structure; swap for gluten-free crumbs for a gluten-free version.
• Crushed Butterfinger Bars – Provides iconic flavor and texture; optional to use more for garnishing.
For the Coating
• Chocolate Bark or Chips – Coating that adds richness; higher-quality chocolate chips can greatly enhance flavor.
These Homemade Butterfinger Balls are not just a treat; they invite warmth, memories, and a sprinkle of customization into your kitchen! Enjoy baking them to match your dietary needs, and relish every bite!
Step‑by‑Step Instructions for Homemade Butterfinger Balls
Step 1: Prepare the Base Mixture
In a large mixing bowl, combine 250 g of peanut butter and 57 g of softened butter. Blend on medium speed for 2-3 minutes until the mixture is creamy and well combined, showing no chunks. This forms the luscious base for your Homemade Butterfinger Balls, setting the stage for rich flavor.
Step 2: Add Flavor Enhancements
Next, stir in 5 ml of pure vanilla extract, mixing thoroughly until fully incorporated. The vanilla will elevate the overall flavor profile, making these Butterfinger Balls even more irresistible. Take a moment to admire the beautiful glossy texture before moving to the next step.
Step 3: Introduce Sweetness
Gradually add 120 g of powdered sugar while mixing on low speed. You’ll notice the mixture starting to thicken within about 1-2 minutes. Scrape down the bowl’s sides to ensure everything blends evenly. The consistency should be thick and crumbly, perfect for holding everything together as we create the iconic butterfinger exterior.
Step 4: Incorporate Crunch
Gently fold in 75 g of graham cracker crumbs and 50 g of crushed Butterfinger bars. Use a spatula for this step, being careful not to overmix; you want to keep the texture light and crumbly. The crushed Butterfinger will add delightful pieces of crunch throughout your Homemade Butterfinger Balls, making each bite exciting.
Step 5: Shape the Balls
Using a tablespoon, scoop out about 1 to 1.5 tablespoons of the mixture and roll them into balls with your hands. Place the balls on a lined cookie sheet, ensuring they have space between them. You should end up with a beautiful array of ready-to-chill treats, all set for the next phase.
Step 6: Chill for Firmness
Pop the cookie sheet into the freezer and chill the shaped balls for 30 minutes. This step is crucial as it ensures the mixture firms up properly, making it easier to coat with chocolate later. Keep an eye on the time while you anticipate the delicious outcome.
Step 7: Melt the Chocolate
Begin melting 227 g of chocolate in a microwave-safe bowl, setting your microwave to 50% power. Heat in 30-second intervals, stirring well after each, until the chocolate is completely smooth and glossy. This melted chocolate will form a rich, decadent coating for your Homemade Butterfinger Balls.
Step 8: Dip and Decorate
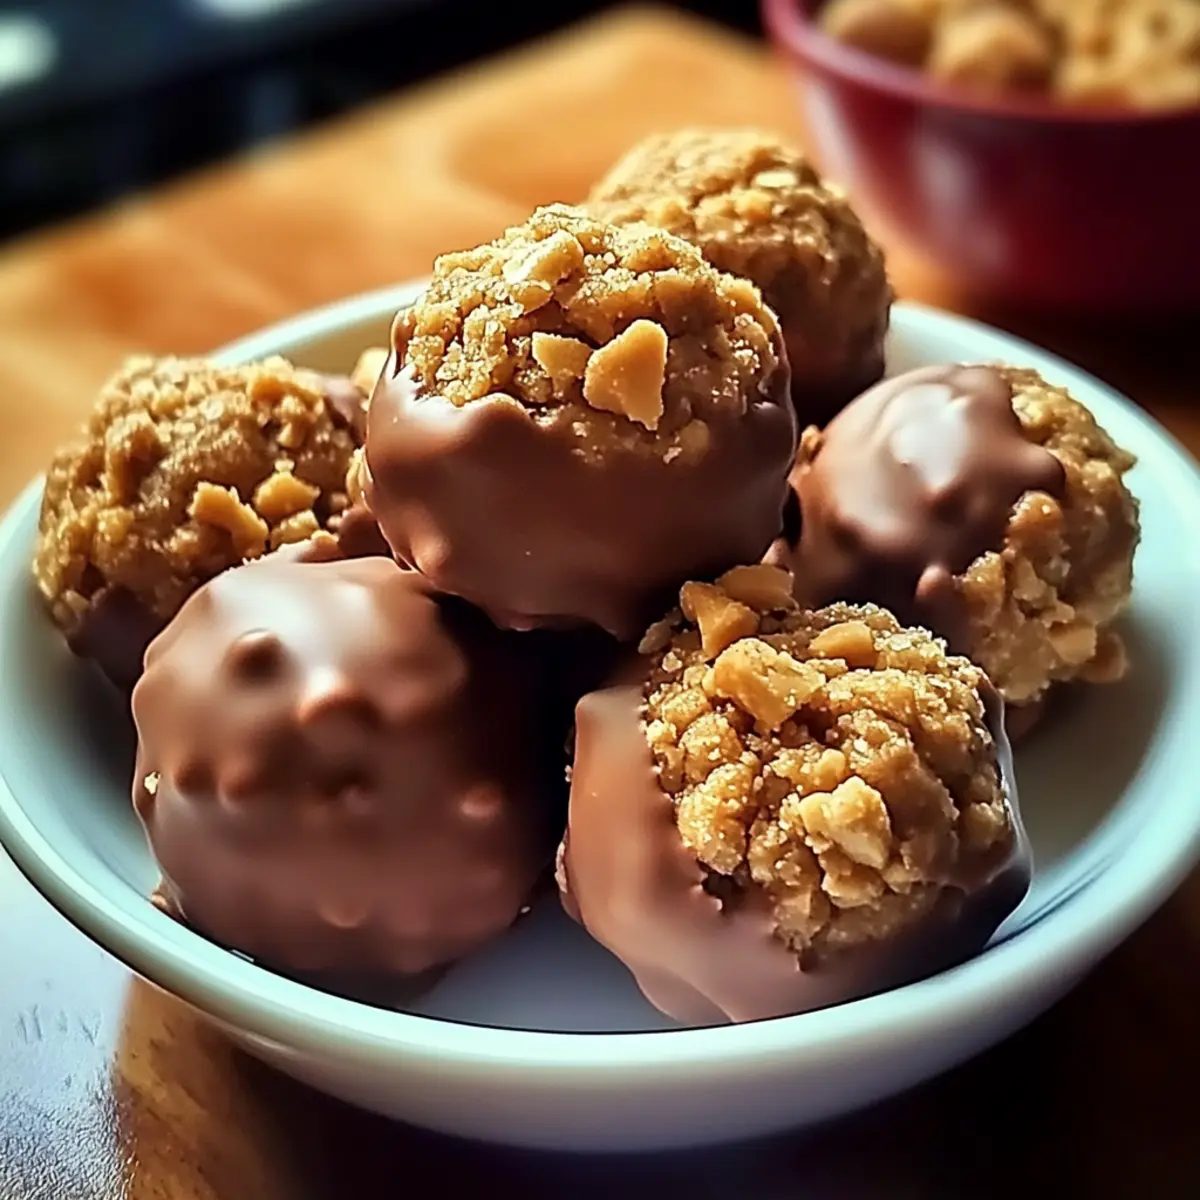
Once the balls are firm, use a fork to dip each one into the melted chocolate, covering thoroughly. Return the coated balls to the tray, and sprinkle with additional crushed Butterfinger bars for a delightful finishing touch. This not only adds extra flavor but also makes them visually appealing!
Step 9: Allow to Set
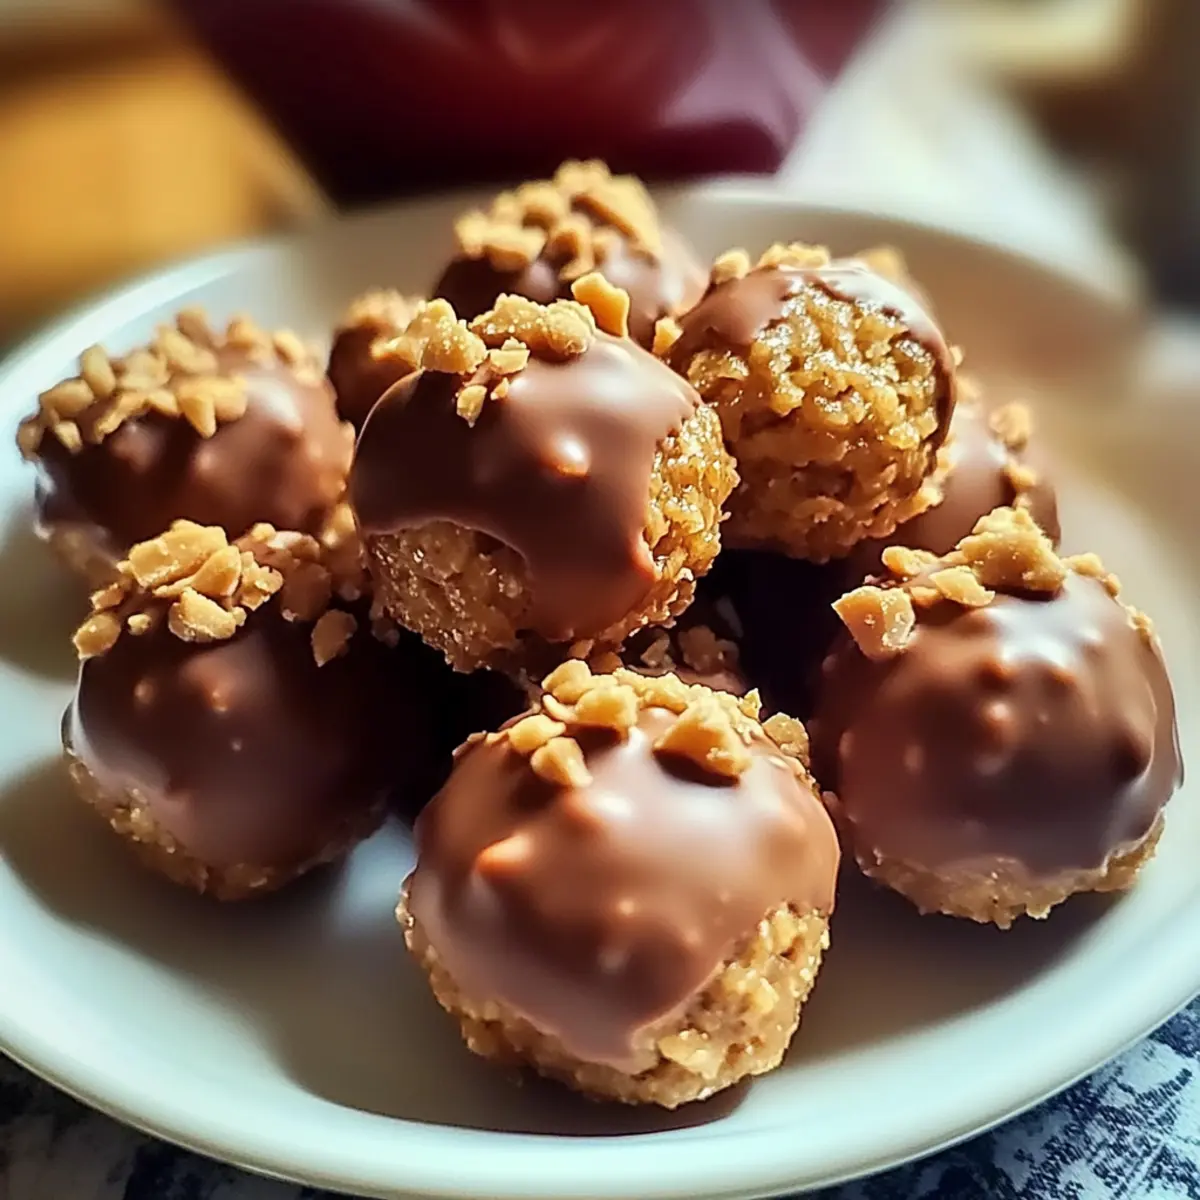
Let the chocolate-dipped Homemade Butterfinger Balls sit at room temperature or in the fridge until the chocolate sets completely. This process usually takes about 30 minutes. You’ll know they’re ready when the chocolate has a firm, glossy appearance—perfect for serving!
Homemade Butterfinger Balls Variations
Feel free to unleash your creativity with these delightful variations that cater to your taste buds and dietary needs!
-
Gluten-Free: Substitute graham cracker crumbs with gluten-free alternatives to ensure everyone can enjoy these treats without the worry. They will still bring the same delightful crunch!
-
Lower-Sugar: Swap powdered sugar for powdered erythritol to reduce the sweetness and lower the carbs without sacrificing taste. You’ll love the guilt-free indulgence!
-
High-Protein: Combine in some protein powder into the mixture for an extra boost. Just a scoop can transform these treats into a delightful post-workout snack.
-
Nutty Flavor: Add chopped nuts to the mixture for an additional crunch and nutty dimension. Pecans or almonds work beautifully alongside the flavors of peanut butter and chocolate.
-
Chocolate Variety: Change up the coating by using dark, milk, or even white chocolate. Each brings a unique flavor twist that makes every batch exciting and new.
-
Extra Crunch: Mix in mini chocolate chips or crushed pretzels for added texture. Sweet and salty combinations elevate the enjoyment of each bite—so addictively delicious!
-
Flavor Infusions: Introduce a hint of espresso powder or sea salt to the chocolate coating. These little touches create a gourmet feel that’s perfect for indulgent occasions.
-
Themed Variations: Consider incorporating seasonal flavors like pumpkin spice or peppermint for a festive twist. These creative variations will keep your gatherings festive and fun!
For more inspiration, why not try making some delicious Herb Chicken Meatballs as a savory complement or snack on homemade Chocolate Quinoa Crisps for a healthy treat? Enjoy exploring all these delightful twists on your Homemade Butterfinger Balls!
Make Ahead Options
Make your Homemade Butterfinger Balls even easier to enjoy by prepping them ahead of time! You can shape and freeze the balls up to 48 hours before dipping them in chocolate. Simply follow the recipe instructions until you’ve rolled the mixture into balls, and then place them on a lined cookie sheet. Freeze until they are firm, then transfer the balls to an airtight container, ensuring they maintain their texture and flavor. When you’re ready to serve, melt the chocolate and dip your chilled Butterfinger Balls, allowing them to set for about 30 minutes. This way, you’ll have a delicious treat ready with minimal fuss, perfect for busy weeknights or unexpected guests!
Storage Tips for Homemade Butterfinger Balls
Room Temperature: Store Homemade Butterfinger Balls in an airtight container for up to 2 days; keep them away from direct sunlight and heat.
Fridge: Refrigerate them in an airtight container with parchment layers for freshness and to prevent sticking, lasting up to 2 weeks.
Freezer: For longer storage, freeze the balls in a single layer on a baking sheet, then transfer to a zip-top bag. They can last up to 3 months.
Thawing: When ready to enjoy, thaw the frozen Homemade Butterfinger Balls overnight in the refrigerator for the best texture and flavor.
What to Serve with Homemade Butterfinger Balls?
Crafting the perfect dessert experience is an art, and these delightful homemade treats can shine even brighter with the right pairings.
-
Creamy Vanilla Ice Cream: A scoop of this classic complements the rich chocolate, offering a cool contrast to each bite. The creaminess wraps around the sweet flavors, creating a dreamy dessert duo.
-
Fresh Fruit Salad: Chunks of juicy strawberries, blueberries, and kiwi add freshness and a pop of color, balancing the sweetness of the Butterfinger Balls. This vibrant medley brings a refreshing crunch that enhances your palate.
-
Chocolate-Dipped Strawberries: Elevate the indulgence with more chocolate! The tangy sweetness of ripe strawberries harmonizes beautifully with the creamy filling of your Butterfinger Balls. It’s a perfect harmony of flavors!
-
Milkshake: Creamy, thick milkshakes, be it chocolate or vanilla, offer a nostalgic treat. The milk’s coolness pairs wonderfully with the sweet, crunchy candies for a satisfying combination.
-
Coffee or Espresso: The earthy notes of a good coffee provide a delightful contrast to the sweet flavors of the ganache-coated balls. Sipping on a warm cup as you enjoy a Butterfinger Ball is the perfect cozy moment.
-
Nutty Granola Bars: For a chewy texture and wholesome boost, serve these alongside your dessert. The nutty flavors compliment the rich chocolate and peanut butter, offering a crunchy delight with every bite.
-
Chocolate Chip Cookies: A classic favorite, these cookies bring warmth and nostalgia. Pairing a warm cookie with a chilled Butterfinger Ball creates an irresistible texture contrast that’s hard to resist!
These pairings will not only enhance the experience of your Homemade Butterfinger Balls but also inspire sweet moments around your table.
Expert Tips for Homemade Butterfinger Balls
-
Keep It Creamy: Use creamy peanut butter rather than all-natural varieties to prevent dry or gritty textures in your Homemade Butterfinger Balls.
-
Mix Gradually: Add powdered sugar slowly to ensure an even blend, preventing lumps and creating a perfectly crumbly mixture.
-
Chill Time Matters: Don’t skip the chilling step! Properly chilling the balls for 30 minutes ensures they hold their shape during the chocolate coating process.
-
Quality Chocolate: Opt for higher-quality chocolate chips or bark for the coating. It greatly enhances the flavor and appeal of your Butterfinger Balls.
-
Batch Dipping: Work in small batches when dipping in chocolate to avoid the chocolate becoming too thick and unmanageable. A fork can help keep things tidy!
Homemade Butterfinger Balls Recipe FAQs
What type of peanut butter should I use?
Absolutely! It’s best to use a creamy peanut butter rather than an all-natural variety, as the latter can make your mixture dry and gritty. Look for brands that offer a smooth consistency for the best results.
How long can I store Homemade Butterfinger Balls?
You can keep these delightful treats in an airtight container in the refrigerator for up to 2 weeks. Just be sure to separate layers with parchment paper to prevent sticking. If you wish to store them longer, they can be frozen for up to 3 months.
Can I freeze Homemade Butterfinger Balls?
Yes, indeed! To freeze, place the shaped balls on a lined baking sheet in a single layer and freeze for about 30 minutes until firm. Once they’re set, transfer them to a zip-top freezer bag. Just remember to thaw them overnight in the refrigerator before serving for the best texture!
What if my mixture is too dry or crumbly?
If your mixture feels excessively dry, try adding a little more peanut butter or softened butter (1 tablespoon at a time) while mixing gently to combine. Ensure you’re blending thoroughly for even texture, but avoid overmixing as that can lead to a tougher final product.
Are Homemade Butterfinger Balls suitable for pets?
No, these treats contain chocolate and sugar, which are unsafe for pets, especially dogs. Always keep your Homemade Butterfinger Balls stored away from any curious pets!
Can I customize the ingredients for dietary needs?
Very much so! You can easily swap out the graham cracker crumbs for gluten-free alternatives or use powdered erythritol instead of powdered sugar for a lower-sugar option. This recipe is wonderfully flexible to accommodate different dietary preferences while still delivering that satisfying flavor!
Homemade Butterfinger Balls – Irresistibly Sweet No-Bake Treats
Ingredients
Equipment
Method
- In a large mixing bowl, combine peanut butter and softened butter. Blend on medium speed for 2-3 minutes until creamy.
- Stir in vanilla extract until fully incorporated.
- Gradually add powdered sugar while mixing on low speed until the mixture thickens.
- Fold in graham cracker crumbs and crushed Butterfinger bars gently using a spatula.
- Scoop out about 1 to 1.5 tablespoons of the mixture and roll into balls; place on a lined cookie sheet.
- Chill the cookie sheet in the freezer for 30 minutes.
- Melt chocolate in a microwave-safe bowl at 50% power in 30-second intervals, stirring until smooth.
- Dip each ball into melted chocolate, completely covering them, then return to the tray and sprinkle with additional crushed Butterfinger bars.
- Let the chocolate-dipped balls set at room temperature or in the fridge until firm.
Leave a Reply