
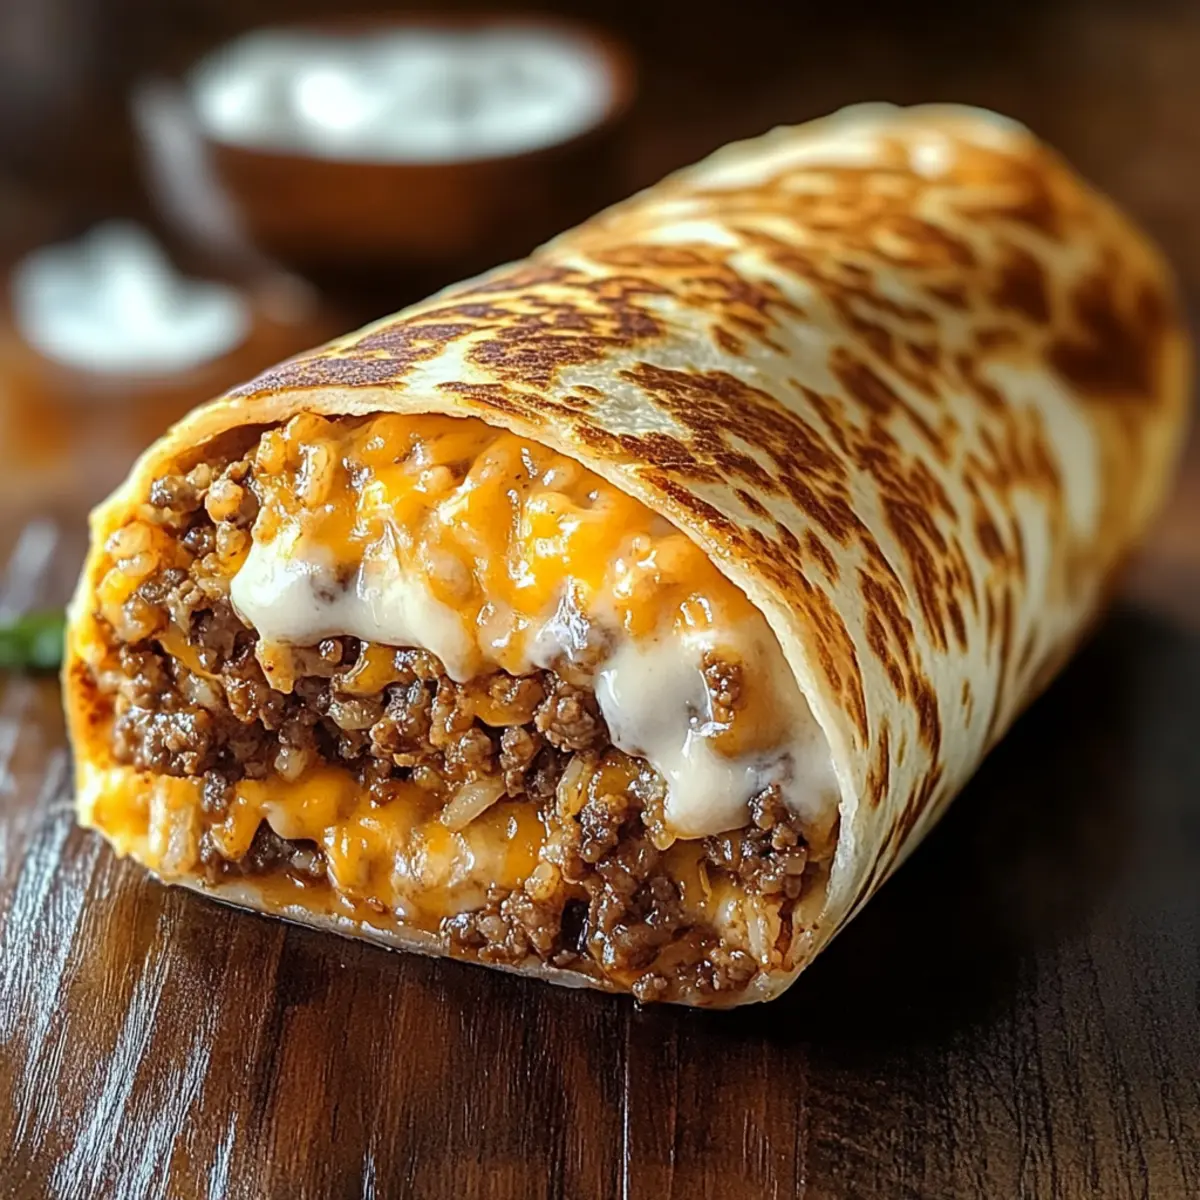
As I took my first bite of this Grilled Cheese Burrito, I was transported to my favorite fast-food joint—only this time, I was the chef. Inspired by Taco Bell’s beloved creation, this homemade version delivers all the cheesy, spicy goodness in under 30 minutes, making it a dream for busy weeknights. Whether you’re looking for a crowd-pleaser or a kid-approved meal, this burrito checks all the boxes. Plus, it’s easily customizable; go vegetarian with beans or swap in dairy-free cheese for a guilt-free indulgence. What tasty twists will you add to make this flavorful burrito your own?
Why is this Grilled Cheese Burrito a Must-Try?
Quick Preparation: This recipe is ready in just 30 minutes, making it ideal for busy weeknights or last-minute dinners.
Flavor Explosion: With layers of spicy beef and creamy nacho cheese, each bite is a delicious adventure that satisfies your fast-food cravings without leaving home!
Customizable Goodness: Whether you’re vegetarian or dairy-free, options are abundant—just swap ingredients to create your perfect burrito!
Kid-Approved: With its cheesy charm and fun texture, it’s a guaranteed hit with the whole family, perfect for picky eaters or anyone seeking comfort food.
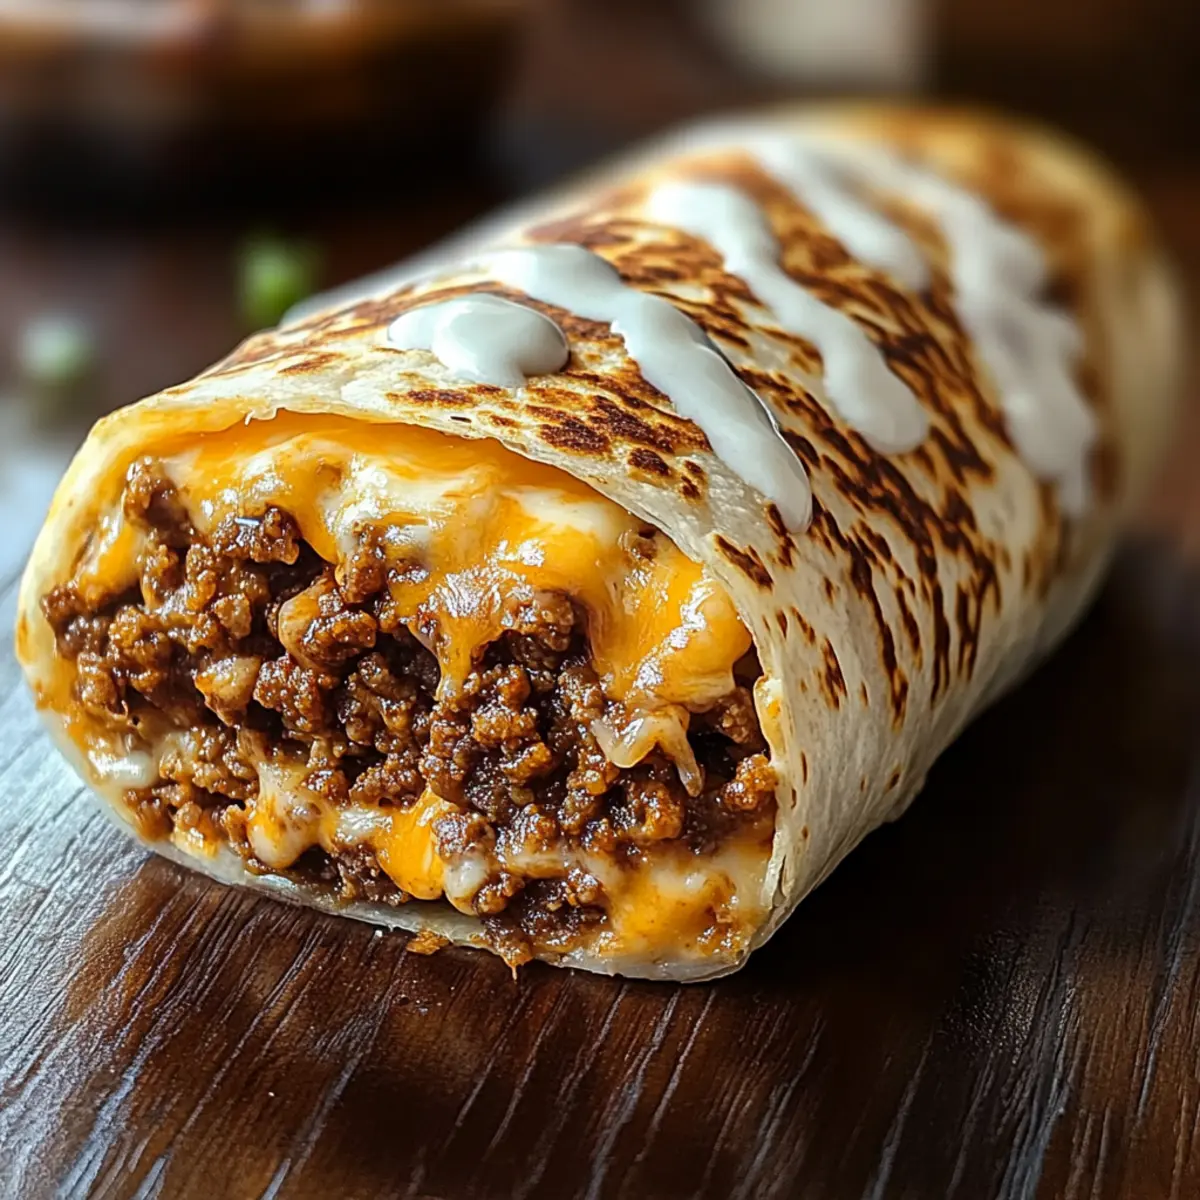
Crispy Finish: Achieve that golden-brown exterior while keeping the inside ooey-gooey, giving you the ideal balance of textures, just like your favorite Taco Bell treat!
Grilled Cheese Burrito Ingredients
For the Filling
• Ground Beef – The heart of the burrito; you can swap it for shredded chicken or beans for a vegetarian-friendly option.
• Taco Seasoning – Essential for adding that delicious, zesty flavor; feel free to use your favorite homemade blend!
• Cooked White Rice – Gives the burrito bulk and texture; switch it out for brown rice or cauliflower rice if you want something lighter.
• Sour Cream – Balances all the flavors with creaminess; substitute with Greek yogurt or a dairy-free alternative if needed.
• Nacho Cheese Sauce – Delivers that rich, cheesy flavor; melted cheese or vegan cheese sauce works as a great dairy-free option.
• Chipotle Sauce – Adds a delightful kick; adjust the amount for the heat level that suits your palate.
• Shredded Cheddar Cheese – Melts beautifully for flavor; you can use mozzarella or a Mexican cheese blend as a tasty alternative.
• Shredded Mozzarella Cheese – Provides a gooey texture that complements the cheddar; it’s optional but highly recommended!
For the Wrap
• Large Flour Tortillas – The wrapping star that holds everything together; consider whole wheat, corn, or gluten-free options for variety.
• Butter or Oil – For grilling to perfection; olive oil or cooking spray can be used as alternatives to keep it light.
This Grilled Cheese Burrito is a tasty delight that you can easily adjust to suit any dietary preferences or cravings!
Step‑by‑Step Instructions for Grilled Cheese Burrito
Step 1: Cook the Beef
In a large skillet over medium heat, add the ground beef and cook for 8–10 minutes, breaking it apart with a spatula until it’s browned and no longer pink. Drain any excess grease, then sprinkle the taco seasoning over the beef and pour in about ¼ cup of water. Stir it well and let it simmer for an additional 5 minutes until the mixture thickens slightly and is flavorful.
Step 2: Warm the Tortillas
While the beef is simmering, warm the large flour tortillas either on a skillet over low heat for about 1 minute per side or wrap them in a damp paper towel and microwave for 20-30 seconds. This softens them, making them easier to fold and preventing tears during assembly. Keep them covered to retain warmth while you prepare the burritos.
Step 3: Assemble the Burrito
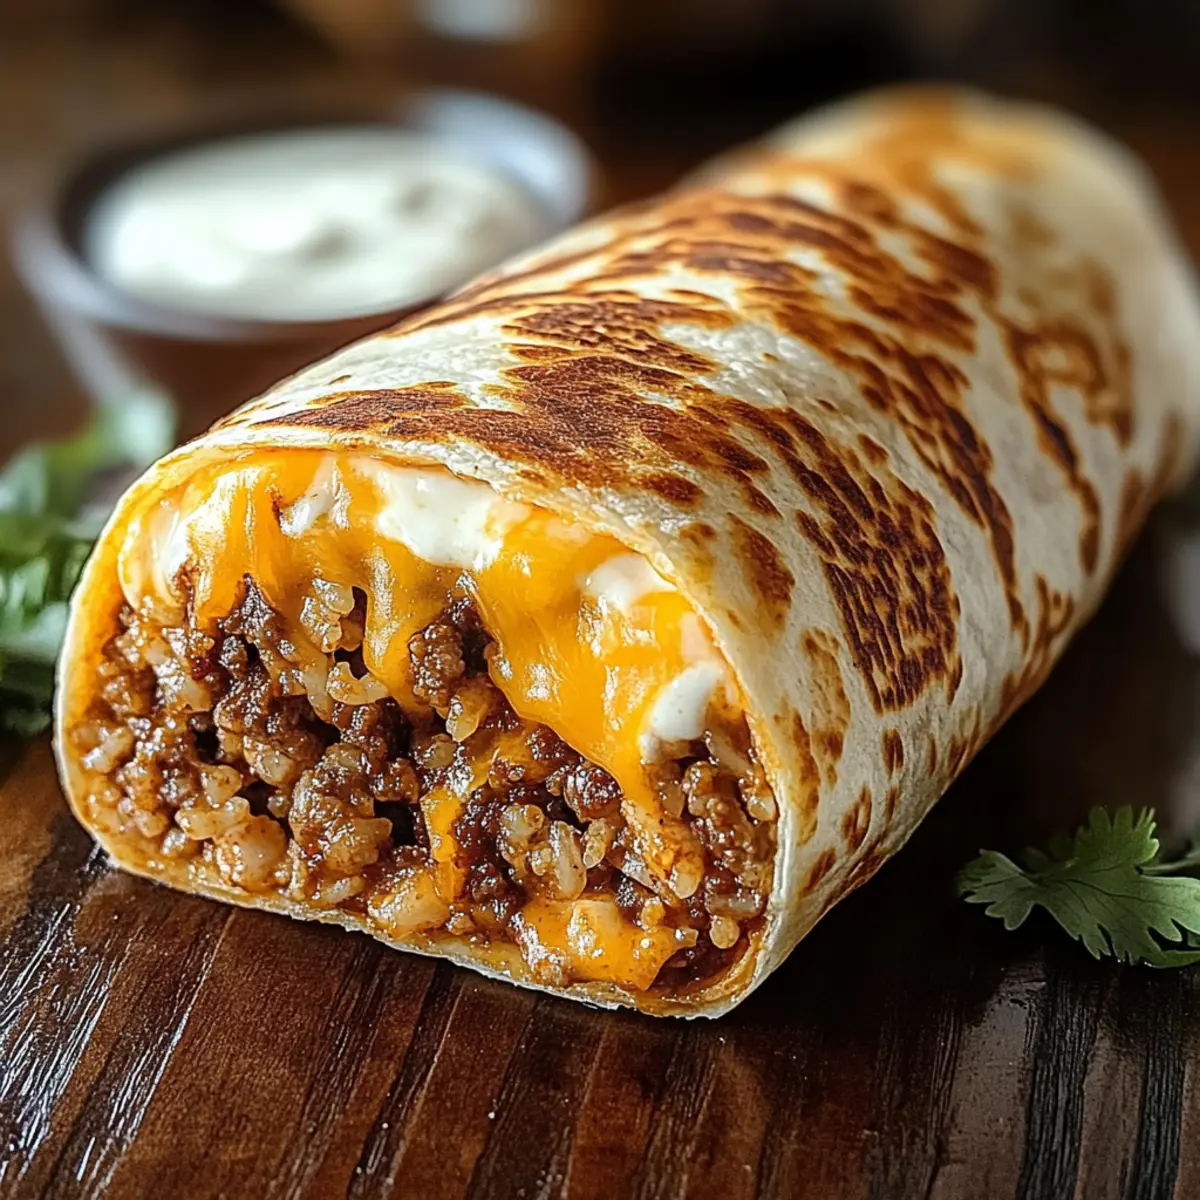
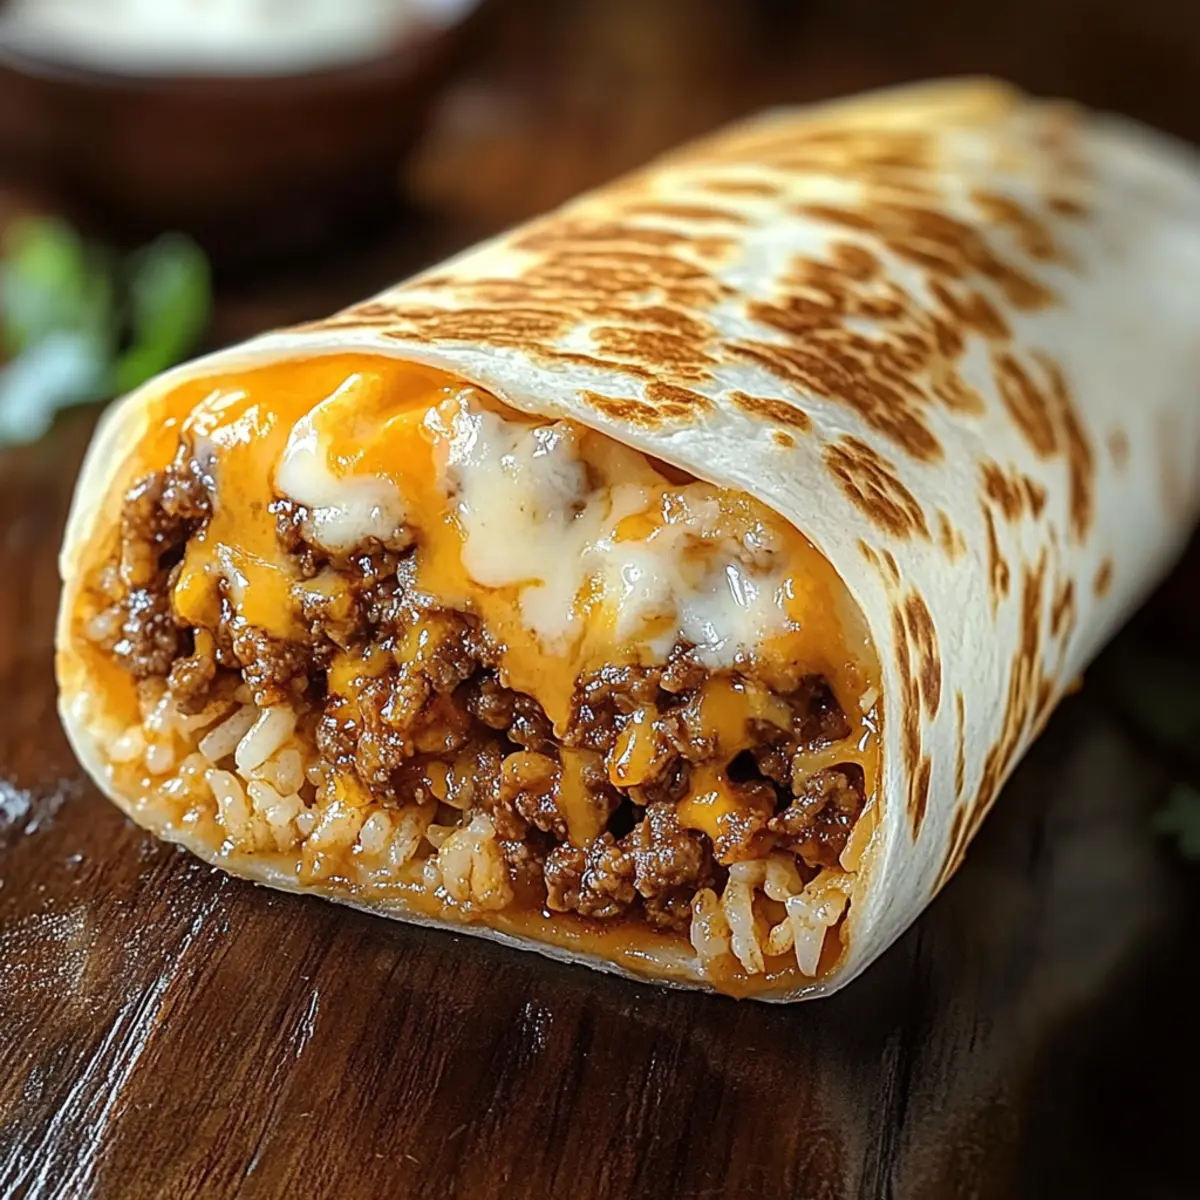
On each warm tortilla, scoop a generous layer of cooked rice, followed by a portion of the seasoned beef. Next, drizzle some creamy nacho cheese sauce, a dash of chipotle sauce for extra spice, and a spoonful of sour cream. Finally, sprinkle shredded cheddar and mozzarella cheese to complete your filling before folding the tortilla tightly around all those delicious ingredients.
Step 4: Grill the Burrito
Preheat a non-stick skillet over medium heat and add a touch of butter or oil. Carefully place the burrito seam-side down in the hot skillet and grill for 3-4 minutes until the bottom is golden brown and the cheese starts to melt. Gently press down on the burrito with a spatula for better adherence, then flip it over and grill the other side for another 3-4 minutes until crisp and filled with gooey goodness.
Step 5: Serve and Enjoy
Once both sides of the burrito are crispy and golden, remove them from the skillet and let them cool for a minute. Cut each burrito in half to reveal the luscious layers inside. Serve your Grilled Cheese Burrito with extra chipotle sauce or salsa on the side for dipping, making every bite a delightful celebration of flavors.
What to Serve with Grilled Cheese Burrito?
Elevate your mealtime experience with delightful sides that perfectly pair with this crowd-pleasing burrito.
-
Crispy French Fries: The golden, crunchy texture complements the burrito’s gooey interior, making every bite an indulgent treat.
-
Fresh Guacamole: Creamy and fresh, this avocado dip adds a zesty contrast that brightens up the flavors and balances the spices.
-
Zesty Mexican Street Corn: Charred corn topped with tangy crema and cheese brings a burst of freshness that harmonizes with each cheesy bite.
-
Chips and Salsa: The crunch of tortilla chips paired with a savory salsa offers a delightful textural contrast that enhances your dining experience.
-
Cool Cilantro Lime Rice: The refreshing flavors of lime and cilantro provide a delightful balance, lightening up the richness of the grilled cheese burrito.
-
Margaritas: A tangy margarita, perhaps with a hint of jalapeño, serves as a refreshing beverage, making your meal feel like a festive celebration.
Expert Tips for the Best Grilled Cheese Burrito
-
Warm Tortillas First: Warming the tortillas before assembly helps prevent tearing and makes them easier to fold. A must for your Grilled Cheese Burrito!
-
Customize the Heat: Adjust the amount of chipotle sauce based on your spice preference. Start with a little, and add more if you’re feeling adventurous!
-
Press While Grilling: Press down on the burrito while grilling to enhance cheese melting and create that perfect crispy exterior.
-
Avoid Overstuffing: It’s tempting to pile it high, but too much filling can make rolling difficult. Stick to a generous, but reasonable amount!
-
Freezing Tips: If you plan to freeze, wrap burritos individually in foil. They can be stored for up to 1 month and are perfect for quick meals later!
How to Store and Freeze Grilled Cheese Burrito
Fridge: Store leftover Grilled Cheese Burritos in an airtight container for up to 3 days. Reheat in a skillet for a crispy texture or use the microwave for convenience.
Freezer: Wrap individual burritos tightly in foil or freezer-safe bags, and they will last up to 1 month. For the best flavor, ensure they are well-sealed to avoid freezer burn.
Reheating: For a crispy finish, reheat frozen burritos in a skillet over medium heat until heated through and golden brown. Alternatively, microwave them on high for 2-3 minutes, flipping halfway.
Thawing: If frozen, it’s best to thaw overnight in the fridge before reheating, but you can also cook directly from frozen; just increase reheating time slightly.
Make Ahead Options
These Grilled Cheese Burritos are ideal for meal prep, allowing you to save time on busy weeknights! You can prepare the filling (ground beef, rice, and sauces) up to 24 hours in advance and store it in an airtight container in the refrigerator. For best results, warm the tortillas just before assembly to keep them pliable. When you’re ready to enjoy, simply assemble the burritos with your prepared filling and cheese, then grill them for about 3-4 minutes on each side until crispy. This way, you still end up with the same delicious flavors, making your midweek dinner just as satisfying without the hassle!
Grilled Cheese Burrito Variations
Get ready to put your personal spin on the Grilled Cheese Burrito with these tasty twists!
-
Vegetarian Delight: Swap ground beef for black beans or sautéed mushrooms. A hearty option that brings in earthy flavors.
-
Spicy Kick: Add sliced jalapeños or a sprinkle of cayenne pepper to spice things up. Feeling bold? Go for both!
-
Dairy-Free Delight: Use dairy-free cheese alternatives and coconut yogurt in place of sour cream for a completely dairy-free burrito.
-
Grain-Free: Try wrapping your burrito in large lettuce leaves or use cauliflower rice for a lighter, low-carb version. Crisp and refreshing!
-
Roasted Veggies: Toss in roasted bell peppers, corn, or zucchini for added texture and a taste of summer in every bite.
-
Extra Cheesy: Double down on cheese by adding a layer of cream cheese or a blend of various cheeses for that wow factor.
-
Flavor Boost: Incorporate fresh herbs like cilantro or green onions to brighten flavors. A squeeze of lime before serving adds zing!
-
Crunch Factor: For added texture, include crushed tortilla chips or a side of crispy nachos. Perfect for dipping in salsa!
Feel free to experiment with these ideas, and if you’re looking for more yummy inspirations, check out the Mini Grilled Cheese or the Breakfast Burrito High for additional flavor profiles in your meal prep.
Grilled Cheese Burrito Recipe FAQs
How do I choose the right ingredients for my Grilled Cheese Burrito?
Absolutely! When selecting ingredients, opt for ripe avocados for your burrito if you’re adding them. Look for ground beef that is 80% lean for the best flavor without too much grease. Fresh tortillas should be pliable; avoid any with dark spots or dryness. If you’re going for a vegetarian option, make sure your beans are properly cooked and seasoned to achieve the best taste.
How should I store leftover Grilled Cheese Burritos?
Very! To store leftovers, place them in an airtight container in the fridge where they’ll stay fresh for up to 3 days. When you’re ready to enjoy them again, reheat on a skillet over medium heat for a delightful crispy finish, or pop them in the microwave for quick convenience.
Can I freeze Grilled Cheese Burritos?
Absolutely! To freeze your burritos, first allow them to cool completely. Then, wrap each burrito tightly in foil or place them in freezer-safe bags. They’re good for up to 1 month! When you’re ready to eat, you can reheat from frozen by placing them in a skillet over medium heat or microwaving them for 2-3 minutes, flipping halfway through for even heating.
What should I do if my burrito isn’t crispy when grilled?
No worries! If your burrito isn’t getting crispy enough while grilling, here are a few tips: Make sure your skillet is preheated before adding the burrito. It’s also essential to use enough butter or oil to create a nice non-stick surface; if you need an extra crunch, grill it a little longer, pressing down gently for better adhesion. Just remember to flip it carefully to avoid spilling the filling!
Are there any dietary considerations for the Grilled Cheese Burrito?
Yes, indeed! For those with dietary restrictions, this burrito is wonderfully adaptable. To make it dairy-free, substitute sour cream and cheese with dairy-free alternatives. For gluten-free options, use corn or gluten-free tortillas. Always double-check ingredient labels to ensure they meet your dietary needs, especially for allergens, such as dairy or gluten.
Cheesy Grilled Cheese Burrito Recipe - Comfort Food Perfection
Ingredients
Equipment
Method
- In a large skillet over medium heat, add the ground beef and cook for 8–10 minutes until browned. Drain excess grease, then add taco seasoning and ¼ cup of water; simmer for 5 minutes until thickened.
- While the beef simmers, warm the tortillas in a skillet for 1 minute per side or microwave for 20-30 seconds, keeping them covered to retain warmth.
- On each warm tortilla, layer cooked rice, seasoned beef, nacho cheese sauce, chipotle sauce, sour cream, and shredded cheeses before folding tightly.
- Preheat a non-stick skillet over medium heat with butter or oil. Grill burritos seam-side down for 3-4 minutes until golden brown; flip and grill the other side for another 3-4 minutes.
- Remove burritos, let cool for a minute, and cut in half. Serve with extra chipotle sauce or salsa.
Leave a Reply