
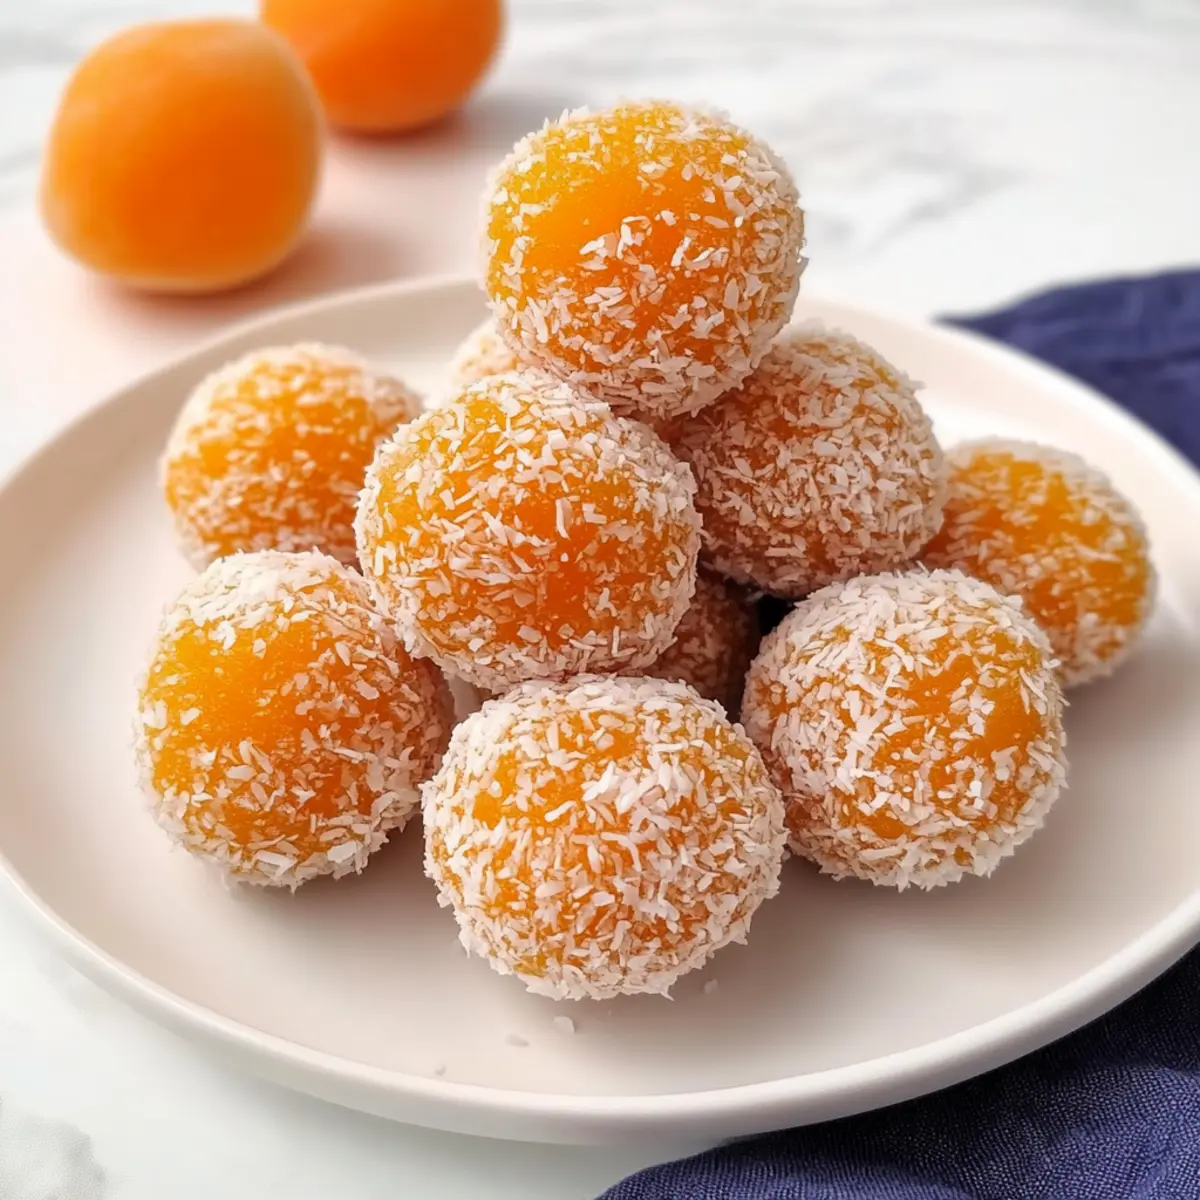
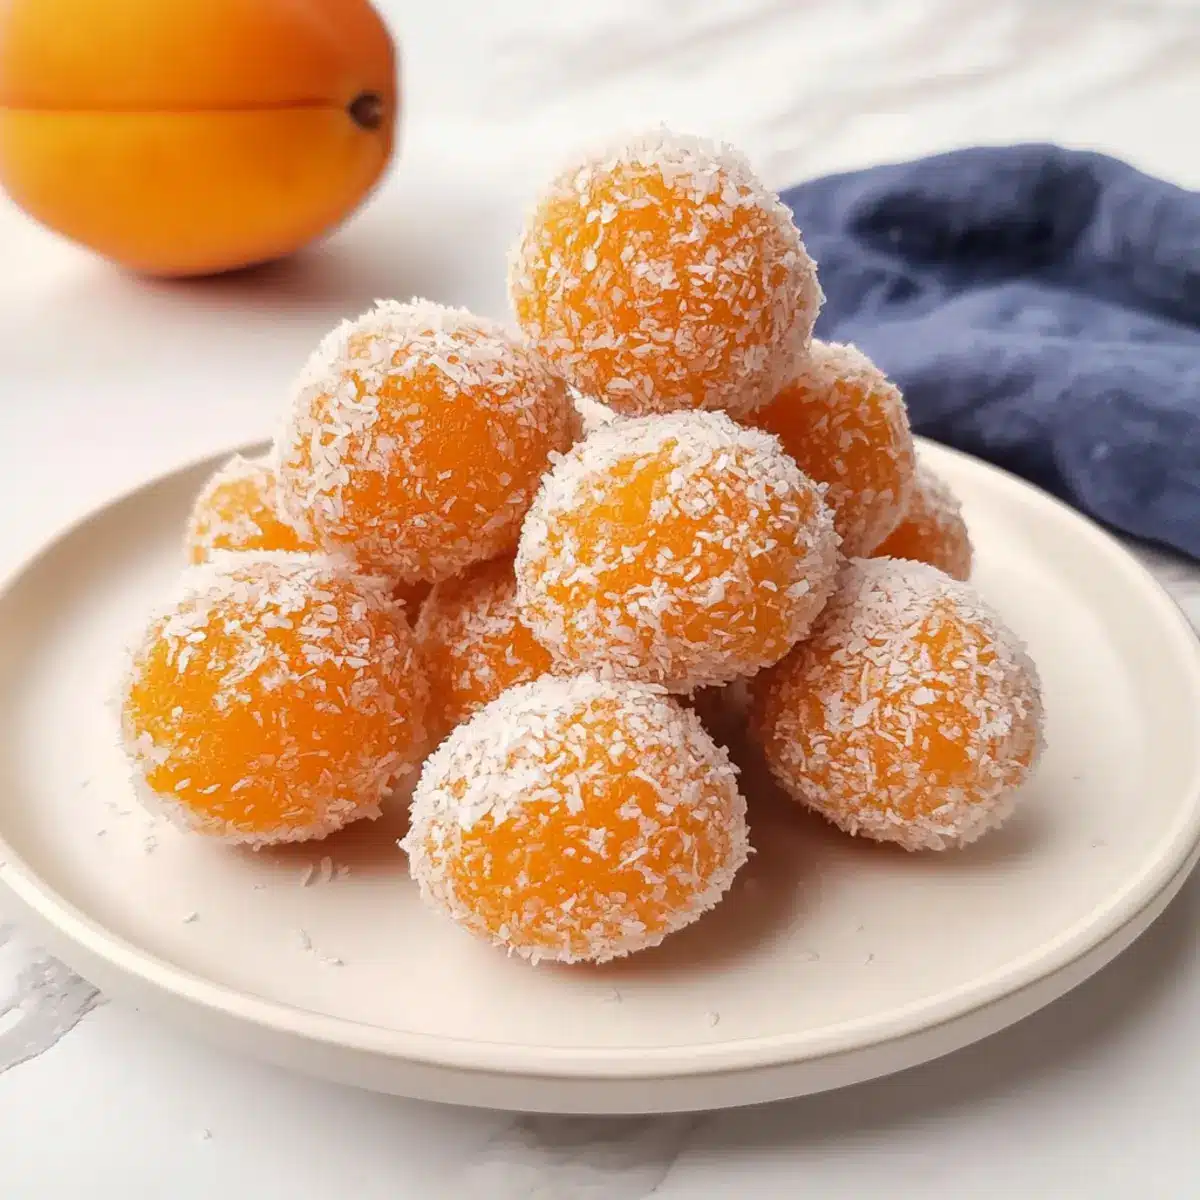
As I rummaged through my pantry, I stumbled upon a treasure trove of dried apricots, just waiting to be transformed into something delightful. That’s when I decided to whip up these Healthy Vegan Apricot Bliss Balls, a no-bake snack that marries the sweet-tart taste of apricots with the nutty richness of cashews and the tropical touch of coconut. Perfect for those of us tired of the monotonous fast-food routine, these bliss balls offer a quick, nutritious boost anytime you need it. With their simple ingredient list and customizable variations, they make an ideal pick-me-up for both kids and adults. Want to learn how to create these bite-sized delights in your kitchen? Let’s dive in!

Why Are Apricot Bliss Balls Perfect?
Nutritious and Delicious: These Apricot Bliss Balls are packed with wholesome ingredients, making them a guilt-free indulgence.
No-Bake Simplicity: With no complex steps or baking required, you can whip these up in no time, perfect for busy weeknights.
Customizable Options: Feeling adventurous? Switch out the cashews for almonds or add a touch of vanilla extract to elevate the flavor!
Crowd-Pleasing Snack: Whether for lunch boxes, road trips, or festive gatherings, these bites are sure to be a hit with both kids and adults.
Vegan and Gluten-Free: Enjoy them without worries; these bliss balls cater to various dietary preferences, making them suitable for everyone.
Apricot Bliss Balls Ingredients
For the Base
• Dried Apricots – The star of the show; choose seedless for a smooth blend.
• Cashews – Creamy and packed with healthy fats; swap for almonds or walnuts if desired.
• Desiccated Coconut – Adds texture and a hint of sweetness; shredded coconut works as a substitute.
For Binding and Flavoring
• Honey – A natural sweetener that holds the mixture together; use maple syrup for a vegan alternative.
• Cinnamon Powder – Enhances flavor; adjust the amount based on your taste preference.
• Vanilla Extract – A lovely addition for extra warmth and sweetness; optional but recommended.
Optional Toppings
• Sesame Seeds – For added flavor and nutritional benefits; ensure they are fresh to avoid bitterness.
• Extra Desiccated Coconut – To roll your bliss balls in for a decorative finish and extra texture.
With these simple ingredients, you can create delicious, nourishing Apricot Bliss Balls that will become a staple in your healthy snack rotation!
Step‑by‑Step Instructions for Apricot Bliss Balls
Step 1: Roast the Nuts
Begin by heating a skillet over medium-low heat. Add the cashews and toast them for about 2-3 minutes, stirring frequently until they become fragrant and lightly golden. Next, toss in the sesame seeds and continue roasting for an additional minute or until they puff slightly. Once done, remove the skillet from heat and allow the nuts to cool completely.
Step 2: Grind the Nuts
Once cooled, transfer the roasted cashews and sesame seeds into a food processor. Pulse them until they reach a fine, powdery consistency, resembling flour. Be careful not to over-process; you do not want to turn them into nut butter. This nutty powder will serve as the base for your delicious Apricot Bliss Balls.
Step 3: Prepare the Apricots
Take your dried apricots and roughly chop them into smaller pieces. This step is essential as it allows for easier blending in the next step. Aim for uniform pieces to ensure they mix well with the nuts. The chopped apricots will add a sweet-tart flavor that perfectly complements the nutty elements of your bliss balls.
Step 4: Blend the Mixture
In the same food processor, combine the chopped apricots with the nut powder and desiccated coconut. Blend the mixture until the apricots have softened and are well incorporated into the other ingredients. You want the mixture to come together without being overly smooth; a slightly chunky texture adds character to your Apricot Bliss Balls.
Step 5: Incorporate Sweeteners and Spices
Transfer the blended mixture into a mixing bowl. Drizzle in the honey (or maple syrup for a vegan version) and sprinkle in the cinnamon powder and vanilla extract. Use a spatula to mix everything until sticky and well combined, resembling a dough-like texture. Taste and adjust the sweetness to your preference as you create these delightful bliss balls.
Step 6: Shape and Roll
With clean hands, take small scoops of the mixture and roll them into bite-sized balls, about 1 inch in diameter. Once shaped, you can also roll these bliss balls in additional desiccated coconut or sesame seeds for extra texture and flavor. Repeat this process until you have formed approximately 10-12 Apricot Bliss Balls, perfect for snacking.
Step 7: Store Properly
To ensure freshness, place your bliss balls in an airtight container. You can chill them in the refrigerator for up to a month or freeze them for longer storage. Whenever you’re in need of a nutritious pick-me-up, simply grab a bliss ball and enjoy the delightful combination of flavors and health benefits they offer!
Make Ahead Options
These Apricot Bliss Balls are perfect for meal prep, making your busy weeknights a breeze! You can prepare the mixture up to 24 hours in advance by roasting the nuts and blending all ingredients until sticky. Simply shape them into balls and refrigerate in an airtight container. When you’re ready to serve, just roll them in extra desiccated coconut for that finishing touch. For even longer storage, these bliss balls can be frozen for up to 3 months; just pop them in the fridge to thaw overnight before enjoying. This approach not only saves time but ensures you always have a nutritious snack on hand, just as delicious as when freshly made!
What to Serve with Healthy Vegan Apricot Bliss Balls?
There’s something magical about creating a full, wholesome meal that showcases your love for flavor and nutritious eating.
-
Fresh Fruit Salad: Bright, juicy fruits balance the sweet-tart flavor of the bliss balls, providing a refreshing contrast. A medley of berries and citrus can brighten your day!
-
Nutty Granola: Crunchy granola adds texture and a healthy crunch, perfect for sprinkling over yogurt. Pairing this mix with creamy Greek yogurt creates a delightful breakfast or snack combo.
-
Coconut Yogurt: The creamy, dairy-free option complements the coconut in the bliss balls beautifully. Top with some pumpkin seeds for added texture and nutrients!
-
Herbal Tea: A warm cup of herbal tea, like chamomile or peppermint, invites a soothing moment to savor your snacks. Sip slowly and let the calming aroma enhance your experience.
-
Veggie Sticks: Crisp and crunchy veggie sticks, such as carrots and celery, offer a wonderful contrast in texture. Dip into hummus for an irresistible snack pairing that’s both satisfying and nutritious.
-
Dark Chocolate: For those with a sweet tooth, a piece of dark chocolate can enhance the flavors of the apricot balls, creating a delightful moment of indulgence without guilt.
-
Chia Seed Pudding: A light and nutritious dessert, layered with fruits, pairs perfectly with the bliss balls for an added boost of fiber. The creamy texture is sure to delight your taste buds!
-
Sparkling Water: A refreshing drink option, sparkling water infused with lemon or mint cleanses the palate, keeping you refreshed and invigorated.
-
Cheese Platter: For a twist, add a slice of softer cheese, like Brie, for a luxurious combination of flavors alongside your bliss balls. The creaminess of the cheese beautifully complements the fruity notes.
-
Trail Mix: Go for a handful of trail mix with nuts, seeds, and dried fruits to add a crunchy contrast and extra energy. It’s the perfect companion for a quick snack on the go!
How to Store and Freeze Apricot Bliss Balls
Fridge: Keep your Apricot Bliss Balls in an airtight container in the refrigerator for up to 1 month. This will help maintain their freshness and chewy texture.
Freezer: For longer storage, freeze the bliss balls for up to 3 months. Place them in a single layer on a baking sheet until solid, then transfer to an airtight container or freezer bag.
Thawing: When you’re ready to enjoy, just take out the desired number of bliss balls and let them thaw in the fridge for a couple of hours. They taste great chilled!
Reheating: Enjoy these bliss balls as is; no reheating needed! Their delicious flavor and texture are perfect straight from the fridge or after a brief thaw.
Apricot Bliss Balls Variations & Substitutions
Feel free to unleash your creativity! These delightful bites are as flexible as your taste buds desire, ensuring every batch is a little different.
-
Nut-Free: Swap cashews for sunflower seeds or pumpkin seeds to make a perfect nut-free alternative. These seeds provide a pleasing crunch without sacrificing nutrition.
-
Dried Fruit Twist: Add some finely chopped dates or figs to the apricot blend for an extra layer of sweetness and a unique flavor profile. Dates, in particular, yield a rich caramel-like taste.
-
Flavor Boost: Elevate the flavor by mixing in a tablespoon of almond butter or peanut butter. This will add a delightful creaminess that contrasts beautifully with the chewy texture.
-
Raw Cocoa Delight: Incorporate 1-2 tablespoons of raw cocoa powder for a chocolatey twist that pairs wonderfully with the apricots. It’s an indulgent way to satisfy chocolate cravings while still keeping it healthy.
-
Spice It Up: Explore various spices! A pinch of nutmeg or even a dash of cayenne pepper can add an exciting kick to the flavor profile. Get adventurous to awaken your senses!
-
Coconut Substitution: If desiccated coconut isn’t your thing, you can replace it with finely ground oats for a different texture. This makes the bliss balls a bit heartier, perfect for a filling snack.
-
Maple Syrup Option: Use agave syrup instead of honey to keep the recipe fully vegan. This simple swap makes these bliss balls accessible to everyone, all while maintaining the sweetness.
-
Nut Variations: Substitute cashews with pecans or hazelnuts to experiment with different nutty flavors. Each nut brings its unique essence, adding depth to your bliss balls.
As you create these Apricot Bliss Balls, think of pairing them with a refreshing drink or a sweet treat such as Chewy French Toast for a truly delightful moment!
Expert Tips for Apricot Bliss Balls
-
Check for Freshness: Ensure your dried apricots are fresh and soft. Old or hard apricots can lead to a tough texture in your bliss balls.
-
Nut Options: Feel free to experiment with different nuts! Substituting cashews for almonds or walnuts can give your Apricot Bliss Balls unique flavors and textures.
-
Avoid Over-Processing: When grinding the nuts, stop once they reach a flour-like consistency. Over-processing can turn them into nut butter, affecting the final texture.
-
Taste as You Go: When adding sweeteners like honey or maple syrup, adjust to your liking. A little taste test goes a long way in perfecting these bites!
-
Roll Firmly: To keep the balls from falling apart, roll them tightly during shaping. This helps maintain their structure during storage.
-
Storage Tips: Keep your bliss balls in an airtight container in the fridge for up to a month, or freeze them for longer-lasting treats.

Apricot Bliss Balls Recipe FAQs
How do I select the best dried apricots for this recipe?
Absolutely! Look for soft, bright-orange dried apricots without dark spots or excessive dryness, which indicates freshness. Seedless apricots are best for smooth blending and consistent sweetness. If you find any that are sticky, that’s a good sign they haven’t dried out completely.
What’s the best way to store Apricot Bliss Balls?
You can store your Apricot Bliss Balls in an airtight container in the fridge for up to 1 month. This keeps them fresh and chewy. For longer storage, try freezing them! Place them in a single layer on a baking sheet to freeze solid, then transfer them to a freezer bag or container; they’ll stay tasty for up to 3 months.
Can I freeze Apricot Bliss Balls?
Yes, definitely! To freeze your bliss balls, first, place them on a baking sheet lined with parchment paper in a single layer, ensuring they’re not touching each other. Freeze them until solid, which takes about 2-3 hours. Then, transfer them to a zip-top bag or airtight container. Just remember to label it with the date for future reference!
What should I do if my mixture is too dry or crumbly?
If your Apricot Bliss Balls mixture seems crumbly and won’t hold together, try adding a bit more honey or maple syrup, about a teaspoon at a time, and process again. You can also add a tablespoon of coconut oil or a splash of water to help moisten the mixture. Blend well until it reaches a sticky, dough-like consistency that’s easy to roll.
Are there any dietary concerns I should be aware of with Apricot Bliss Balls?
While Apricot Bliss Balls are naturally gluten-free and vegan, always check on allergies, particularly nut allergies, if you’re offering them to others. You can easily make nut-free versions by substituting nuts with seeds, such as sunflower or pumpkin seeds, making this a versatile snack suitable for everyone!
Delicious Apricot Bliss Balls – Your Healthy Snack Fix
Ingredients
Equipment
Method
- Begin by heating a skillet over medium-low heat. Add the cashews and toast them for about 2-3 minutes, stirring frequently until they become fragrant and lightly golden. Toss in the sesame seeds and continue roasting for an additional minute until they puff slightly. Remove from heat and allow to cool.
- Once cooled, transfer the roasted cashews and sesame seeds into a food processor. Pulse them until they reach a fine, powdery consistency. Be careful not to over-process.
- Take your dried apricots and roughly chop them into smaller pieces for easier blending. Aim for uniform pieces.
- In the same food processor, combine the chopped apricots with the nut powder and desiccated coconut. Blend until well mixed, adding a slightly chunky texture.
- Transfer the mixture into a mixing bowl. Drizzle in honey/maple syrup and sprinkle in cinnamon powder and vanilla extract. Mix until sticky and well combined.
- With clean hands, take small scoops of the mixture and roll into bite-sized balls, about 1 inch in diameter. Optionally roll in coconut or sesame seeds.
- Place your bliss balls in an airtight container. Chill in the refrigerator for up to a month or freeze for longer storage.
Leave a Reply