
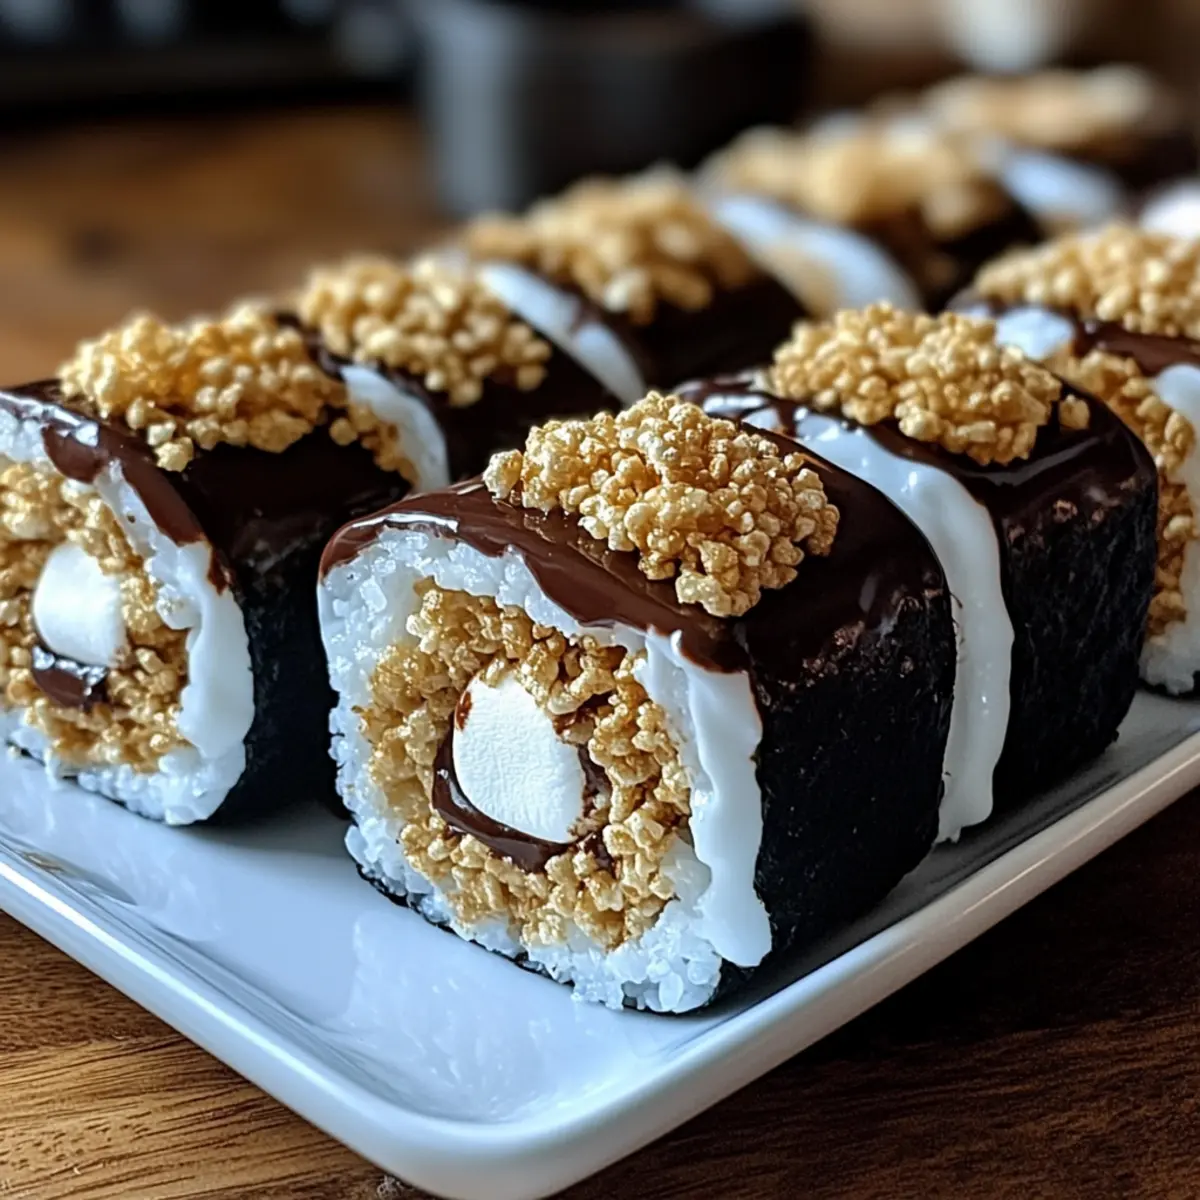
As I was rummaging through my pantry, I stumbled upon a treasure trove of sweet goodies just begging to be transformed into something magical. That’s when the idea of S’mores Sushi hit me—a whimsical, no-bake dessert that combines the fond memories of campfire treats with a playful sushi twist. With layers of gooey marshmallow fluff, crunchy Rice Krispies, and rich chocolate, this delightful creation promises to be a hit at any gathering. It’s not just a treat for the palate; it’s also a breeze to whip up, making it the perfect project for eager little hands or a fun evening with friends. So, are you ready to roll up some fun and create a dessert that’s sure to spark joy? Let’s dive into this sweet adventure!
Why Is S’mores Sushi So Irresistible?
Sweet, Nostalgic Twist: S’mores Sushi takes the beloved campfire classic and elevates it into a fun, no-bake dessert that delights all ages!
Customizable Treat: With endless filling options—think peanut butter or caramel—you can tailor this recipe to your taste.
Quick and Easy: No need for an oven; whip this up in just 30 minutes, making it perfect for last-minute gatherings or weekend fun.
Kid-Friendly Fun: This recipe encourages creativity in the kitchen, providing a great opportunity for kids to help roll and decorate their sushi creations.
Crowd-Pleasing Delight: Serve this at parties, and watch it disappear—everyone loves the chewy, crunchy, and chocolatey combination! If you enjoy creative desserts, don’t forget to check out more no-bake recipes!
S’mores Sushi Ingredients
For the Base
- Butter – Provides richness and binds the mixture. Substitution: Vegan butter for a dairy-free option.
- Mini Marshmallows – The primary sweetener contributing to the gooey texture. Substitution: Fluffier marshmallows may be used if larger ones are available.
- Rice Krispies Cereal – Adds crunch and structure to the sushi base. Substitution: Other puffed cereals could work for similar texture.
For the Filling
- Marshmallow Fluff – Acts as a creamy, sweet layer in the center. Substitution: Can use extra melted marshmallows in a pinch.
- Chocolate Chips (or Nutella) – Provides rich chocolate flavor as the filling. Substitution: Peanut butter or caramel for a unique twist.
For the Topping
- Crushed Graham Crackers – Adds a classic s’mores flavor and a bit of crunch. Note: Use store-bought or homemade for a freshness kick.
Step‑by‑Step Instructions for S’mores Sushi
Step 1: Prepare Rice Krispies Base
In a medium saucepan, melt 3 tablespoons of butter over medium heat. Once fully melted, add 4 cups of mini marshmallows, stirring constantly until the mixture becomes smooth and completely melted, about 5 minutes. Remove from heat and fold in 6 cups of Rice Krispies cereal, ensuring every piece is well-coated. Allow the mixture to cool slightly until it’s warm to the touch but pliable.
Step 2: Construct the Sushi Roll
Lay a large sheet of parchment paper on a clean surface. Using wet hands or a spatula, evenly spread the Rice Krispies mixture into a rectangle about 12×8 inches. Gently drizzle 1 cup of marshmallow fluff down the center, and sprinkle 1 cup of crushed graham crackers on top. Finally, drizzle a generous amount of chocolate or Nutella over this layer to create a sweet filling.
Step 3: Roll and Slice
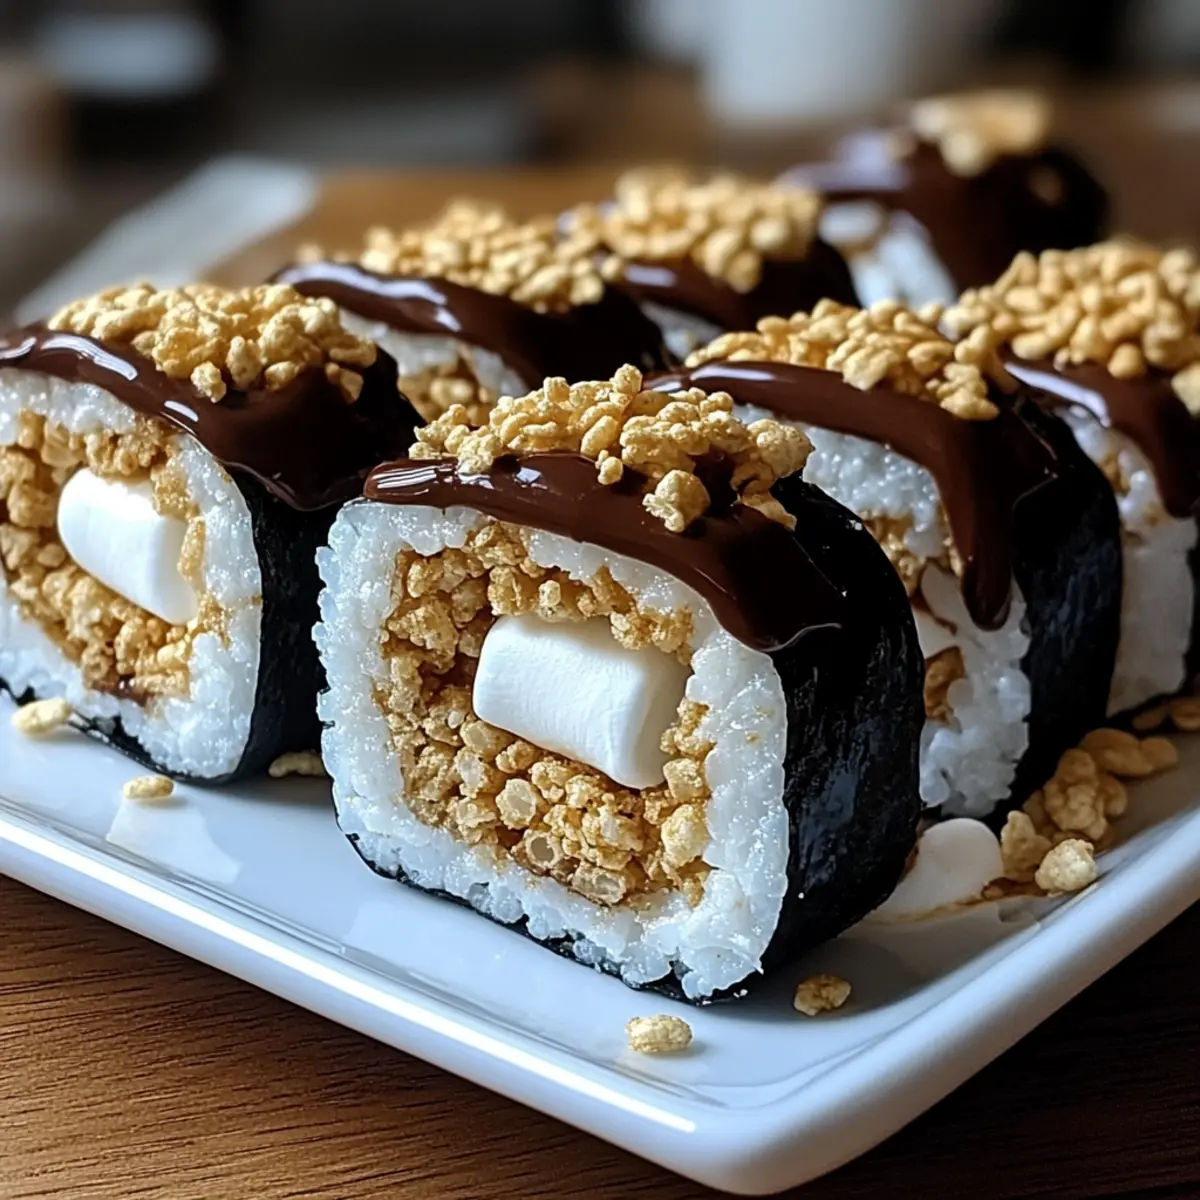
Use the parchment paper to lift one edge of the Rice Krispies mixture, rolling it away from you to form a tight log, similar to sushi. Make sure to roll carefully to keep the filling intact, using the parchment to guide the roll. Once rolled, use a sharp knife to slice the sushi into bite-sized pieces, approximately 1 inch thick, for perfect sharing sizes.
Step 4: Serve and Enjoy
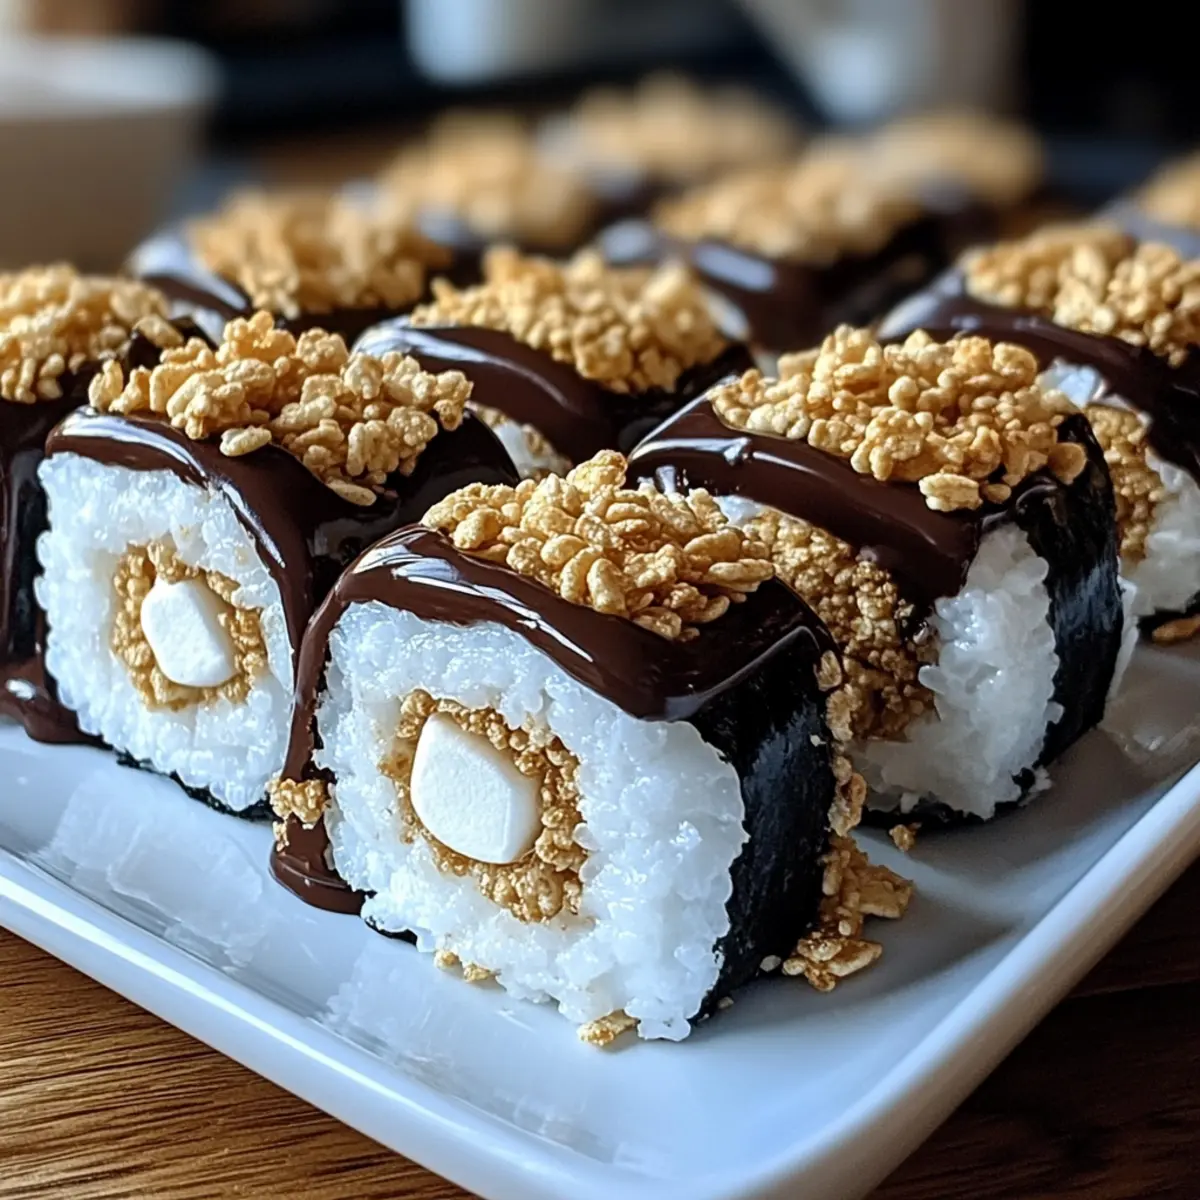
Arrange the sliced S’mores Sushi pieces on a colorful serving plate or a wooden board for a delightful display. This fun no-bake dessert can be served immediately or kept in an airtight container for up to three days. Your S’mores Sushi is now ready to bring smiles and sweet memories to all who indulge!

S’mores Sushi Variations & Substitutions
Feel free to get creative with your S’mores Sushi and make it uniquely yours with these delightful twists!
-
Dairy-Free: Use coconut oil and vegan marshmallows for a delicious plant-based version without sacrificing flavor.
-
Nutty Flavor: Swap Nutella with creamy peanut butter for a nutty twist that adds depth to your dessert. It’s a delightful change that fans of nut butter will love!
-
Crunchy Texture: Add crushed pretzels or nuts into the filling for an unexpected crunch that elevates the overall texture of the sushi. Imagine that satisfying crunch with each bite!
-
Fruit Fusion: Include dried fruits like cranberries or cherries in the filling for a burst of fruity sweetness. It’s a refreshing addition that complements the rich chocolate beautifully.
-
Spicy Kick: For those who like a little heat, sprinkle in a pinch of cayenne pepper with the chocolate for a surprising spicy twist that will tantalize your taste buds.
-
Layered Decadence: Drizzle caramel sauce over the fluff before rolling for a sweet, gooey surprise inside every bite. This adds an extra layer of indulgence that’s irresistible!
-
Tropical Delight: Throw in some shredded coconut with the toppings for a tropical flair that transports you to a beachy paradise with every bite.
-
Sprinkle Magic: Top your sushi with colorful sprinkles for a festive look that’s perfect for birthdays or celebrations. It’s a visual treat that’s sure to delight kids and adults alike!
Remember, the beauty of S’mores Sushi lies in its versatility, so don’t hesitate to mix and match! If you want more sweet ideas, check out our collection of no-bake recipes for inspiration.
Make Ahead Options
These S’mores Sushi are perfect for busy home cooks looking to save time without sacrificing flavor! You can prepare the Rice Krispies mixture up to 24 hours in advance—simply melt the butter and mini marshmallows, mix with the Rice Krispies, and allow it to cool. Store the mixture tightly wrapped in plastic wrap to maintain its fresh texture. Additionally, you can make the filling (marshmallow fluff, chocolate, and crushed graham crackers) in advance and keep it in the refrigerator for up to 3 days. When ready to serve, roll the mixture with the prepared filling, slice it into pieces, and enjoy a delicious, no-bake dessert that promises smiles all around!
Expert Tips for Perfect S’mores Sushi
- Cool Before Rolling: Allow the Rice Krispies mixture to cool properly before rolling to prevent it from becoming too sticky and difficult to handle.
- Fresh Ingredients: Use fresh mini marshmallows for optimal melting and a smoother texture in your S’mores Sushi.
- Experiment with Fillings: Don’t hesitate to try variations like peanut butter or caramel; these can add a delightful twist to your classic dessert.
- Use Parchment Paper: Roll the sushi with the help of parchment paper to keep everything intact and make slicing easier.
- Store Properly: If you have leftovers, store them in an airtight container to maintain freshness for up to three days, if they last that long!
What to Serve with S’mores Sushi?
Elevate your dessert experience by pairing delicious sides that enhance the playful sweetness of S’mores Sushi.
- Fresh Berries: Sweet and juicy, berries provide a refreshing contrast to the rich chocolate and marshmallow flavors.
- Vanilla Ice Cream: Creamy and cool, this classic treat complements the sweet crunchiness beautifully, adding an indulgent touch.
- Chocolate Dipped Bananas: A playful twist that brings an extra layer of sweetness and fruity flavor to your dessert table.
- Peanut Butter Dip: Rich and nutty, this creamy dip adds a wonderful contrast that pairs perfectly with crunchy and chewy textures.
- Whipped Cream: Light and airy, whipped cream offers a smooth, fluffy accompaniment that enhances every bite of your sushi.
- Sparkling Lemonade: A zesty, fizzy drink that cuts through the sweetness, making it a delightful refreshment alongside your creations.
- Miniature Fruit Skewers: Colorful and fun, these can add a lightness and freshness that balances the dessert’s rich flavors. They are easy to pick and munch on!
- Chocolate-Covered Pretzels: Salty and sweet, these crunchy treats provide an irresistible contrast to your sweet sushi, making for a sensational snack combo.
How to Store and Freeze S’mores Sushi
Fridge: Keep your S’mores Sushi in an airtight container for up to 3 days to maintain its freshness and delightful texture.
Freezer: If you’d like to keep them longer, you can freeze S’mores Sushi for up to 1 month. Wrap each piece tightly in plastic wrap and then in aluminum foil for optimal protection.
Reheating: For the best experience, enjoy them straight from the fridge or thaw in the refrigerator before serving. Avoid microwaving, as it may affect the texture.
Make-Ahead Tips: Prepare the base in advance, and roll the sushi just before serving for the freshest taste.
S’mores Sushi Recipe FAQs
How do I choose the right mini marshmallows for S’mores Sushi?
Absolutely! Look for fresh mini marshmallows that are soft and squishy with no dark spots. Fresh ones melt more smoothly, yielding that delightful gooey texture. If you can only find larger marshmallows, you can cut them into smaller pieces for a fluffier alternative in your recipe.
What’s the best way to store leftover S’mores Sushi?
Very simple! Place your S’mores Sushi pieces in an airtight container. They can be kept in the fridge for up to 3 days. Just ensure they are tightly sealed to prevent them from drying out or absorbing odors from other foods.
Can I freeze S’mores Sushi, and if so, how?
Yes, you can freeze S’mores Sushi! To do this, wrap each piece tightly in plastic wrap followed by aluminum foil for extra protection. They will stay fresh in the freezer for up to 1 month. When you’re ready to enjoy, simply thaw them in the fridge overnight for the best texture.
What if my Rice Krispies mixture is too sticky to roll?
Don’t worry; this can happen! If your mixture is overly sticky, allow it to cool for a few more minutes. You can even lightly dust your hands or the surface with powdered sugar to help manage the stickiness while rolling. Just remember, the mixture should be warm enough to mold but not hot, which will make handling easier.
Are there any dietary considerations for S’mores Sushi?
Great question! If you or your guests have dietary restrictions, consider using vegan butter and dairy-free chocolate to make a delicious, allergen-friendly version. Also, keep in mind that mini marshmallows may contain gelatin, which is not suitable for vegetarians or vegans. Look for plant-based marshmallows as a tasty alternative.
How can I customize my S’mores Sushi?
The more the merrier! You can have fun with various fillings and toppings. Try swapping the chocolate for peanut butter or caramel, adding dried fruits or nuts for extra flavor, or sprinkling colorful sprinkles on top before slicing. These personal touches can transform this fun dessert into your own unique creation!
S’mores Sushi: Dive into This Fun No-Bake Dessert Adventure
Ingredients
Equipment
Method
- In a medium saucepan, melt 3 tablespoons of butter over medium heat. Once fully melted, add 4 cups of mini marshmallows, stirring constantly until the mixture becomes smooth and completely melted, about 5 minutes. Remove from heat and fold in 6 cups of Rice Krispies cereal, ensuring every piece is well-coated. Allow the mixture to cool slightly until it's warm to the touch but pliable.
- Lay a large sheet of parchment paper on a clean surface. Using wet hands or a spatula, evenly spread the Rice Krispies mixture into a rectangle about 12x8 inches. Gently drizzle 1 cup of marshmallow fluff down the center, and sprinkle 1 cup of crushed graham crackers on top. Finally, drizzle a generous amount of chocolate or Nutella over this layer to create a sweet filling.
- Use the parchment paper to lift one edge of the Rice Krispies mixture, rolling it away from you to form a tight log, similar to sushi. Make sure to roll carefully to keep the filling intact, using the parchment to guide the roll. Once rolled, use a sharp knife to slice the sushi into bite-sized pieces, approximately 1 inch thick.
- Arrange the sliced S’mores Sushi pieces on a colorful serving plate or a wooden board for a delightful display. This fun no-bake dessert can be served immediately or kept in an airtight container for up to three days.
Leave a Reply