
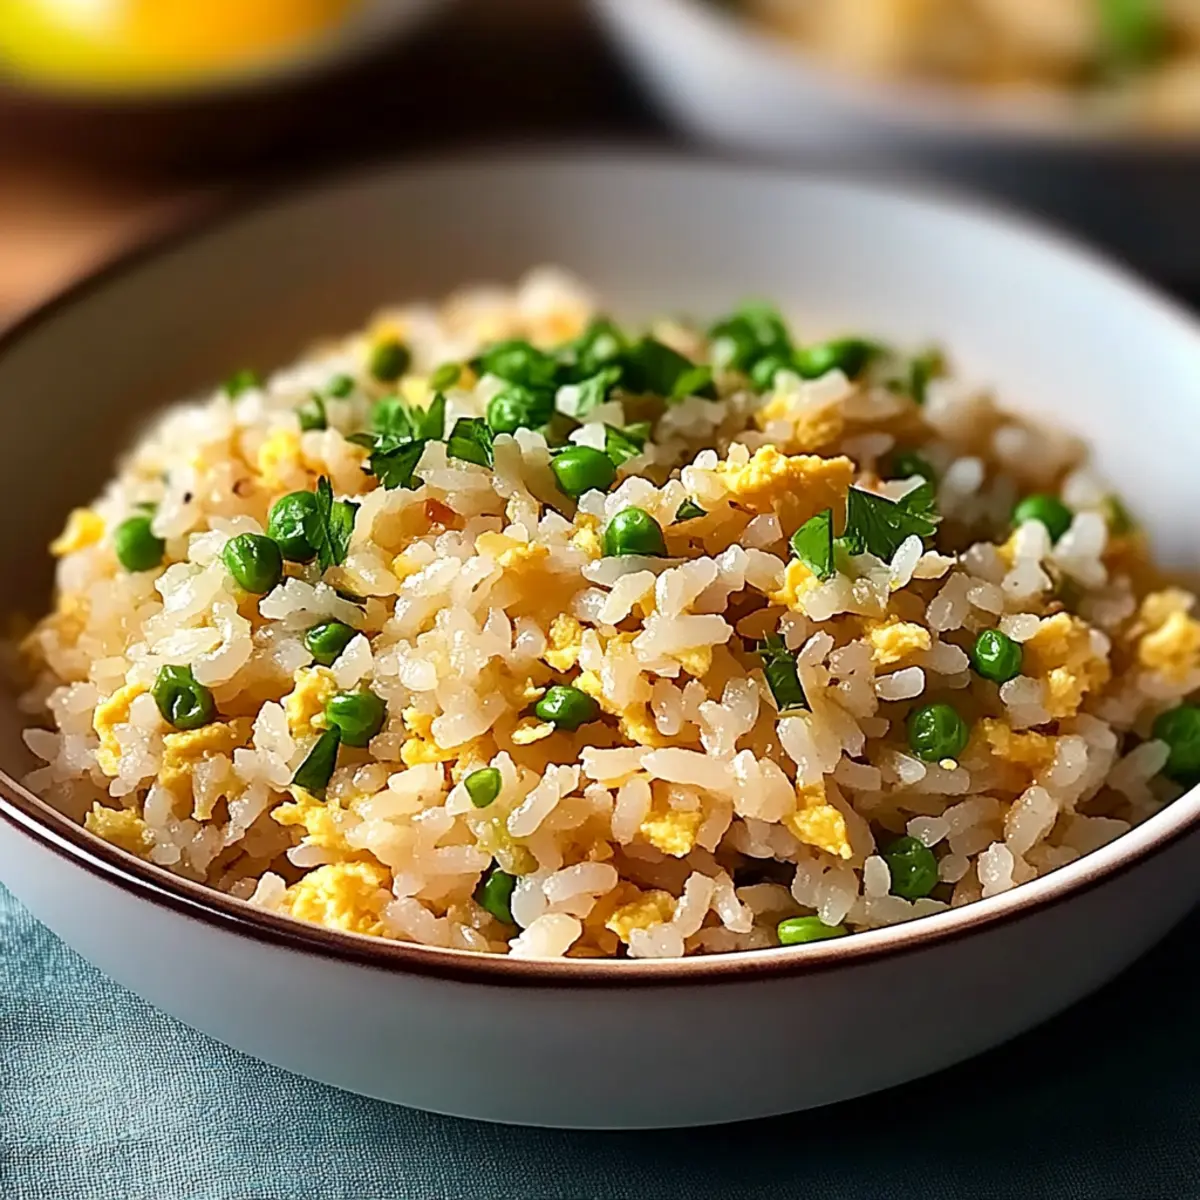
As I stood in my kitchen, the sizzling sound of garlic met my ears, instantly transporting me to the bustling streets of Tokyo. This is where my love for Japanese Garlic Fried Rice was born—a dish that pairs the rich creaminess of Kewpie mayonnaise with the aromatic punch of garlic, resulting in a comforting yet vibrant meal that feels like a warm hug. Not only is this recipe quick and easy to whip up after a long day, but it’s also versatile enough to cater to your dietary preferences. You can customize it with your choice of proteins or veggies, making each serving a reflection of your culinary creativity. Ready to discover how to turn a few simple ingredients into dinner magic? Let’s dive into this savory recipe together!

Why is this fried rice so special?
Comforting, this Japanese Garlic Fried Rice brings warmth and satisfaction to your dinner table, ideal for those cozy weeknights. Quick and Easy, it comes together in just one pan without sacrificing flavor. Customizable, feel free to add your favorite proteins or veggies, making it perfect whether you’re feeding a crowd or just yourself. Flavor-Packed, the combination of rich Kewpie mayonnaise and aromatic garlic creates a symphony of taste that will leave you craving more. Don’t forget to pair it with a side of Garlic Cauliflower Mushroom for an even more delightful meal!
Japanese Garlic Fried Rice Ingredients
• Perfect for a quick and delicious meal!
For the Rice Base
- Japanese short grain rice – Provides a sticky texture that holds flavors well; soak for at least 30 minutes prior to cooking for best results.
- Sea salt – Essential for flavor enhancement; add to taste before serving.
For the Creamy Element
- Kewpie mayonnaise – Adds a rich, creamy element to the dish; can substitute with regular mayonnaise, though it will slightly alter the flavor.
- Unsalted butter – Used for sautéing garlic and adds richness; vegetable oil can also be used as a substitute.
For the Flavor Makers
- Garlic, finely chopped – Infuses the rice with a savory aroma; fresh garlic is best for taste.
- Soy sauce – Adds umami depth and enhances flavor; tamari can be used for a gluten-free option.
For the Protein & Garnish
- Large eggs – Provides protein and binds the ingredients together when scrambled; omit for a vegan option or use a plant-based substitute.
- Parsley, finely chopped – Adds freshness and color as a garnish; scallions or cilantro can be used for a different flavor profile.
With these simple ingredients at your fingertips, you’re just moments away from a delightful bowl of Japanese Garlic Fried Rice!
Step‑by‑Step Instructions for Japanese Garlic Fried Rice
Step 1: Prepare the Rice
Rinse 2 cups of Japanese short grain rice under cold water until the water runs clear. Soak the rice in water for at least 30 minutes to enhance its texture. After soaking, drain it and combine the rice with 2¼ cups of fresh water in a medium saucepan. Cover and bring to a boil over high heat, then reduce the heat to low and cook for 10 minutes until the water is absorbed.
Step 2: Fluff and Mix Rice
Once the rice has cooked for 10 minutes, remove it from heat while still covered, and let it rest for an additional 10 minutes. This resting period allows the rice grains to firm up. After resting, gently fluff the rice with a fork before folding in 3 tablespoons of Kewpie mayonnaise, ensuring an even distribution that gives the rice a creamy consistency.
Step 3: Sauté Garlic
In a large skillet or wok, heat 2 tablespoons of unsalted butter over medium-high heat until melted and bubbly. Add 3 cloves of finely chopped garlic, sautéing for about 1 minute until fragrant and lightly golden, taking care not to burn the garlic. This step infuses the oil with aromatic flavors, setting the stage for your Japanese Garlic Fried Rice.
Step 4: Combine Rice and Seasoning
Add the mayonnaise-coated rice to the skillet with the sautéed garlic, stirring gently to combine and evenly coat the rice with the garlic butter. Stir-fry for about 30 seconds, allowing the rice to heat through and develop a slight golden hue. Then, drizzle in 1½ tablespoons of soy sauce, tossing to incorporate the umami flavor evenly throughout the mixture.
Step 5: Scramble the Eggs
Push the rice to one side of the pan, creating a space for the eggs. Pour 2 lightly whisked eggs into the empty space and let them sit for about 30 seconds undisturbed. As the eggs begin to set, scramble them gently with a spatula, mixing them into the fried rice until fully integrated. This adds a rich protein element to your delicious Japanese Garlic Fried Rice.
Step 6: Final Seasoning and Serve
Season the fried rice with sea salt to taste, adjusting as desired for flavor balance. Before serving, toss in 2 teaspoons of finely chopped parsley for a burst of freshness and color. Serve your warm Japanese Garlic Fried Rice immediately, delighting in its creamy, aromatic qualities that make it perfect for cozy weeknight dinners.
How to Store and Freeze Japanese Garlic Fried Rice
Fridge: Store leftovers in an airtight container for up to 3 days. Make sure the rice is cool before sealing to prevent condensation.
Freezer: For longer storage, freeze the Japanese Garlic Fried Rice for up to 2 months. Portion into freezer-safe bags or containers, removing as much air as possible.
Reheating: Thaw overnight in the fridge before reheating. To heat, sauté in a pan over medium heat, adding a splash of water or broth to help steam the rice and restore its texture.
Serving Tips: Always give it a good stir before serving to evenly distribute any flavors that may have settled during storage. Enjoy!
Make Ahead Options
These delightful Japanese Garlic Fried Rice bowls are perfect for meal prep enthusiasts wanting to save time on busy weeknights! You can successfully prepare the rice up to 24 hours in advance; simply rinse and soak it, then cook and cool it before storing in an airtight container in the refrigerator. You can also chop the garlic and measure out the Kewpie mayonnaise ahead of time, keeping them ready to go. When you’re ready to serve, stir-fry everything in a pan, add the eggs, and season as usual. Just remember to reheat the rice gently to maintain its fluffy texture, resulting in a just-as-delicious dish that’s perfect for any night!
Japanese Garlic Fried Rice Variations
Feel free to get creative with your Japanese Garlic Fried Rice; you can add flair and flavor in countless ways!
-
Vegetable Boost: Stir in 1 cup of colorful veggies like peas or bell peppers for added nutrition and crunch. This twist adds vibrance and variety, making each bite a delightful surprise.
-
Protein Power: Toss in cooked chicken, shrimp, or tofu to create a heartier meal that satisfies your hunger. The addition of protein makes it a complete dish, perfect for a family feast or a solo dinner.
-
Spicy Kick: Incorporate chili paste or red pepper flakes to introduce a lively heat to the dish. A little spice can transform your fried rice into an exciting culinary adventure, perfect for those who enjoy a delicious thrill.
-
Nutty Twist: Drizzle toasted sesame oil right before serving for an irresistible aroma and nutty depth. This simple addition adds an extraordinary layer of flavor that enhances the overall experience.
-
Fruit Fusion: Mix in diced pineapple or mango for a sweet and savory touch that dances on your palate. This unexpected twist can brighten your dish and elevate its flavor profile, making it a delightful surprise for your taste buds.
-
Dairy-Free Delight: Substitute Kewpie mayonnaise with your favorite plant-based mayo for a dairy-free version. Your dish will remain creamy and comforting without compromising taste.
-
Herb Garden: Add fresh herbs like basil or cilantro to bring an aromatic freshness to the dish. A sprinkle of herbs can lift your fried rice, adding layers of flavor and a bright finish.
For even more delicious ideas, consider pairing your fried rice with dishes like Garlic Parmesan Cheeseburger or serve it alongside a beautiful bowl of Cheesy Garlic Cruffin for an unforgettable meal combination!
Expert Tips for Delicious Japanese Garlic Fried Rice
-
Soak the Rice: Always soak the Japanese short grain rice for at least 30 minutes before cooking; this enhances its texture and helps it absorb flavors better.
-
Heat Matters: Use a medium-high heat level when sautéing garlic to prevent it from burning. A nicely browned garlic releases its wonderful aroma without bitterness.
-
Add Warm Rice: Ensure the rice is warm when mixing in Kewpie mayonnaise to avoid clumping. This creamy element will spread evenly and elevate your Japanese Garlic Fried Rice.
-
Taste as You Go: Adjust the sea salt and soy sauce as you prepare. The flavors evolve as you cook, so tasting will help achieve the perfect balance.
-
Customize Freely: Don’t hesitate to experiment with proteins and veggies. Leftover meats or seasonal vegetables can be delicious additions to your fried rice!
-
Garnish for Appeal: A sprinkle of fresh parsley adds a pop of color and freshness to each serving, making your Japanese Garlic Fried Rice not just tasty but visually appealing too!
What to Serve with Japanese Garlic Fried Rice
When it comes to creating a complete and satisfying meal, pairing your creamy, aromatic fried rice with delightful sides and drinks can elevate your dining experience.
-
Teriyaki Salmon: The sweet and savory flavors of grilled salmon complement the rich garlic notes of the fried rice beautifully. This pairing introduces a luxurious seafood element to your meal.
-
Asian Slaw: A fresh and crunchy slaw adds a crisp contrast to the creamy fried rice while introducing vibrant colors and a zesty note. The tangy dressing perfectly balances the dish’s richness.
-
Miso Soup: Warm, comforting miso soup brings umami depth, enhancing the flavors of the rice. Its light texture serves as a soothing counterpart to the hearty garlic fried rice.
-
Steamed Edamame: These protein-packed pods are easy to prepare and add a delightful pop of color and nutrition. Their fresh taste keeps the meal light and satisfying without overwhelming the palate.
-
Pickled Vegetables: A small side of tangy pickled vegetables enhances the flavors of the fried rice while providing a refreshing crunch that contrasts with its creaminess.
-
Chilled Sake: For the adults, pairing your dinner with chilled sake can elevate your culinary journey. The subtly sweet flavors of sake harmonize well with the rich taste of soy sauce and garlic.
Each of these pairings brings its own unique flavor and texture, making your Japanese Garlic Fried Rice shine even brighter on the dining table. Enjoy the journey of flavors!
Japanese Garlic Fried Rice Recipe FAQs
What is the best way to select Japanese short grain rice?
When choosing Japanese short grain rice, look for grains that are pearly white and free from dark spots. This type of rice should feel slightly sticky, which is perfect for fried rice dishes. I recommend brands like Nishiki or Tamanishiki for a reliable quality that brings out the best in your Japanese Garlic Fried Rice.
How should I store leftover Japanese Garlic Fried Rice?
Absolutely! Store any leftover rice in an airtight container in the fridge for up to 3 days. Ensure that it has cooled down completely before sealing to prevent condensation, which can make the rice soggy. If you’re planning to keep it longer, consider freezing, which I recommend for storage of up to 2 months.
Can I freeze Japanese Garlic Fried Rice?
Yes! Freezing Japanese Garlic Fried Rice is an excellent option for later enjoyment. To freeze, portion the rice into freezer-safe bags or containers, squeezing out as much air as possible before sealing. For reheating, let it thaw overnight in the refrigerator, then sauté it in a pan over medium heat, adding a splash of water or broth to restore moisture and fluffiness.
What should I do if my garlic fried rice turns out too dry?
No worries! If the rice is dry, it’s often just a sign that it needs a bit more moisture. I recommend adding a splash of water or broth while reheating to help steam the rice back to softness. Stir it gently, and let it cook for a few minutes until it warms evenly. Adding a little extra Kewpie mayonnaise can also enhance the creaminess if desired!
Are there any dietary considerations for this recipe?
Yes! This Japanese Garlic Fried Rice can easily cater to various dietary preferences. For a vegan option, you can omit the eggs or use a plant-based substitute like silken tofu. Similarly, if you’re gluten-sensitive, be sure to use tamari instead of regular soy sauce. Always check all ingredient labels for potential allergens based on your dietary needs.
Can I customize the ingredients in Japanese Garlic Fried Rice?
Very much so! This recipe is quite flexible. Feel free to add your favorite proteins like cooked chicken, shrimp, or tofu. You can also mix in fresh vegetables such as peas, bell peppers, or even a bit of corn for added sweetness. Just make sure to adjust cooking times accordingly based on the ingredients you choose. Enjoy personalizing this dish!
Delicious Japanese Garlic Fried Rice for Cozy Weeknight Dinners
Ingredients
Equipment
Method
- Rinse the Japanese short grain rice under cold water until the water runs clear. Soak the rice in water for at least 30 minutes, then drain it and combine with 2¼ cups of fresh water in a medium saucepan. Cover and bring to a boil, then reduce heat to low and cook for 10 minutes.
- Remove the rice from heat while still covered and let it rest for an additional 10 minutes. Fluff the rice with a fork and fold in the Kewpie mayonnaise.
- In a large skillet or wok, heat the unsalted butter over medium-high heat. Add the chopped garlic and sauté for about 1 minute until fragrant and lightly golden.
- Add the mayonnaise-coated rice to the skillet and stir gently to combine. Stir-fry for about 30 seconds, then drizzle in the soy sauce.
- Push the rice to one side of the pan and pour the lightly whisked eggs into the empty space. Scramble the eggs gently and mix into the rice.
- Season with sea salt to taste and stir in the finely chopped parsley before serving.
Leave a Reply