
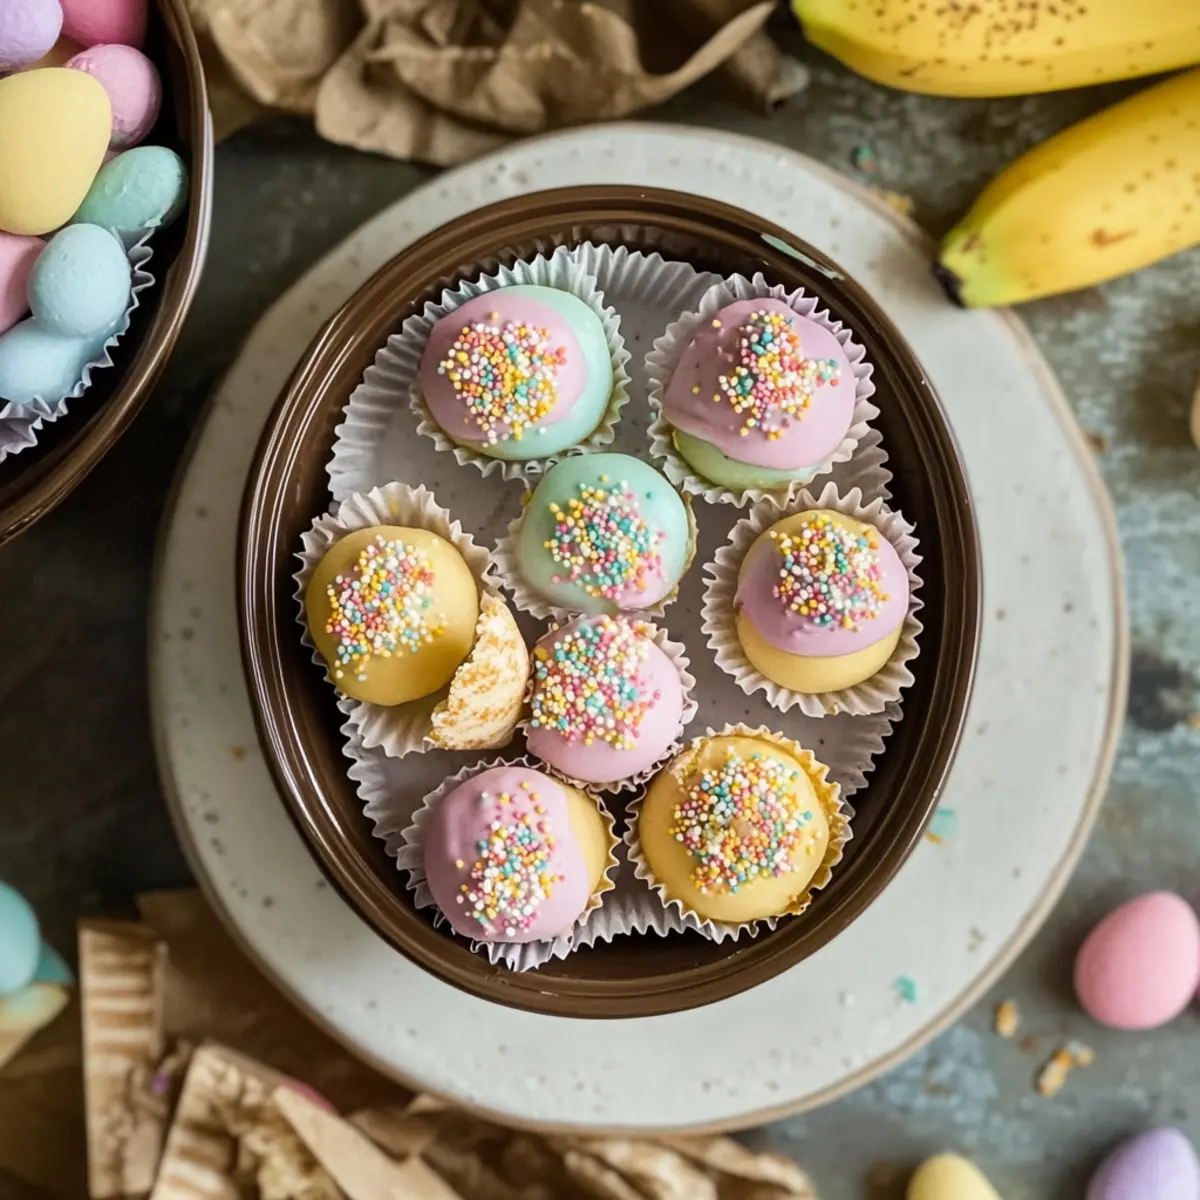
“Did you hear that clatter in the kitchen?” I asked my friend, who was eagerly peeking into my mixing bowl. This time, I was whipping up a batch of delightful No-Bake Banana Pudding Easter Truffles—an irresistible combination of creamy banana pudding flavors with a satisfying crunch. These truffles are a hit with kids and adults alike, perfect for brightening up your Easter celebrations or making sweet handmade gifts. With just a few pantry staples and no oven required, this recipe is as easy as it is fun! So, gather the little ones and roll these delicious bites into festive delights that will have everyone reaching for seconds. Ready to dive into this creamy spring indulgence? Let’s get started!
Why Are Banana Pudding Easter Truffles Amazing?
Deliciously Fun: These no-bake truffles are a playful twist on a classic dessert, combining the creamy goodness of banana pudding with colorful chocolate coating.
Kid-Friendly: Kids love to help roll these adorable bites, making it a fantastic family activity that brings everyone together.
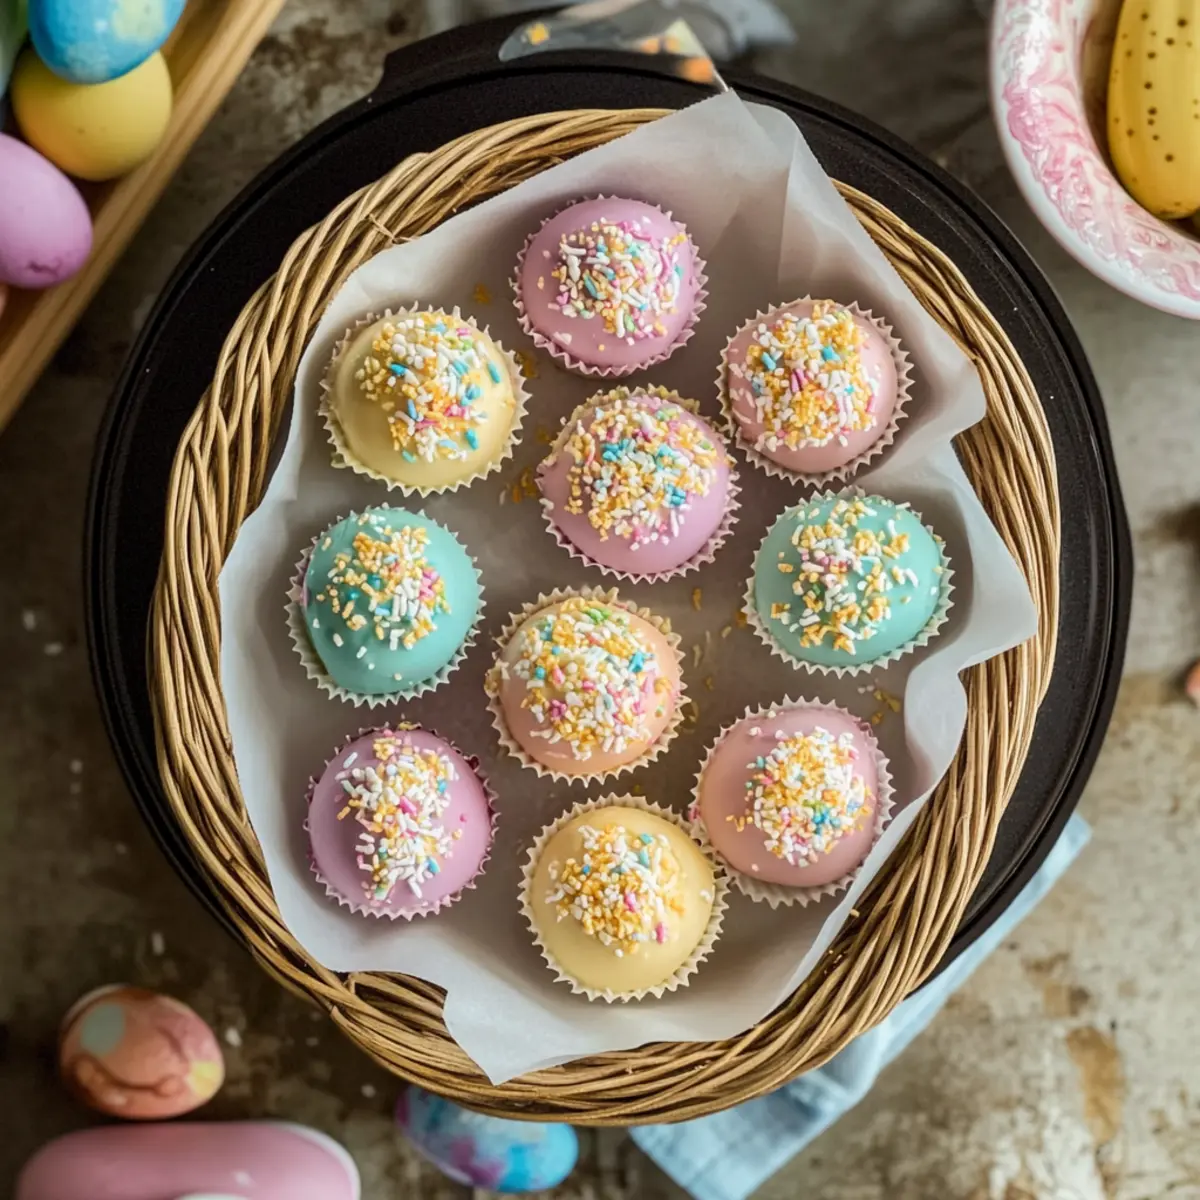
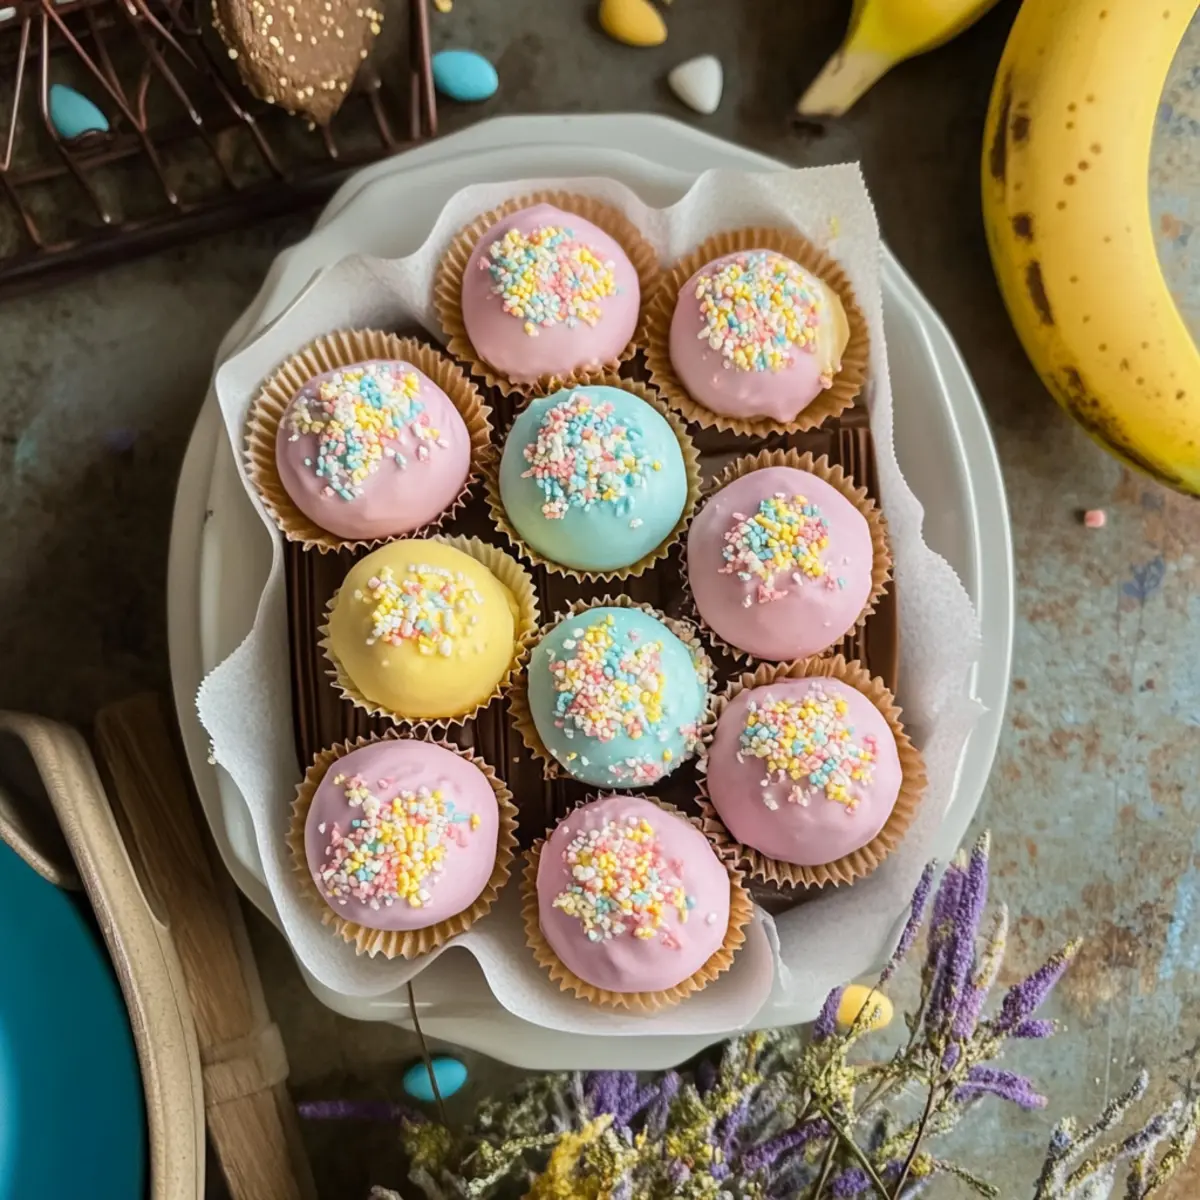
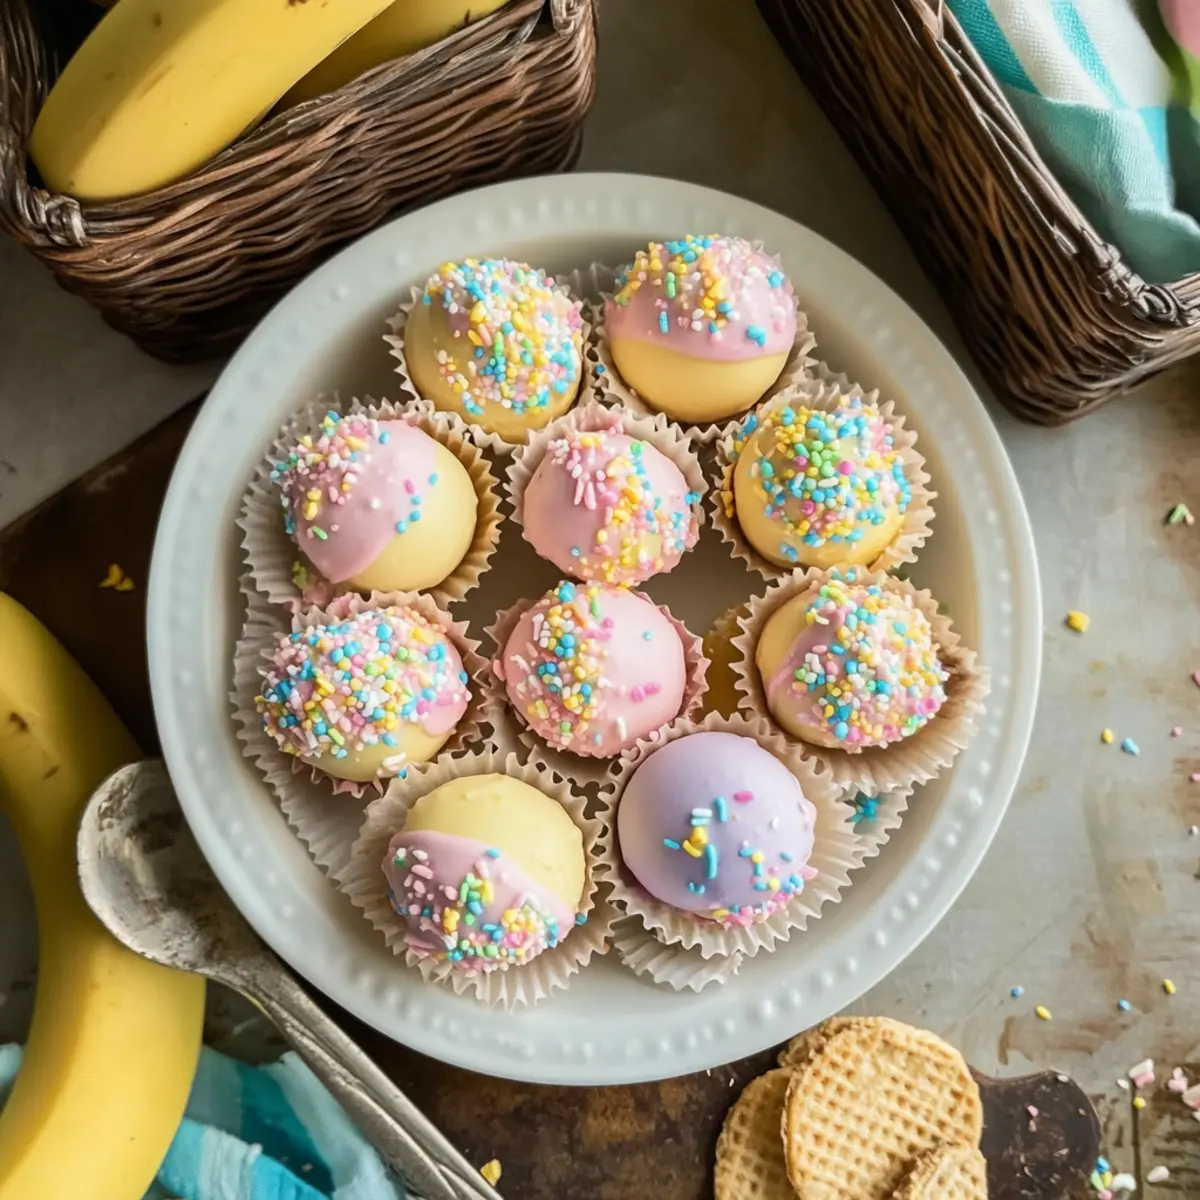
Visual Appeal: With vibrant pastel colors, they’re perfect for Easter celebrations, making your dessert table pop with fun!
Gifting Made Easy: Pack them in festive boxes and share these delights as homemade gifts that friends and family will adore.
Quick and Simple: Skip the oven! This recipe requires minimal time and effort, giving you more moments to enjoy the fun side of baking.
Storage-Friendly: Keep your treats fresh in the fridge for days, or freeze them for future gatherings. Want to try different flavors? Check out my Chocolate Chip Banana option for more fun variations!
Banana Pudding Easter Truffles Ingredients
• Get ready for a creamy delight!
For the Truffle Mixture
- Crushed Vanilla Wafers – Provides texture and structure; substitute with graham cracker crumbs for a unique twist.
- Cream Cheese – Adds creaminess and helps bind the mixture; make sure it’s softened for easy blending.
- Banana Pudding Mix – Supplies the iconic banana flavor; opt for a high-quality mix for the best taste.
- Milk – Moistens the mixture; any type (dairy or non-dairy) works just fine.
- Vanilla Extract – Enhances overall flavor; swap it with almond extract for a different spin.
For the Coating
- White Chocolate Chips or Candy Melts – Forms a sweet outer layer; feel free to use milk or dark chocolate for variety.
- Food Coloring – Achieve beautiful pastel hues for the chocolate coating; gel colors give vibrancy.
For Decoration
- Crushed Vanilla Wafers/Easter Sprinkles – Add a festive touch on top; edible glitter can make it sparkle!
Enjoy crafting these delightful Banana Pudding Easter Truffles, perfect for your spring gatherings!
Step‑by‑Step Instructions for Banana Pudding Easter Truffles
Step 1: Make the Truffle Mixture
In a large mixing bowl, combine crushed vanilla wafers, softened cream cheese, banana pudding mix, milk, and vanilla extract. Use a sturdy spatula or mixer to blend these ingredients until a dough-like consistency forms, about 2-3 minutes. The mixture should be smooth and easily moldable, combining the creamy banana flavors with the crunch of the wafers.
Step 2: Shape the Truffles
Once the truffle mixture is ready, take a tablespoon-sized portion and roll it between your palms to form a ball. Aim for a smooth surface, ensuring each truffle is uniform in size. Place these balls on a parchment-lined baking sheet, leaving some space between them to prevent sticking. This step is essential for creating the Banana Pudding Easter Truffles that are easy to coat later.
Step 3: Chill
Cover the baking sheet with plastic wrap and refrigerate the truffles for 30-45 minutes. This chilling period allows the mixture to firm up, making it easier to coat later. You’ll know they’re ready when they’re firm to the touch but still springy, ensuring a delightful texture once coated.
Step 4: Melt the Chocolate
While the truffles chill, prepare to coat them by melting the white chocolate. In a microwave-safe bowl, heat the chocolate chips or candy melts in 30-second intervals, stirring frequently. Continue this process until the chocolate is completely smooth and glossy, which should take about 1-2 minutes in total. This step is crucial for a beautiful coating on your Banana Pudding Easter Truffles.
Step 5: Coat the Truffles
Once the chocolate is melted and your truffles are chilled, it’s time to dip! Using a fork, gently lower each chill truffle into the melted chocolate, ensuring it’s fully coated. Let excess chocolate drip off before placing them back on the parchment-lined sheet. This creates an even layer of chocolate that beautifully surrounds the truffle.
Step 6: Decorate
Before the chocolate coating sets, sprinkle the tops of each truffle with crushed vanilla wafers or Easter-themed decorations. This not only adds a festive touch but also gives your Banana Pudding Easter Truffles an eye-catching appearance. Act quickly, as the coating will start to harden.
Step 7: Set and Serve
Allow the coated truffles to sit at room temperature for about 15-20 minutes to fully set. Once they’re firm to the touch, your Banana Pudding Easter Truffles are ready to be served! Arrange them in decorative bowls or cute gift boxes, making them perfect for sharing or enjoying at spring celebrations.
What to Serve with Banana Pudding Easter Truffles?
Elevate your Easter celebrations with delightful accompaniments that complement the creamy sweetness of these truffles.
-
Fresh Fruit Salad: A vibrant mix of berries and citrus adds a refreshing contrast, brightening up your dessert spread.
-
Mini Cupcakes: Soft and fluffy, these sweet treats provide a delightful variety, making for a visually appealing dessert table.
-
Chocolate-Dipped Strawberries: The rich chocolate and juicy fruit pair perfectly, echoing the flavors of the truffles while adding elegant flair.
-
Easter-Themed Cookies: Fun shapes and colors enhance the festive atmosphere, making your gathering a feast for the eyes as well as the palate.
-
Mint-infused Iced Tea: A cool and refreshing drink, the minty goodness balances the sweetness of the truffles while keeping everyone refreshed.
-
Creamy Vanilla Ice Cream: A scoop of creamy ice cream underneath your truffles creates an indulgent combination, perfect for warm spring days.
-
Lemonade Sparkler: This bubbly beverage is a fun, zesty pairing that can brighten up any gathering, adding a festive touch each sip.
Let these pairings inspire a delightful Easter celebration filled with sweet memories!
Make Ahead Options
These Banana Pudding Easter Truffles are a fantastic option for busy home cooks looking to save time! You can prepare the truffle mixture up to 24 hours in advance. Simply follow the first three steps—mixing, shaping, and chilling—and refrigerate the formed truffles on your lined baking sheet. To maintain their delightful texture and flavor, cover with plastic wrap during chilling. When you’re ready to serve, simply melt the chocolate and coat the truffles as instructed. This way, you’ll have a delicious, no-bake treat finished with minimal effort and just as delicious as if made fresh that day!
Expert Tips for Banana Pudding Easter Truffles
• Choose Quality Ingredients: Use high-quality banana pudding mix for the best flavor; it makes a significant difference in the overall taste.
• Keep Your Chocolate Smooth: Melt chocolate at low power in the microwave and stir frequently to prevent it from seizing.
• Creative Coating: Experiment with different colors of chocolate coating to match your holiday themes; gel food coloring works wonders!
• Avoid Sticking: Make sure your truffles are well-chilled before coating; this will help the chocolate adhere better and keep the truffles intact.
• Decorate Wisely: Add your toppings before the chocolate sets to ensure they stick; these final touches enhance both the look and flavor of your truffles.
• Store Correctly: Keep your Banana Pudding Easter Truffles in an airtight container in the fridge for up to 5 days, ensuring they stay fresh and delicious.
Banana Pudding Easter Truffles Variations
Get ready to explore exciting twists on your Banana Pudding Easter Truffles! Each variation offers a chance to create something uniquely delicious.
-
Coconut Banana Truffles: Roll truffles in shredded coconut to introduce a tropical splash. The nutty flavor pairs wonderfully with banana for a delightful bite.
-
Peanut Butter Banana Truffles: Incorporate 2 tablespoons of peanut butter into the filling for a deliciously nutty depth. This twist is perfect for peanut butter lovers!
-
Mint Chocolate Banana Truffles: Add a drop of mint extract to the melted chocolate for a refreshing flavor contrast. It’s a delightful surprise that elevates every bite.
-
Chocolate Chip Banana Truffles: Fold in mini chocolate chips to the truffle mixture before chilling. This adds little bursts of chocolatey goodness that make each truffle even more indulgent!
-
Pineapple Banana Truffles: Mix in crushed pineapple to the filling for a tropical fruit explosion. This fruity variation adds brightness and a sunny flavor profile!
-
Almond Joy Truffles: Add chopped almonds and top with toasted coconut for a fun homage to the classic candy. Sweet and crunchy, these are bound to be a hit!
-
Dark Chocolate Coating: Switch the white chocolate coating for dark chocolate to create a richer flavor. The slight bitterness of dark chocolate pairs beautifully with the sweetness of banana.
Feeling inspired? Each variation turns your enchanting Banana Pudding Easter Truffles into something special, and don’t forget to serve them alongside your favorite treats as well! For more ideas, check out the mouth-watering Cinnamon Swirl Banana for another delightful recipe!
Storage Tips for Banana Pudding Easter Truffles
Fridge: Store your Banana Pudding Easter Truffles in an airtight container for up to 5 days to retain their creamy texture and flavor.
Freezer: For longer storage, freeze the truffles in a single layer on a baking sheet, then transfer to a freezer-safe container for up to 2 months.
Thawing: When you’re ready to enjoy, simply transfer the frozen truffles to the fridge to thaw overnight for a perfect treat!
Wrapping: If gifting, wrap each truffle individually in plastic wrap or place them in decorative boxes to keep them fresh and festive!
Banana Pudding Easter Truffles Recipe FAQs
What type of bananas should I use for this recipe?
Absolutely! For the best flavor in your Banana Pudding Easter Truffles, opt for ripe bananas that have a slight brown speckling. These bananas will provide that sweet, rich taste that enhances the overall truffle experience. If you’re using the pudding mix that includes banana flavors, the ripe fresh bananas will complement it beautifully.
How should I store my truffles?
To keep your Banana Pudding Easter Truffles fresh and delicious, store them in an airtight container in the refrigerator. They will stay good for up to 5 days. For longer-term storage, transferring them to a freezer-safe container allows you to enjoy these tasty treats for up to 2 months. Just remember to let them thaw in the fridge overnight before enjoying!
Can I freeze these truffles?
Yes, indeed! To freeze your Banana Pudding Easter Truffles, first place them in a single layer on a baking sheet and freeze until they’re firm. After about an hour, transfer the truffles to a freezer-safe container or zip-top bag, sealing it tightly to prevent freezer burn. When ready to serve, simply move the truffles to the fridge for a gradual thawing process, allowing them to regain their creamy texture.
What should I do if the chocolate coating is too thick?
If you find that your chocolate coating is too thick, don’t worry! You can gently reheat it in the microwave by 10-second intervals while stirring continuously. For an extra smooth and pourable consistency, consider adding a small amount of vegetable oil or coconut oil to the chocolate before melting. This will help achieve that desirable, delicate coating that perfectly envelopes your Banana Pudding Easter Truffles.
Are these truffles suitable for people with allergies?
Great question! Since the recipe contains cream cheese and chocolate, those with dairy allergies should take caution. You can use dairy-free cream cheese and non-dairy chocolate alternatives to make these truffles accommodating for lactose-intolerant friends. Always check the labels for allergen information, especially regarding potential nut allergens if you choose peanut butter or other nut-based ingredients.
Banana Pudding Easter Truffles: A Fun No-Bake Delight
Ingredients
Equipment
Method
- In a large mixing bowl, combine crushed vanilla wafers, softened cream cheese, banana pudding mix, milk, and vanilla extract. Blend until a dough-like consistency forms, about 2-3 minutes.
- Take a tablespoon-sized portion of the truffle mixture and roll it between your palms to form a ball. Place the balls on a parchment-lined baking sheet.
- Cover the baking sheet with plastic wrap and refrigerate the truffles for 30-45 minutes to firm up.
- While the truffles chill, melt the white chocolate in a microwave-safe bowl in 30-second intervals, stirring frequently until smooth.
- Once the chocolate is melted and the truffles are chilled, dip each truffle into the melted chocolate, letting excess chocolate drip off.
- Before the chocolate sets, sprinkle crushed vanilla wafers or Easter-themed decorations on top.
- Allow the coated truffles to sit at room temperature for 15-20 minutes to fully set before serving.
Leave a Reply