
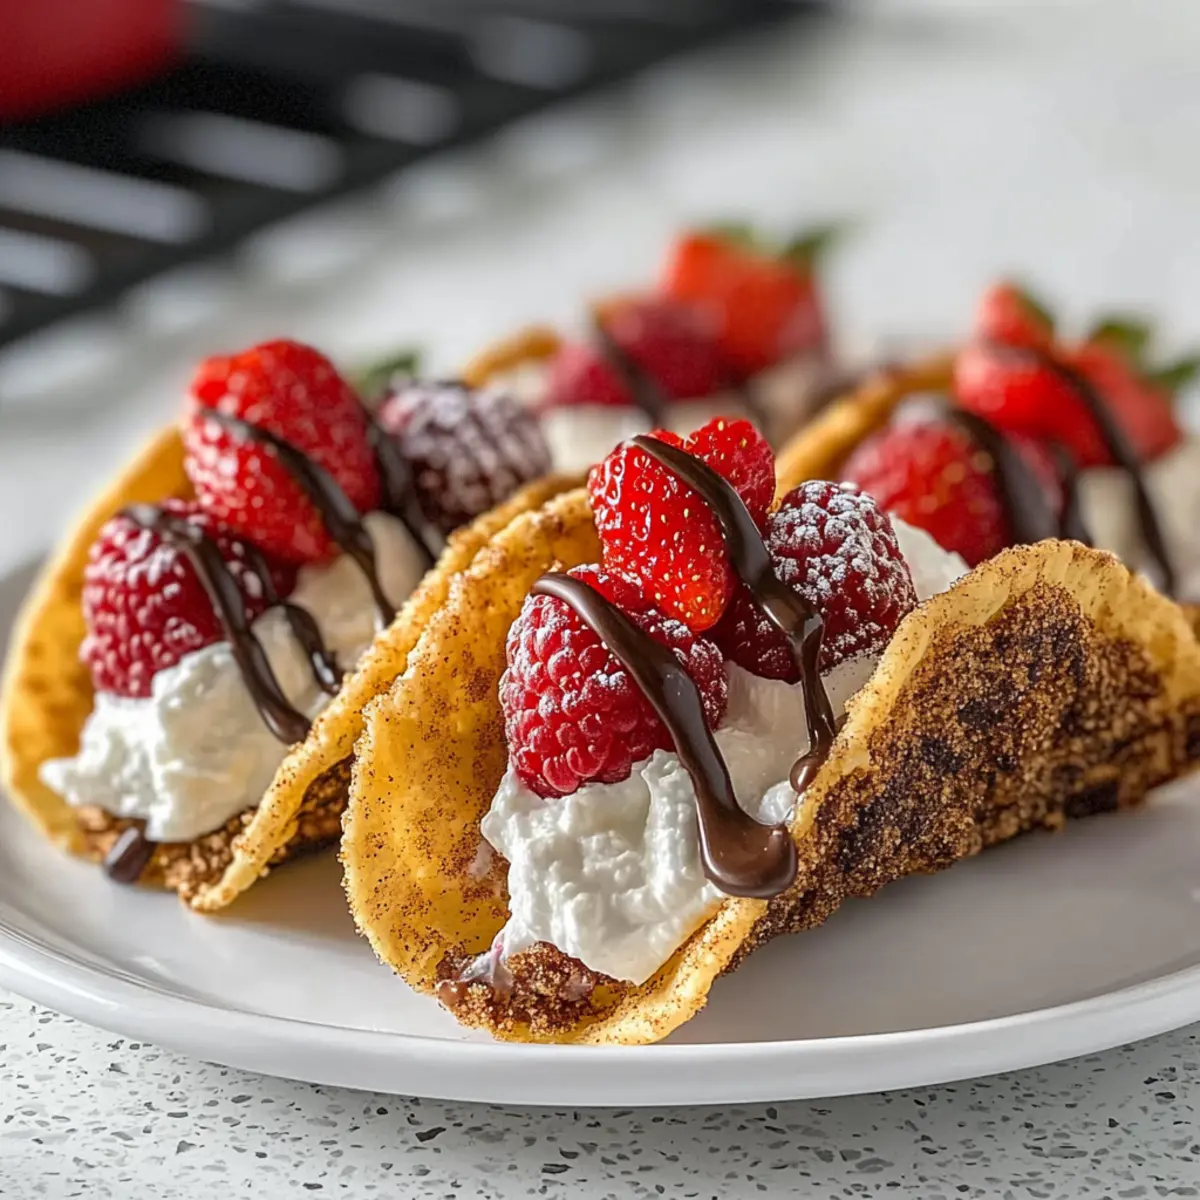
The first time I bit into a Cheesecake Taco, I felt a delightful rush of surprise that completely transformed my dessert expectations. This playful masterpiece combines the beloved creaminess of cheesecake with the comforting crunch of a cinnamon-dusted shell, creating a fun and whimsical treat that’s as satisfying to make as it is to eat. Not only are these Cheesecake Tacos incredibly quick to assemble, making them perfect for last-minute gatherings, but they also serve as a delightful crowd-pleaser for any occasion. Whether you’re hosting a birthday bash or simply wanting to elevate your weekend dessert, this recipe is all you need. Ready to dive into this delicious adventure? Let’s make some Cheesecake Tacos that will leave everyone asking for seconds!
Why are Cheesecake Tacos a Must-Try?
Unique Twist: Cheesecake Tacos combine two beloved treats into one playful dessert, turning ordinary evenings into delightful culinary experiences.
Quick Assembly: You’ll love how fast they come together—perfect for impromptu gatherings or relaxing weekends where you want to impress without the fuss.
Crowd-Pleaser: These tacos are not just tasty; they deliver fun presentation and are sure to be a hit at parties or family dinners, making dessert the highlight of the meal.
Versatile Flavor: Experiment with fillings and toppings, like berries or chocolate, to craft custom flavors tailored to every palate.
If you enjoy vibrant desserts, check out these easy-to-make Blueberry Cheesecake Protein bites or treat yourself with some delightful Bake Gingerbread Cheesecake cups!
Cheesecake Tacos Ingredients
• Dive into this playful dessert with delightful ingredients!
For the Shells
- Unsalted Butter – Adds richness to the taco shells; substitute with coconut oil for a dairy-free treat.
- Granulated Sugar – Sweetens the cinnamon-sugar coating for the taco shells; consider brown sugar for extra depth.
- Ground Cinnamon – Infuses a warm spice flavor; no substitutions needed, but nutmeg offers a unique twist.
- Flour Tortillas – Forms the crunchy vessel of the taco; opt for whole wheat or gluten-free tortillas if desired.
For the Filling
- Cream Cheese – The creamy base of the filling adds tang; full-fat cream cheese is best, but vegan options work too.
- Granulated Sugar (Filling) – Sweetens the cheesecake filling; powdered sugar can create a smoother texture.
- Vanilla Extract – Enhances the filling’s flavor; use pure for optimal taste, as imitation will differ.
- Lemon Juice – Brightens the richness of the filling; fresh lemon is preferred.
- Salt – Elevates flavors in the filling; sea salt or kosher salt works wonderfully.
- Heavy Cream – Creates a light, airy texture in the filling; coconut cream is a solid dairy-free alternative.
Optional Garnishes
- Berries – Add fresh, vibrant toppings that complement the cheesecake flavor.
- Chocolate – Drizzle melted chocolate for a rich finish.
- Whipped Cream – A light dollop adds extra creaminess and a touch of elegance.
These Cheesecake Tacos are not just a dessert; they are a deliciously fun experience that your friends and family will love. Enjoy the easy assembly and the playful approach to dessert!
Step‑by‑Step Instructions for Delightfully Decadent Cheesecake Tacos
Step 1: Preheat the Oven
Begin by preheating your oven to 375°F (190°C). This step is crucial as it ensures the taco shells will bake to golden perfection, creating that satisfying crunch we all love in Cheesecake Tacos. Prepare your oven rack by positioning it in the center for optimal heat distribution while the tortillas transform into delightful shell shapes.
Step 2: Prepare Cinnamon-Sugar Coating
In a small microwave-safe bowl, melt about 3 tablespoons of unsalted butter in the microwave for roughly 30 seconds. Once melted, mix ¼ cup granulated sugar with 1 tablespoon of ground cinnamon in a separate bowl until well combined. This fragrant mixture will be the key to elevating the taco shells’ flavor, adding a sweet touch with every crunch.
Step 3: Coat the Tortillas
Take flour tortillas and gently brush one side of each with the melted butter. Ensure an even coating for proper adhesion of the cinnamon-sugar mix. Next, dredge the buttered side of each tortilla into the cinnamon-sugar mixture, coating thoroughly. This adds layers of flavor to your delicious Cheesecake Tacos, promising a tasty shell that perfectly cradles the rich filling.
Step 4: Shape the Shells
To shape the coated tortillas into taco forms, drape them over the bars of the oven rack. If you have a taco rack, it’s perfect for this step! Allow some space between each tortilla, ensuring they hold their shape as they bake. This technique will create a lovely contoured shell that maintains its charm once filled with the creamy cheesecake mixture.
Step 5: Bake the Shells
Carefully place the oven rack with the shaped tortillas into the preheated oven. Bake for approximately 8 to 10 minutes, or until the tortillas are golden brown and crisp. Keep a close eye on them to prevent any burning. Once ready, remove the rack and let the shells cool on a wire rack for a few minutes. A proper cooling period ensures they maintain their delightful crunch.
Step 6: Make the Filling
While the shells cool, prepare the cheesecake filling. In a mixing bowl, beat 8 ounces of softened cream cheese and ¼ cup of granulated sugar together until smooth and creamy, about 2-3 minutes. Then, add 1 teaspoon of vanilla extract, 1 tablespoon of lemon juice, a pinch of salt, and ½ cup of heavy cream. Beat the mixture until fluffy and airy, creating a luscious filling for your Cheesecake Tacos.
Step 7: Assemble the Tacos
Once the taco shells have cooled completely, it’s time to fill them! Using a spoon or a piping bag, carefully dollop or pipe the creamy cheesecake filling into each shell. Be careful not to overfill them, as this will prevent them from closing properly. This step is where your creativity shines, ensuring each Cheesecake Taco is generously filled yet elegantly presented.
Step 8: Garnish and Serve
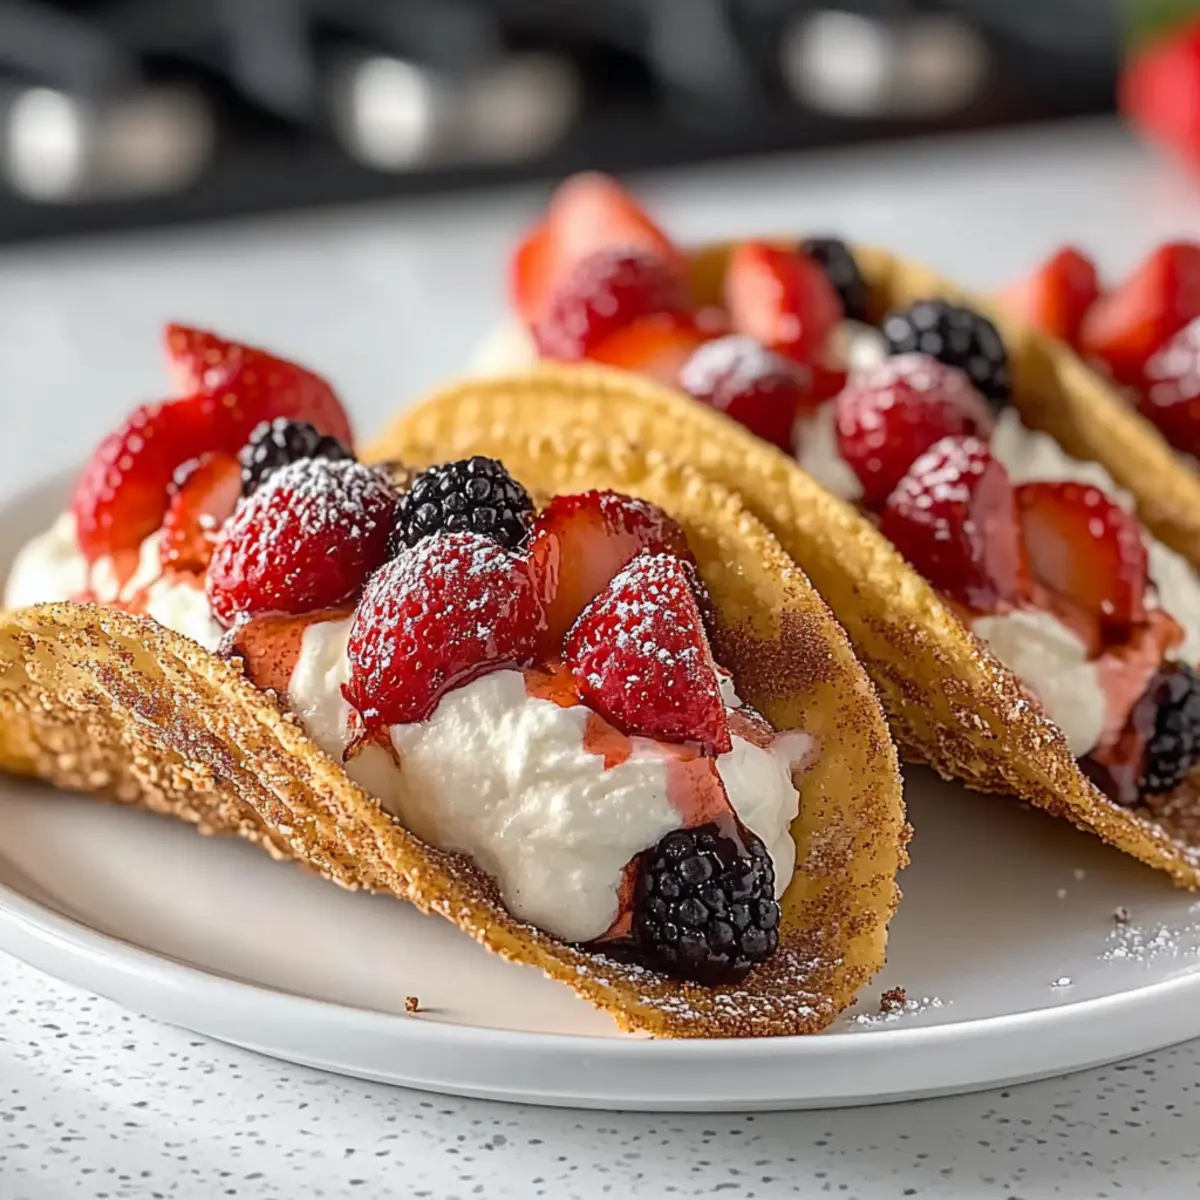
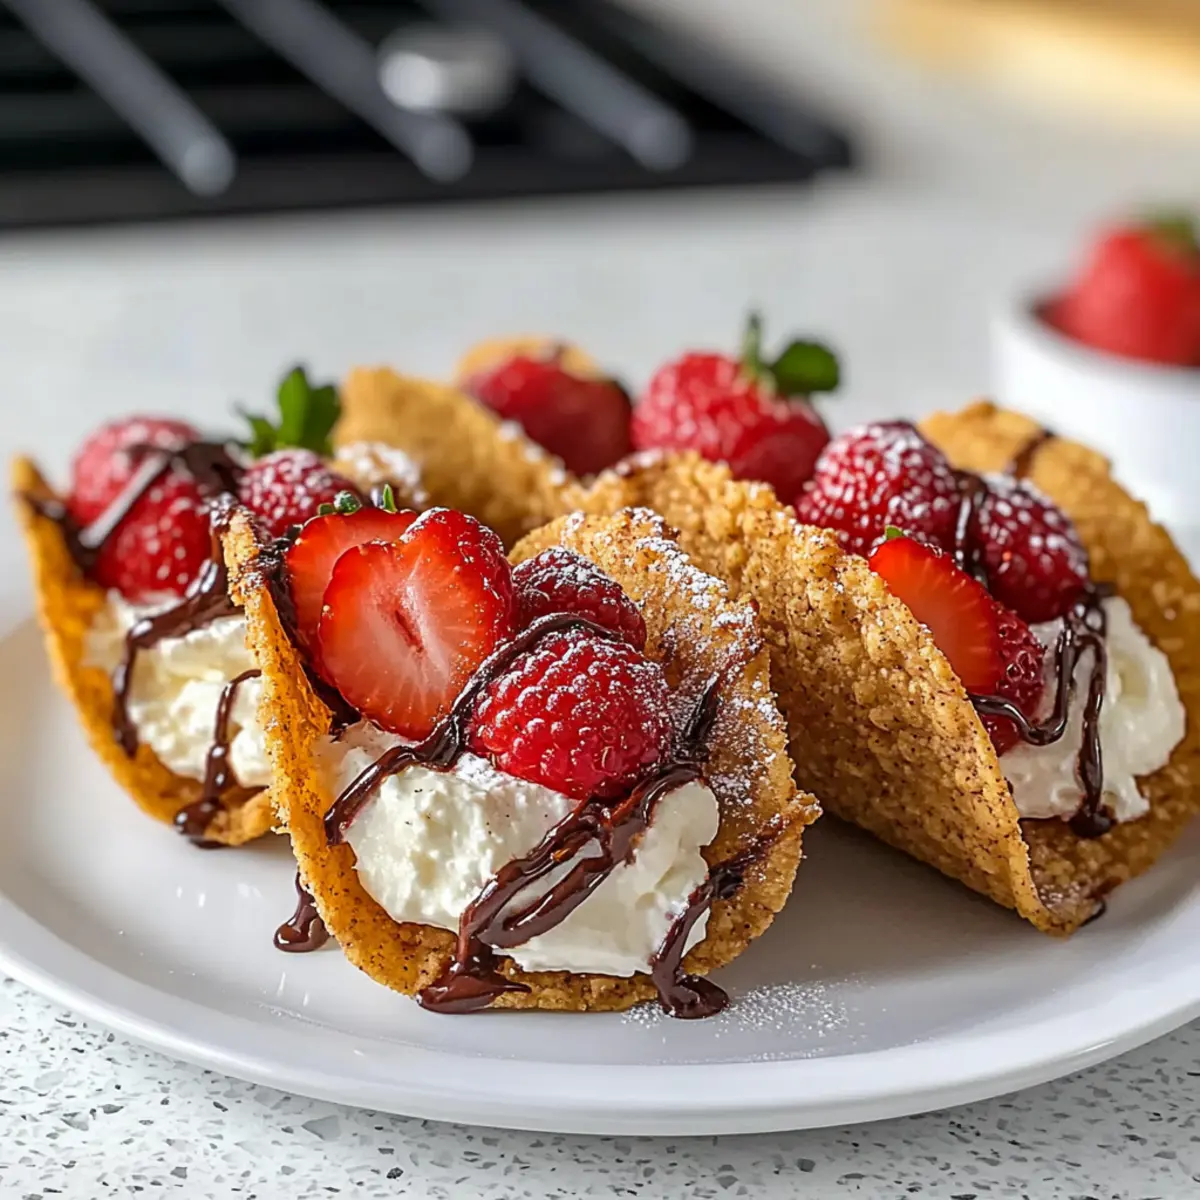
Finally, it’s time to give your Cheesecake Tacos a finishing touch! Decorate with fresh berries, a drizzle of melted chocolate, or a dollop of whipped cream, according to your preference. These garnishes not only enhance the visual appeal but also add delightful bursts of flavor, making your presentation irresistible. Serve them on a nice platter, and watch your guests be amazed!
Expert Tips for Cheesecake Tacos
-
Soften Cream Cheese: Ensure your cream cheese is at room temperature before mixing. This step helps avoid lumps in your cheesecake filling for a smooth texture.
-
Mind the Filling: Avoid overfilling the taco shells. A generous spoonful is perfect—too much can lead to messy spills when you take a bite!
-
Cool Shells Completely: Let the baked taco shells cool on a wire rack completely. This ensures they maintain their delightful crunch and don’t become soggy from the filling.
-
Assemble at Serving Time: For the best texture, fill the taco shells just before serving. This keeps the shells crispy, enhancing your Cheesecake Tacos’ delightful contrast in textures.
-
Experiment Wisely: Don’t hesitate to try different fillings and toppings! Just remember, some ingredients (like fruits) might release moisture, so add them strategically.
How to Store and Freeze Cheesecake Tacos
Room Temperature: Store unfilled taco shells at room temperature for up to 3-4 days. Keep them in an airtight container to maintain their crunchiness.
Fridge: Refrigerate filled Cheesecake Tacos for up to 2-3 days. For the best texture, consume them fresh, as the shells may soften over time.
Freezer: You can freeze unfilled taco shells for up to 2 months. Place them in a freezer-safe container or zip-top bag, separating layers with parchment paper.
Reheating: If needed, reheat frozen taco shells in the oven at 375°F (190°C) for about 5 minutes until warm and crispy again.
Make Ahead Options
These delightful Cheesecake Tacos are perfect for meal prep enthusiasts looking to save time during busy weeknights! You can prepare the taco shell components up to 24 hours in advance by making and baking the shells, then storing them in an airtight container at room temperature to maintain their crunch. Additionally, the cheesecake filling can be made up to 3 days ahead of time; simply refrigerate it in an airtight container until you’re ready to use it. When it’s time to serve, just fill the cooled taco shells with the chilled cheesecake mixture and garnish as desired. This way, you can enjoy a delicious dessert with minimal effort on the day of your gathering!
What to Serve with Cheesecake Tacos
Delightful desserts like these are perfect for creating a memorable meal experience that leaves everyone wanting more.
-
Fresh Berries: The vibrant acidity of strawberries or raspberries perfectly counters the rich creaminess of the cheesecake, adding freshness.
-
Chocolate Sauce: Drizzling warm chocolate sauce over each taco adds a decadent touch, enhancing the sweetness and bringing an indulgent finish.
-
Whipped Cream: A fluffy dollop of whipped cream enhances the dessert’s creaminess, making each bite even more luxurious and satisfying.
-
Cinnamon Sugar Tortilla Chips: Crunchy tortilla chips lightly dusted with cinnamon sugar offer an extra layer of texture and take the taco theme further.
-
Ice Cream: A scoop of vanilla or berry ice cream harmonizes beautifully with the cheesecake’s tang, turning the dessert into a delightful treat.
-
Sparkling Water: A refreshing glass of sparkling water with a twist of lemon balances sweetness and cleanses the palate between bites.
-
Coffee or Espresso: The warm bitterness of coffee complements the sweetness of cheesecake tacos, making it the perfect pairing for an after-dinner treat.
Cheesecake Tacos Variations & Substitutions
Feel free to explore and make this whimsical dessert your own with these exciting twists!
- Dairy-Free: Substitute cream cheese with vegan cream cheese and use coconut cream for the filling to keep it creamy without dairy.
- Flavored Fillings: Try different cream cheese flavors like strawberry, chocolate, or pumpkin to create a sweet surprise in every taco.
- Gluten-Free: Use gluten-free tortillas to make these delectable Cheesecake Tacos accessible for everyone. You won’t miss a beat in flavor!
- Nutty Crunch: Add crushed nuts, such as pistachios or almonds, on top for an appealing texture and extra flavor burst.
- Spice It Up: Experiment with spices by adding a touch of cardamom or pumpkin spice to the cinnamon-sugar mixture for a unique flavor profile.
- Tropical Twist: Incorporate crushed pineapple or shredded coconut to the filling to bring a slice of paradise into your dessert!
- Gourmet Touch: Drizzle with salted caramel or chocolate sauce just before serving for an elegant and irresistible finish.
- Fruit Toppings: Fresh berries, bananas, or citrus zest on top not only enhance presentation but also add a refreshing fruity contrast to the creamy filling.
These delightful Cheesecake Tacos can be customized for any taste or occasion. For more dessert inspiration, consider making some delightful Blueberry Cheesecake Protein bites or giving a festive twist to your desserts with Bake Gingerbread Cheesecake cups! Enjoy crafting your perfect taco!

Cheesecake Tacos Recipe FAQs
What type of tortillas should I use for Cheesecake Tacos?
For the best texture, use flour tortillas as they create the ideal crunchy shell. However, you can also opt for whole wheat or gluten-free tortillas if you prefer. Just ensure whatever option you choose is pliable enough to drape over the oven rack.
How should I store leftover Cheesecake Tacos?
If you have filled Cheesecake Tacos, refrigerate them in an airtight container for up to 2-3 days. However, keep in mind that the shells may soften over time, so for optimal crunch, try to enjoy them fresh. Unfilled taco shells can be stored at room temperature for up to 3-4 days in an airtight container.
Can I freeze Cheesecake Taco shells?
Absolutely! Unfilled taco shells can be frozen for up to 2 months. Place them in a freezer-safe container or zip-top bag, separating layers with parchment paper to prevent sticking. When you’re ready to use them, just reheat in the oven at 375°F (190°C) for about 5 minutes for that fresh, crispy texture.
What should I do if my cheesecake filling is too lumpy?
If your filling turns out lumpy, it’s likely due to cold cream cheese! To avoid this, make sure to soften the cream cheese to room temperature before mixing. If it’s too late and you’re already facing lumps, try beating the filling longer, or you can pass it through a fine-mesh sieve for a smoother texture.
Can pets eat Cheesecake Tacos?
It’s best not to share Cheesecake Tacos with your pets. Ingredients like cream cheese and heavy cream can upset their stomachs, and sugar is not suitable for them. Always prioritize their health and stick to pet-friendly treats!
How can I make Cheesecake Tacos dairy-free?
To create a dairy-free version, simply substitute the cream cheese with a high-quality vegan cream cheese. Use coconut oil instead of butter for the shells, and swap out heavy cream for coconut cream. These alternatives will keep your Cheesecake Tacos delicious and creamy while catering to dietary needs.
Irresistible Cheesecake Tacos with a Crunchy Twist
Ingredients
Equipment
Method
- Preheat your oven to 375°F (190°C) and position the rack in the center.
- Melt 3 tablespoons of unsalted butter in a microwave-safe bowl for about 30 seconds.
- Mix ¼ cup granulated sugar with 1 tablespoon of ground cinnamon in a separate bowl.
- Brush one side of each flour tortilla with melted butter and dip them into the cinnamon-sugar mixture.
- Drape the coated tortillas over the bars of the oven rack to shape them into taco forms.
- Bake for 8 to 10 minutes until golden and crisp, then cool them on a wire rack.
- Beat together 8 ounces of cream cheese and ¼ cup of granulated sugar until smooth.
- Add 1 teaspoon vanilla extract, 1 tablespoon lemon juice, a pinch of salt, and ½ cup heavy cream, mixing until fluffy.
- Fill the cooled taco shells with the cheesecake filling using a spoon or piping bag.
- Garnish with fresh berries, melted chocolate, or whipped cream before serving.
Leave a Reply