
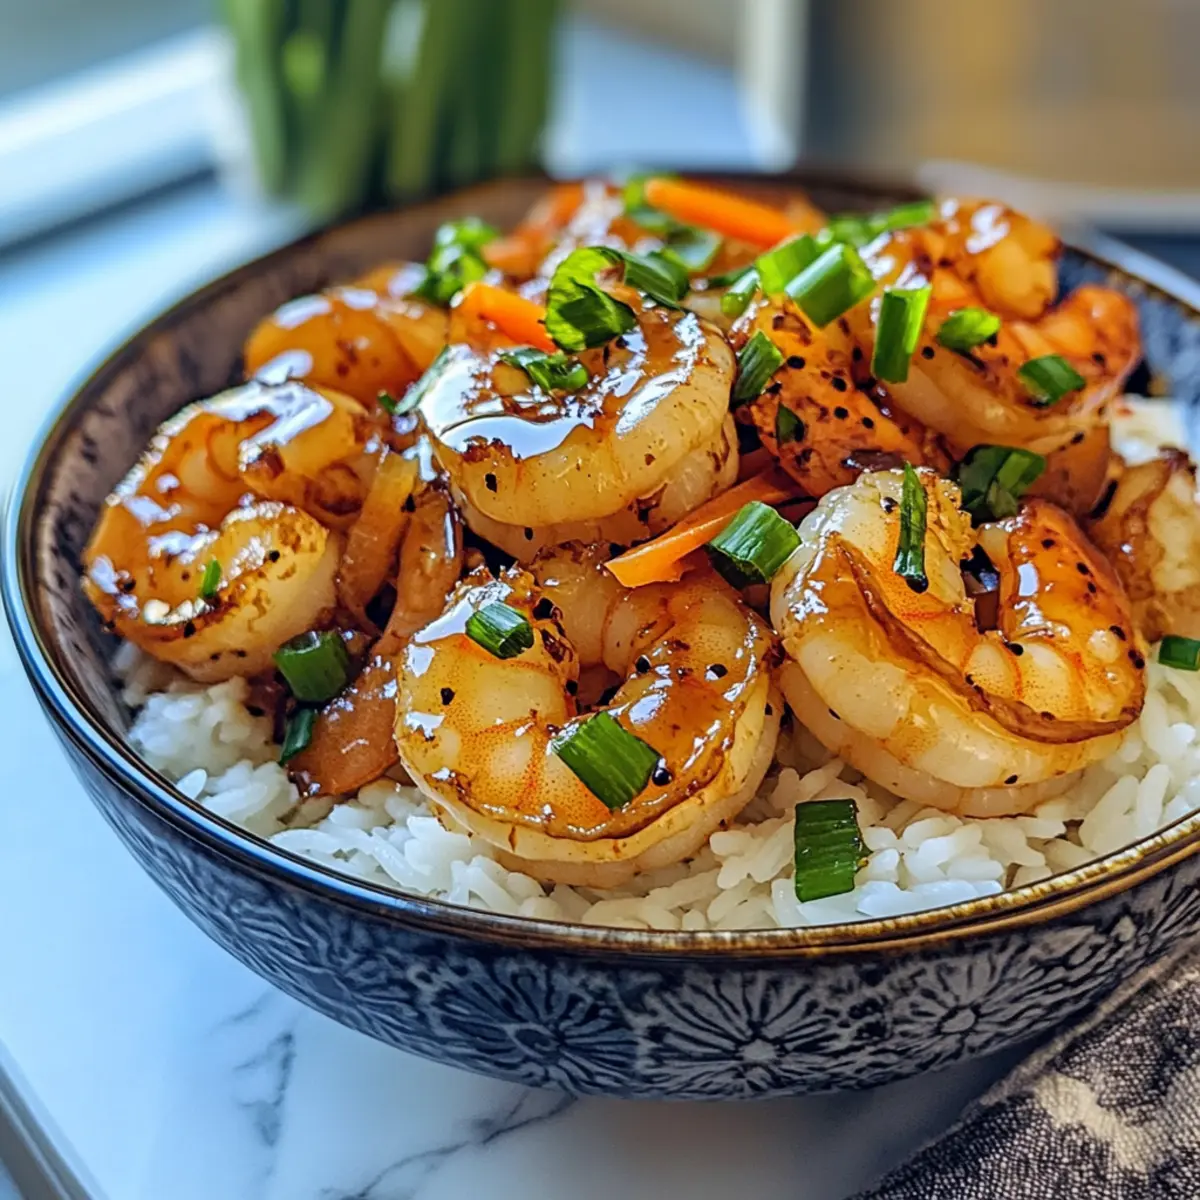
The aroma of sizzling shrimp drifts through my kitchen, blending the sweetness of honey and the zest of garlic into a tantalizing promise of dinner. These Honey Garlic Shrimp Bowls not only capture that delightful fragrance but also offer a quick weeknight dinner solution that comes together in just 30 minutes. With a healthy balance of vibrant veggies and fluffy rice, this dish is effortlessly satisfying and entirely gluten-free when you swap in Tamari. It’s a confident nod to Asian-inspired flavors that will bring your family together around the dinner table. Ready to elevate your weeknight meals with a touch of sweet and spicy magic? Let’s dive into this delicious recipe together!
Why Try Honey Garlic Shrimp Bowls?
Quick, hassle-free meal: Perfectly designed for those busy weeknights, these bowls come together in just 30 minutes—ideal for chefs on the go.
Bold, delightful flavors: The fusion of honey, garlic, and spices creates a taste that tantalizes your taste buds, reminiscent of your favorite takeout without the guilt!
Versatile ingredients: With options to substitute proteins and veggies, you can easily customize this dish to suit any palate or dietary need.
Healthy, balanced nutrition: Packed with protein, veggies, and wholesome grains, these bowls ensure a nourishing meal that fuels your day.
Crowd-pleaser: Whether serving a family or entertaining friends, everyone will appreciate this vibrant dish, making it a surefire hit!
If you love quick and delicious meals like this, you might also enjoy my Healthy Meal Bowls or Garlic Parmesan Cheeseburger Bombs for more flavorful ideas.
Honey Garlic Shrimp Bowls Ingredients
For the Shrimp
- Fresh Shrimp – Use peeled and deveined shrimp for tenderness and ease.
- Red Pepper Flakes – Adjust the amount for your desired heat level in these Honey Garlic Shrimp Bowls.
For the Sauce
- Raw Honey – Sweetens the shrimp and gives it that sticky glaze; substitutes include maple syrup or agave.
- Low Sodium Soy Sauce – Adds umami flavor; swap for Tamari to keep this dish gluten-free.
- Garlic – Fresh minced garlic is essential to infuse flavor throughout the dish.
- Sweet Chili Sauce – Offers a balance of sweetness and mild heat to the overall flavor.
- Lemon Juice – Brightens the dish and lifts the flavors beautifully.
- Minced Ginger or Ginger Paste – Contributes warming notes that enhance the garlic taste.
- Cornstarch – Optional for thickening the sauce if a richer consistency is desired.
For the Veggies
- Julienned Carrots/Sautéed Veggies – Choose any vibrant veggies for color and crunch; customize as you please!
- Green Onion – Adds freshness and a delightful finishing touch; chives can be used as a substitute.
For Serving
- Cooked Rice or Grain – Acts as the perfect base; try quinoa or brown rice for added nutrition.
- Sesame Oil/Avocado Oil – Use either for cooking, enhancing the nutty flavor and high-heat capabilities.
Step‑by‑Step Instructions for Honey Garlic Shrimp Bowls
Step 1: Prepare the Sauce
In a small bowl, combine raw honey, low sodium soy sauce, minced garlic, sweet chili sauce, lemon juice, and minced ginger. Whisk the mixture until well blended, creating a smooth and shiny sauce that will coat the shrimp beautifully. Set the sauce aside to allow the flavors to meld while you prepare the other components of the Honey Garlic Shrimp Bowls.
Step 2: Heat the Oil
In a large skillet, heat 1–2 tablespoons of sesame or avocado oil over medium heat. Allow the oil to shimmer slightly before proceeding, which indicates it’s hot enough for cooking. This oil will add a lovely nuttiness to the dish and create a wonderful sizzle when the shrimp are added next.
Step 3: Cook the Shrimp
Add the fresh, peeled, and deveined shrimp to the hot skillet, ensuring they are in a single layer for even cooking. Sprinkle red pepper flakes over the shrimp for a pop of heat, and cook for 1–2 minutes on each side until they turn pink and opaque, achieving that lovely caramelization that adds flavor.
Step 4: Add the Sauce
Once the shrimp are cooked, reduce the heat to low and carefully pour the prepared honey garlic sauce over them. Allow the mixture to simmer gently for 3–4 minutes, stirring occasionally. You’ll know it’s ready when the sauce thickens slightly and clings beautifully to the shrimp, creating a glossy coating full of delicious flavor.
Step 5: Prepare Accompaniments
While the shrimp is simmering, take this time to prepare your rice or chosen grain and any additional sautéed vegetables. Cook the rice according to package instructions, and in another pan, sauté julienned carrots or other preferred veggies until they’re tender-crisp, infusing a vibrant crunch into your Honey Garlic Shrimp Bowls.
Step 6: Assemble the Bowls
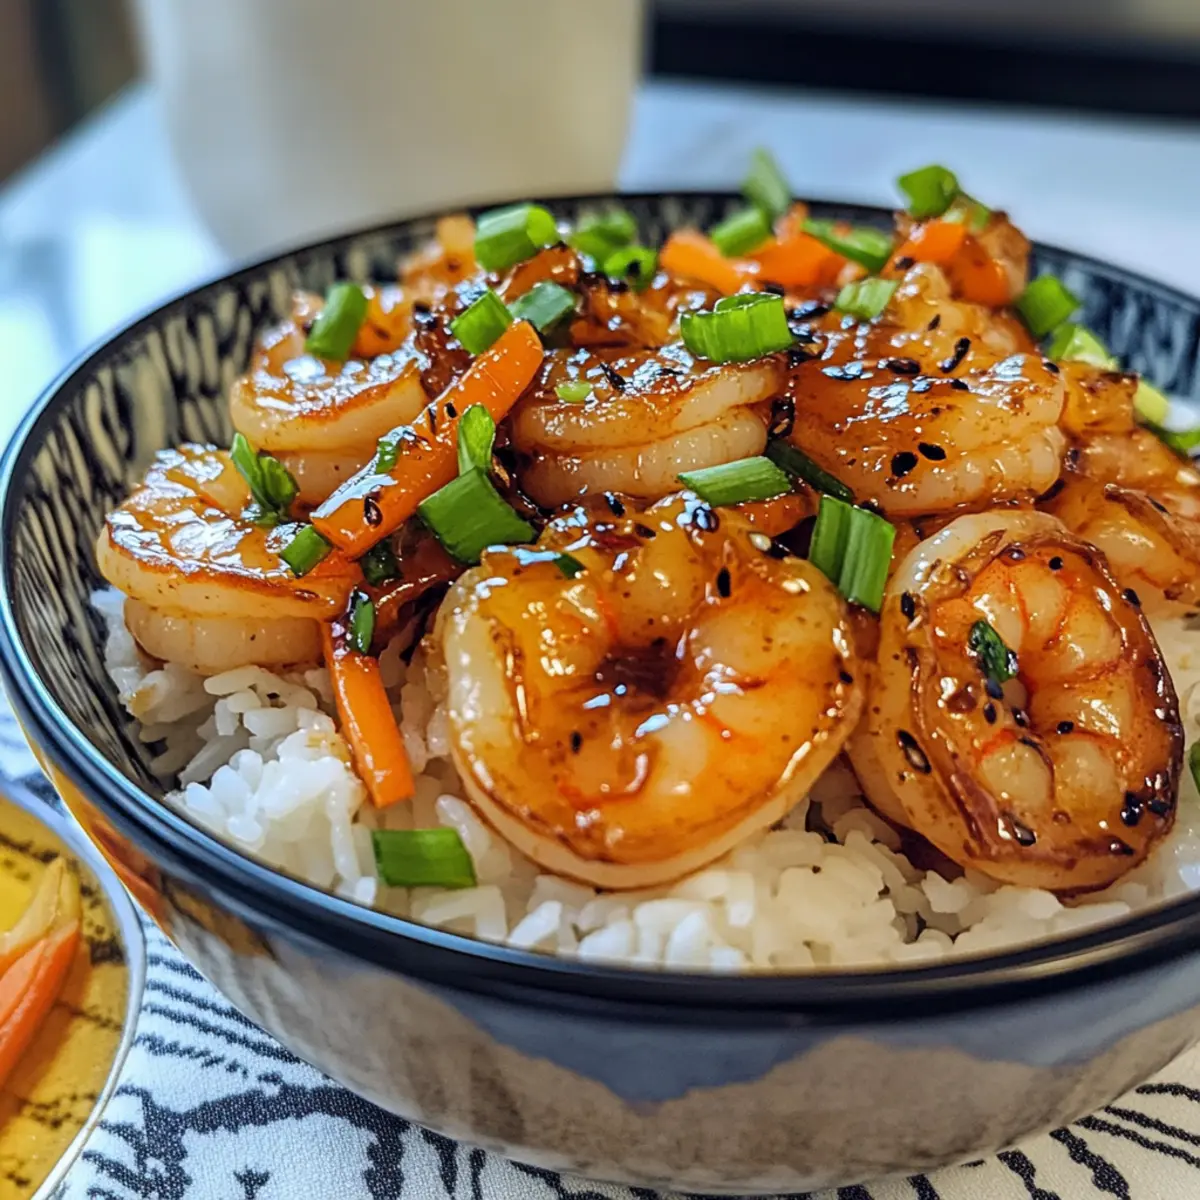
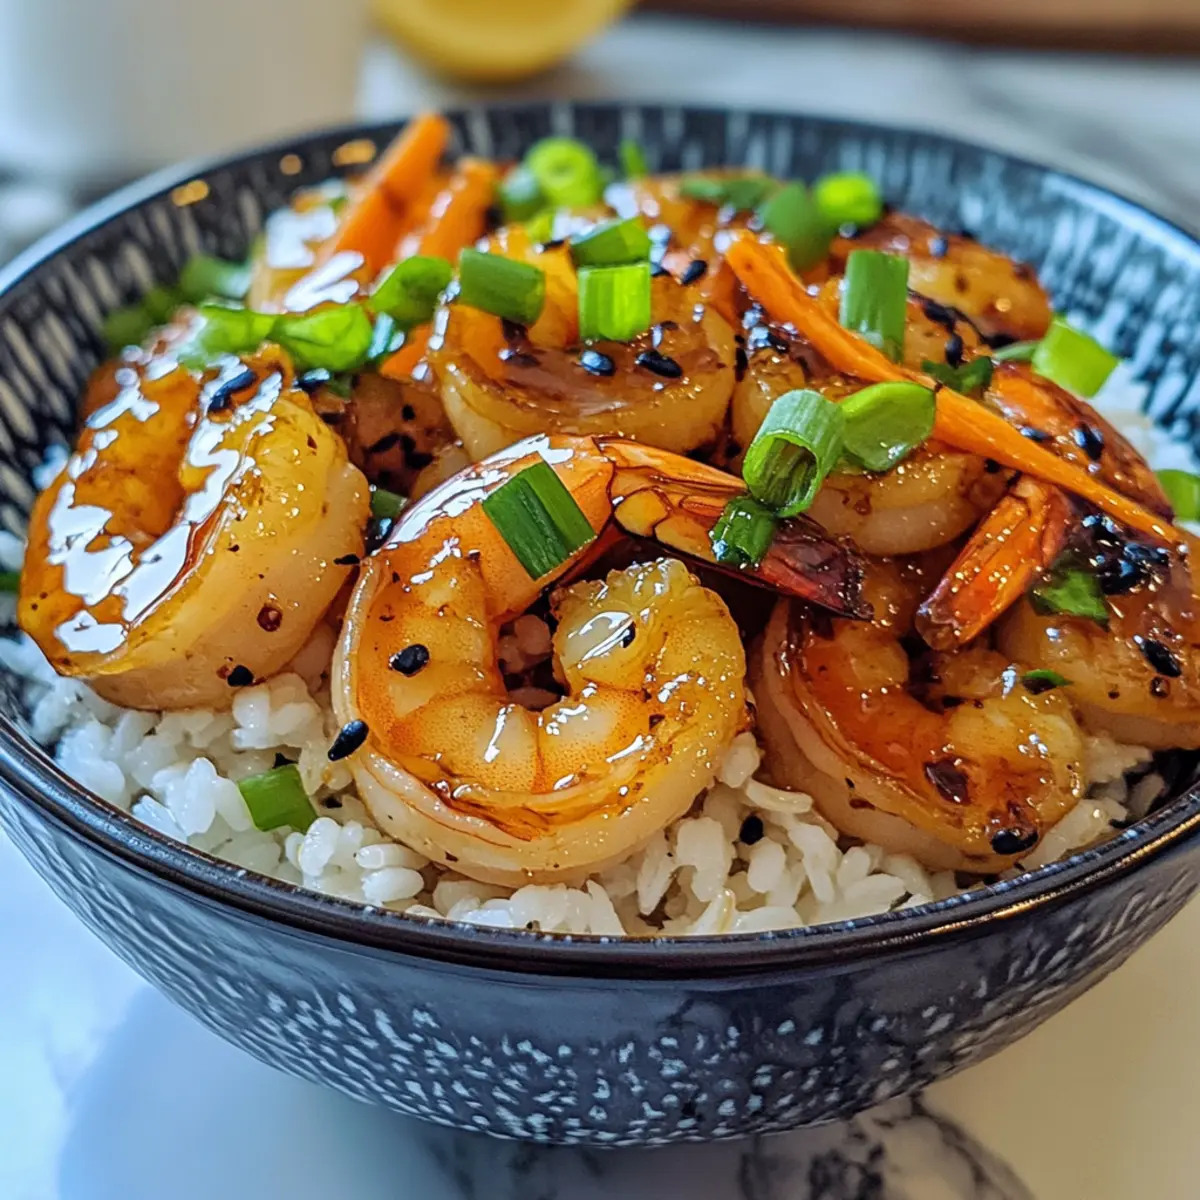
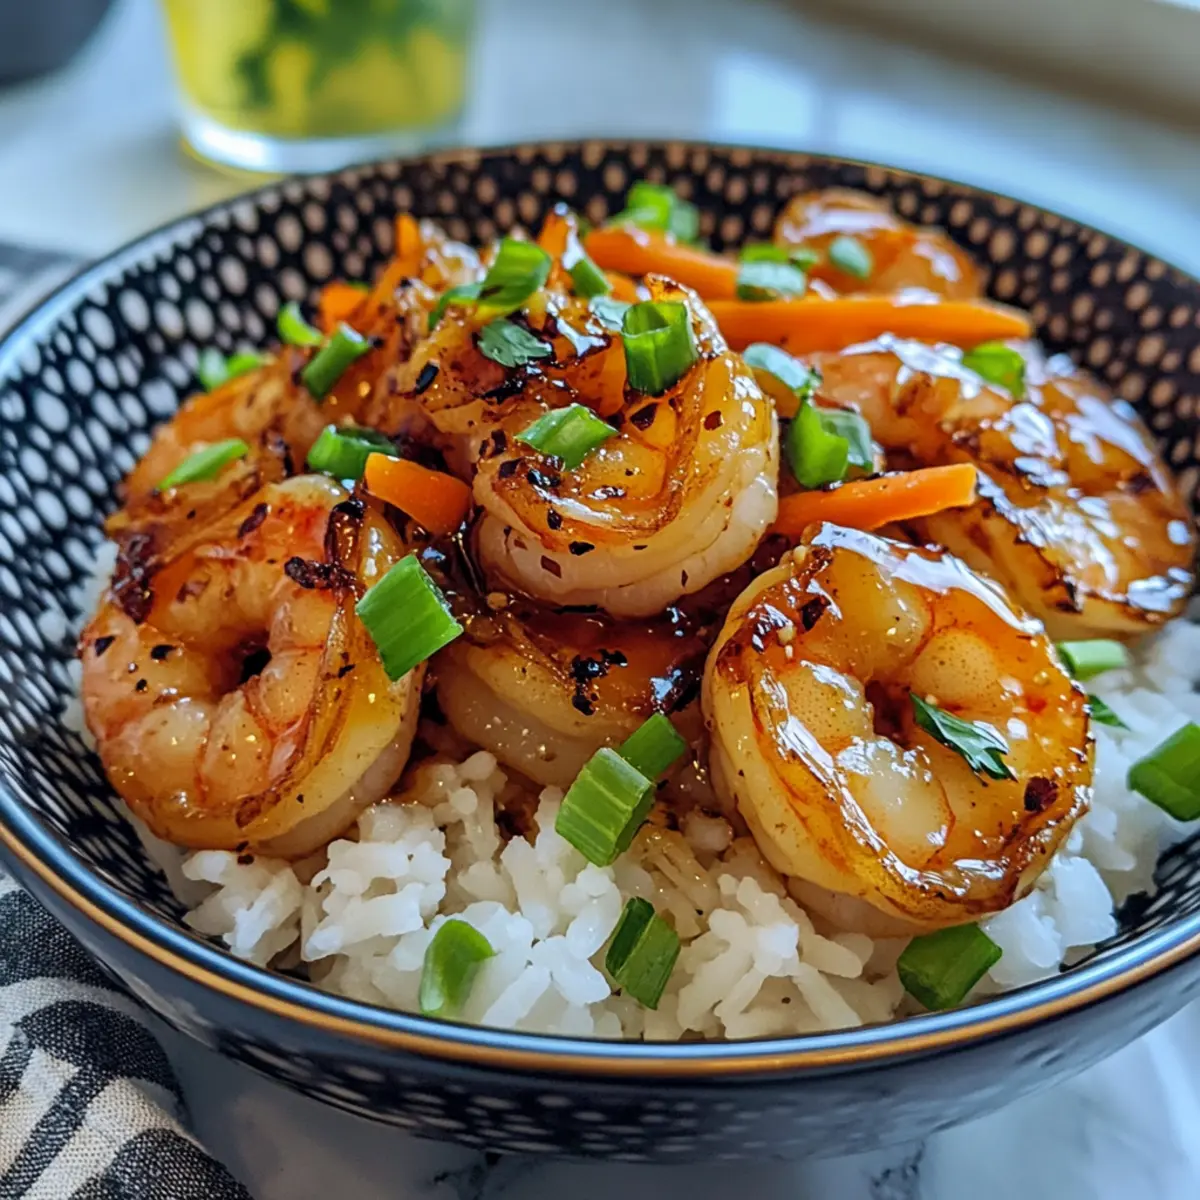
In large serving bowls, start by layering the fluffy cooked rice or grain as the base. Next, add the sautéed vegetables in a colorful arrangement, followed by the succulent shrimp coated in the honey garlic sauce on top. This layering will create an eye-catching presentation that invites everyone to dig in!
Step 7: Garnish & Serve
Finish your Honey Garlic Shrimp Bowls with a sprinkle of chopped green onions for a fresh, aromatic touch. If desired, add an extra pinch of red pepper flakes for those who enjoy a little more spice. Serve these warm, welcoming bowls to your family or guests and enjoy the delightful flavors!
Honey Garlic Shrimp Bowls Variations
Feel free to mix and match flavors and ingredients to create your very own Honey Garlic Shrimp Bowls masterpiece!
-
Protein Swap: Substitute shrimp with chicken or tofu. Both options absorb the honey garlic flavors beautifully, offering a satisfying alternative that family and friends will love.
-
Veggie Mix-In: Experiment with colorful veggies like bell peppers, snap peas, or broccoli. Adding different textures and flavors enhances the dish while providing nutritional variety!
-
Tropical Twist: Increase the honey or add pineapple juice for a tropical sweetness. This fruity hint brightens the dish and makes it a delightful summertime menu item.
-
Crispy Texture: Top your bowls with crispy fried onions or wonton strips for an extra crunch. They add a delightful contrast to the tender shrimp and veggies!
-
Gluten-Free Guarantee: Use Tamari instead of soy sauce to keep these bowls gluten-free without sacrificing flavor. This small adjustment makes a big impact for those with dietary restrictions.
-
Heat Level: Add sriracha or chili paste to the honey garlic sauce for an increased kick. Adjust the amount based on your preference and enjoy that spicy buzz!
-
Quinoa Base: Swap white rice for quinoa for an added boost of protein and nutrients. This swap doesn’t just change the flavor; it transforms the entire bowl into a wholesome meal option.
-
Extra Sweetness: For a touch of sweetness, drizzle a bit of extra honey over the dish before serving. This final flourish creates a shiny, inviting finish that promises a delicious bite.
If you’re eager for more culinary inspiration, check out my Slow Cooker Garlic for a hands-off cooking experience or my tasty Honey Lime Chicken for another flavorful twist.
Make Ahead Options
These Honey Garlic Shrimp Bowls are perfect for making your weeknight meals a breeze! You can prep the sauce (honey, soy sauce, garlic, sweet chili sauce, lemon juice, and ginger) and refrigerate it in an airtight container for up to 3 days. Additionally, the shrimp can be peeled and deveined ahead of time to save you precious moments during busy evenings. To ensure maximum freshness, sauté the veggies just before serving. When you’re ready to enjoy your meal, simply cook the shrimp, add the sauce, and assemble the bowls over freshly prepared rice or grain. You’ll have a flavorful dinner that tastes just as delicious as if you made it right then and there!
How to Store and Freeze Honey Garlic Shrimp Bowls
Fridge: Store any leftovers in an airtight container for up to 3 days. To preserve freshness, keep the shrimp, rice, and vegetables separate until ready to eat.
Freezer: For longer storage, freeze cooked shrimp without the sauce in a freezer-safe container for up to 1 month. Make a fresh sauce to serve upon reheating for best flavor.
Reheating: Thaw shrimp overnight in the fridge, then reheat in a skillet over medium heat until warmed through. Add the freshly made sauce to revive its rich, sweet flavor.
Enjoying Leftovers: Revamp leftover bowls by adding fresh veggies or serving them in lettuce wraps for a fun twist!
Expert Tips for Honey Garlic Shrimp Bowls
• Prep Ahead: Minimize cooking time by prepping your ingredients, like chopping veggies and mixing the sauce, before you start cooking.
• Choose Quality Shrimp: Opt for fresh, high-quality shrimp for the best texture and flavor; frozen shrimp is convenient but should be thawed properly.
• Don’t Overcook: Watch your shrimp closely; they only need 1-2 minutes per side—overcooking will lead to a rubbery texture!
• Balance Flavors: Adjust sweetness or spice by experimenting with honey and red pepper flakes to suit your taste preference in these Honey Garlic Shrimp Bowls.
• Stay Organized: Keep your workstation tidy and ingredients within arm’s reach to make the cooking process smooth and enjoyable.
• Add Fresh Herbs: Elevate the dish with fresh herbs like cilantro or mint, adding vibrant flavor and a beautiful finish to your Honey Garlic Shrimp Bowls.
What to Serve with Honey Garlic Shrimp Bowls
Savor the complete dining experience with flavors and textures that perfectly complement your succulent dish.
-
Steamed Edamame: Adds a delightful crunch and protein boost, enhancing the bowl’s satisfying elements without overpowering the shrimp.
-
Fresh Cucumber Salad: Light and refreshing, it brings a crisp texture to balance the savory shrimp, with a zesty dressing that awakens the palate.
-
Coconut Rice: A subtly sweet alternative to plain rice, its creaminess pairs beautifully with the honey garlic sauce and adds an exotic twist.
-
Sautéed Bok Choy: Offers a tender, nutrient-rich side that complements the meal with a savory crunch, echoing the flavors of the shrimp.
Pairing these dishes not only elevates the meal but also invites a variety of flavors and textures to the table. Each option harmonizes with the sweet and savory profile, ensuring your dinner feels complete and satisfying.
Honey Garlic Shrimp Bowls Recipe FAQs
What kind of shrimp is best for Honey Garlic Shrimp Bowls?
Absolutely! I recommend using fresh, peeled, and deveined shrimp for the best tenderness and ease of preparation. If fresh shrimp isn’t available, frozen shrimp works well too; just remember to thaw it properly in the fridge overnight before cooking.
How should I store leftovers of my Honey Garlic Shrimp Bowls?
To keep your Honey Garlic Shrimp Bowls fresh, store any leftovers in an airtight container in the fridge for up to 3 days. For optimal taste, I suggest keeping the shrimp, rice, and vegetables in separate containers until you’re ready to enjoy them again.
Can I freeze my Honey Garlic Shrimp Bowls?
Very much! To freeze, place the cooked shrimp in a freezer-safe container without the sauce for up to 1 month. This prevents the shrimp from becoming mushy. When you’re ready to enjoy, thaw the shrimp in the fridge overnight and prepare a fresh sauce to serve with it.
What if my sauce is too thin?
If the sauce isn’t thickening as you’d like, you can mix 1 tablespoon of cornstarch with an equal amount of cold water to create a slurry. Add this to the simmering sauce, and continue to stir until it reaches your desired consistency. This also helps to stabilize the flavor without losing any of that sweet and garlic goodness!
Is this recipe suitable for gluten-free diets?
Absolutely! Simply substitute regular soy sauce with Tamari to make your Honey Garlic Shrimp Bowls gluten-free. As always, ensure that all other ingredients are free from gluten traces, especially sauces and condiments.
How do I make my shrimp spicier?
The more the merrier! If you prefer a spicier kick, increase the amount of red pepper flakes added to the shrimp while cooking. You can also add a splash of Sriracha or chili paste to the honey garlic sauce for an extra layer of heat that will enliven the dish beautifully.
Savor Homemade Honey Garlic Shrimp Bowls in 30 Minutes
Ingredients
Equipment
Method
- In a small bowl, combine raw honey, low sodium soy sauce, minced garlic, sweet chili sauce, lemon juice, and minced ginger. Whisk until well blended.
- In a large skillet, heat sesame or avocado oil over medium heat until shimmer.
- Add shrimp to the skillet in a single layer, sprinkle with red pepper flakes, and cook for 1-2 minutes on each side until pink and opaque.
- Pour the prepared sauce over the cooked shrimp, reduce heat to low, and simmer for 3-4 minutes until sauce thickens.
- Prepare rice or grain according to package instructions, and sauté julienned carrots or desired veggies until tender-crisp.
- In serving bowls, layer cooked rice or grain, sautéed vegetables, and shrimp with sauce on top.
- Garnish with chopped green onions and an extra pinch of red pepper flakes if desired. Serve warm.
Leave a Reply