
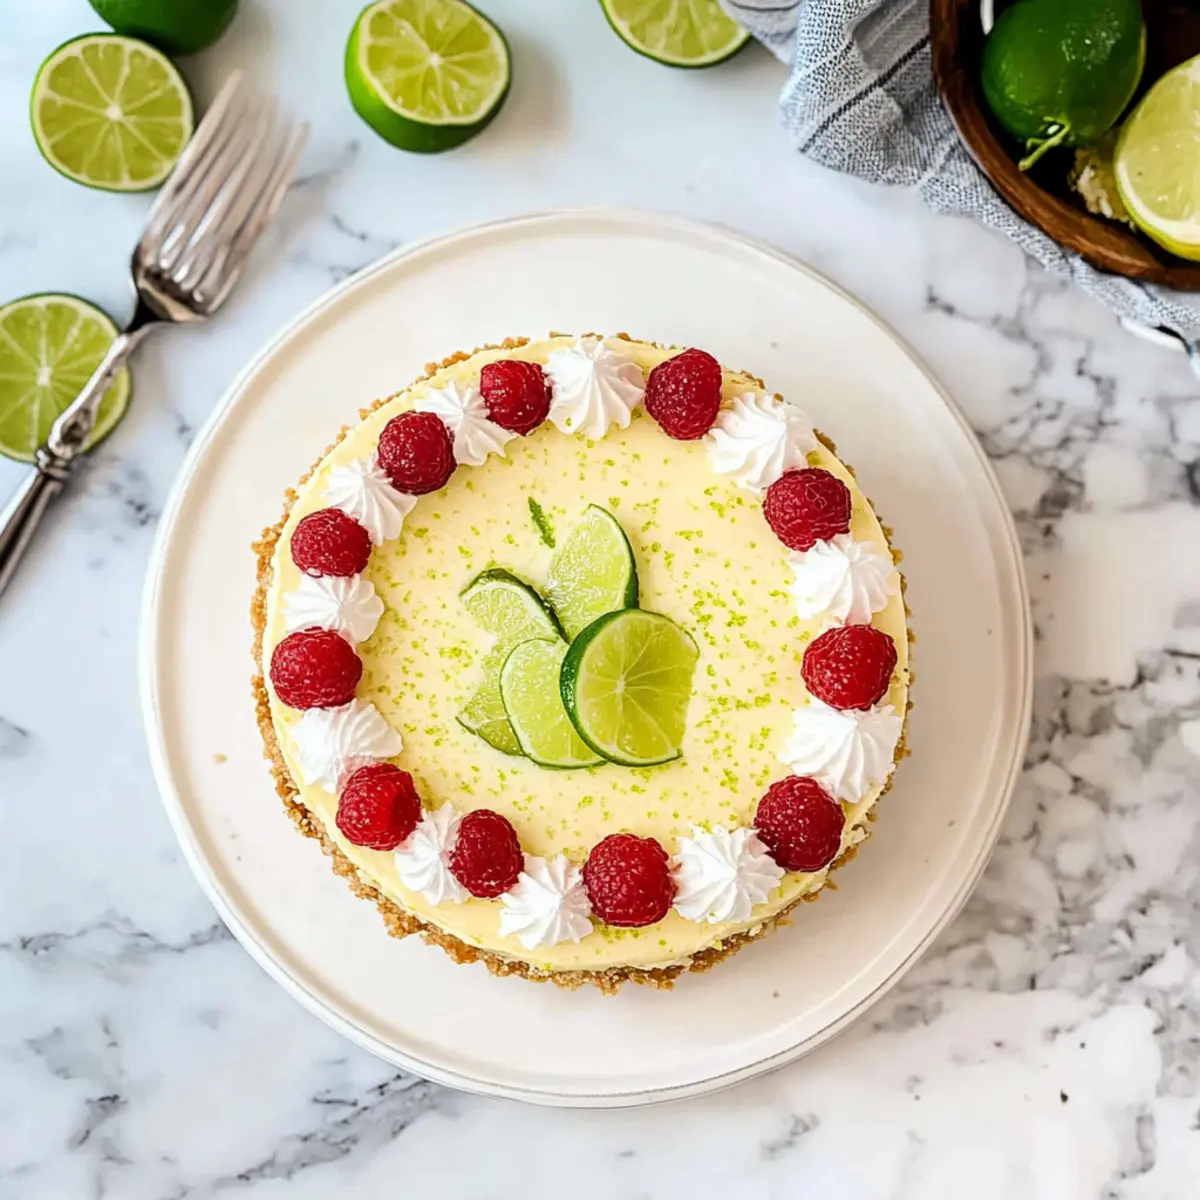
As I whisked together the creamy concoction for my latest dessert, a light bulb moment struck me. Why not combine the best of two worlds for a stunning treat that boasts the tartness of a key lime pie melded with the smooth indulgence of a cheesecake? The result? A heavenly Key Lime Pie Cheesecake that’s as visually striking as it is flavorful. This no-bake, make-ahead wonder not only saves you time on busy evenings but also pleases a crowd with its refreshing zing—perfect for those warmer months or festive gatherings. And don’t worry if you’re gluten-sensitive; I’ve included a gluten-free crust option that everyone will love! Are you ready to elevate your dessert game and conquer your kitchen with this delightful creation?

Why Is This Key Lime Pie Cheesecake a Must-Try?
Simplicity: With just a few easy steps, this no-bake dessert requires minimal setup and can be prepped in advance.
Flavor Explosion: The vibrant tang of key lime combined with the creaminess of cheesecake creates an irresistible flavor duo that will tantalize your taste buds.
Versatile Options: Feel free to swap in different citrus juices or use gluten-free crust alternatives to tailor the recipe to your taste preferences.
Crowd-Pleasing Delight: Perfect for summer gatherings or family dinners, this cheesecake will surely impress your guests and make you the star of the event.
Effortless Presentation: With its stunning layers and toppings, it elevates your dessert table, requiring no extra skills in decoration—just pipe on that whipped cream!
If you’re seeking more delicious recipes that cater to various dietary needs, check out my Honey Lime Chicken or Blueberry Cheesecake Protein for inspiration!
Key Lime Pie Cheesecake Ingredients
This Key Lime Pie Cheesecake features a delightful blend of flavors and textures to satisfy any dessert lover’s cravings.
For the Crust
- Graham Crackers – These provide the perfect foundation, offering a sweet and crunchy base. Opt for gluten-free graham crackers if needed.
- Unsalted Butter – Adds richness and helps bind the crust together; remember to melt it!
- Granulated Sugar – Sweetens up the crust; can be replaced with coconut sugar for a different twist.
For the Filling
- Cream Cheese – The creamy star of the show; full-fat cream cheese ensures a rich texture that’s key for this cheesecake.
- Sour Cream – Adds a delightful tang and creaminess; using it at room temperature helps in mixing.
- Cornstarch – This helps to set the filling; all-purpose flour can be used as a substitute.
- Eggs – They give structure; ensure they are large and at room temperature for best results.
- Key Lime Juice – The essential ingredient for that zesty flavor; feel free to use regular lime juice as an alternative if necessary.
- Key Lime Zest – Enhances the lime flavor; regular lime zest can also be used in a pinch.
- Vanilla Extract – Adds depth to the cheesecake filling; always choose high-quality vanilla for the best taste.
For the Stabilized Whipped Cream
- Heavy Whipping Cream – This must be very cold to achieve those lovely, airy peaks.
- Powdered Sugar – Sweetens the whipped cream and helps stabilize it; perfect for those fluffy toppings.
- Unflavored Gelatin – This is optional but helps create a sturdier whipped cream that holds its shape beautifully.
- Cold Water – Used to dissolve the gelatin before combining it with the whipped cream.
Elevate your dessert game with this delicious Key Lime Pie Cheesecake, perfect for making ahead and enjoyed by all!
Step‑by‑Step Instructions for Key Lime Pie Cheesecake
Step 1: Prepare the Crust
In a mixing bowl, combine crushed graham crackers, melted unsalted butter, and granulated sugar. Stir until the mixture resembles wet sand. Press this mixture firmly into the bottom of a greased 9-inch springform pan, spreading it evenly. Bake in a preheated oven at 325°F for 10 minutes until golden and fragrant, then let it cool while you prepare the filling.
Step 2: Waterproof the Pan
To prevent any leaks during baking, wrap the exterior of the springform pan with a layer of aluminum foil. Ensure the foil covers the bottom and extends up the sides without any gaps. This step is crucial, especially when creating your creamy Key Lime Pie Cheesecake, to maintain the perfect texture.
Step 3: Mix Filling
In a large mixing bowl or stand mixer, beat the cream cheese until it becomes fluffy and creamy. Gradually add granulated sugar and cornstarch, mixing until fully incorporated. Next, blend in the sour cream, key lime juice, zest, and vanilla extract until smooth. Add the eggs one at a time, mixing just until combined after each addition.
Step 4: Bake Cheesecake
Pour the creamy filling into the prepared crust and smooth the top with a spatula. Place the springform pan inside a roasting pan and add boiling water to the roasting pan until it reaches halfway up the sides of the springform pan. Bake at 325°F for 65-85 minutes, or until the edges are set and the center has a slight wobble.
Step 5: Cool
Once baked, turn off the oven and crack open the door slightly, allowing the cheesecake to cool slowly for about an hour. After an hour, carefully remove the cheesecake from the water bath, and let it cool completely on a wire rack for 2-3 hours. This cooling process helps prevent cracks in your perfect Key Lime Pie Cheesecake.
Step 6: Chill
For the best flavor, refrigerate the cooled cheesecake overnight, but ideally for 24 hours. This rest period enhances the tangy lime flavor, creating a refreshing dessert that’s perfect for any occasion. Cover the cheesecake with plastic wrap to avoid any sour cream absorption during chilling.
Step 7: Make Stabilized Whipped Cream
To create the stabilized whipped cream, start by dissolving unflavored gelatin in cold water and let it sit for about 5 minutes. In a separate mixing bowl, whip the heavy whipping cream with powdered sugar and vanilla until soft peaks form. Gradually add the dissolved gelatin mixture, continuing to whip until stiff peaks form.
Step 8: Serve
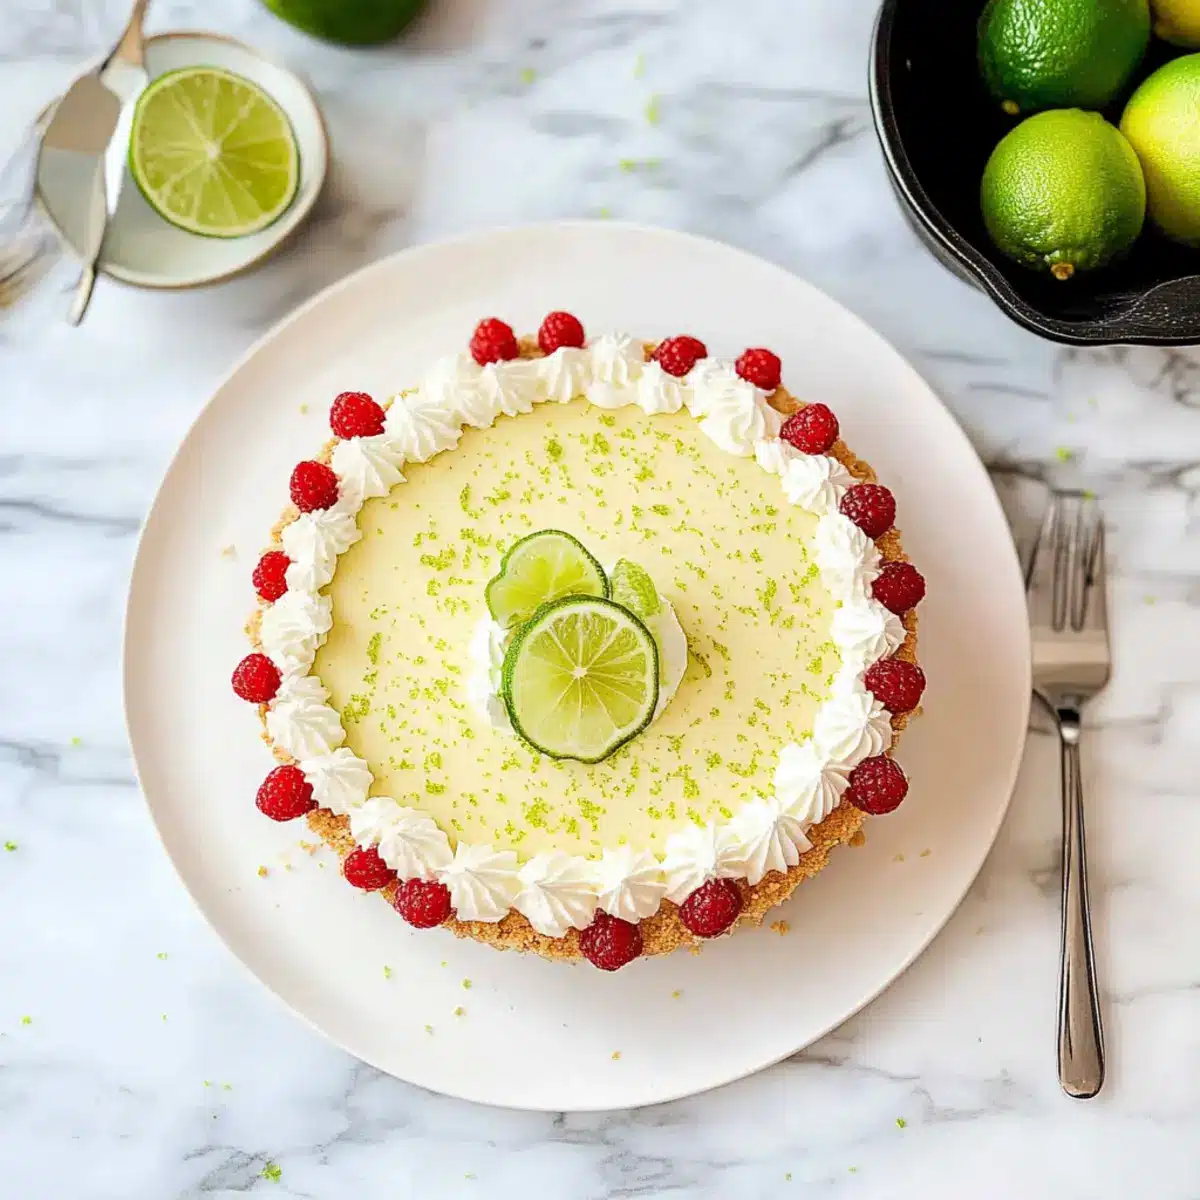
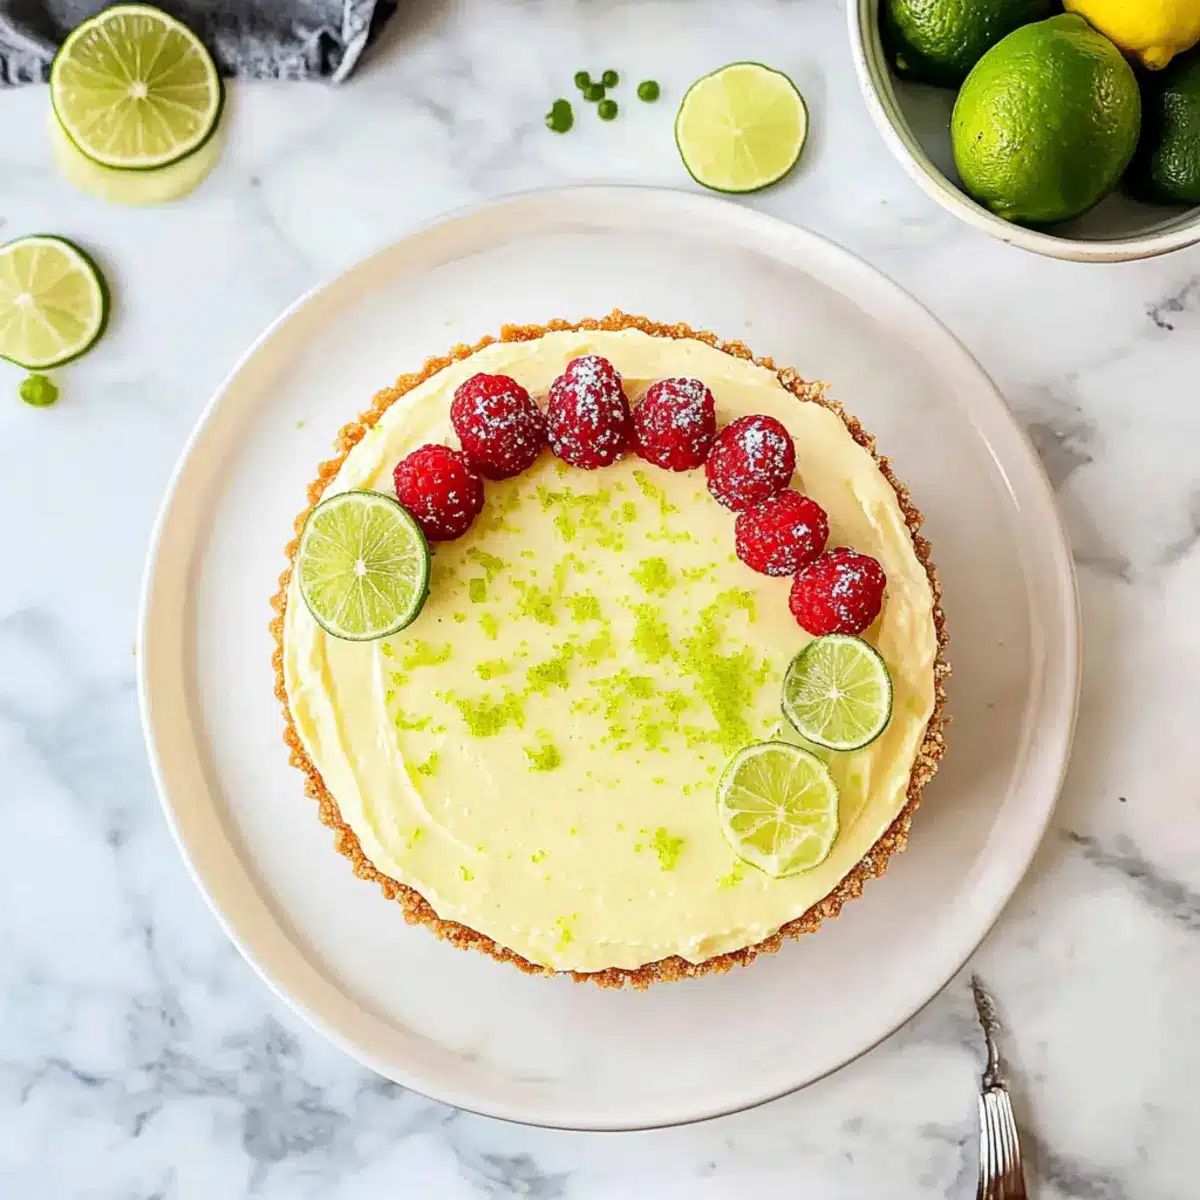
Before serving, pipe the stabilized whipped cream generously onto the cooled Key Lime Pie Cheesecake. Feel free to garnish with fresh berries and a sprinkle of lime zest for extra flair. This delightful dessert is sure to impress your guests and will quickly become a family favorite!
Expert Tips for Key Lime Pie Cheesecake
-
Room Temperature Ingredients: Ensure your cream cheese, eggs, and sour cream are at room temperature before mixing. This helps achieve a smooth filling and prevents cracks in your cheesecake.
-
Mix Gently: When incorporating the eggs into the cheesecake mixture, blend until just combined. Overbeating can introduce air pockets, leading to cracks during baking.
-
Use a Water Bath: Baking your cheesecake in a water bath helps maintain even heat distribution, preventing cracks and ensuring a silky texture in your Key Lime Pie Cheesecake.
-
Chill Properly: For optimal flavor and texture, allow your cheesecake to chill overnight. This resting time lets the tangy key lime flavor develop beautifully and enhances the overall experience.
-
Stabilized Whipped Cream: If you prefer a fluffier topping that holds its shape, use the gelatin method for your whipped cream, but traditional whipped cream can be used if added just before serving for a lighter texture.
-
Experiment with Toppings: Don’t hesitate to get creative with toppings! Fresh berries, lime zest, or even a drizzle of chocolate can add visual appeal and extra flavor to your Key Lime Pie Cheesecake.
What to Serve with Key Lime Pie Cheesecake
Imagine a meal that begins with bright notes and ends on a sweet, refreshing finale that leaves everyone smiling.
- Fresh Berries: A mix of strawberries, blueberries, and raspberries adds a vibrant burst of color and sweetness, enhancing the cheesecake’s tangy flavors.
- Coconut Sorbet: This creamy, dairy-free treat brings a tropical flair that pairs beautifully, balancing the sweetness of the cheesecake.
- Limeade: A glass of homemade limeade offers a refreshing drink that complements the zesty notes, perfect for warm gatherings.
- Grilled Pineapple: The caramelized sweetness of grilled pineapple creates a delightful contrast to the cheesecake’s creamy texture. Serve warm for an extra touch!
- Whipped Cream: A light layer of extra whipped cream can elevate each slice, adding an airy softness that complements the dessert. Consider a touch of vanilla to enhance flavor.
- Chocolate Drizzle: A rich chocolate drizzle over the cheesecake adds a luxurious touch, appealing to chocolate lovers. Drizzle right before serving for a striking presentation.
- Mint Leaves: Fresh mint sprigs for garnish offer a refreshing hint and a pop of color, inviting your guests to indulge without hesitation.
- Almond Biscotti: These crunchy cookies provide a perfect contrast to the smoothness of the cheesecake, great for dipping in coffee or tea after dessert.
Key Lime Pie Cheesecake Variations
Feel free to personalize this delicious dessert with these fun and flavorful twists that will surprise your taste buds!
-
Gluten-Free Crust: Swap regular graham crackers for gluten-free versions to make this cheesecake suitable for everyone at your table.
-
Citrus Twist: Try using lemon or orange juice instead of key lime juice to create a refreshing alternative that still dazzles the palate.
-
Oreo Crust: For a chocolate-y upgrade, use crushed Oreo cookies instead of graham crackers for a decadent base that’s simply irresistible.
-
Berry Topping: Top with fresh raspberries or sliced strawberries to add a pop of color and a delightful burst of sweetness. The contrast of flavors creates a beautiful balance.
-
Chocolate Drizzle: Drizzle melted chocolate over the whipped cream topping for a rich, indulgent touch that elevates the dessert. It adds a layer of decadence that will impress your guests.
-
Coconut Cream: Substitute some sour cream with coconut cream for a tropical twist that pairs beautifully with the lime flavor for an exotic vibe.
-
Key Lime Curd: Spread a layer of key lime curd on top of the cheesecake before adding the whipped cream for an intense flavor kick. The sharp tartness complements the creamy base wonderfully.
-
Mini Cheesecakes: Make individual servings by preparing this cheesecake in a muffin tin or small jars for a cute and portion-controlled dessert that’s perfect for gatherings.
Inspired to explore more delicious recipes? Don’t miss out on my delightful Veggie Pot Pie or my indulgent No-Bake Gingerbread Cheesecake Cups to satisfy your culinary cravings!
Make Ahead Options
These Key Lime Pie Cheesecake are perfect for busy home cooks looking to save time and enjoy delicious dessert! You can prepare the crust up to 3 days in advance and store it tightly wrapped in plastic wrap at room temperature to maintain its crunch. The cheesecake filling can be made up to 24 hours ahead, poured on top of the crust, and then refrigerated until serving. Just be sure to cover it with plastic wrap to avoid any fridge odors or moisture. When you’re ready to serve, whip up the stabilized cream fresh and pipe it onto the cheesecake for a delightful finishing touch. This make-ahead approach ensures you have a stunning, restaurant-quality dessert with minimal last-minute effort!
How to Store and Freeze Key Lime Pie Cheesecake
Fridge: Store your Key Lime Pie Cheesecake in an airtight container in the refrigerator for up to 7 days. This will keep it fresh and ready for your indulgence!
Freezer: If you want to save some for later, wrap individual slices in plastic wrap and aluminum foil, then freeze for up to 2 months. Thaw in the refrigerator before enjoying again.
Wrapping: To prevent freezer burn, ensure the cheesecake is tightly wrapped—double-wrapping with cling film and foil works best.
Reheating: For best taste, serve the cheesecake chilled straight from the fridge. If you’d like, you can enjoy the whipped cream topping fresh from a quick whip just before serving!
Key Lime Pie Cheesecake Recipe FAQs
What kind of key limes should I use for the best flavor?
Absolutely! For the brightest flavor in your Key Lime Pie Cheesecake, use fresh key limes if possible. Look for limes that are firm and heavy for their size, indicating juiciness. If you can’t find key limes, regular Persian limes work well too. Just aim for a balance of tartness and sweetness when substituting.
How should I store leftover cheesecake?
After indulging, store your cheesecake in an airtight container in the fridge for up to 7 days. If you have leftovers that you want to preserve for longer, wrap individual slices tightly in plastic wrap and aluminum foil, then freeze them for up to 2 months. Make sure to thaw them in the refrigerator before serving for the best taste!
Can I make this cheesecake ahead of time?
Very! This Key Lime Pie Cheesecake is fantastic as a make-ahead dessert. You can prepare it a day or even up to two days in advance. Just bake, cool, and refrigerate it until you’re ready to serve. The flavors deepen with time, making it even more delicious!
What can I do if my cheesecake cracks during baking?
If your cheesecake cracks, don’t panic! There are a few things you can do to minimize this. Firstly, ensure all your ingredients are at room temperature to avoid overmixing. Additionally, using a water bath during baking helps maintain even heat and prevents cracking. In the future, try not to overbeat the eggs, as introducing too much air can also lead to cracks.
Is there a gluten-free option for the crust?
Yes, indeed! For a gluten-free version of the Key Lime Pie Cheesecake, simply substitute regular graham crackers with gluten-free graham crackers or crushed gluten-free cookies. You can also use almond flour mixed with melted butter and sugar for a delicious alternative!
How do I freeze the cheesecake properly?
To freeze your Key Lime Pie Cheesecake effectively, wrap the entire cheesecake or individual slices tightly in plastic wrap. After that, cover them with aluminum foil to prevent freezer burn. Label them with the date and any flavor variations. For best quality, consume within 2 months, and thaw overnight in the refrigerator before serving for a delightful treat!
Irresistible Key Lime Pie Cheesecake That's So Easy to Make
Ingredients
Equipment
Method
- Step 1: Prepare the Crust. In a mixing bowl, combine crushed graham crackers, melted unsalted butter, and granulated sugar. Stir until the mixture resembles wet sand. Press this mixture firmly into the bottom of a greased 9-inch springform pan, spreading it evenly. Bake in a preheated oven at 325°F for 10 minutes until golden and fragrant, then let it cool while you prepare the filling.
- Step 2: Waterproof the Pan. Wrap the exterior of the springform pan with a layer of aluminum foil to prevent leaks.
- Step 3: Mix Filling. Beat the cream cheese until fluffy. Gradually add granulated sugar and cornstarch. Blend in sour cream, key lime juice, zest, and vanilla until smooth. Add eggs one at a time, mixing just until combined after each addition.
- Step 4: Bake Cheesecake. Pour the filling into the crust. Place the springform pan inside a roasting pan and add boiling water until it reaches halfway up the sides of the springform pan. Bake at 325°F for 65-85 minutes, until edges are set and center has a slight wobble.
- Step 5: Cool. Turn off the oven and crack open the door slightly. Allow the cheesecake to cool for about an hour, then remove from water bath and let cool completely on a wire rack for 2-3 hours.
- Step 6: Chill. Refrigerate the cooled cheesecake overnight for best flavor.
- Step 7: Make Stabilized Whipped Cream. Dissolve unflavored gelatin in cold water. Whip heavy cream, powdered sugar, and vanilla until soft peaks form. Gradually add gelatin mixture, continuing to whip until stiff peaks form.
- Step 8: Serve. Pipe the stabilized whipped cream onto the cheesecake. Garnish with fresh berries and lime zest if desired.
Leave a Reply