
As I scraped the last bits of batter from the mixing bowl, I couldn’t help but smile—there’s something wonderfully therapeutic about crafting a dessert without the fuss of an oven. This Creamy No-Bake Cheesecake is my go-to for effortless entertaining, boasting a luscious, velvety texture that delights every time. With its easy preparation and gluten-free adaptability, it’s perfect for every celebration, whether you’re hosting a birthday bash or a casual family gathering. You’ll love how it transforms common pantry staples into an indulgent treat that feels special without the stress. Ready to learn how to whip up this delightful dessert and perhaps explore some fun flavor variations? Let’s dive in!
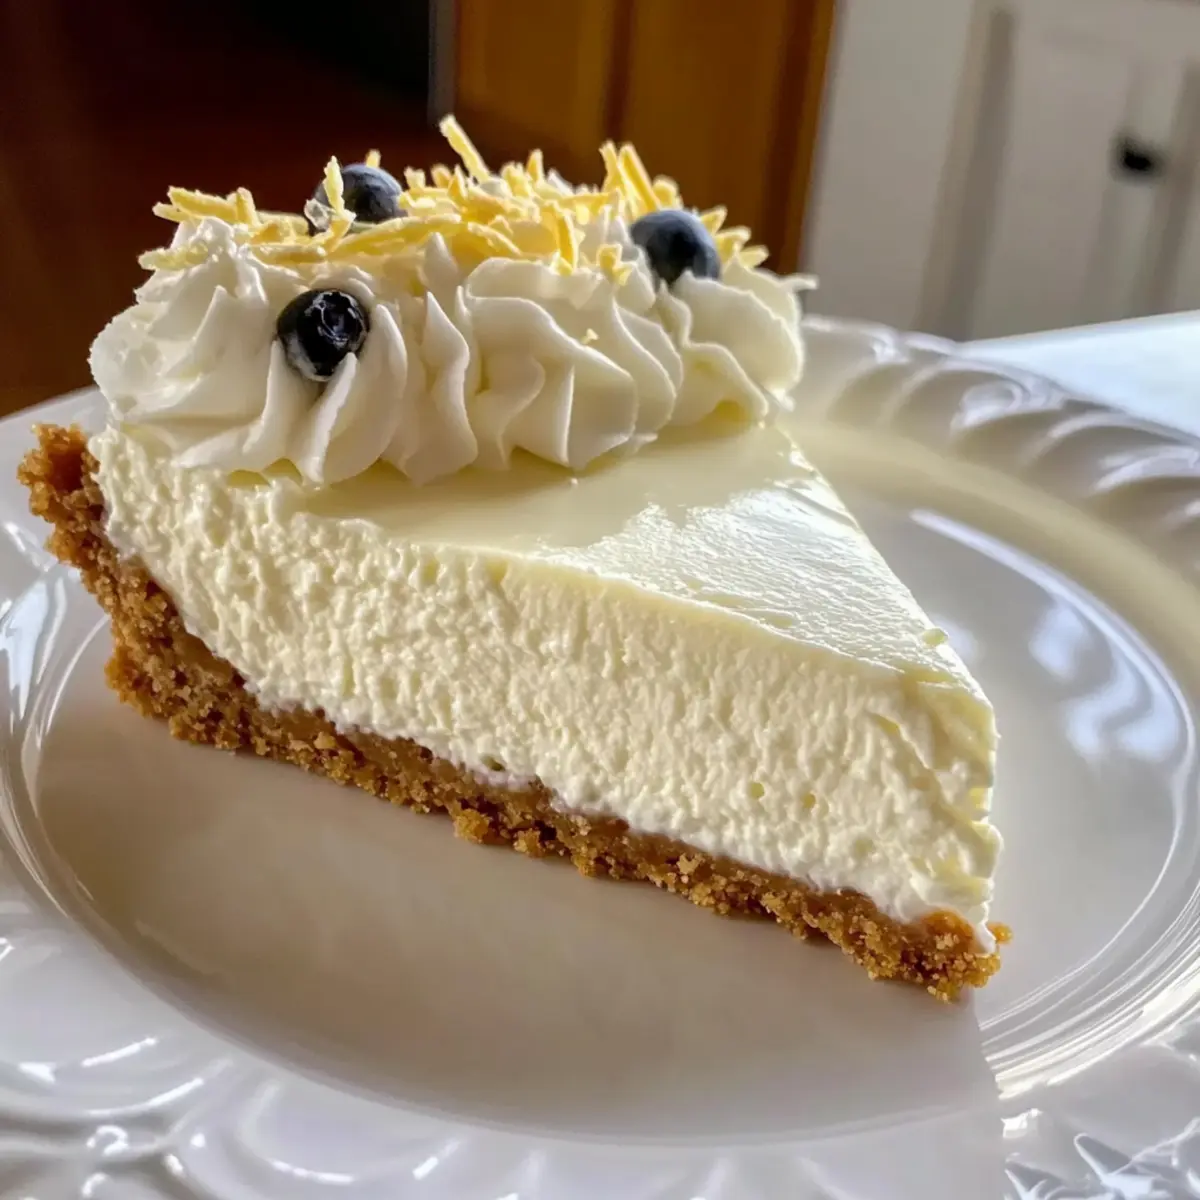
Why Is This No-Bake Cheesecake Amazing?
Effortless Preparation: This recipe allows you to create a stunning dessert without turning on the oven. Versatile Flavors: Experiment with different add-ins, like chocolate or fruits, to make it your own. Crowd-Pleasing Treat: Perfect for gatherings, it garners compliments and requests for seconds every time. Light and Creamy Texture: The airy filling contrasts beautifully with the crumbly crust, creating a delightful mouthfeel. If you love easy desserts, check out my Blueberry Cheesecake Protein Bites for a healthy twist on the classic!
No-Bake Cheesecake Ingredients
• Here’s what you need to create this creamy delight.
For the Cheesecake Filling
- Cream Cheese – The rich base; ensure it’s softened for easy mixing.
- Powdered Sugar – Sweetens the mix for a smooth texture; no substitutions recommended.
- Vanilla Extract – A must for that classic cheesecake aroma and flavor!
- Heavy Whipping Cream – Lightens the filling; whip until stiff peaks form for fluffiness. Can substitute with coconut cream for a dairy-free version.
For the Crust
- Pre-Made Graham Cracker Crust – Provides a convenient base; store-bought is preferred for ease. Consider using Oreo crusts for a chocolate twist!
Optional Toppings
- Fruit Toppings – Fresh strawberries, blueberries, or kiwi for a refreshing lift. Or drizzle with caramel or chocolate for an extra touch.
This No-Bake Cheesecake is simple yet indulgent, perfect for satisfying those sweet cravings!
Step‑by‑Step Instructions for No-Bake Cheesecake
Step 1: Prepare the Cream Cheese Mixture
In a large mixing bowl, use an electric mixer to beat 16 ounces of softened cream cheese on medium speed until completely smooth, about 2 minutes. This step is crucial for a silky No-Bake Cheesecake filling. To enhance the flavor, gradually add 1 cup of powdered sugar and 1 teaspoon of vanilla extract, mixing well until combined and fluffy, about an additional minute.
Step 2: Whip the Heavy Cream
In a separate bowl, pour 2 cups of heavy whipping cream. Using a clean electric mixer, whip the cream on medium-high speed for about 3-4 minutes, or until stiff peaks form. This airy mixture will add lightness to your No-Bake Cheesecake. Ensure the whipped cream holds its shape before proceeding, as it is essential for the perfect creamy texture.
Step 3: Combine the Mixtures
Gently fold the whipped cream into the cream cheese mixture using a rubber spatula. Start by adding one-third of the whipped cream to lighten the cream cheese. Carefully incorporate the remaining whipped cream, being mindful not to deflate the mixture. This process takes about 2-3 minutes and results in a smooth, airy filling that is the heart of your No-Bake Cheesecake.
Step 4: Fill the Crust
Take a pre-made graham cracker crust and pour the cheesecake filling into it, using a spatula to smooth the top evenly. This step ensures a beautiful presentation and makes it easy to slice. Once your crust is filled, gently tap it on the counter to eliminate air bubbles and help the filling settle.
Step 5: Chill
Cover the cheesecake with plastic wrap, pressing it lightly to avoid contact with the filling. Refrigerate the cheesecake for at least 4 hours or overnight for best results. This chilling period is important as it allows the filling to set firmly, transforming it into the indulgent No-Bake Cheesecake you’ll love serving.
Step 6: Serve and Enjoy
Once set, remove the cheesecake from the refrigerator. Garnish with your choice of fresh fruit, chocolate drizzle, or caramel sauce for an added touch. Slice into generous pieces and serve chilled. Revel in the creamy texture and delightful flavors of your homemade No-Bake Cheesecake as you share this effortless delight with family and friends!
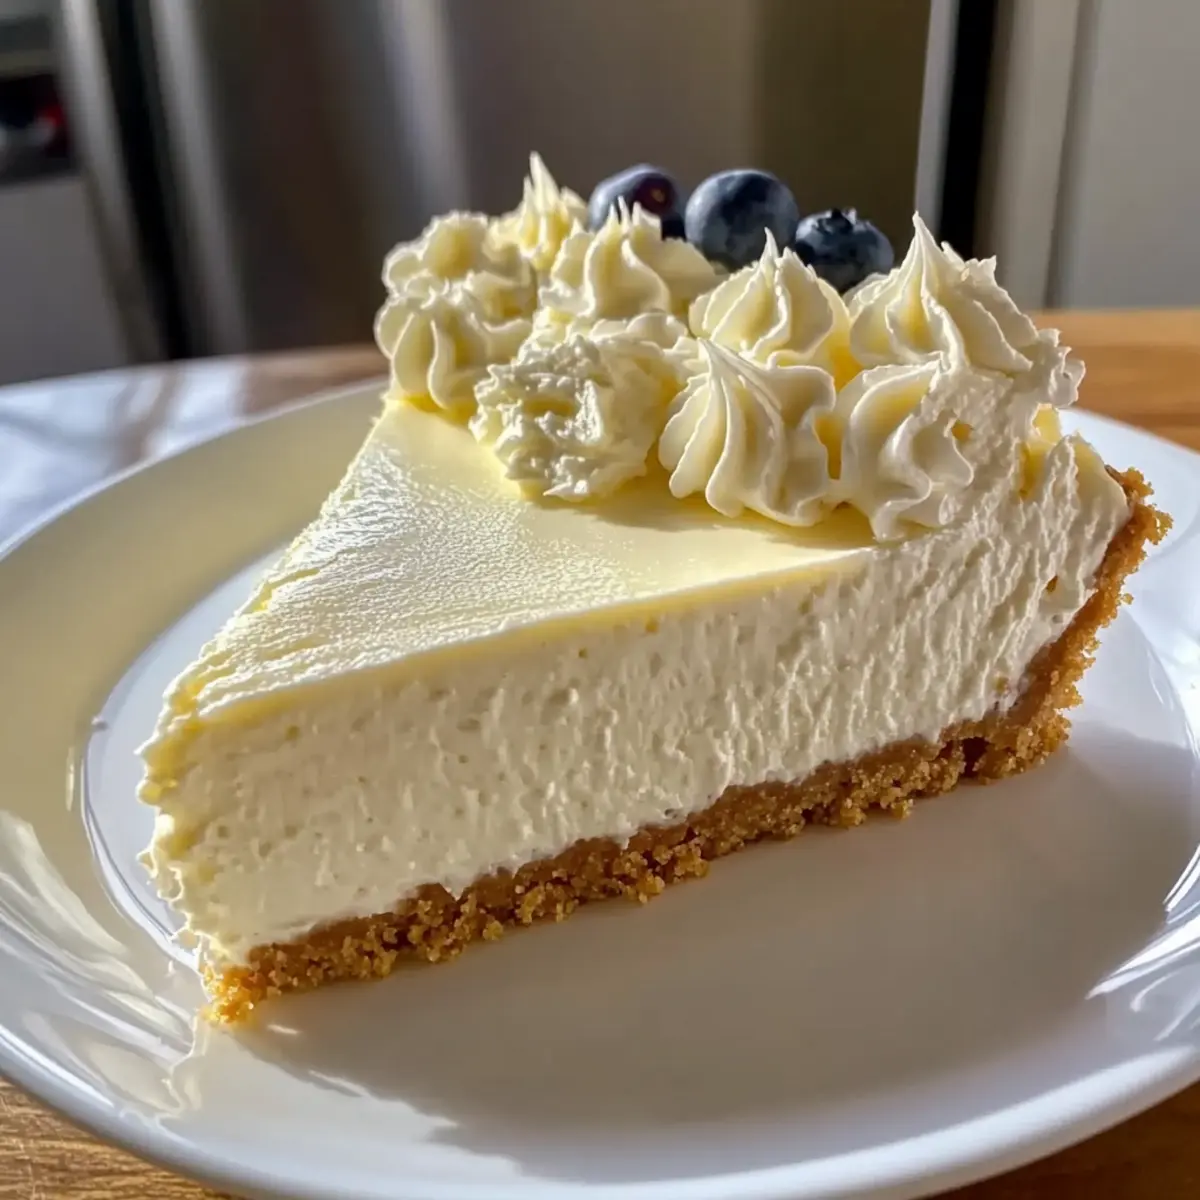
What to Serve with Creamy No-Bake Cheesecake?
This decadent dessert pairs beautifully with a variety of flavors, textures, and beverages, creating a delightful dining experience.
-
Fresh Berries: A medley of strawberries, blueberries, and raspberries adds a burst of color and freshness, balancing the cheesecake’s richness.
-
Whipped Cream: A dollop of whipped cream on top enhances the creamy texture and adds an airy lightness that complements the cheesecake perfectly.
-
Chocolate Drizzle: A rich chocolate drizzle lends an indulgent twist, enhancing the dessert’s flavors while adding visual appeal with its glossy finish.
-
Caramel Sauce: Sweet, velvety caramel adds depth and a hint of saltiness that contrasts beautifully with the creamy cheesecake, making every bite a delight.
-
Coffee or Espresso: A warm cup of coffee or a shot of espresso can balance out the sweetness of the cheesecake, making it a truly satisfying dessert choice.
-
Sparkling Water: Refreshing sparkling water is a great, palate-cleansing option. The bubbles elevate the experience, ensuring a light finish after enjoying the rich dessert.
Experience a symphony of flavors by combining any of these suggestions with your No-Bake Cheesecake, and watch as they transform your dessert into a memorable treat!
Expert Tips for No-Bake Cheesecake
• Perfectly Whipped Cream: Ensure the heavy whipping cream is whipped to stiff peaks. This step is essential for a light and airy No-Bake Cheesecake.
• Softened Cream Cheese: Always start with room-temperature cream cheese to avoid lumps and achieve a smooth filling.
• Taste Test: Don’t hesitate to sample the mixture! Adjust sweetness by adding more powdered sugar or a splash of lemon juice for a zesty twist.
• Effortless Serving: When ready to serve, run a knife around the edge of the crust for clean slices and easy removal from the pan.
• Chill Time Matters: Allow at least 4 hours of refrigeration, but overnight is ideal for a firmer texture that holds its shape beautifully.
Storage Tips for No-Bake Cheesecake
Fridge: Keep your No-Bake Cheesecake covered tightly with plastic wrap or foil. It can be stored in the refrigerator for up to 5 days, remaining delicious and creamy.
Freezer: If you want to extend its life, you can freeze your cheesecake for up to 2 months. Make sure to wrap it in plastic wrap and then place it in an airtight container to prevent freezer burn.
Thawing: When ready to enjoy, move the cheesecake from the freezer to the fridge and let it thaw overnight. Avoid thawing at room temperature to maintain texture.
Serving After Storage: For best results, serve chilled, and consider adding fresh fruit or a drizzle of chocolate on top to enhance its appeal!
Make Ahead Options
This No-Bake Cheesecake is a fantastic choice for meal prep, allowing you to enjoy a delightful dessert without the last-minute rush! You can prepare the cheesecake filling up to 24 hours in advance and store it in an airtight container in the refrigerator. Simply whip the filling and then pour it into the graham cracker crust. If you want to take it a step further, assemble the cheesecake completely and refrigerate it overnight, ensuring the flavors meld beautifully. Just remember to cover it tightly to maintain its creamy texture. When you’re ready to serve, add your favorite toppings like fresh fruit or chocolate drizzle just before sharing, and you’ll have a stress-free, gorgeous dessert that’s just as delicious as if it were made fresh!
No-Bake Cheesecake Customizations
Nothing beats a classic, but this No-Bake Cheesecake is ready for your magical touch—let your taste buds explore!
-
Dairy-Free: Substitute heavy whipping cream with coconut cream for a deliciously creamy texture that’s completely dairy-free.
-
Fruit-Infused: Mix in a cup of pureed fruit, like strawberries or mango, into the filling for a burst of freshness and flavor.
-
Chocolate Twist: Melt dark chocolate and mix it into the filling for a rich chocolate cheesecake; perfect for chocolate lovers!
-
Nutty Crunch: Fold in crushed nuts or crushed cookies for added texture—try hazelnuts for a twist or pecans for warmth.
-
Zesty Lemon: Add a tablespoon of lemon juice and zest to the filling for a refreshing citrus zing—it brightens up the creamy richness beautifully.
-
Graham Cracker Alternatives: Swap the graham cracker crust for an Oreo or almond flour crust for a gluten-free or chocolate option. Each brings a unique flavor twist!
-
Spiced Indulgence: Incorporate a teaspoon of cinnamon or pumpkin spice into the filling for a comforting, warm flavor that hugs you from the inside out.
For more delightful inspirations, check out my No-Bake Gingerbread Cheesecake Cups to keep those festive flavors rolling, or try the Blueberry Cheesecake Protein Bites for a healthy treat that’s still oh-so-tasty!
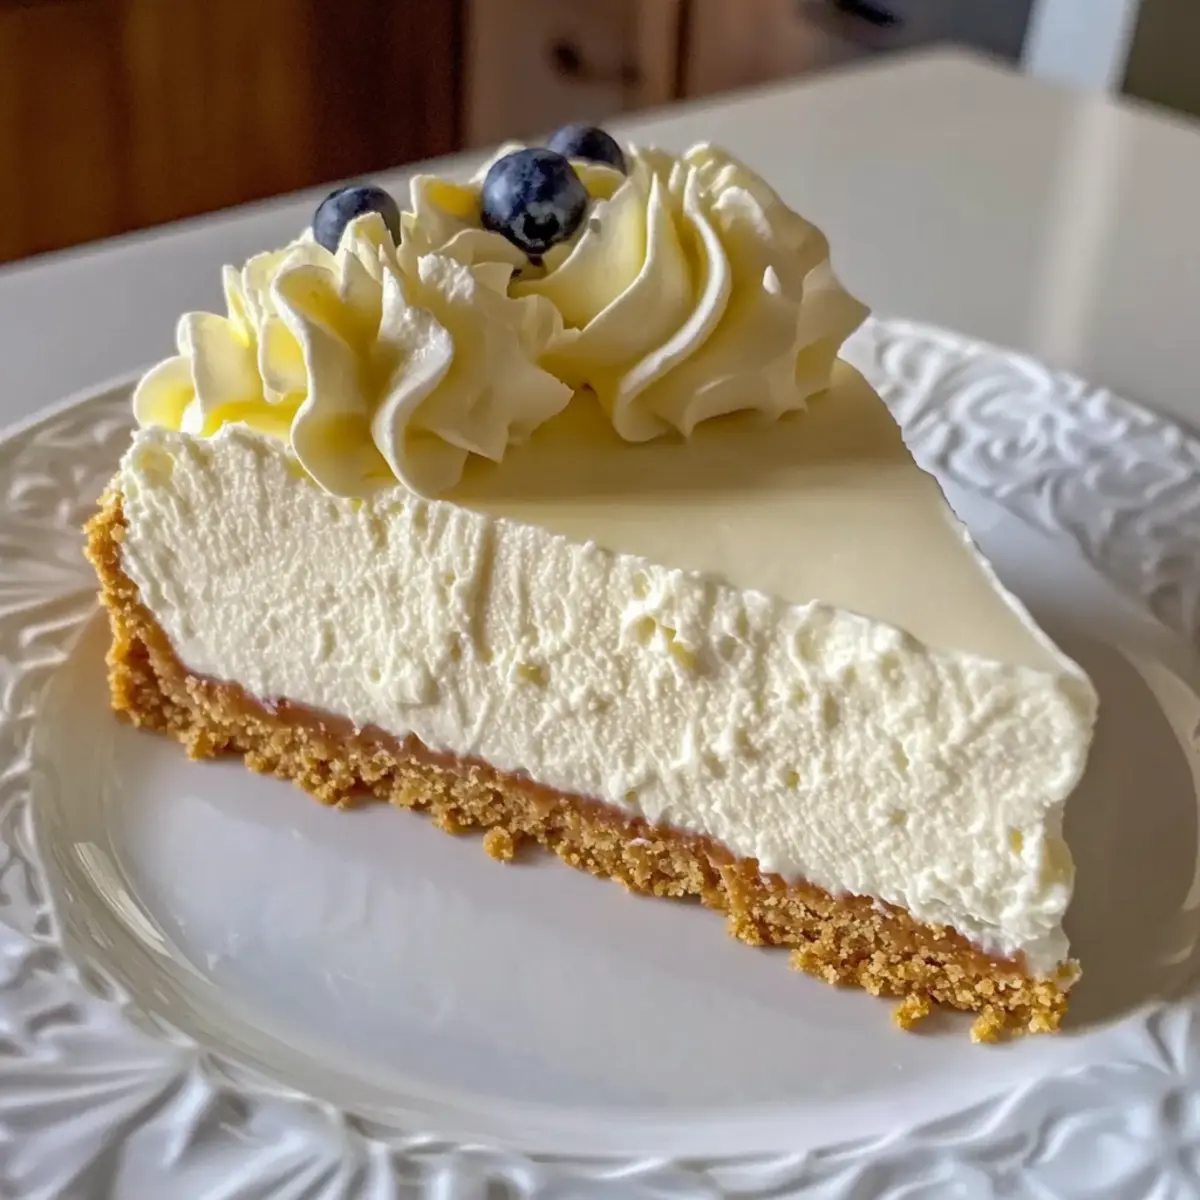
No-Bake Cheesecake Recipe FAQs
What type of cream cheese should I use?
Absolutely! I recommend using full-fat cream cheese that’s been softened to room temperature. This ensures a creamy smooth texture in your No-Bake Cheesecake. If you prefer a lighter option, low-fat cream cheese can be used, but be aware it may affect the fluffiness of the filling.
How long can I store my No-Bake Cheesecake?
Very! You can keep your No-Bake Cheesecake covered tightly with plastic wrap or foil in the refrigerator for up to 5 days. It’s best enjoyed within the first few days, as it maintains its creamy texture.
Can I freeze my No-Bake Cheesecake? What’s the best way?
Absolutely! To freeze your cheesecake, wrap it tightly in plastic wrap and place it in an airtight container. It can last up to 2 months in the freezer. When ready to enjoy, just transfer it to the fridge to thaw overnight. Avoid thawing it at room temperature; this helps retain its delicious texture!
What should I do if the filling seems too runny?
If your filling is runny, it likely means the whipped cream wasn’t whipped to stiff peaks or it didn’t fold in gently enough. To fix this, you can re-whip your cream until it reaches stiff peaks and gently fold it back into the mixture. If time allows, consider letting the cheesecake chill longer; it will firm up beautifully!
Are there any common allergens with this recipe?
Very much! The main allergens in this No-Bake Cheesecake are dairy and gluten (from the graham cracker crust). For gluten-free options, be sure to use a gluten-free graham cracker crust or a crumb crust made from crushed gluten-free cookies. If you’re serving anyone with allergies, double-check the labels of your ingredients or consider making a dairy-free variant using coconut cream.
Can I customize the flavors of my No-Bake Cheesecake?
Very! The possibilities are endless! For a chocolate twist, you can fold in melted chocolate into the filling. Or, try adding zest from a lemon or orange for a fresh citrus kick. The more, the merrier—experiment with different extracts like almond or mint for unique flavors that will keep your cheesecake exciting!
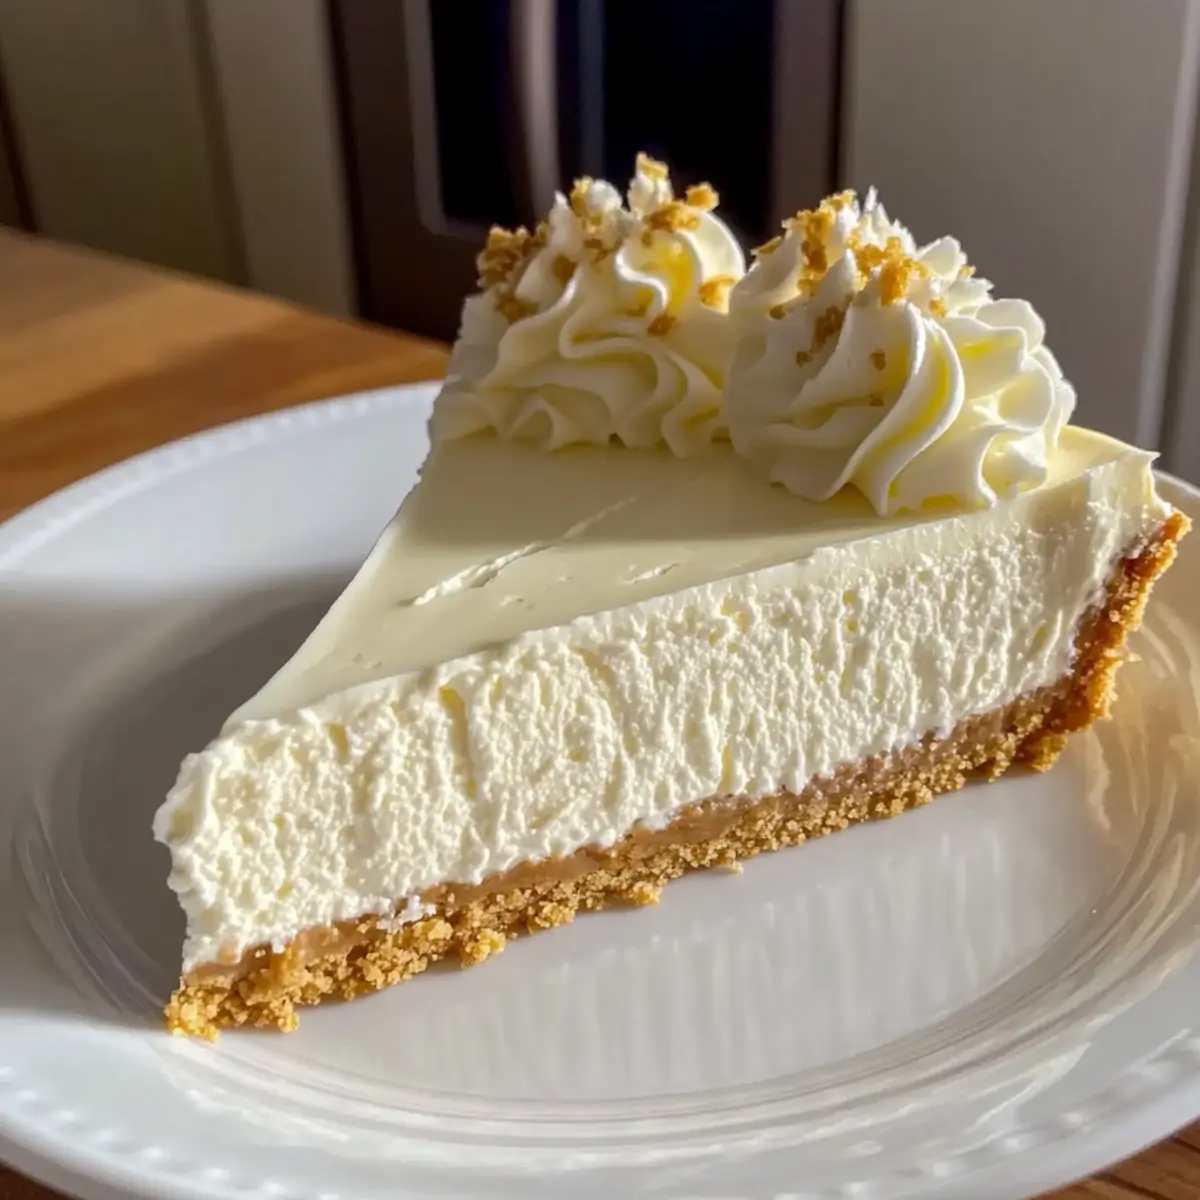
Creamy No-Bake Cheesecake That's Simple and Delicious
Ingredients
Equipment
Method
- In a large mixing bowl, beat the cream cheese until smooth.
- Gradually add powdered sugar and vanilla extract, mixing until fluffy.
- In a separate bowl, whip the heavy cream until stiff peaks form.
- Fold whipped cream gently into the cream cheese mixture.
- Pour the cheesecake filling into the graham cracker crust, smoothing the top.
- Cover with plastic wrap and refrigerate for at least 4 hours.
- Garnish with fruit or toppings, slice and serve chilled.
Leave a Reply