
As I poured the coffee into my mixing bowl, the rich aroma ignited memories of cozy café afternoons, where each sip was paired with the comforting decadence of dessert. Today, I’m thrilled to share my take on a no-bake rich espresso coffee cheesecake that perfectly combines the essence of my favorite coffee shop treats right in my kitchen. This easy recipe not only saves time but is also incredibly customizable—making it a fantastic choice for gatherings or a quiet evening at home. With a crunch from the buttery Biscoff cookie crust and a cloud-like cream cheese filling, this dessert offers the best of both worlds: indulgence and simplicity. Are you ready to dive into this creamy delight? Let’s start whipping up something magical!
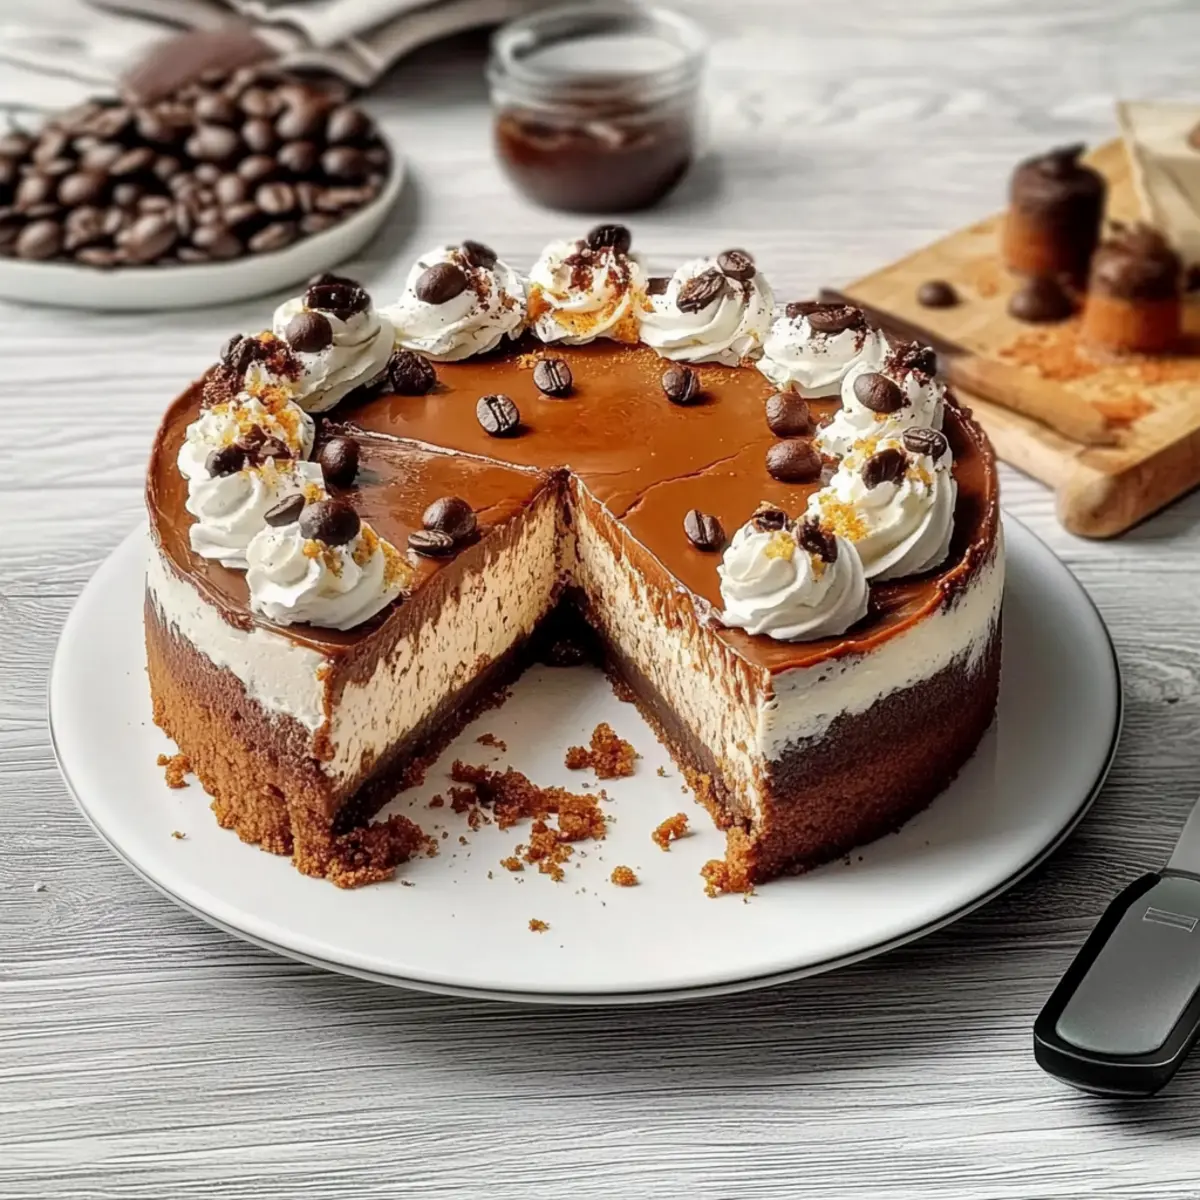
Why Is This Cheesecake So Irresistible?
Luxurious Layers: The luscious blend of espresso and cream cheese creates, without a doubt, a dessert that’s both sophisticated and comforting.
No-Bake Convenience: Skip the oven! This no-bake recipe is not only simple to whip up but also saves you time for more important things, like enjoying time with loved ones.
Versatile Variations: Want to get creative? You can easily customize this cheesecake with different crusts like Oreos or even experiment with flavors—try my Chocolate Espresso Cheesecake if you’re looking to indulge more!
Delightful Texture: The mousse-like filling melts in your mouth, wonderfully contrasting with the crunchy Biscoff crust, ensuring that every bite is a taste sensation.
Crowd-Pleasing Appeal: Perfect for parties or a quiet evening at home, this dessert is bound to impress your guests and elevate any gathering. Pair it with coffee or even fresh berries for a complete experience. Dive in and enjoy the rich flavors!
Rich Espresso Coffee Cheesecake Ingredients
For the Crust
• Biscoff Cookies – Provides a buttery, spiced crunch for the crust; substitute with Oreo or graham crackers for different flavors.
• Unsalted Butter – Binds the cookie crust together; use dairy-free butter for a vegan version.
For the Filling
• Instant Coffee Granules – Offers intense coffee flavor; essential for achieving the signature taste in the rich espresso coffee cheesecake.
• Cream Cheese – Sets the filling’s texture; ensure it’s at room temperature for easy mixing; use dairy-free cream cheese for a vegan option.
• Granulated Sugar – Adds sweetness and balances the bitterness of coffee; adjust according to your taste preferences.
• Vanilla Extract – Enhances the overall flavor profile; use pure vanilla for the best quality.
• Heavy Cream – Whipped into soft peaks to make the filling light and fluffy; dairy-free whipped cream can be substituted.
For the Garnish
• Cocoa Powder – Provides a decorative and flavorful finish on top of your cheesecake.
Step‑by‑Step Instructions for Rich Espresso Coffee Cheesecake
Step 1: Prepare Crust
Start by crushing about 24 Biscoff cookies into fine crumbs using a food processor or a zip-top bag and rolling pin. Melt ½ cup unsalted butter and combine it with the cookie crumbs in a bowl until fully mixed. Press the mixture firmly into the bottom of a 9-inch springform pan, creating an even layer, then refrigerate for 30 minutes to set.
Step 2: Bloom Coffee
In a small bowl, dissolve 2 tablespoons of instant coffee granules in 2 tablespoons of warm water, stirring until completely blended. Allow the mixture to cool to room temperature—this step enhances the flavor profile of your Rich Espresso Coffee Cheesecake, so take your time to ensure it’s done correctly.
Step 3: Whip Cream Cheese
In a mixing bowl, beat 16 ounces of softened cream cheese with an electric mixer on medium speed for about 2-3 minutes until smooth and fluffy. Gradually add ½ cup of granulated sugar and 1 teaspoon of vanilla extract, mixing on low until well integrated. The mixture should be creamy without any lumps—this ensures a luxurious texture for your cheesecake filling.
Step 4: Incorporate Coffee
Once the coffee mixture has cooled, carefully add it to the whipped cream cheese, mixing on low speed until fully incorporated. The rich espresso flavor will meld beautifully with the cream cheese, creating a decadent filling. Make sure to scrape down the sides of the bowl to achieve uniformity in texture and flavor.
Step 5: Fold in Whipped Cream
In a separate bowl, whip 1 cup of heavy cream until soft peaks form. Gently fold the whipped cream into the coffee and cream cheese mixture using a spatula, taking care to maintain the lightness. This folding technique helps to retain the airy texture of the Rich Espresso Coffee Cheesecake filling, giving it that cloud-like quality.
Step 6: Assemble Cheesecake
Pour the creamy filling over the chilled crust in the springform pan, spreading it evenly with a spatula. Smooth the top to achieve a sleek finish. Cover the pan with plastic wrap and place it in the refrigerator to chill for at least 4-6 hours, though overnight is preferred for the best results in flavor and texture.
Step 7: Decorate and Serve
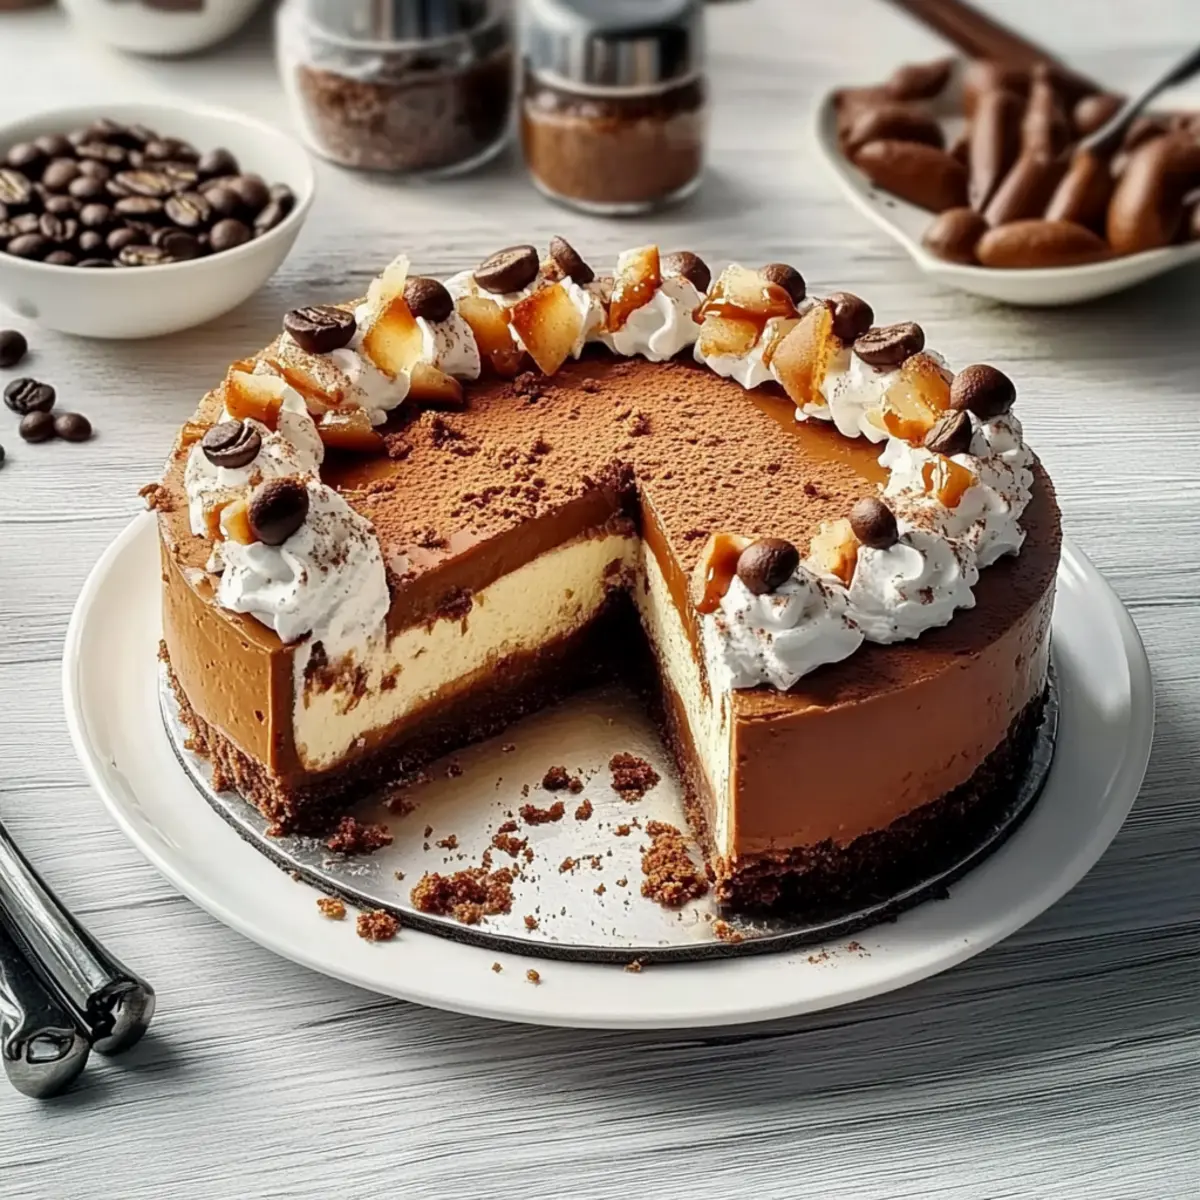
After chilling, carefully remove the cheesecake from the springform pan. Dust the top with cocoa powder for a beautiful presentation and optionally top with whipped cream or chocolate shavings. Slice into generous pieces and serve your Rich Espresso Coffee Cheesecake, ideally with a cup of coffee or a side of fresh berries to enhance the indulgence.
Make Ahead Options
These Rich Espresso Coffee Cheesecakes are a dream come true for busy home cooks looking to save precious time! You can prepare the crust and filling components up to 24 hours in advance. First, make the Biscoff cookie crust and refrigerate it to solidify. Then, whip up the cream cheese filling, but refrain from assembling the cheesecake right away—store it in an airtight container in the fridge. When it’s time to serve, simply pour the filling over the crust and chill for an additional 4-6 hours, or overnight for optimal flavor. By prepping ahead, you’ll enjoy a hassle-free dessert that remains just as delicious!
Expert Tips for Rich Espresso Coffee Cheesecake
• Softened Cream Cheese: Ensure cream cheese is at room temperature to avoid lumps when whipping; this results in a smoother, creamier filling.
• Blooming Coffee Step: Don’t skip the blooming coffee step. It truly enhances the overall flavor of your rich espresso coffee cheesecake.
• Whipping Cream Technique: When whipping the cream, stop at soft peaks. This keeps the texture light and fluffy, making the cheesecake melt in your mouth.
• Chill Overnight: For the best flavor and texture development, chill your cheesecake overnight. This allows all the flavors to meld beautifully.
• Garnish Wisely: Use cocoa powder or chocolate shavings for garnish. It adds visual appeal and a delicious finishing touch to your cheesecake.
What to Serve with Rich Espresso Coffee Cheesecake?
Looking to create a delightful meal experience to accompany your creamy dessert?
- Fresh Berries: The natural sweetness and tartness of raspberries or strawberries contrast beautifully with the rich cheesecake, adding a burst of freshness.
- Espresso Shot: Serve a shot of espresso on the side to intensify the coffee notes in your cheesecake while offering an elegant and bold pairing.
- Chocolate Drizzle: Drizzle dark chocolate over each slice for a luxurious touch that enhances the overall flavor profile of the cheesecake.
- Whipped Cream: A dollop of freshly whipped cream provides a light, airy counterpart, balancing the dense, creamy texture of the cheesecake.
- Rosemary Shortbread Cookies: These buttery cookies add a delightful crunch, allowing for a delightful mix of flavors and textures on your plate.
- Caramel Sauce: A drizzle of caramel brings a sweet, buttery dimension to the dessert, enriching each bite with indulgence.
- Vanilla Ice Cream: A scoop of vanilla ice cream chilled beside the cheesecake contrasts perfectly against the creamy filling, making each bite a comforting experience.
- Mint Leaves: Garnish with fresh mint for a pop of color and a refreshing aroma that cuts through the richness, offering a pleasing presentation.
How to Store and Freeze Rich Espresso Coffee Cheesecake
Fridge: Keep your cheesecake covered in the refrigerator for up to 5 days. This helps maintain its creamy texture and rich flavors.
Freezer: Slice your no-bake cheesecake and wrap each piece tightly in plastic wrap, then store in an airtight container. It can be frozen for up to 2 months.
Thawing: To enjoy the rich espresso coffee cheesecake, simply transfer it from the freezer to the fridge and allow it to thaw overnight before serving.
Reheating: This cheesecake is best served chilled and does not need reheating, as its texture and flavor are perfectly suited for enjoying cold.
Rich Espresso Coffee Cheesecake Variations
Feel free to let your imagination run wild with these delightful twists that cater to every craving and occasion!
-
Chocolate Espresso Cheesecake: Add melted dark chocolate to the cream cheese mixture for a scrumptious cocoa boost. The result is a dreamy chocolate-coffee hybrid that will satisfy any sweet tooth.
-
Liqueur-Infused Version: Mix in a splash of Kahlúa or Baileys for a sophisticated touch, perfect for adult gatherings. This addition enhances the dessert with a lovely depth and complexity that lingers beautifully on the palate.
-
Cookie Crust Substitutes: Experiment with different cookie crusts like Oreo or graham crackers to create unique flavor profiles. For an exciting twist, try gingersnaps for a hint of spice that perfectly complements the coffee notes.
-
Individual Servings: Layer the cheesecake filling with crust in individual cups or jars for a charming presentation. This makes it easy to serve at parties while adding a touch of elegance to your dessert table.
-
Nutty Crunch: Incorporate crushed nuts, such as pistachios or hazelnuts, into the crust for added texture and nutrition. This delightful crunch contrasts wonderfully with the creamy filling and brings a new flavor dimension to the cheesecake.
-
Vegan Variation: Use vegan cream cheese and coconut whipped cream to create a completely dairy-free version. Your friends won’t believe it when they taste this luscious, plant-based delight!
-
Flavor Infusion: Swap out the vanilla extract for other extracts like almond or hazelnut to change the flavor profile. Each option offers a unique twist while keeping the rich coffee taste in the spotlight.
-
Serve with a Kick: Pair your cheesecake with a shot of espresso or a dollop of coffee-flavored ice cream for an irresistible dessert experience. Perfect for coffee lovers, this combination elevates the indulgence of the rich espresso coffee cheesecake.
These variations not only enrich the experience but also invite you to share your creativity. For more inspiration, why not try my Bake Gingerbread Cheesecake or explore delightful flavors in my Steakhouse Potato Soup? Dive in and customize your cheesecake adventure today!
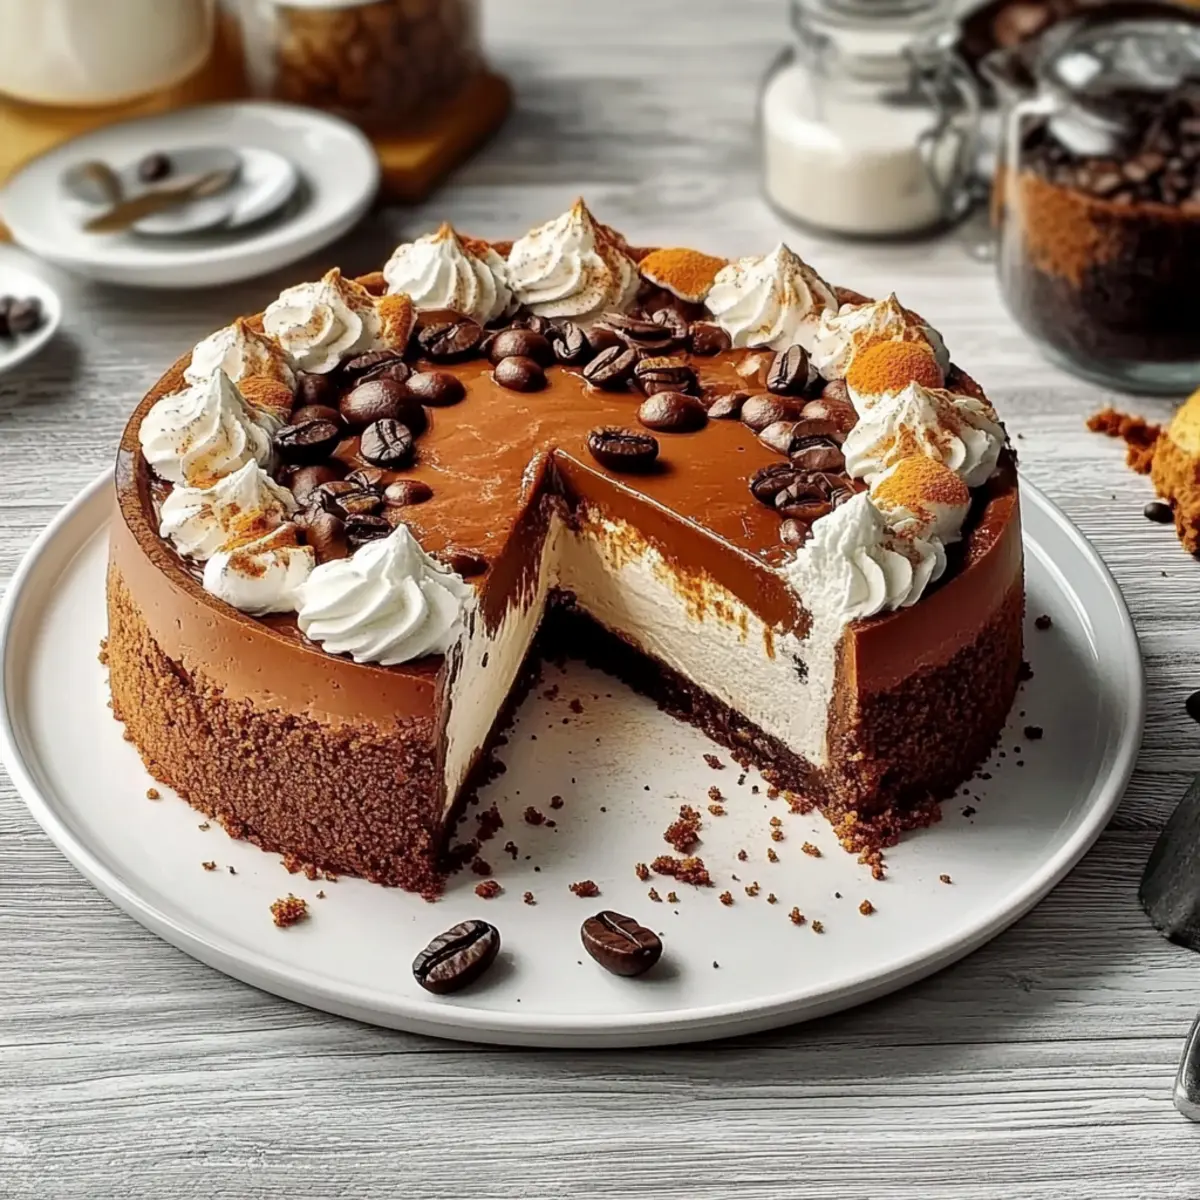
Rich Espresso Coffee Cheesecake Recipe FAQs
What type of cookies are best for the crust?
You can’t go wrong with Biscoff cookies for an aromatic, buttery crunch. If you prefer a different flavor profile, feel free to substitute them with Oreos or graham crackers for a nostalgic twist!
How should I store leftovers?
To keep your rich espresso coffee cheesecake fresh, cover it tightly with plastic wrap and store it in the refrigerator for up to 5 days. This helps the flavors stay intact while preventing drying out.
Can I freeze this cheesecake?
Absolutely! After slicing your cheesecake, wrap each piece snugly in plastic wrap. Place them in an airtight container, and they’ll keep well in the freezer for up to 2 months. For the best experience, thaw overnight in the refrigerator before enjoying.
What should I do if my cheesecake is too soft?
If your cheesecake doesn’t set properly, it often means it needs more chilling time. Sometimes using too much whipped cream or not adequately blooming your coffee can affect the texture. Try allowing it to chill overnight for the best results; this will help solidify the filling.
Can I make this cheesecake vegan?
You can easily enjoy a vegan version of the rich espresso coffee cheesecake! Simply swap out the cream cheese for a dairy-free alternative and use dairy-free whipped cream. Don’t forget to check your butter options as well!
Is this dessert safe for those with nut allergies?
Yes! The rich espresso coffee cheesecake is a nut-free dessert as long as you use nut-free cookie options for the crust. Always double-check ingredient labels to ensure safety, especially if you have friends or family with allergies joining you for dessert.
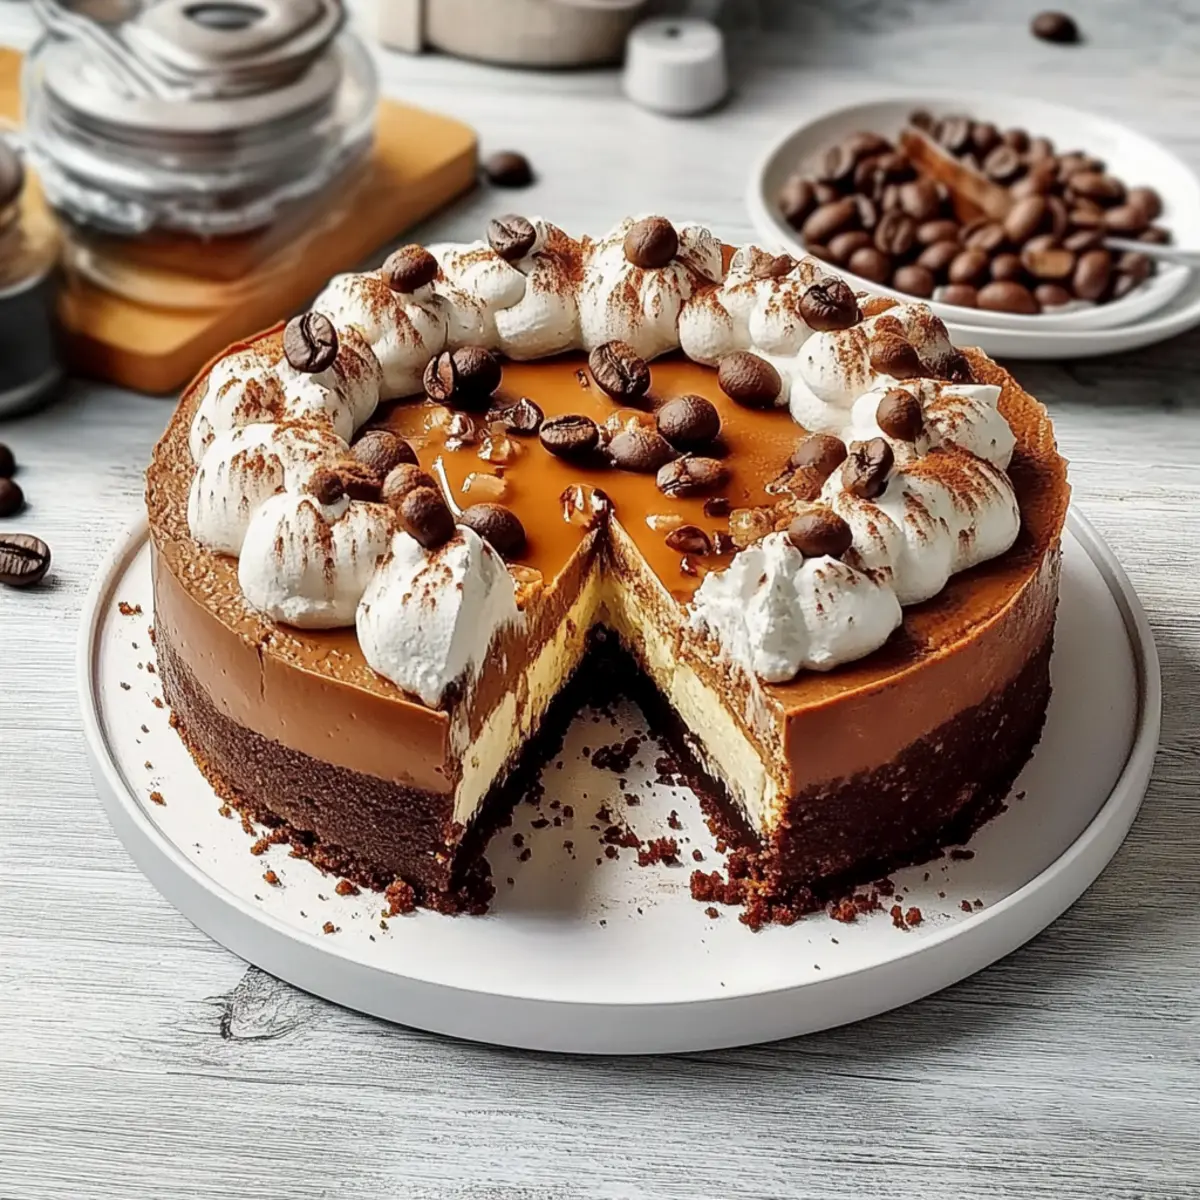
Decadent Rich Espresso Coffee Cheesecake to Indulge Your Cravings
Ingredients
Equipment
Method
- Crush about 24 Biscoff cookies into fine crumbs and melt ½ cup unsalted butter. Combine and press into a 9-inch springform pan. Refrigerate for 30 minutes to set.
- Dissolve 2 tablespoons of instant coffee granules in 2 tablespoons of warm water and let cool to room temperature.
- Beat 16 ounces of softened cream cheese until smooth, then gradually mix in ½ cup of granulated sugar and 1 teaspoon of vanilla extract.
- Add the cooled coffee mixture to the cream cheese mixture and blend until fully incorporated.
- Whip 1 cup of heavy cream until soft peaks form and gently fold into the cream cheese mixture.
- Pour the filling over the chilled crust and smooth the top. Refrigerate for at least 4-6 hours or overnight for better flavor.
- Dust the top with cocoa powder before serving. Optional: top with whipped cream or chocolate shavings.
Leave a Reply