
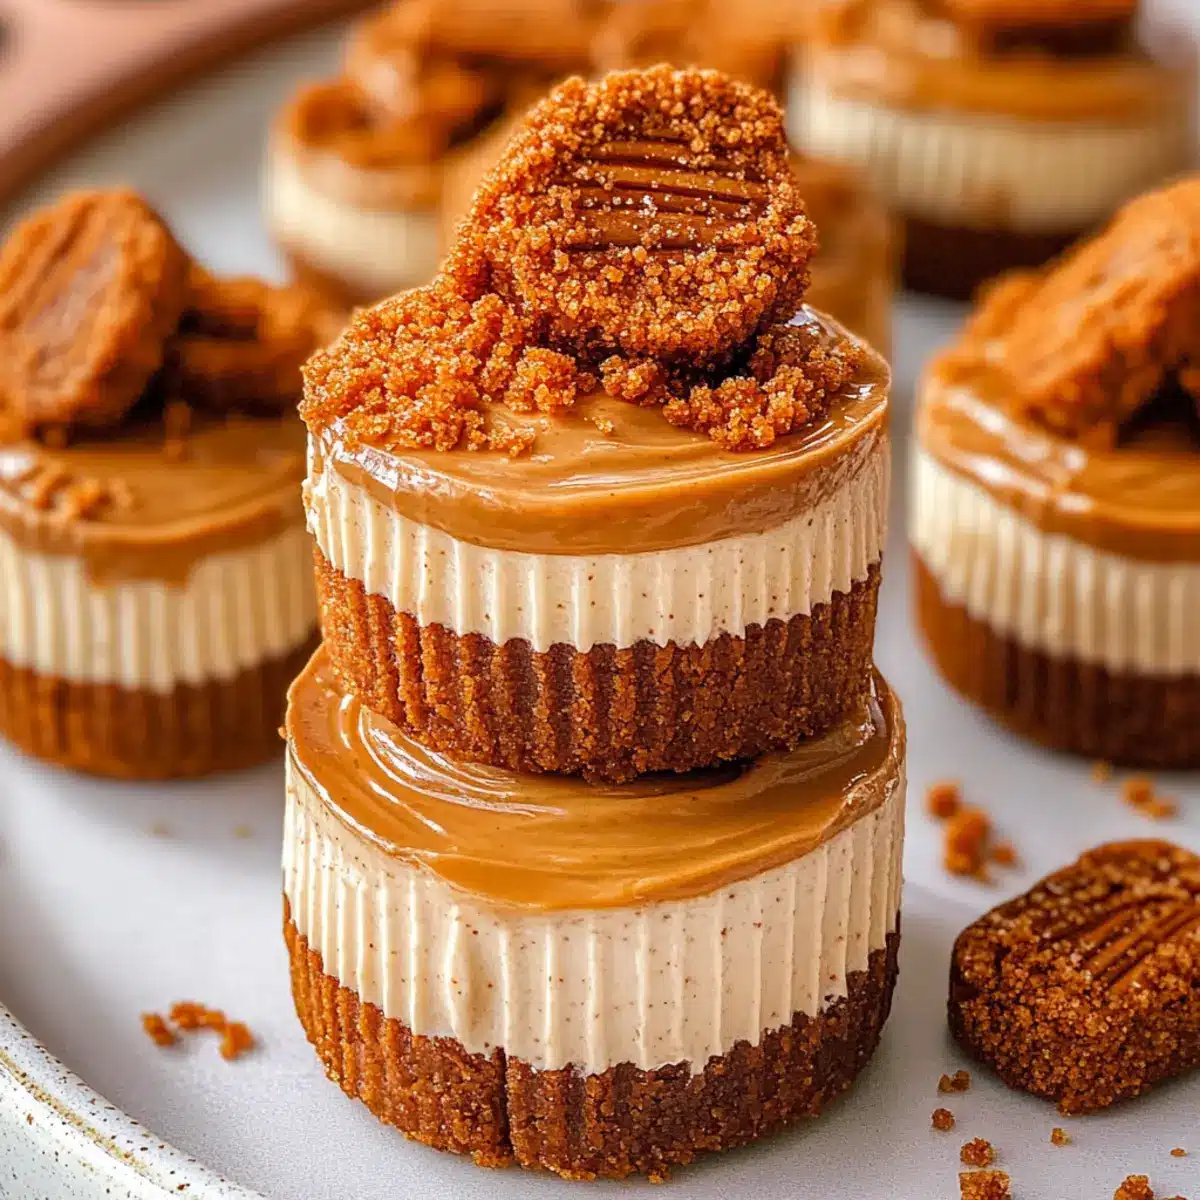
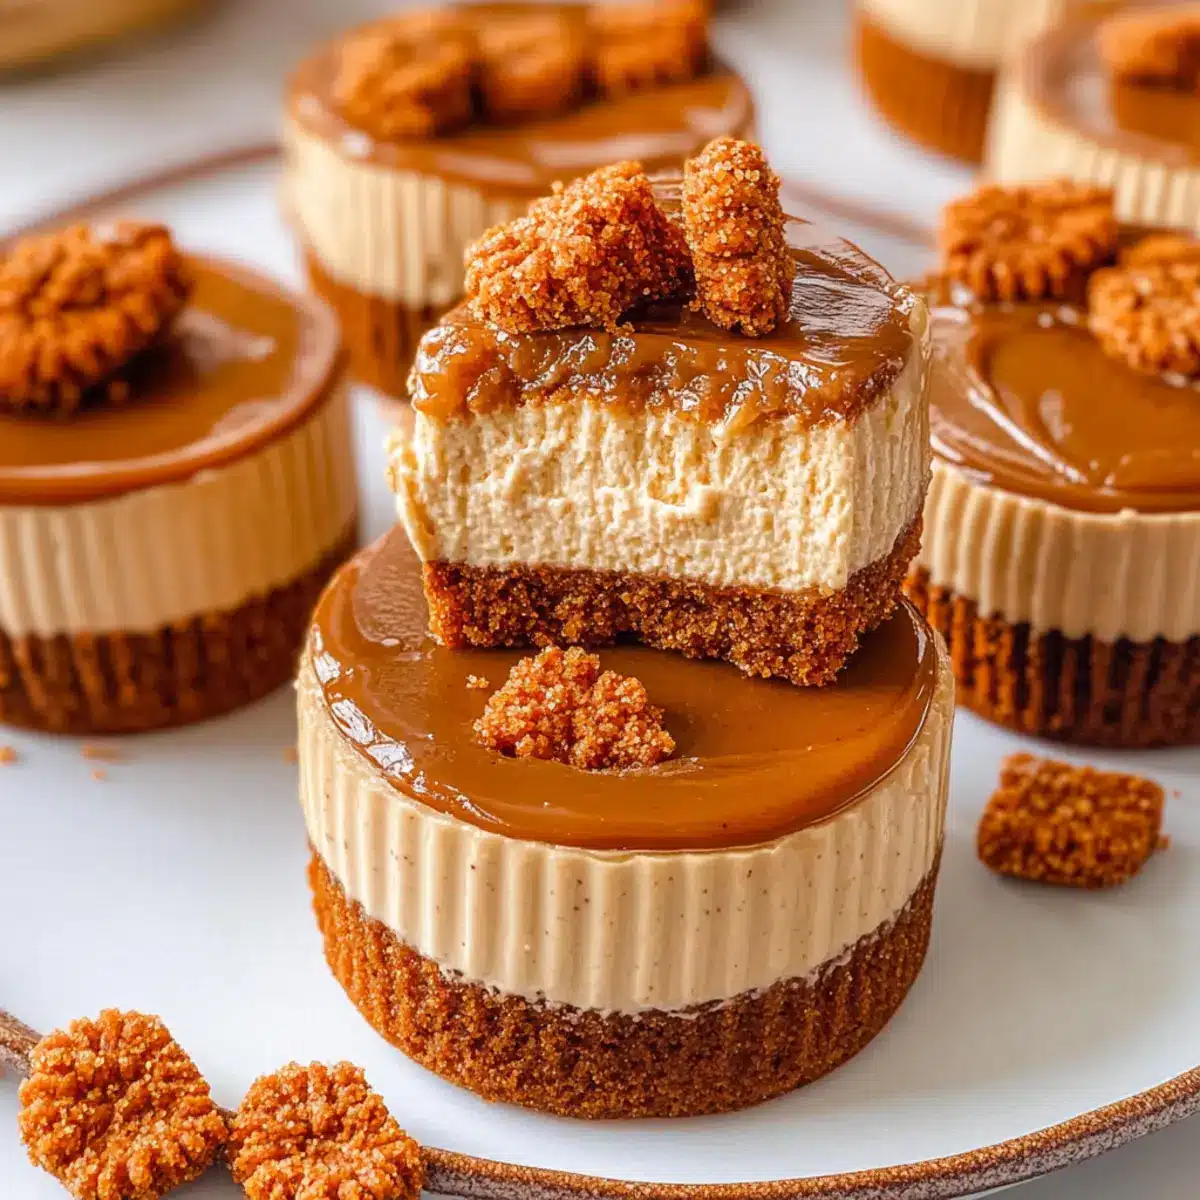
The first bite was an unexpected delight, a little piece of heaven that melted in my mouth. These No Bake Mini Biscoff Cheesecakes are not just a dessert; they’re a sweet escape from the ordinary, blending the rich, caramelized notes of Biscoff with a creamy filling that dances on your palate. Perfect for any occasion, these little gems are a cinch to whip up, requiring no oven or baking skills—making them beginner-friendly and crowd-pleasers. Whether you’re hosting a brunch or indulging in a treat after a long day, these cheesecakes are sure to impress. Curious how to make these fabulous mini desserts that are both easy and elegant? Let’s dive in!
Why You’ll Love These Cheesecakes?
Effortless Preparation: Just mix, chill, and serve! This no-bake recipe requires minimal effort, making it perfect for everyone from busy home cooks to novice bakers.
Decadent Flavor: Enjoy the incredible combination of creamy cheesecake paired with the rich, caramel notes of Biscoff. Each bite feels indulgent without being overly sweet.
Endless Variations: Get creative with the base and toppings! Try a Chocolate Biscoff or even a Biscoff and Banana twist to suit your mood.
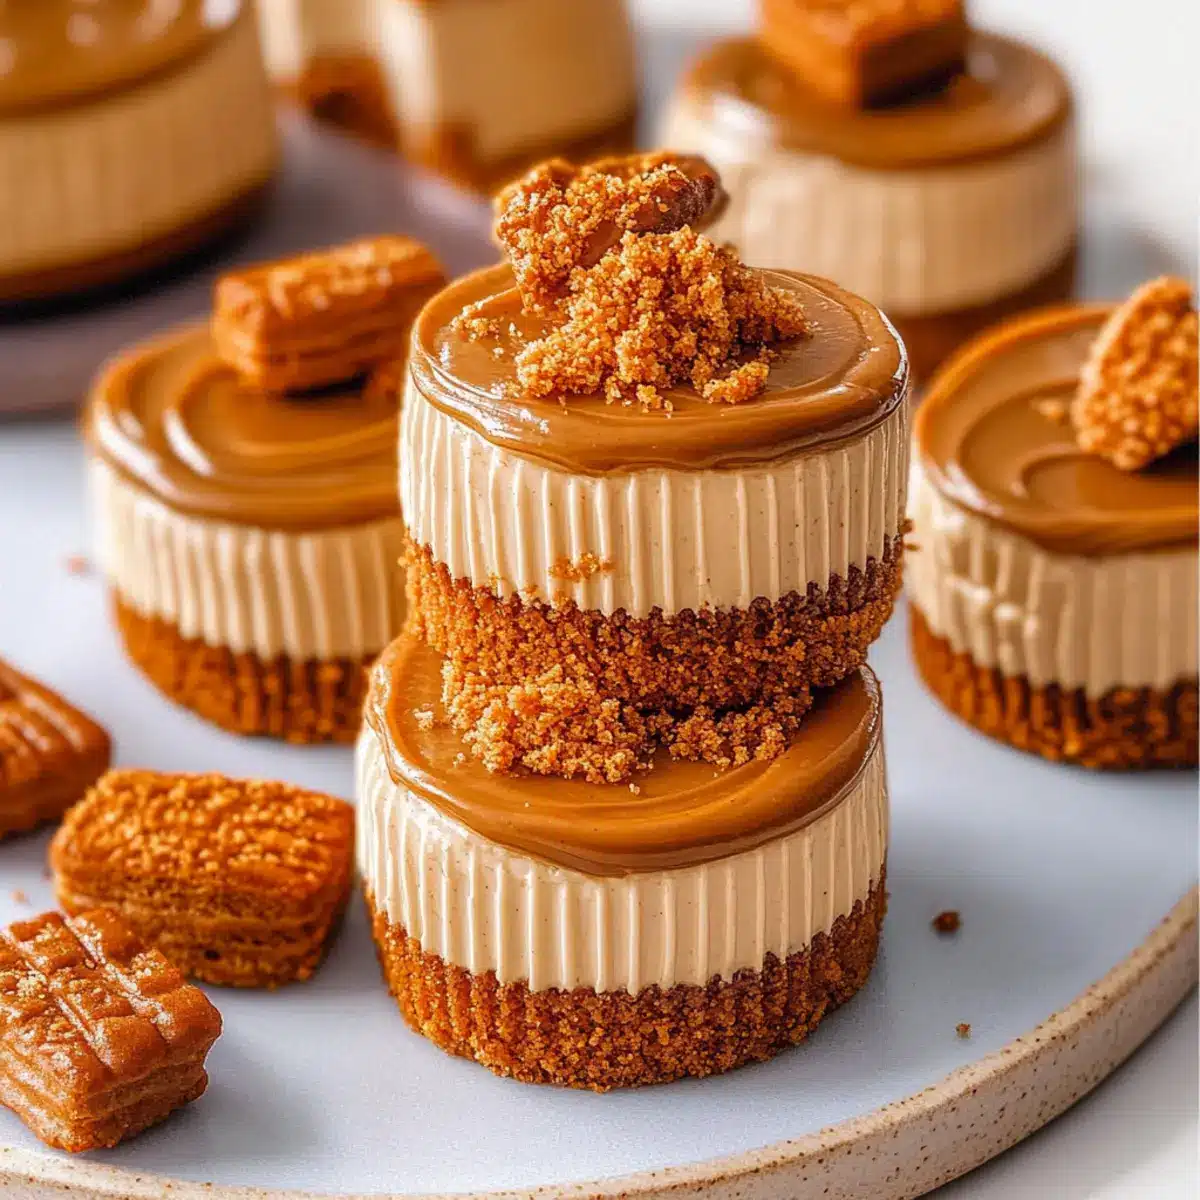
Perfect for Gatherings: Impress your guests with these stylish mini cheesecakes that look as good as they taste. They’re sure to be the highlight of any dessert table!
Storage Convenience: These mini treats can be made ahead of time and stored in the fridge for up to four days, making them a great option for prep-ahead parties.
No Bake Mini Biscoff Cheesecakes Ingredients
Here’s everything you’ll need to whip up these delicious treats!
For the Biscuit Base
• Biscoff Biscuits – Create a firm, crunchy base; substitute with speculoos biscuits or any cookie that can be crushed.
• Butter – Binds biscuit crumbs together; use salted or unsalted based on your preference.
For the Cheesecake Filling
• Cream Cheese – Provides creaminess and structure; opt for full-fat cream cheese for the best results.
• Powdered Sugar – Adds sweetness and thickens the filling; adjust to taste for your desired sweetness.
• Vanilla Extract – Enhances flavor depth; optional vanilla bean paste can be used for a stronger flavor.
• Lemon Juice – Balances richness and adds slight tang; lime juice can be a zesty alternative.
• Heavy Cream – Whipped to create a light texture; ensure it’s well-chilled before whipping for the best results.
• Biscoff Spread – Adds warm spice and flavor to both the filling and topping; consider using crunchy Biscoff spread for an added texture.
For the Topping
• Warm Biscoff Spread – This is drizzled on top to create a glossy finish; simply warm it before adding!
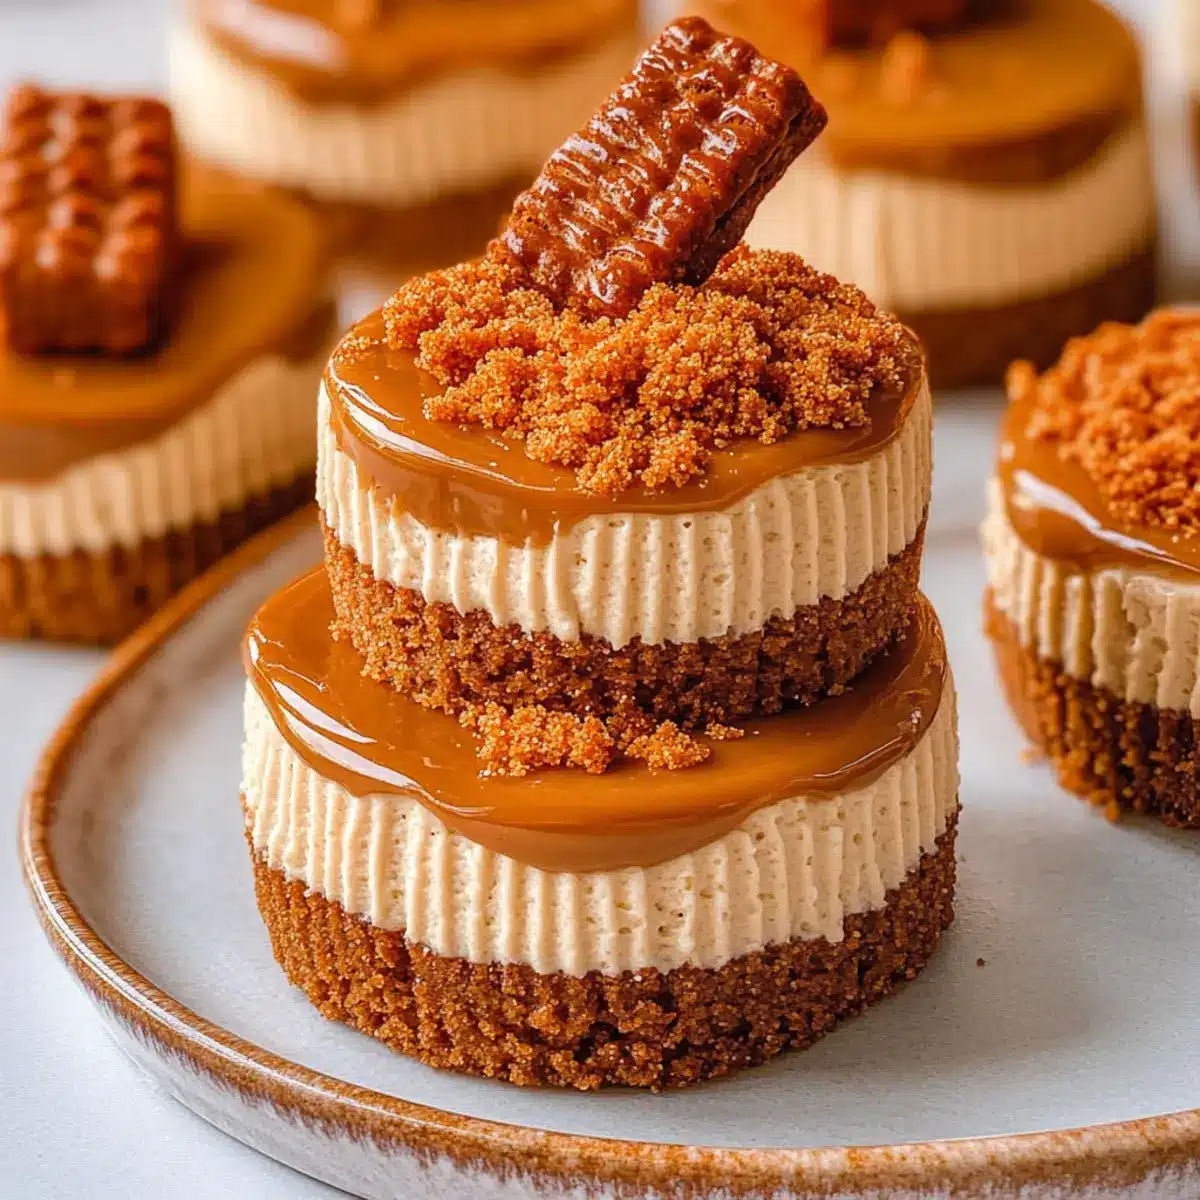
• Crushed Biscoff Biscuits or Whipped Cream – Great for garnishing and adding a crunchy or creamy touch, respectively.
Get ready to dive into the world of no bake mini Biscoff cheesecakes!
Step‑by‑Step Instructions for No Bake Mini Biscoff Cheesecakes
Step 1: Prepare Muffin Tin
Begin by lining a 12-hole muffin tin with cupcake liners or silicone molds. This will make it easy to remove the cheesecakes later. Set the tin aside while you get started on the biscuit base, ensuring everything is in reach for a smooth workflow.
Step 2: Make Biscuit Base
Crush a generous amount of Biscoff biscuits into fine crumbs using a food processor or a zip-lock bag and a rolling pin. In a mixing bowl, combine the crumbs with melted butter until the mixture resembles wet sand. This will create a firm base for your no bake mini Biscoff cheesecakes.
Step 3: Press Base
Divide the biscuit mixture evenly among the muffin holes, pressing down firmly with your fingers or the bottom of a glass to create a solid base. Each should be well-compressed to hold together. Place the muffin tin in the freezer for about 10 minutes to help it set before adding the filling.
Step 4: Make Cheesecake Filling
In a large mixing bowl, beat softened cream cheese until it reaches a smooth consistency. Gradually add in the powdered sugar, vanilla extract, lemon juice, and Biscoff spread, mixing until everything is fully incorporated and velvety. This creamy mixture is the highlight of your No Bake Mini Biscoff Cheesecakes.
Step 5: Whip and Fold Cream
In a separate bowl, whip the heavy cream until stiff peaks form—this should take about 3-5 minutes with an electric mixer. Gently fold the whipped cream into the cheesecake filling using a spatula, being careful not to deflate the fluffy texture you’ve created. This will give your filling its light and airy quality.
Step 6: Fill Cheesecakes
Spoon the luscious cheesecake filling into each of the chilled biscuit bases, smoothing the tops with a spatula for an even finish. After filling each cup, tap the muffin tin lightly on the counter to release any trapped air bubbles. This step is essential for ensuring a smooth, creamy texture in every bite.
Step 7: Chill Until Set
Cover the muffin tin with plastic wrap and refrigerate the cheesecakes for at least 4 hours, but preferably overnight. This chilling time is critical for the filling to set properly, ensuring that your mini cheesecakes come out beautifully when ready to serve.
Step 8: Add Topping
Once chilled, warm up some Biscoff spread in the microwave for about 15-20 seconds until it’s easily pourable. Drizzle the warm spread generously over the tops of the cheesecakes for a glossy finish. If desired, garnish with crushed Biscoff biscuits or a dollop of whipped cream to elevate the presentation of your No Bake Mini Biscoff Cheesecakes.
Make Ahead Options
These No Bake Mini Biscoff Cheesecakes are perfect for meal prep enthusiasts! You can prepare the biscuit base and cheesecake filling up to 24 hours in advance. Simply follow the first three steps of the recipe: prepare the muffin tin, make the biscuit base, and press it into the molds before chilling in the freezer. You can also make the cheesecake filling and store it in an airtight container in the refrigerator. When you’re ready to serve, simply fill the chilled bases with the prepared cheesecake mixture, allow them to set in the fridge for at least 4 hours, and add the warm Biscoff topping. With these make-ahead steps, you’ll have sweet, creamy delights at your fingertips, saving you precious time on busy days!
What to Serve with No Bake Mini Biscoff Cheesecakes?
Elevate your dessert experience with delightful pairings that complement the warmth and sweetness of these mini treats.
-
Fresh Berries: A handful of juicy raspberries or strawberries adds a burst of freshness, balancing the rich creaminess.
-
Crushed Biscotti: These crunchy Italian cookies enhance the Biscoff flavors while providing an enjoyable texture contrast in each bite. Crushed biscotti can be sprinkled on top for added indulgence.
-
Chocolate Drizzle: A simple drizzle of melted dark chocolate brings an exquisite touch of bitterness that beautifully complements the sweet cheesecakes.
-
Espresso or Coffee: Pairing with a rich shot of espresso or a cup of your favorite coffee creates a delightful after-dinner combination that enhances the dessert experience.
-
Vanilla Ice Cream: A scoop of creamy vanilla ice cream introduces a chill factor and luxurious creaminess that harmonizes with the cheesecakes’ textures.
-
Caramel Sauce: Drizzling warm caramel sauce over your cheesecakes introduces an added layer of sweetness and a delightful gooey texture that elevates each bite.
Expert Tips for No Bake Mini Biscoff Cheesecakes
• Temperature Matters: Ensure cream cheese is at room temperature to achieve a smooth filling with no lumps.
• Whipped Cream Care: Fold whipped cream gently into the filling; over-mixing can deflate the airy texture crucial for no bake mini Biscoff cheesecakes.
• Press Firmly: When creating the biscuit base, use enough pressure to compact the crumbs. A stable base prevents crumbly cheesecakes.
• Chill Wisely: For optimal texture, chill the cheesecakes overnight. This allows the filling to set perfectly and enhances the flavors.
• Top Smartly: Warm Biscoff spread before drizzling to achieve a beautiful, glossy finish on your cheesecakes.
No Bake Mini Biscoff Cheesecakes Variations
Feel free to let your creativity flow and tweak these delightful no bake cheesecakes to suit your taste buds!
-
Chocolate Biscoff:
Blend cocoa powder into the filling for a rich twist, then drizzle with dark chocolate. The chocolatey goodness complements the Biscoff beautifully. -
Biscoff and Banana:
Fold in some mashed banana into your creamy filling for a fun, fruity addition. The sweetness of banana paired with Biscoff creates a perfect harmonious flavor. -
Salted Caramel Biscoff:
Top the cheesecakes with a swirl of salted caramel sauce for an indulgent treat. That hint of salt balances the sweetness, elevating each bite. -
Biscoff and Oreo Base:
For a unique flavor twist, mix crushed Oreos into the Biscoff base. This adds a delightful chocolate crunch that’s simply irresistible! -
Lemon Biscoff:
Enhance the filling by adding a bit more lemon juice and zest to brighten the flavor. This citrus boost cuts through the richness and creates a refreshing bite. -
Nutty Biscoff:
Incorporate finely chopped nuts like pecans or walnuts into the filling or as a topping. This adds texture and a satisfying crunch against the creamy filling. -
Large Cheesecake Version:
Instead of mini cheesecakes, use a springform pan to create a full-sized Biscoff cheesecake. Just scale up the ingredients and adjust the chilling time accordingly. -
Frozen Treat:
Turn these cheesecakes into frozen delights! Simply freeze them for a few hours before serving for a refreshing summer dessert that’s perfect for warm days.
Don’t forget – each of these variations can be paired with delightful treats from my other recipes like Mini Grilled Cheese or Sweet Potato Bake to create a full, sumptuous spread!
How to Store and Freeze No Bake Mini Biscoff Cheesecakes
Fridge: Keep in an airtight container for up to 4 days. This ensures they remain fresh and delicious for your next sweet craving!
Freezer: For long-term storage, freeze without toppings for up to 6 weeks. Wrap each cheesecake individually in plastic wrap for optimal preservation.
Thawing: When ready to enjoy, simply transfer them to the fridge for a few hours or overnight to defrost gently.
Reheating: These cheesecakes are best served chilled and should not be reheated, preserving their delightful texture and flavor profile.
No Bake Mini Biscoff Cheesecakes Recipe FAQs
How do I choose the right Biscoff biscuits?
Absolutely! For the best flavor and texture, select fresh Biscoff biscuits that are not expired and have a crispy texture. Avoid any that have dark spots or seem too soft. If you’re in a pinch, speculoos biscuits offer a similar flavor profile and work beautifully in this recipe.
How should I store No Bake Mini Biscoff Cheesecakes?
To keep these delightful treats fresh, store them in an airtight container in the fridge for up to 4 days. Just make sure they’re covered to prevent them from absorbing any odors. If you want to prepare them ahead of time, you can freeze them without toppings.
Can I freeze No Bake Mini Biscoff Cheesecakes?
Very much so! For optimum freezing, wrap each cheesecake individually in plastic wrap and place them in a freezer-safe container. They can be frozen for up to 6 weeks. When you’re ready to enjoy them, transfer the cheesecakes to the fridge for several hours or overnight to thaw gently.
What if my cheesecake filling is lumpy?
No worries! If your filling turns out lumpy, it usually means the cream cheese wasn’t at room temperature or wasn’t beaten enough. Start with room-temperature cream cheese, beating it well until smooth before adding other ingredients. If lumps still appear, you can use a hand mixer on a low speed to blend it back into a creamy mixture.
Are No Bake Mini Biscoff Cheesecakes safe for people with dietary restrictions?
Absolutely! While these cheesecakes can be enjoyed by many, it’s essential to check the ingredients for allergies—cream cheese, butter, and Biscoff biscuits may not be suitable for those with dairy or gluten allergies. You can look for gluten-free Biscoff options or use dairy-free cream cheese alternatives to adapt this recipe to various dietary needs. Always double-check labels to ensure safety.
What should I do if I don’t have heavy cream?
The more the merrier! If you don’t have heavy cream, you can substitute it with the same amount of whipped topping or coconut cream for a lighter version. Simply chill the coconut cream overnight, scoop out the solid part, and whip it until fluffy, then fold it into your cheesecake filling as you normally would. This way, you’ll still achieve that airy texture without losing the creamy mouthfeel.
Delightful No Bake Mini Biscoff Cheesecakes for Easy Indulgence
Ingredients
Equipment
Method
- Prepare Muffin Tin by lining it with cupcake liners or silicone molds.
- Make Biscuit Base by crushing Biscoff biscuits and mixing them with melted butter.
- Press Base by dividing the mixture into the muffin holes and compressing it.
- Make Cheesecake Filling by beating cream cheese and gradually adding other filling ingredients.
- Whip and Fold Cream by whipping heavy cream and gently incorporating it into the cheesecake mixture.
- Fill Cheesecakes by spooning the cheesecake filling into the biscuit bases.
- Chill Until Set by covering and refrigerating for at least 4 hours or overnight.
- Add Topping by warming Biscoff spread and drizzling it over the cheesecakes.
Leave a Reply