
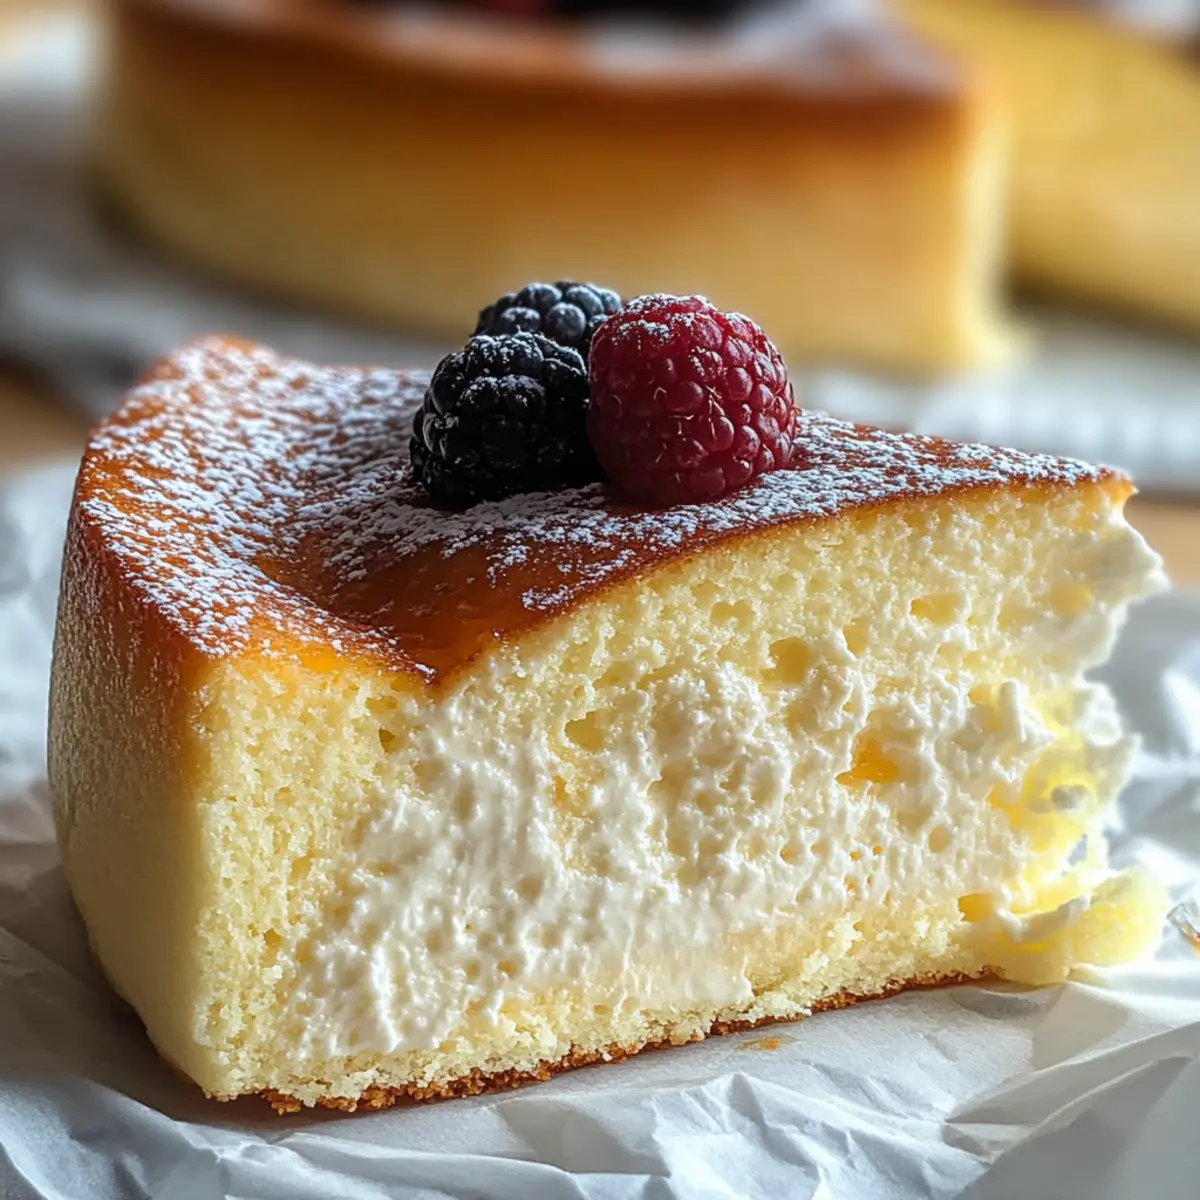
As I stood in my kitchen, whisking together just three simple ingredients, I felt an exciting sense of anticipation. That’s how this 3-Ingredient Creamy Yogurt Cake came to life—effortlessly blending nonfat vanilla Greek yogurt, eggs, and cornstarch into something truly magical. What I love most about this light dessert is how quick it is to whip up, making it an excellent option for those busy weeknights or impromptu gatherings. Plus, it’s gluten-free and vegetarian-friendly, so it caters to all diets without sacrificing taste or enjoyment. Picture this: a cake that’s velvety, smooth, and perfect to pair with fresh fruits or a drizzle of honey. Doesn’t that sound delightful? Let’s dive into how you can create this silky sensation and perhaps play with variations to make it your own!
Why is this Yogurt Cake a Must-Try?
Simplicity at Its Best: With only three ingredients, making this cake is a breeze even for novice bakers.
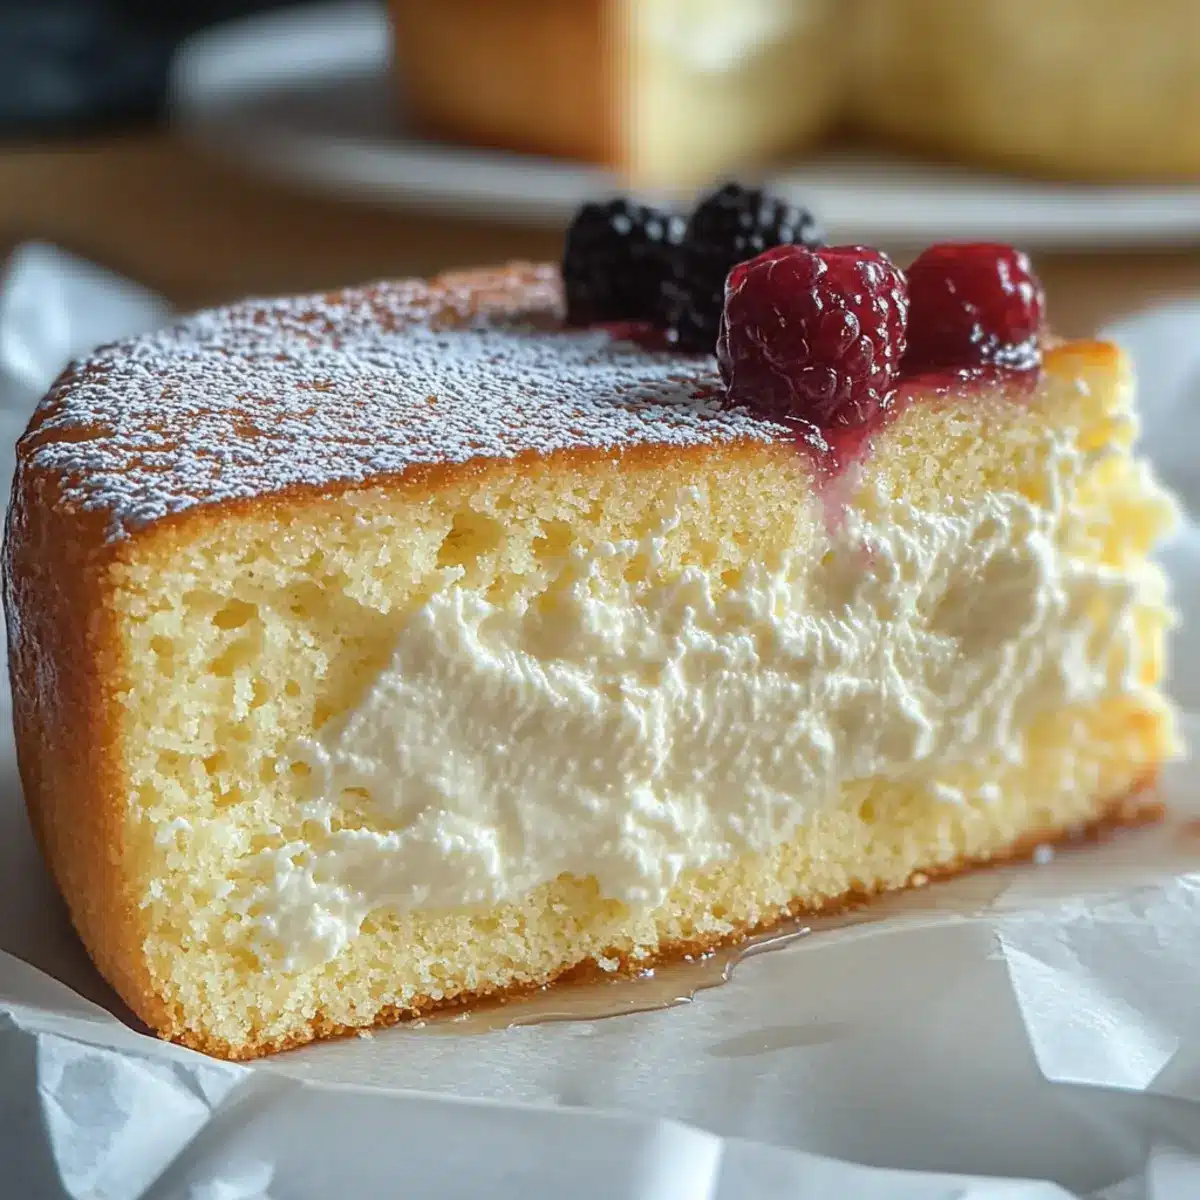
Velvety Texture: The combination of creamy yogurt and eggs creates a delightful, cloudlike consistency that melts in your mouth.
Guilt-Free Indulgence: Gluten-free and vegetarian-friendly, this dessert allows you to indulge without compromise.
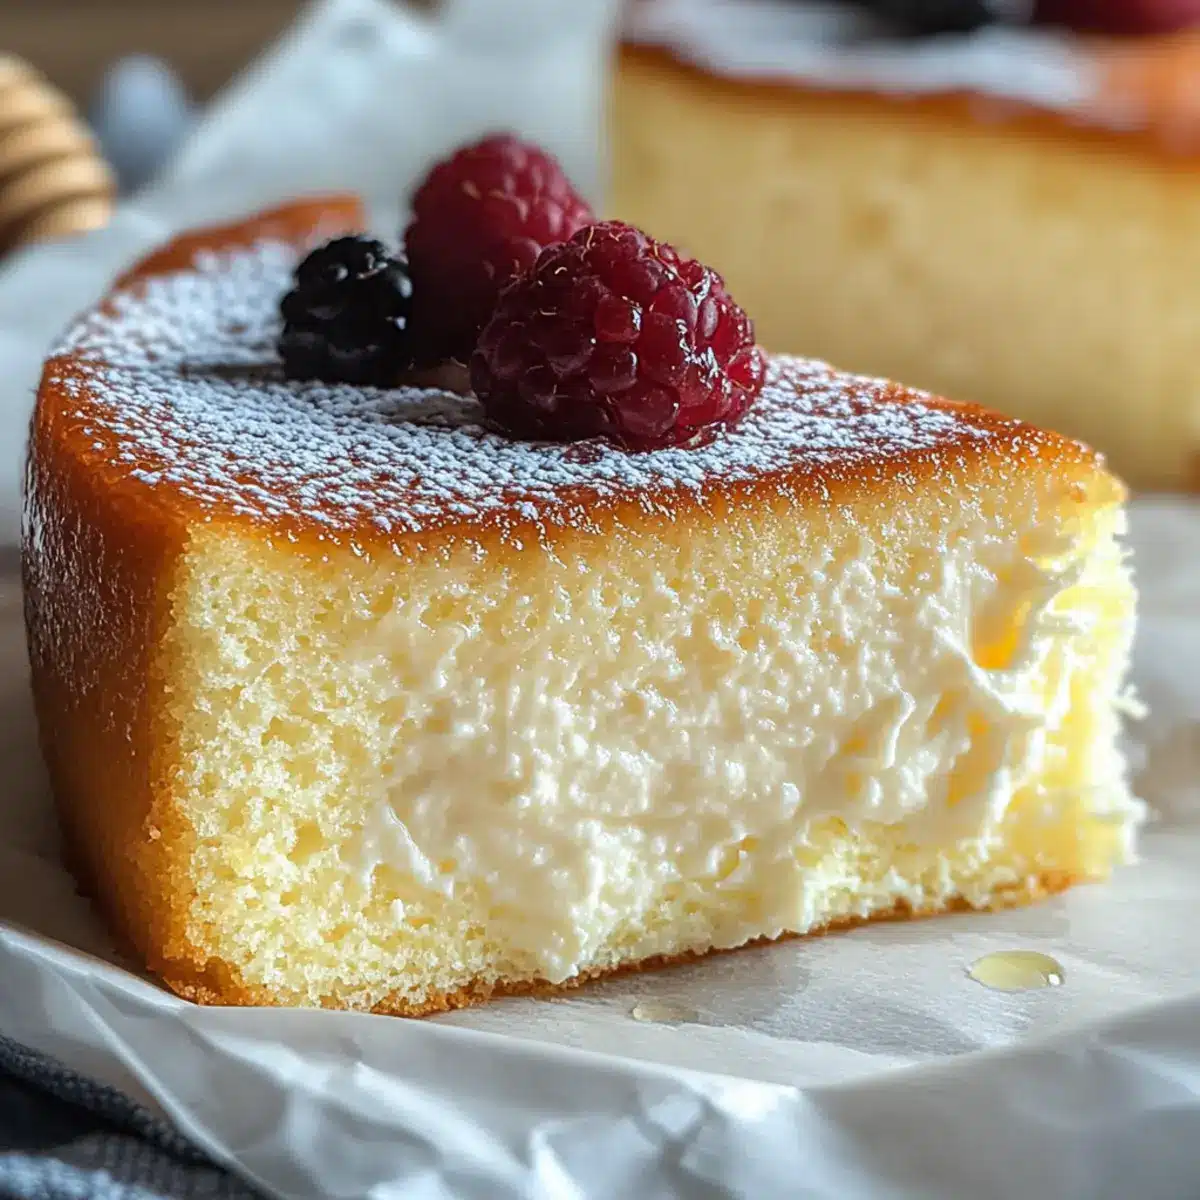
Versatile Flavors: Experiment with different yogurt flavors or toppings to make each cake uniquely yours, like pairing it with fresh berries or a drizzle of date syrup.
Perfect for Any Occasion: Whether a quick snack or an elegant dessert at a dinner party, this cake impresses everyone every time. Check out my Chicken Macaroni Cheese or Lasagna Soup Cozy for more quick meal ideas while you enjoy this delightful treat!
Creamy Yogurt Cake Ingredients
For the Cake
- Nonfat Vanilla Greek Yogurt – Adds creaminess and moisture; you can substitute with full-fat or flavored yogurt like lemon or honey for a richer taste.
- Eggs – Provide structure and help the cake rise; use large eggs for the best results.
- Cornstarch – Acts as a thickening agent to achieve the cake’s smooth body; potato starch can be a good alternative if cornstarch is unavailable.
Optional Toppings
- Fresh Berries – Adds a pop of color and freshness; strawberries, blueberries, or raspberries work beautifully.
- Honey or Maple Syrup – Drizzle on top for a touch of sweetness; this pairs wonderfully with the creamy yogurt cake.
- Nuts – Sprinkling chopped nuts adds a delightful crunch and a nutty flavor that complements the cake.
Step‑by‑Step Instructions for Creamy Yogurt Cake
Step 1: Preheat the Oven
Begin by preheating your oven to 177°C (350°F) or, if you’re using an air fryer, set it to 160°C (320°F). This step ensures that the heat is just right for baking your creamy yogurt cake. A properly heated oven will help the cake rise beautifully and develop a lovely golden crust.
Step 2: Prepare the Cake Pan
While the oven is warming, grease a 15 cm round cake pan generously with butter or cooking spray. Next, line the bottom with parchment paper to ensure the cake releases easily after baking. This preparation will save you from any sticky mess when it’s time to serve your delightful creamy yogurt cake.
Step 3: Whisk the Yogurt and Eggs
In a large mixing bowl, add your nonfat vanilla Greek yogurt and eggs. Using a whisk, blend them together until the mixture is smooth and well-combined. This step is crucial, as the yogurt offers creaminess and the eggs provide structure—creating the perfect base for your cake.
Step 4: Incorporate the Cornstarch
Gradually add the cornstarch to the yogurt and egg mixture while continuously whisking. This process will help prevent any lumps from forming, resulting in a silky batter. Keep whisking until the mixture is completely free of lumps, ensuring a smooth texture for your creamy yogurt cake.
Step 5: Pour and Smooth the Batter
Pour the batter into your prepared cake pan, then use a spatula to smooth the top evenly. Make sure that the batter is spread out evenly to ensure uniform cooking. This lovely, creamy mixture is now ready to be transformed into a fluffy cake as it bakes in the oven.
Step 6: Bake the Cake
Place the cake pan in the preheated oven and bake for 70-75 minutes or 20-23 minutes in the air fryer. Keep an eye on it as it bakes, looking for a golden top and a set center. Use a toothpick to check for doneness—if it comes out mostly clean, your creamy yogurt cake is ready to come out.
Step 7: Cool and Chill
Once baked, remove the cake from the oven and let it cool in the pan for at least 30 minutes. After cooling, place the cake in the refrigerator for two hours, or ideally overnight. This chilling process enhances the flavors and ensures a delightful, velvety texture when you slice into your creamy yogurt cake.
Creamy Yogurt Cake Variations
Feel free to let your creativity shine by customizing this delightful cake to suit your tastes!
- Different Yogurt: Swap regular yogurt for Greek for a thicker texture; it’ll still come out creamy and delicious!
- Flavored Yogurt: Experiment with fruity or honey-flavored yogurt to create a unique taste—lemon yogurt adds a refreshing zing!
- Alternative Sweeteners: Use maple syrup or agave in place of honey for those who prefer different sweeteners. Each brings its own flavor twist.
- Add-ins: Mix in fresh fruit like blueberries or raspberries into the batter to create bursts of flavor within the cake—it’s an excellent way to add some zing!
- Cocoa Twist: Add a few tablespoons of cocoa powder for a chocolatey spin; everyone loves a rich chocolate cake! Just be mindful of the amount of cornstarch you use.
- Nuts and Seeds: Sprinkle in chopped nuts or sunflower seeds for added crunch and a touch of nuttiness—almonds or walnuts work beautifully.
- Spices: Add a pinch of cinnamon or nutmeg for warming spices that enhance the cake’s flavor profile perfectly!
- Toppings Galore: Play with a variety of toppings, from your favorite fruit compote to a drizzle of chocolate sauce. They enhance not only the flavor but also the presentation!
For more delightful inspiration, consider whipping up some Jammy Eggs Yogurt next time or indulge in a comforting bowl of Chicken Macaroni Cheese. Enjoy your delicious journey in the kitchen!
What to Serve with 3-Ingredient Creamy Yogurt Cake
Pairing the right sides with your cake elevates the whole experience into a delightful meal or treat.
-
Fresh Berries: Their juicy sweetness complements the creamy yogurt cake beautifully, adding freshness and a burst of color.
-
Honey Drizzle: A touch of honey enhances the cake’s subtle flavors, giving a splendid contrast to its creamy texture.
-
Cinnamon Dusting: A sprinkle of cinnamon adds warmth and depth, creating a cozy aroma that pairs perfectly with the light dessert.
-
Nuts: Chopped almonds or walnuts introduce a satisfying crunch, elevating the cake with a nutty flavor and a delightful texture contrast.
-
Green Tea: Sipping on fragrant green tea while enjoying your cake brings a calming element to the meal, balancing the dessert’s creaminess.
-
Chocolate Sauce: A warm drizzle of chocolate sauce can add an indulgent twist to the cake, making it feel even more decadent and special.
-
Lemon Sorbet: As a refreshing palate cleanser, lemon sorbet provides a tangy contrast that brightens and refreshes between bites of creamy cake.
-
Coffee: Enjoy a cup of your favorite coffee to enhance the cake’s flavors while adding a comforting and rich note to your dessert experience.
Expert Tips for Creamy Yogurt Cake
-
Check the Texture: Ensure your cake has a puffy, golden top with a toothpick testing mostly clean; this indicates it’s perfectly baked and ready for chilling.
-
Chill for Flavor: Letting the cake chill for at least two hours develops its flavors further; for the best results, refrigerate overnight before serving.
-
Proper Measuring: Accurately measure the cornstarch; this is crucial for achieving the creamy yogurt cake’s desired texture—too little can lead to a dense cake.
-
Experiment with Yogurt: Feel free to use flavored yogurt instead of vanilla—such as lemon or honey—to elevate the cake’s flavor profile without extra ingredients.
-
Cutting Technique: For clean slices, use a sharp, warm knife when serving; this helps maintain the beautiful creamy texture of the yogurt cake.
Make Ahead Options
These 3-Ingredient Creamy Yogurt Cake delights are perfect for meal prep enthusiasts! You can prepare the cake batter up to 24 hours in advance, tightly covering the bowl with plastic wrap and storing it in the refrigerator to keep it fresh. For even more convenience, bake the cake and then refrigerate it for up to 3 days. Just remember to let it cool completely before wrapping it in plastic or transferring it to an airtight container to retain its delightful texture. When you’re ready to serve, simply slice and enjoy chilled or allow the cake to warm slightly at room temperature for a velvety experience that feels just as fresh and delicious as if it were made that day!
Storage Tips for Creamy Yogurt Cake
Fridge: Store leftovers in an airtight container in the refrigerator for up to 3 days to maintain freshness and flavor.
Freezer: Wrap slices tightly in plastic wrap or aluminum foil and freeze for up to 2 months. Thaw overnight in the fridge before enjoying.
Serving: For the best experience, serve the creamy yogurt cake chilled and allow it to warm slightly before serving to enhance the flavors.

Creamy Yogurt Cake Recipe FAQs
What type of yogurt is best for this cake?
Absolutely! Nonfat vanilla Greek yogurt provides the best creaminess and flavor for this cake. However, you can substitute it with full-fat yogurt or any flavored yogurt, like lemon or honey, for a richer taste. Just keep in mind that the flavor of the yogurt will shine through, so choose one you enjoy!
How should I store the creamy yogurt cake?
Very! Leftovers should be stored in an airtight container in the refrigerator for up to 3 days. If you want to enjoy it later, wrap the slices tightly in plastic wrap or aluminum foil and freeze them for up to 2 months. Just remember to thaw overnight in the fridge before tasting this delightful treat again!
Can I freeze the creamy yogurt cake?
Absolutely! Freezing this cake is simple: once it’s completely cooled, slice it and wrap each piece tightly in plastic wrap or foil. Place them in a freezer-safe bag or container to prevent freezer burn. When you’re ready to enjoy, just thaw them overnight in the refrigerator.
What if my cake isn’t rising?
If your creamy yogurt cake isn’t rising as expected, ensure you’re using fresh eggs and correctly measuring your cornstarch. A puffy, caramelized top is what we’re aiming for! If it looks dense, it might be due to overmixing the batter or overcrowding the pan—so take care to follow the mixing steps gently.
Is this recipe safe for people with allergies?
Certainly! This creamy yogurt cake is gluten-free and vegetarian-friendly, making it ideal for various dietary needs. However, keep in mind that it contains eggs and dairy, which can be allergens for some. If you’re making this for someone with dietary restrictions, I recommend using egg substitutes and dairy-free yogurt for a suitable alternative.
Can I add fruits or nuts to the batter?
Very much so! You can fold in some chopped fruits or nuts before baking if you want to add a twist to your creamy yogurt cake. Just be sure not to overmix, as you want to maintain the light texture. Popular choices include crushed berries, banana pieces, or chopped nuts, which complement the cake beautifully!
Delightfully Creamy Yogurt Cake: A Guilt-Free Treat
Ingredients
Equipment
Method
- Preheat your oven to 177°C (350°F) or 160°C (320°F) for the air fryer.
- Grease a 15 cm round cake pan with butter or cooking spray and line the bottom with parchment paper.
- In a large mixing bowl, whisk together the yogurt and eggs until smooth.
- Gradually add the cornstarch while whisking to prevent lumps.
- Pour the batter into the prepared cake pan and smooth the top with a spatula.
- Bake the cake for 70-75 minutes or for 20-23 minutes in an air fryer.
- Once baked, cool the cake in the pan for at least 30 minutes, then refrigerate for two hours or overnight.
Leave a Reply