
As I stirred the pot of zesty red enchilada sauce, a wave of nostalgia washed over me—reminding me of family gatherings where laughter mingled with the lively aroma wafting from the kitchen. Today, I’m excited to share my recipe for Easy Chicken Enchiladas, a comforting dish that transforms a simple weeknight dinner into a cozy celebration. Not only do these enchiladas require minimal prep time, but their customizable nature means you can easily cater to everyone’s tastes, from a spicy kick to a vegetarian twist. Trust me, your table will be filled with smiles and satisfied appetites as you dish out these cheesy, savory delights. Curious to learn how to create this family favorite? Let’s dive into the recipe!
Why are Chicken Enchiladas a Must-Try?
Irresistible Comfort: These Chicken Enchiladas are the epitome of comfort food, bringing warmth and joy to your table.
Endless Customization: Whether you prefer them spicy or vegetarian, this recipe lets you tailor the flavors to match everyone’s cravings!
Quick and Easy: With minimal prep time, you can whip up these delightful enchiladas in no time, perfect for busy weeknights.
Family Favorite: Loaded with scrumptious cheese and tender chicken, they’re sure to please even the pickiest eaters.
And for a unique take, try pairing them with a refreshing salad or check out my Easy Chicken Taco Soup for a complete meal experience!
Chicken Enchiladas Ingredients
For the Filling
• Cooked and Shredded Chicken – Provides the delicious, savory base for your enchiladas; rotisserie chicken is a great time-saver!
• Chopped Onion – Adds sweetness and depth; consider using red onions for a milder flavor.
• Minced Garlic – Contributes a wonderful aroma; use fresh garlic for the best taste.
• Cumin – Adds warmth and earthiness; perfect for an authentic Mexican flavor.
• Chili Powder – Provides a nice kick; adjust the amount based on your spice preference.
• Salt and Pepper – Balances all the flavors; taste and adjust for your desired seasoning.
For Assembly
• Red Enchilada Sauce (10 oz) – Adds a zesty kick; choose between mild or spicy based on your taste!
• Flour Tortillas (8 pieces) – Soft and pliable for easy wrapping; warm them slightly to prevent tearing.
• Shredded Monterey Jack Cheese (2 cups) – Melts beautifully for a creamy texture; feel free to mix in cheddar for extra flavor.
For Garnish and Serving
• Chopped Cilantro – Adds color and freshness; you can also use fresh parsley if cilantro isn’t your favorite.
• Sour Cream – Provides creaminess and tang; great for balancing out the spiciness of the enchiladas.
Get ready to savor these Chicken Enchiladas as you bring comfort and joy to your dining table!
Step‑by‑Step Instructions for Chicken Enchiladas
Step 1: Prepare the Chicken
Begin by cooking the chicken until it’s fully done; you can boil or bake it for around 25–30 minutes until the meat is no longer pink. Let it cool slightly, then shred the chicken using two forks or your hands, aiming for a flaky texture that will absorb all the delicious seasonings in your Chicken Enchiladas.
Step 2: Sauté the Aromatics
Heat a skillet over medium heat and add 1 tablespoon of vegetable oil. Once hot, add the chopped onion and minced garlic, sauté them for 3–4 minutes until they become soft and fragrant. This step builds a flavorful base for the chicken, enhancing the overall taste of your enchiladas.
Step 3: Combine the Filling Ingredients
Stir in the shredded chicken, along with cumin, chili powder, salt, and pepper into the skillet. Cook this mixture for an additional 3–5 minutes, allowing the spices to meld together. The chicken should be heated through and well-coated in the savory mixture, creating the perfect filling for your enchiladas.
Step 4: Preheat the Oven
While the filling is simmering, preheat your oven to 375°F (190°C). This temperature is ideal for creating bubbly, golden cheese on top of your Chicken Enchiladas. Getting your oven ready while you assemble the dish will save you time later.
Step 5: Prepare the Baking Dish
Pour a small amount of red enchilada sauce into the bottom of a baking dish, just enough to coat it lightly. This not only adds flavor but helps prevent the enchiladas from sticking during baking. Spread it evenly to ensure every bite has that zesty kick.
Step 6: Fill the Tortillas
Take a flour tortilla and spoon a generous amount of the chicken mixture down the center. Sprinkle some shredded Monterey Jack cheese over the filling, then roll the tortilla tightly and place it seam side down in the baking dish. Repeat this until all tortillas are filled and arranged snugly in the dish.
Step 7: Sauce and Cheese the Enchiladas
Once all tortillas are in the dish, pour the remaining enchilada sauce evenly over the rolled enchiladas. Top them off with any leftover shredded cheese, ensuring that every enchilada is covered for that gooey, cheesy top that is so beloved in Chicken Enchiladas.
Step 8: Bake to Perfection
Cover the baking dish with foil and place it in the preheated oven. Bake for 20–25 minutes until the enchiladas are heated through. After this time, remove the foil and bake for an additional 5–10 minutes until the cheese is bubbly and slightly golden, creating a mouthwatering crust.
Step 9: Rest and Garnish
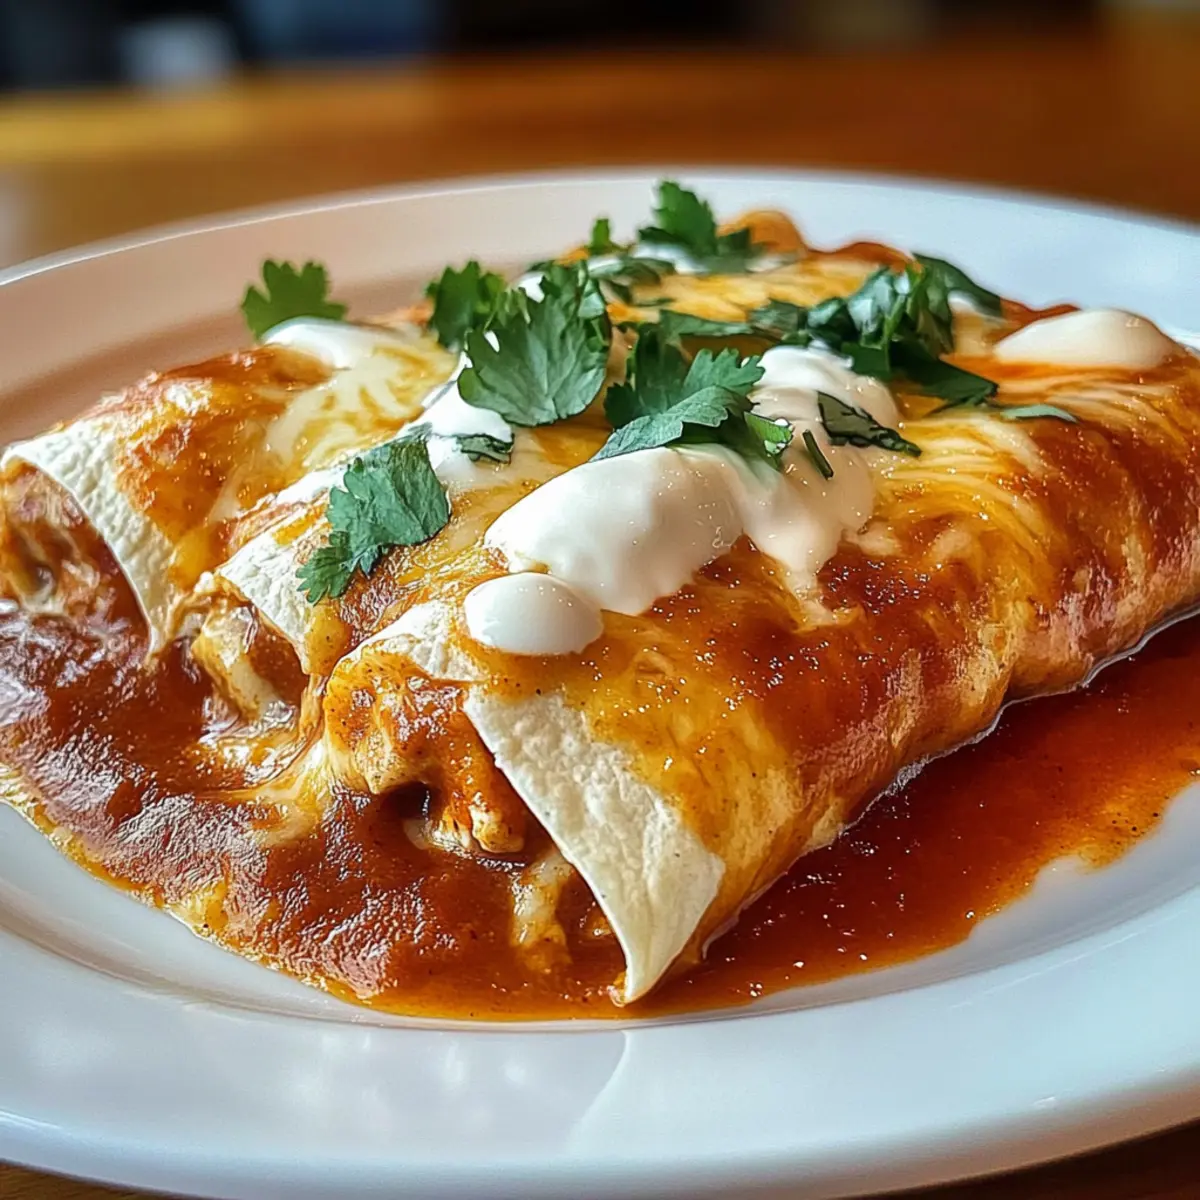
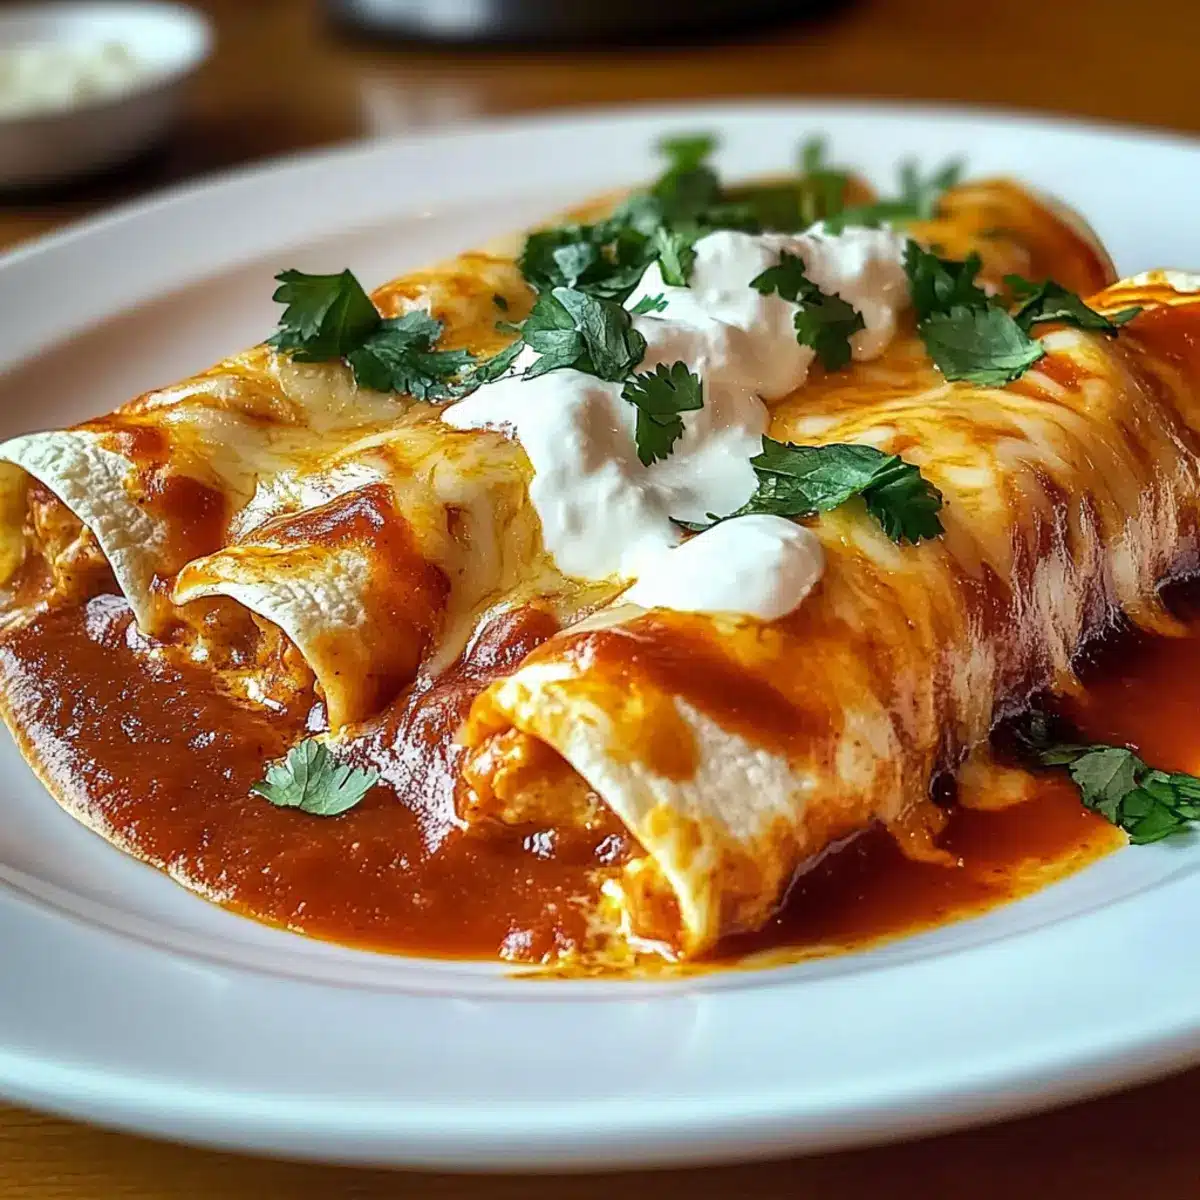
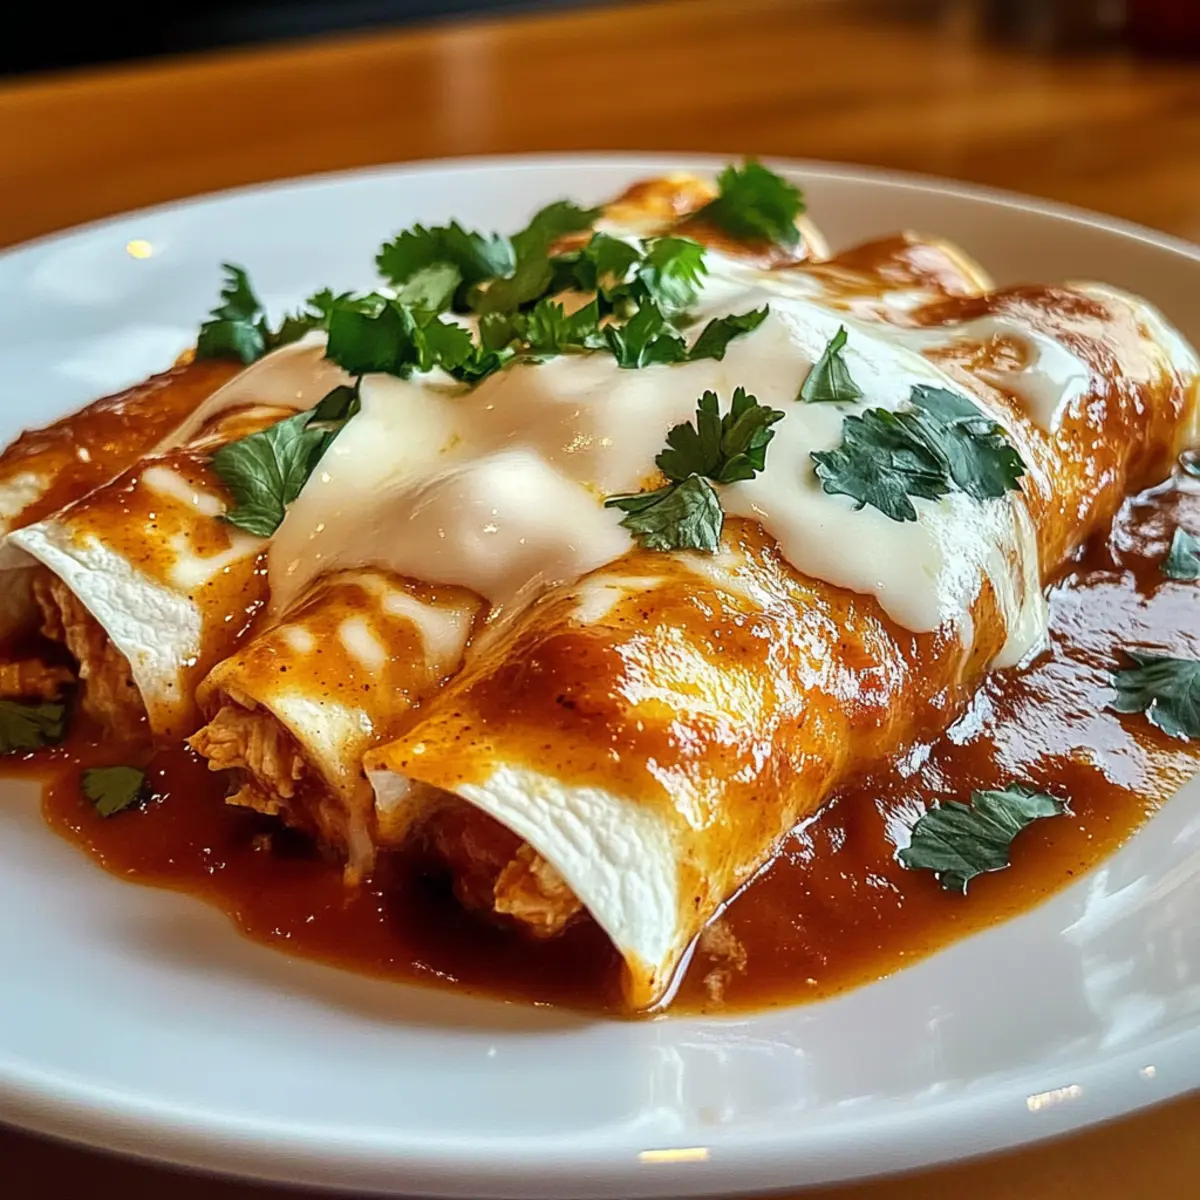
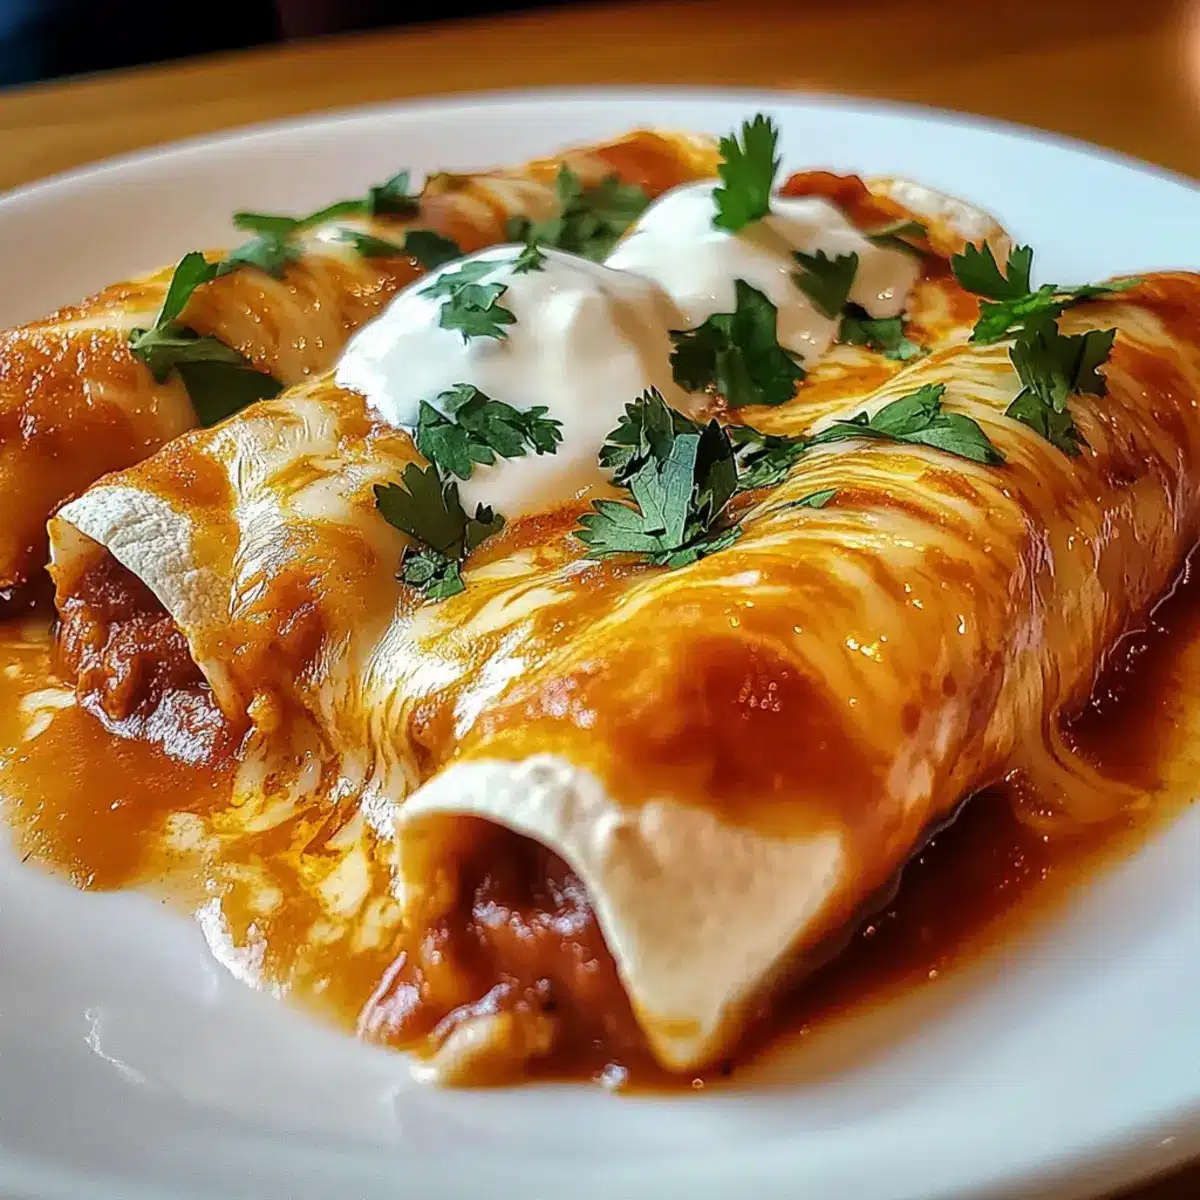
Once done, remove the Chicken Enchiladas from the oven and let them rest for a few minutes. This allows the flavors to meld and makes serving easier. Just before serving, garnish with freshly chopped cilantro for a burst of color and flavor, and don’t forget the sour cream on the side for a tangy touch!
Make Ahead Options
These Chicken Enchiladas are a fantastic option for busy weeknights, allowing you to enjoy homemade comfort food without the hassle! You can assemble the enchiladas up to 24 hours in advance; simply cover the baking dish with foil and refrigerate. For the best quality, avoid adding the final layer of cheese until just before baking to ensure it stays fresh and melty. When ready to bake, preheat your oven to 375°F (190°C) and sprinkle the cheese on top before covering with foil. Bake for 20–25 minutes, removing the foil for the last 5–10 minutes for that golden, bubbly finish. Your family will love these delicious Chicken Enchiladas just as much as if you made them fresh!
Expert Tips for Chicken Enchiladas
• Use Fresh Ingredients: Opt for fresh chicken and veggies for the best flavor. Avoid pre-packaged chicken to enhance taste in your Chicken Enchiladas.
• Don’t Skip Sautéing: Sautéing onions and garlic builds an essential flavor base. Skipping this step can lead to bland fillings.
• Warm Tortillas: Warm tortillas slightly in the microwave before filling them. This prevents tearing and makes rolling easier.
• Let Them Rest: Allowing the enchiladas to rest post-baking makes serving easier and enhances flavor melding—don’t rush this step!
• Customize Wisely: Experiment with spice levels by adjusting chili powder or adding jalapeños; just ensure the other flavors balance well in your Chicken Enchiladas.
Chicken Enchiladas Variations & Substitutions
Feel free to get creative with your Chicken Enchiladas; there are endless ways to tailor them to your taste!
-
Vegetarian Twist: Substitute chicken with a mix of black beans, corn, and sautéed bell peppers for a hearty touch. This vibrant filling not only nourishes but also adds a colorful palette to your dish!
-
Spicy Kick: Add finely diced jalapeños or opt for a fiery enchilada sauce to heat things up. Just a little extra kick makes every bite a flavor explosion!
-
Gluten-Free Option: Swap flour tortillas for corn tortillas, perfect for anyone avoiding gluten. These tortillas lend a lovely texture and authenticity to your Chicken Enchiladas.
-
Creamy Flavor: Mix in some cream cheese with the chicken filling for an ultra-creamy texture. This addition takes comfort food to the next level, making every bite indulgent.
-
Cheese Lover’s Delight: Blend Monterey Jack cheese with sharp cheddar for a richer flavor profile. Experimenting with different cheese can elevate your enchiladas and please the cheese aficionados in your family!
-
Zesty Freshness: Sprinkle fresh lime juice over the enchiladas just before serving for a zesty punch. It’s a simple flourish that balances the rich flavors beautifully.
-
Herb-Infused: Add chopped fresh spinach or cilantro to the chicken mixture for’s a burst of color and freshness. These greens not only enhance the flavor but also contribute a nutritional boost!
And while you’re feeling adventurous, consider pairing your enchiladas with my Easy Chicken Taco Soup for a deliciously balanced meal! Enjoy these creative options as you craft your perfect Chicken Enchiladas!
How to Store and Freeze Chicken Enchiladas
Fridge: Store leftover Chicken Enchiladas in an airtight container for up to 3-4 days. Reheat in the oven at 350°F (175°C) until warmed through.
Freezer: Freeze assembled but unbaked enchiladas in an airtight container for up to 3 months. Thaw in the fridge before baking for best results.
Reheating: To reheat baked leftovers, cover with foil and warm in the oven at 350°F (175°C) for about 20 minutes or until heated through.
Make-Ahead: You can assemble the Chicken Enchiladas and refrigerate them for up to 24 hours before baking. This makes meal prep easy without sacrificing flavor!
What to Serve with Easy Chicken Enchiladas
Enjoy a vibrant dining experience by pairing these enchiladas with delightful sides or refreshing drinks that enhance each flavor.
-
Mexican Rice: Fluffy and seasoned, this dish provides a comforting base that complements the enchiladas’ savory goodness. A splash of lime can brighten the flavors beautifully.
-
Refried Beans: Creamy and rich, they are the perfect sidekick, adding a delightful texture and savory depth. Top with some cheese and fresh cilantro for a tasty twist!
-
Guacamole: Fresh and creamy, this luscious dip brings a cool contrast to the warm enchiladas. The creamy avocado balances out the spices perfectly, making every bite more delectable.
-
Corn Salsa: A burst of sweet corn, red onion, and lime adds a refreshing element to your meal. Its bright flavors create a wonderful contrast to the cheesy goodness of the enchiladas.
-
Chips and Salsa: A crunchy appetizer that sets the stage for your meal. The salty crunch of tortilla chips with zesty salsa opens up the palate for the flavors to come.
-
Mexican Street Corn Salad: Grilled corn mixed with lime and cheese brings the essence of summer to your plate. This vibrant salad adds both sweetness and crunch, making it an enjoyable complement.
-
Margaritas: Refreshing and tangy, these drinks perfectly enhance the Mexican theme of your meal. A classic margarita, with its balance of sweetness and tartness, elevates the entire dining experience.
-
Chocolate Flan: Decadent and creamy, this dessert rounds off the meal in a delightful way. Its richness is a perfect endnote after the savory enchiladas, leaving everyone satisfied.
-
Churros with Chocolate Sauce: These sugary, crispy treats dipped in chocolate sauce offer a deliciously sweet finish and a satisfying crunch after the meal.
Feeling inspired? Mix and match these serving ideas for a joyful dining experience that all your family and friends will cherish!
Chicken Enchiladas Recipe FAQs
How do I choose ripe ingredients for my Chicken Enchiladas?
Absolutely! When selecting your chicken, opt for fresh, high-quality meat. For onions, look for ones that feel firm and heavy for their size, avoiding any that have dark spots or soft spots. If you’re using fresh garlic, pick bulbs that are plump and have tight skin. Fresh tortillas should be pliable with no cracks, ensuring they are easy to roll.
How long can I store leftover Chicken Enchiladas?
Very! You can store your leftover Chicken Enchiladas in an airtight container in the refrigerator for up to 3-4 days. To reheat, simply cover with foil and warm in the oven at 350°F (175°C) for about 20 minutes. This keeps them moist and delicious!
Can I freeze Chicken Enchiladas?
Absolutely! You can freeze assembled but unbaked Chicken Enchiladas for up to 3 months. Just place them in an airtight container or wrap tightly in foil. When you’re ready to enjoy them, thaw them in the fridge overnight before baking. This helps maintain the flavors and texture!
What should I do if my tortillas tear while assembling?
Don’t fret! If your tortillas tear, it’s often a sign they are too cold. To avoid this, warm them slightly in the microwave for 10-15 seconds before filling. If a tortilla does tear, simply place the filling inside and wrap it up like a burrito—your enchiladas will still taste great!
Are there any dietary considerations for Chicken Enchiladas?
Absolutely! If you’re catering to dietary restrictions, consider using gluten-free corn tortillas instead of flour. For lactose intolerance, use dairy-free cheese and skip the sour cream, or opt for a dairy-free alternative. For a vegetarian twist, replace the chicken with black beans, corn, and sautéed peppers for a delectable meat-free option.
Can I prepare Chicken Enchiladas in advance?
Very much! You can assemble Chicken Enchiladas and refrigerate them for up to 24 hours before baking. Just be sure to cover them tightly with foil or plastic wrap. This makes weeknight dinners a breeze, ensuring a comforting meal is just a bake away!
Savory Chicken Enchiladas: Comfort Food for Family Nights
Ingredients
Equipment
Method
- Prepare the Chicken: Cook the chicken until fully done (25–30 minutes). Let cool slightly, then shred.
- Sauté the Aromatics: Heat oil, add onion and garlic, sauté for 3–4 minutes.
- Combine the Filling Ingredients: Stir in chicken, cumin, chili powder, salt, and pepper. Cook for 3–5 minutes.
- Preheat the Oven: Preheat oven to 375°F (190°C).
- Prepare the Baking Dish: Pour a small amount of red enchilada sauce into the bottom of the dish.
- Fill the Tortillas: Spoon chicken mixture into tortillas, roll tightly, and place seam side down in the baking dish.
- Sauce and Cheese the Enchiladas: Pour remaining enchilada sauce over all rolled enchiladas, top with cheese.
- Bake to Perfection: Cover with foil, bake for 20–25 minutes, then uncover and bake for an additional 5–10 minutes.
- Rest and Garnish: Let rest for a few minutes, then garnish with cilantro and serve with sour cream.
Leave a Reply