
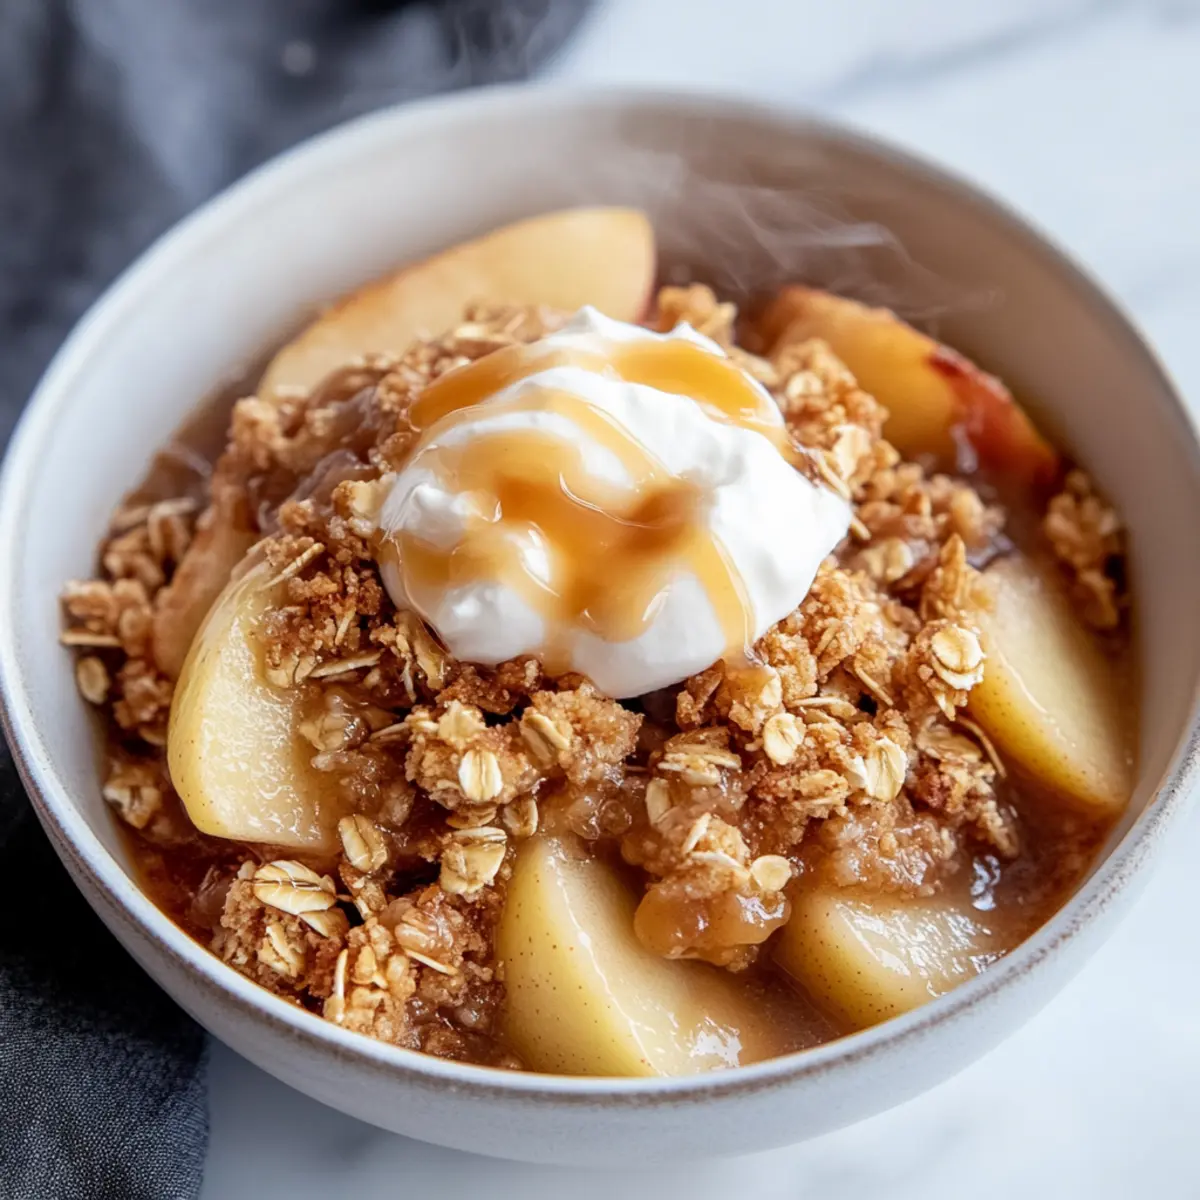
Sitting in my kitchen one chilly afternoon, I caught a whiff of warm cinnamon intertwining with sweet, tart apples baking in the oven. The aroma whisked me back to carefree childhood days spent savoring homemade treats. It’s no surprise that I’m thrilled to share this Healthy High Protein Apple Crisp recipe, combining nostalgic flavors and nutritious ingredients that please both my palate and my wellness goals. Each spoonful delivers a delightful contrast between the tender apples and a satisfying oat topping, making it not only a comforting dessert but also a guilt-free indulgence that’s quick to prepare. Perfect for those busy nights when you crave something sweet but want a protein boost, this apple crisp is bound to become a favorite in your healthy dessert arsenal. Who can resist a cozy dessert that nourishes the body and soul? Let’s dive into making this heartwarming delight together!
Why is High Protein Apple Crisp a must-try?
Guilt-Free Indulgence: With its wholesome ingredients, this dessert satisfies cravings without the sugar crash.
Protein Boost: Thanks to the added protein powder and nut butter, it’s filling and nutritious—perfect after a workout or as a snack.
Quick to Prepare: In just 30 minutes, you can whip up this delightful treat, making it ideal for busy weeknights.
Adjustable to Your Taste: Feel free to personalize with your favorite nut butter or even try a vegan variant with plant-based ingredients!
Crowd-Pleasing: It’s sure to impress family and friends alike, making it an excellent addition to gatherings—think cozy nights paired with a scoop of ice cream. Check out High Protein Bagel for another nutritious treat that the whole family will love!
High Protein Apple Crisp Ingredients
For the Apple Filling
• Chopped Apple – Provides natural sweetness and moisture; choose Granny Smith for tartness or Honeycrisp for sweetness.
• Cinnamon – Adds a warm flavor and aroma that enhances the apple filling.
• Lemon Juice – Brightens the apple flavor; just a small drop will do!
For the Crunchy Topping
• Vanilla Protein Powder – Increases protein content for a healthy dessert; opt for plant-based for a vegan version.
• Nut Butter (Almond or Peanut) – Contributes richness and healthy fats; almond butter offers a delightful flavor.
• Rolled Oats – Forms the crumble topping, providing essential texture and fiber.
• Milk or Water – Binds the topping mixture; use as needed for the right consistency.
• Pinch of Salt – Enhances the overall flavor of the dish.
Note: This indulgent High Protein Apple Crisp is not only delicious, but it’s easy to adapt, fitting perfectly into any healthy diet!
Step‑by‑Step Instructions for High Protein Apple Crisp
Step 1: Preheat the Oven
Begin by preheating your oven to 350°F (175°C). This will ensure that your High Protein Apple Crisp bakes evenly. Prepare a small ramekin by lightly greasing it with a bit of butter or non-stick spray, ready for the delicious apple filling that’s coming up next.
Step 2: Prepare the Apples
In a mixing bowl, combine the chopped apples, a sprinkle of cinnamon, a small drop of lemon juice, and 1 tablespoon of vanilla protein powder. Toss everything together until the apples are well coated. Once mixed, transfer the apple mixture into your prepared ramekin, spreading it evenly across the bottom for a cozy, inviting base.
Step 3: Make the Topping
In a separate bowl, mix rolled oats, the remaining vanilla protein powder, and your choice of nut butter until crumbly. Add just enough milk or water to bring the mixture together; it should hold its shape but remain crumbly. This delicious topping will give your High Protein Apple Crisp that wonderful crunchy layer.
Step 4: Assemble the Crisp
Carefully sprinkle the oat mixture over the apple filling in the ramekin, ensuring an even layer. This will create a delightful contrast between the warm, tender apples and the crunchy topping. Press down lightly to help the topping adhere as it bakes, enhancing that satisfying texture you’ll love.
Step 5: Bake
Place the ramekin in the preheated oven and bake for about 20 minutes. Keep an eye on it as it bakes, and look for a golden topping that’s bubbling around the edges—this means your High Protein Apple Crisp is nearly ready, and the flavors are melding beautifully.
Step 6: Cool Slightly
Once baked to perfection, remove the ramekin from the oven and allow it to cool for about 5 minutes. This cooling period is essential, as it allows the topping to firm up slightly, making each bite of your crisp not only delicious but also easy to scoop.
What to Serve with High Protein Apple Crisp?
Nothing pairs better with this delightful treat than complementary sides that enhance its warm, cozy flavors.
-
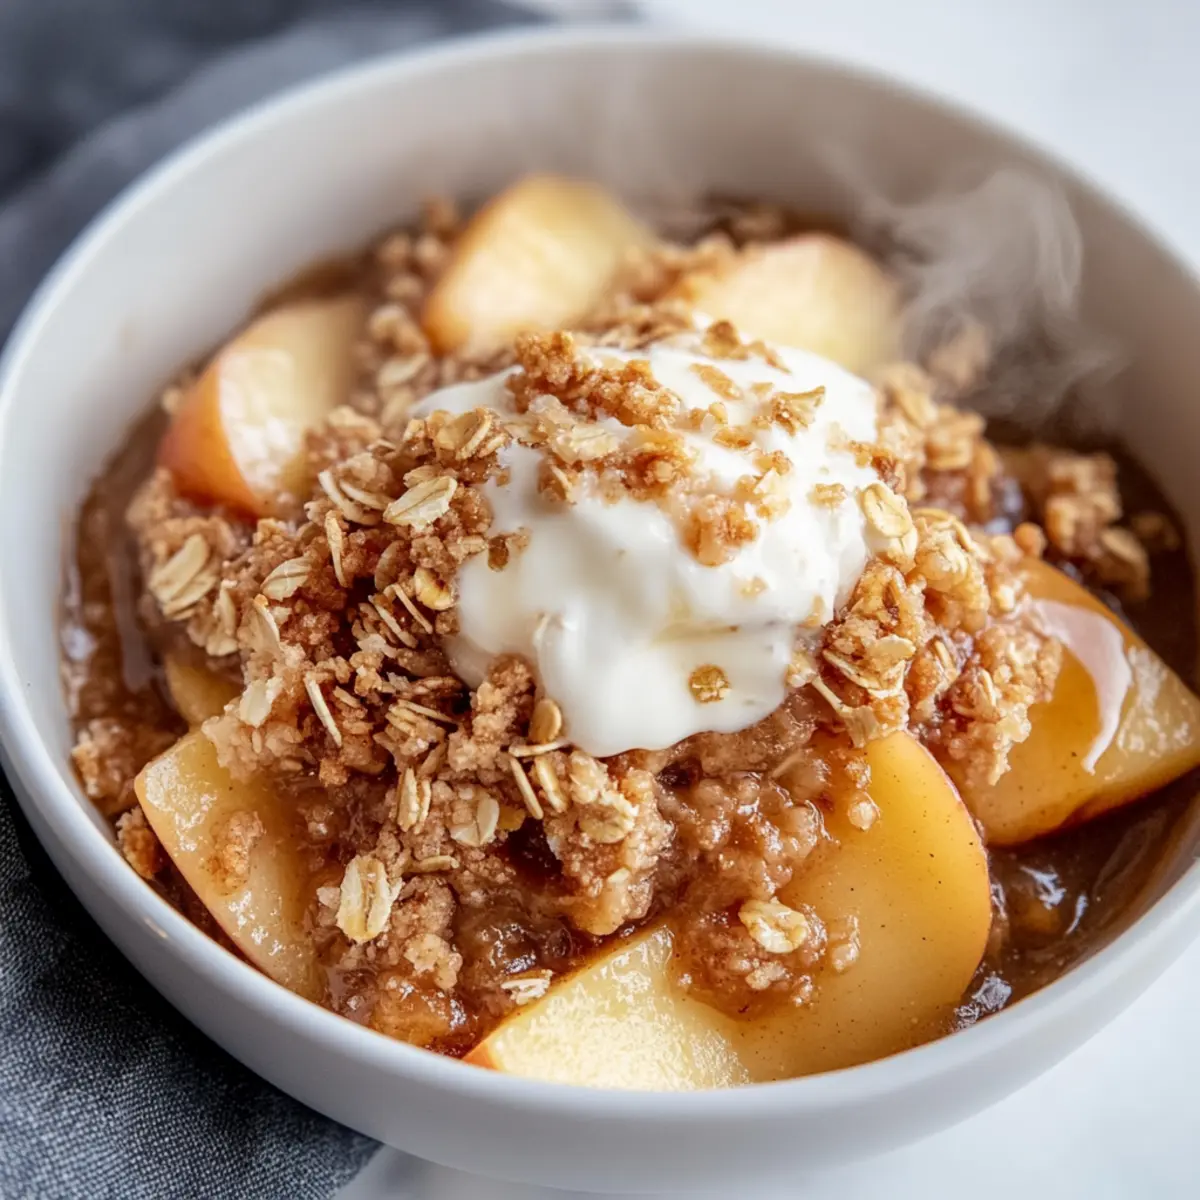
Greek Yogurt: Adding a spoonful of creamy Greek yogurt creates a luscious contrast and boosts the protein content even further. The thickness of the yogurt beautifully balances the warm crispness below.
-
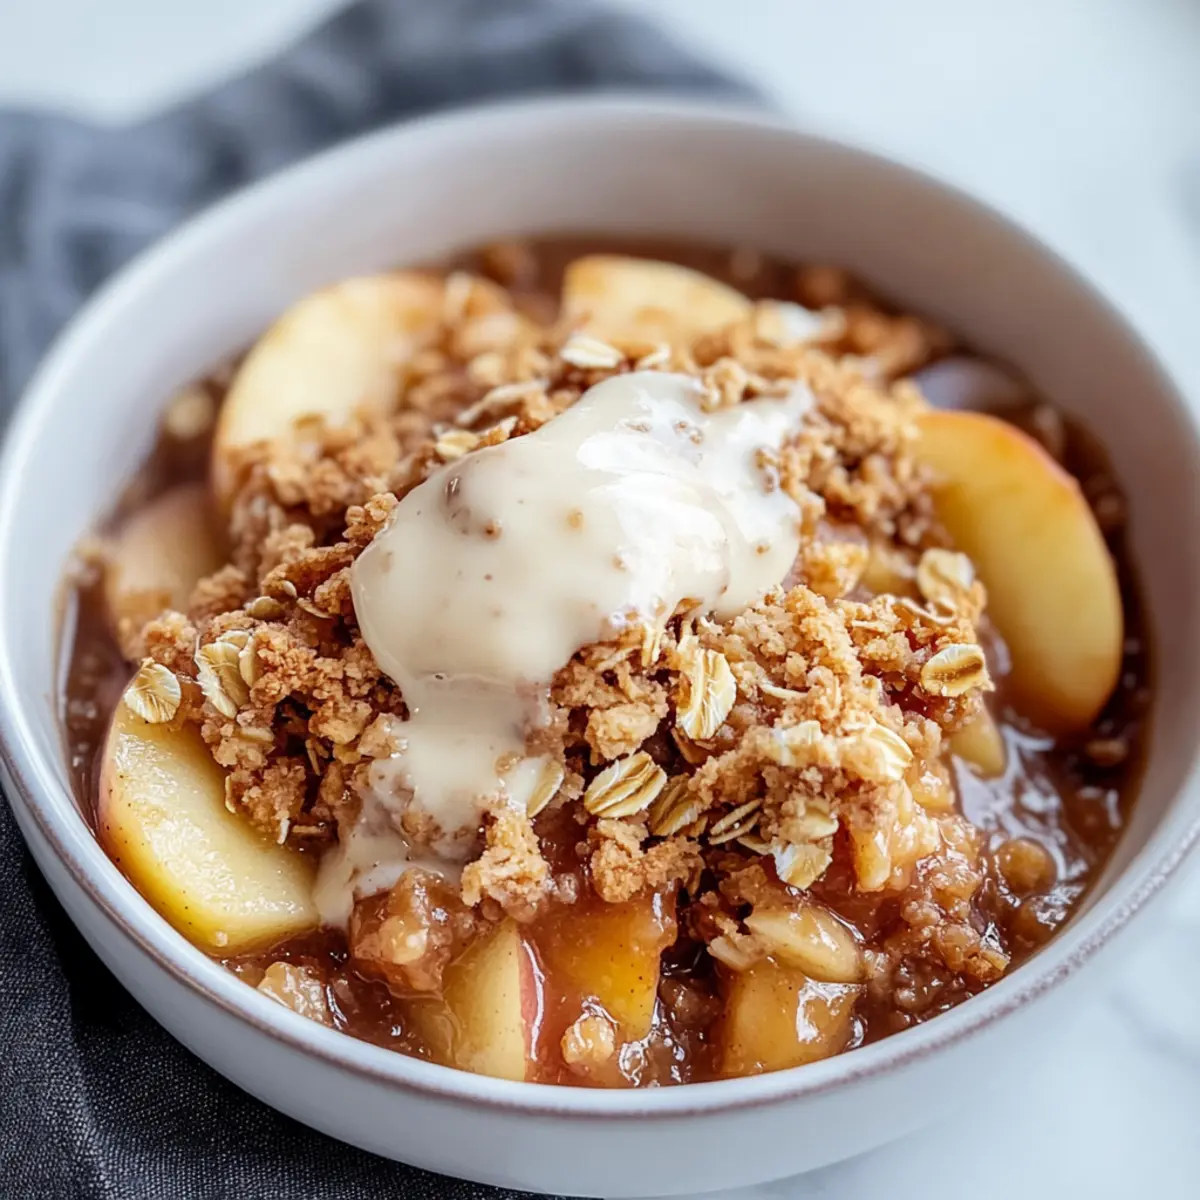
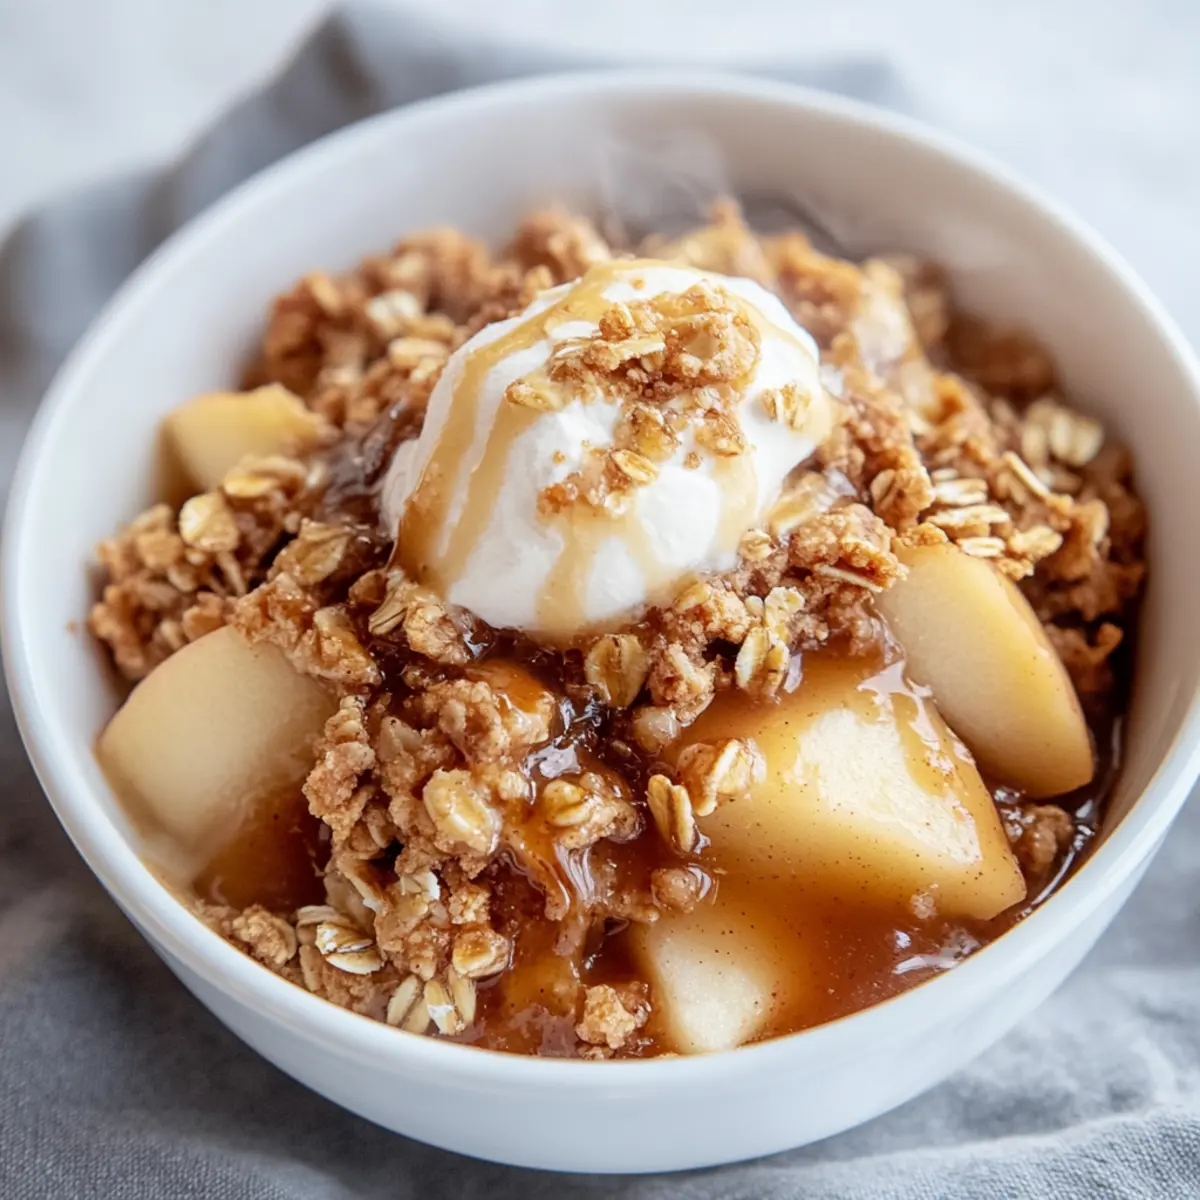
Vanilla Ice Cream: For pure indulgence, serve a scoop of vanilla ice cream on top. As it melts, it adds a delicious creaminess, creating a blissful warm-and-cold experience.
-
Cinnamon-Spiced Nuts: A sprinkle of cinnamon-spiced nuts not only adds crunch but also enhances the autumnal flavor profile. Think pecans or walnuts for a satisfying texture!
-
Fresh Berries: Brighten the plate with a side of fresh berries. Their tartness complements the sweetness of the apples and offers a refreshing contrast.
-
Chai Latte: A steaming cup of chai latte adds aromatic spices that harmonize nicely with the apple crisp. The warmth of the drink mirrors the cozy vibes of this dessert.
-
Honey Drizzle: A light drizzle of honey over the top introduces a touch of natural sweetness, further enriching each bite with layers of flavor while keeping it healthy.
-
Dark Chocolate Shavings: For a decadent twist, sprinkle some dark chocolate shavings on top. Its rich, bittersweet notes beautifully balance the fruity sweetness of the crisp.
-
Coconut Whipped Cream: Dairy-free enthusiasts will love coconut whipped cream as a creamy topping. Its subtle coconut flavor adds a delightful twist to each spoonful.
High Protein Apple Crisp Customization Ideas
Feel free to let your creativity shine as you make this recipe your own! Each variation offers a chance to explore new flavors and textures.
-
Nut Butter Swap: Use sunflower seed butter for a nut-free version, keeping the rich texture and flavor intact.
Adding this alternative can help suit your dietary preferences while providing a deliciously creamy topping. -
Vegan Delight: Replace the vanilla protein powder with a high-quality plant-based option and use almond milk.
This adjustment opens the door for everyone to enjoy a guilt-free dessert that caters to vegan diets while remaining utterly satisfying. -
Crunch Boost: Incorporate chopped walnuts or pecans into the topping for added texture and healthy fats.
These nuts not only enhance crunchiness but also bring a rich flavor, making every bite more delightful. -
Spiced Variation: Add a pinch of nutmeg or ginger to the apple mixture for a warm, spiced twist.
The aromatic blend will transport your senses and make this classic dessert feel even cozier, perfect for chilly evenings. -
Berry Infusion: Mix in fresh or frozen berries along with your apples for a colorful, flavor-packed crumble.
The fruity burst deepens the flavor profile and adds a vibrant touch, appealing to berry lovers wanting to jazz up their dessert. -
Caramel Drizzle: Top your crisp with a drizzle of homemade or store-bought caramel sauce for an indulgent finish.
This sweet addition enhances the sweetness while creating a luscious, dessert-like experience that you can’t resist. -
Protein Power-Up: Swap half the oats for protein granola to boost the texture while keeping it healthy.
Not only do you get an exciting crunchy layer, but your dessert becomes even more fulfilling and packed with nutrients.
If you’re ever in the mood for more delightful ideas, why not check out my Apple Cinnamon Cottage recipe? It’s another great way to enjoy the flavors of fall!
Expert Tips for High Protein Apple Crisp
• Slice Evenly: Cut apples into thin, even slices (about 1/4 inch) for consistent cooking, ensuring every bite is perfectly tender.
• Moisture Control: If the oat mixture feels too dry, add a dash more milk or water to achieve a crumbly yet cohesive texture; this helps avoid a dry topping.
• Monitor Baking: Check your High Protein Apple Crisp at the 15-minute mark to prevent over-baking. The topping should be golden brown and the apples bubbling.
• Cooling Time: Allow the crisp to cool for about 5 minutes before serving. This helps the topping firm up for easier scooping without falling apart.
• Experiment with Add-ins: Feel free to mix in your favorite nuts or seeds in the topping for added crunch; just ensure they complement the overall flavor profile.
Storage Tips for High Protein Apple Crisp
- Fridge: Store leftovers in an airtight container for up to 3 days to maintain freshness. The topping may soften slightly, but the delicious flavors will still shine through.
- Freezer: For longer storage, wrap individual servings in plastic wrap and place them in a freezer-safe bag. They can be frozen for up to 2 months.
- Reheating: For best results, reheat in the oven at 350°F for 5-7 minutes. You can also microwave for 30-45 seconds, adding a splash of milk if needed to restore moisture.
- Make-Ahead Tips: Prepare the apple filling and topping separately a day in advance. Assemble before baking to enjoy a warm, fresh dessert whenever you desire this High Protein Apple Crisp.
Make Ahead Options
These High Protein Apple Crisp preparations are perfect for busy home cooks looking to save time! You can prep the apple filling and topping mixture up to 24 hours in advance. For the filling, simply mix the chopped apples with cinnamon, lemon juice, and protein powder, then store it in an airtight container in the fridge. The topping can be made by combining oats, nut butter, and protein powder, then adding just enough milk or water to bind it. When you’re ready to bake, layer the topping over the apples and pop it in the oven to enjoy a wholesome treat that’s just as delicious as if you had made it fresh!
High Protein Apple Crisp Recipe FAQs
What type of apples should I use for the apple crisp?
Absolutely! For the best flavor, opt for Granny Smith apples if you prefer tartness or Honeycrisp apples for a sweeter taste. Both options provide a delightful contrast to the crunchy topping. Just make sure the apples are firm and free from dark spots for freshness!
How should I store the High Protein Apple Crisp?
To keep your delicious apple crisp fresh, refrigerate leftovers in an airtight container for up to 3 days. Just a heads up—the topping may lose its crunch, but the flavors will remain delightful. If you prefer to enjoy it later, you can also freeze individual servings wrapped tightly in plastic wrap and placed in a freezer-safe bag for up to 2 months!
Can I freeze the High Protein Apple Crisp?
Absolutely! To freeze, let your baked apple crisp cool completely. Wrap each portion in plastic wrap or foil, then place it in a freezer-safe bag. It can be stored for up to 2 months. When you’re ready to indulge, simply thaw it in the fridge overnight and reheat to restore its delightful texture.
What’s the best way to reheat the apple crisp?
For the best taste and texture, reheat your High Protein Apple Crisp in the oven at 350°F for 5-7 minutes. This method helps restore the crispiness of the topping. If you’re short on time, you can microwave it for 30-45 seconds; adding a splash of milk can help keep it moist.
Can I make this High Protein Apple Crisp vegan?
Very! To make this apple crisp vegan, substitute the protein powder with a plant-based version and use a dairy-free milk alternative. For the nut butter, any favorites like almond or sunflower seed butter can work great! This way, everyone can enjoy this heartwarming dessert without missing out on flavor.
Delicious High Protein Apple Crisp for Guilt-Free Indulgence
Ingredients
Equipment
Method
- Preheat your oven to 350°F (175°C) and lightly grease a ramekin.
- Combine chopped apples, cinnamon, lemon juice, and 1 tablespoon of protein powder in a mixing bowl. Toss until coated and transfer to the prepared ramekin.
- In a separate bowl, mix oats, remaining protein powder, and nut butter until crumbly. Add milk or water as needed.
- Sprinkle the oat mixture over the apple filling and press lightly.
- Bake for about 20 minutes, until topping is golden brown.
- Allow to cool for about 5 minutes before serving.
Leave a Reply