
There’s something magical about combining familiar flavors in unexpected ways. Today, I’m excited to share my twist on a classic: No-Bake Chocolate Chip Cookie Sushi Rolls! This playful dessert transforms the beloved chocolate chip cookie dough into a fun sushi-style treat, loaded with creamy fillings like Nutella or peanut butter. Perfect for kids and adults alike, this recipe boasts incredibly quick prep time and requires no baking—ideal for those busy weekdays or spontaneous gatherings. Whether you’re looking to impress friends at a party or simply want a delightful snack at home, this dessert is sure to spark joy. Are you ready to roll up your sleeves and get started on this whimsical culinary adventure?
Why is Chocolate Chip Cookie Sushi a Must-Try?
Uniqueness: This dessert adds an exciting twist to traditional cookies, bringing sushi-style presentation to your table.
No Bake: Say goodbye to complicated baking! This recipe is all about simplicity, perfect for those short on time.
Fun for All Ages: Kids will love the creative approach, while adults will appreciate the nostalgic flavors.
Versatile Fillings: Choose from Nutella, peanut butter, or even fruity jams to customize each roll to your taste!
Quick Assembly: In just a few steps, you’ll have a stunning dessert ready to impress guests—just like my Brown Butter Cookie recipe.
Great for Parties: Serve these visually appealing rolls at gatherings as a guaranteed crowd-pleaser!
Chocolate Chip Cookie Sushi Ingredients
For the Cookie Dough
• Butter – Provides richness and moisture; you can easily substitute with vegan butter for a dairy-free option.
• Sugar – Sweetens the dough and aids in browning; for a deeper flavor, brown sugar is a fantastic choice.
• Milk – Adds moisture; feel free to use any milk, whether dairy or plant-based, that you prefer.
• Vanilla Extract – Enhances flavor; opt for pure vanilla extract to achieve the best taste.
• All-Purpose Flour – Acts as the base structure of the cookie dough; remember to heat-treat flour for safety when consuming raw.
• Salt – Balances sweetness and boosts flavor.
• Mini Chocolate Chips – Adds delightful bursts of chocolate; you can swap them with any chocolate type or omit for a lower-sugar option.
For the Fillings
• Nutella – Offers a rich, creamy center; it’s a favorite for a reason!
• Peanut Butter – Adds a deliciously nutty twist; almond butter can be used for a different flavor dimension.
• Marshmallow Fluff – Brings a sweet and fluffy texture; perfect for those who love a playful treat.
• Fruit Leather – Provides a fruity and chewy contrast; ensure it’s fresh and ready to roll.
Unleash your creativity with these basic ingredients, and get ready to enjoy making your very own Chocolate Chip Cookie Sushi!
Step‑by‑Step Instructions for Chocolate Chip Cookie Sushi
Step 1: Cream the Butter and Sugars
In a mixing bowl, use a hand mixer or stand mixer to cream together ½ cup of softened butter and ½ cup of brown sugar plus ¼ cup of granulated sugar until the mixture is fluffy and light in color, about 2-3 minutes. This step creates a rich base for your Chocolate Chip Cookie Sushi dough.
Step 2: Combine Wet Ingredients
Add 2 tablespoons of milk and 1 teaspoon of pure vanilla extract to the creamed butter and sugars. Mix on low speed until fully combined, ensuring the mixture is smooth and creamy. The aroma of vanilla will fill your kitchen and add an extra layer of flavor to your cookie dough.
Step 3: Incorporate the Dry Ingredients
Gradually add 1 ¼ cups of heat-treated all-purpose flour and a pinch of salt to the wet mixture. Mix until just combined to avoid overworking the dough; it should be soft and pliable, ready for the next step. The dough will hold together without being too sticky, showcasing its versatility for the Chocolate Chip Cookie Sushi.
Step 4: Add Mini Chocolate Chips
Fold in ½ cup of mini chocolate chips gently with a spatula. This adds delightful bursts of chocolate throughout your dough and an appealing texture. Ensure the chocolate chips are evenly distributed in the dough for a balanced flavor in each bite of your Chocolate Chip Cookie Sushi.
Step 5: Roll Out the Dough
On a piece of parchment paper, turn out the dough and shape it into a rectangle about ¼-inch thick. Use a rolling pin to achieve an even thickness. This creates the perfect base for your sushi rolls, visually resembling the traditional sushi rice layer.
Step 6: Spread Your Filling
Spread your chosen filling (like Nutella or peanut butter) evenly over the rolled-out dough, leaving a small border around the edges. This enhances the creamy texture in each slice of your Chocolate Chip Cookie Sushi, ensuring that every bite is filled with sweetness and flavor.
Step 7: Roll the Dough
Using the parchment paper, carefully roll the dough into a tight log, jelly-roll style. Make sure to keep the filling contained by rolling firmly but gently. Once rolled, chill the log in the refrigerator for 10-15 minutes to firm it up, making it easier to slice for your sushi rolls.
Step 8: Slice into Rolls
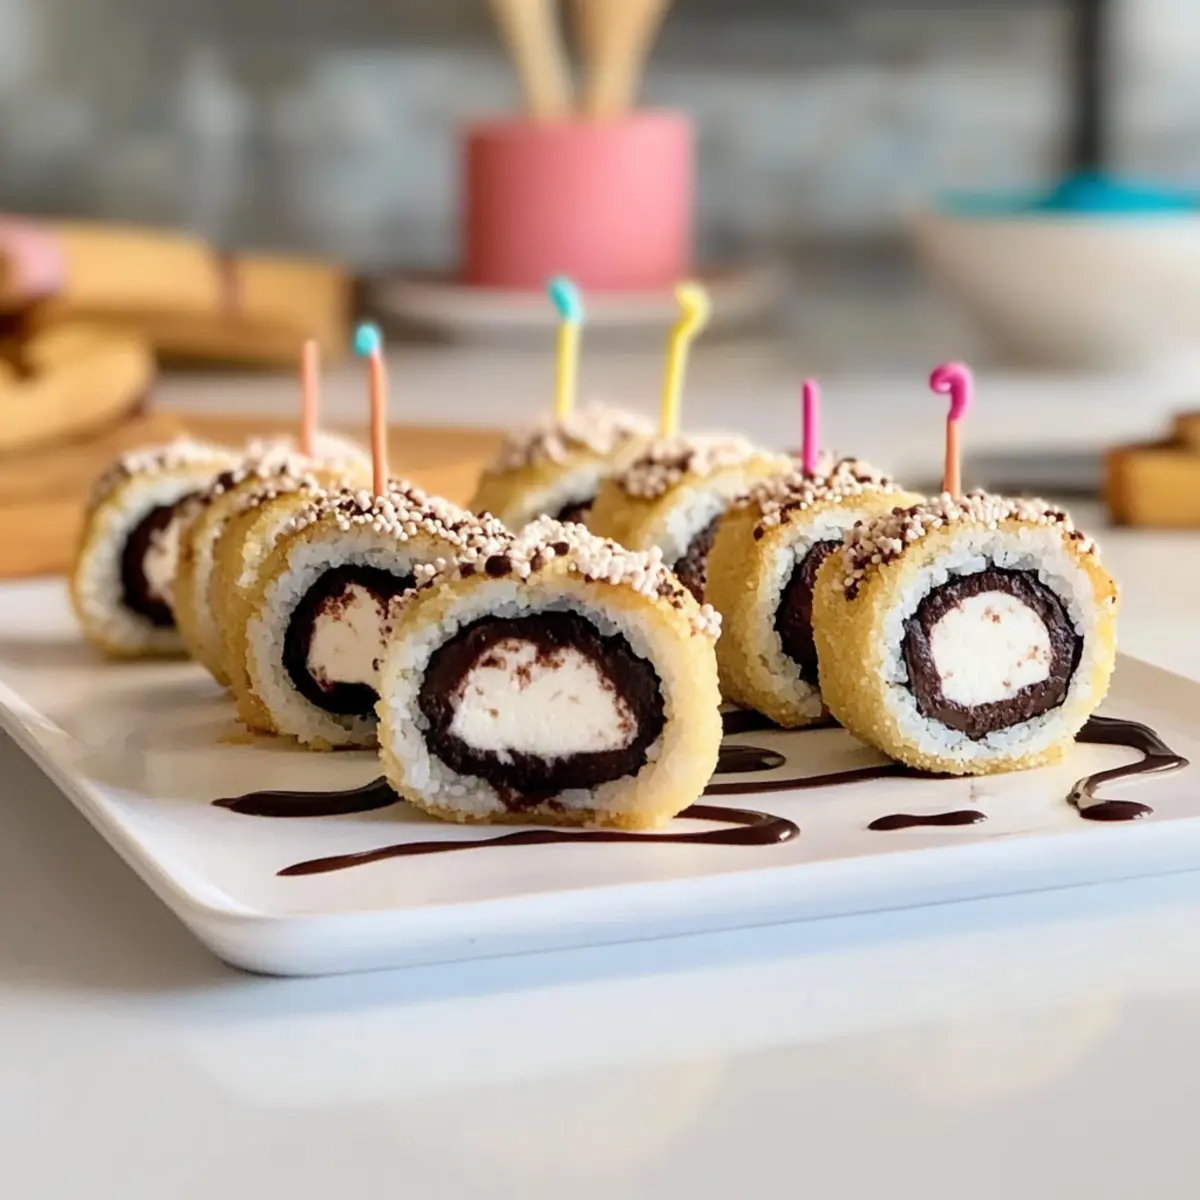
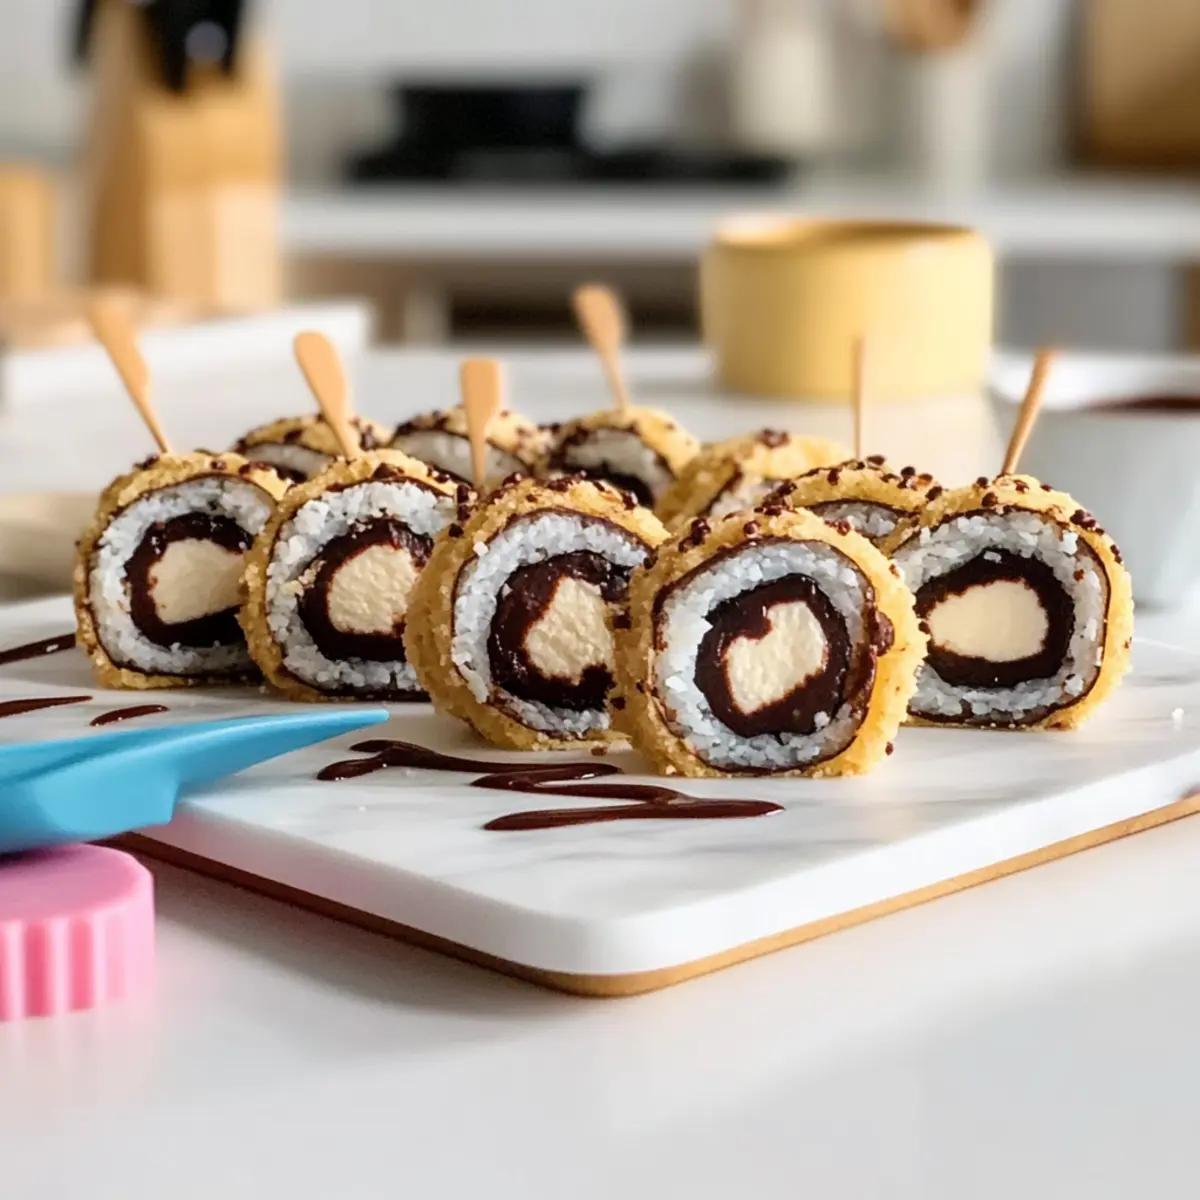
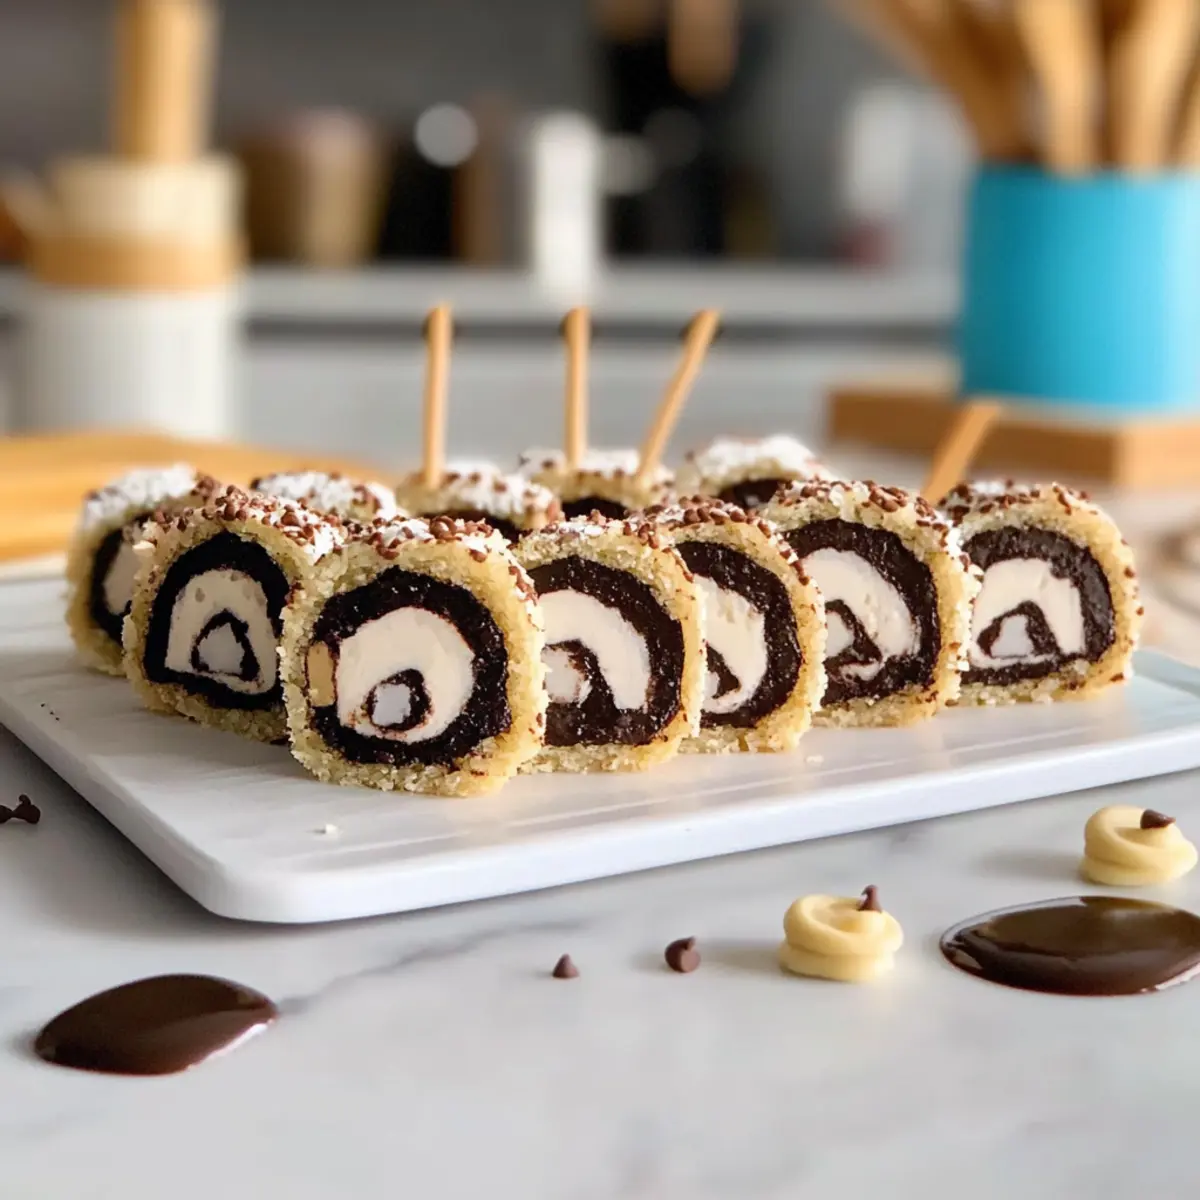
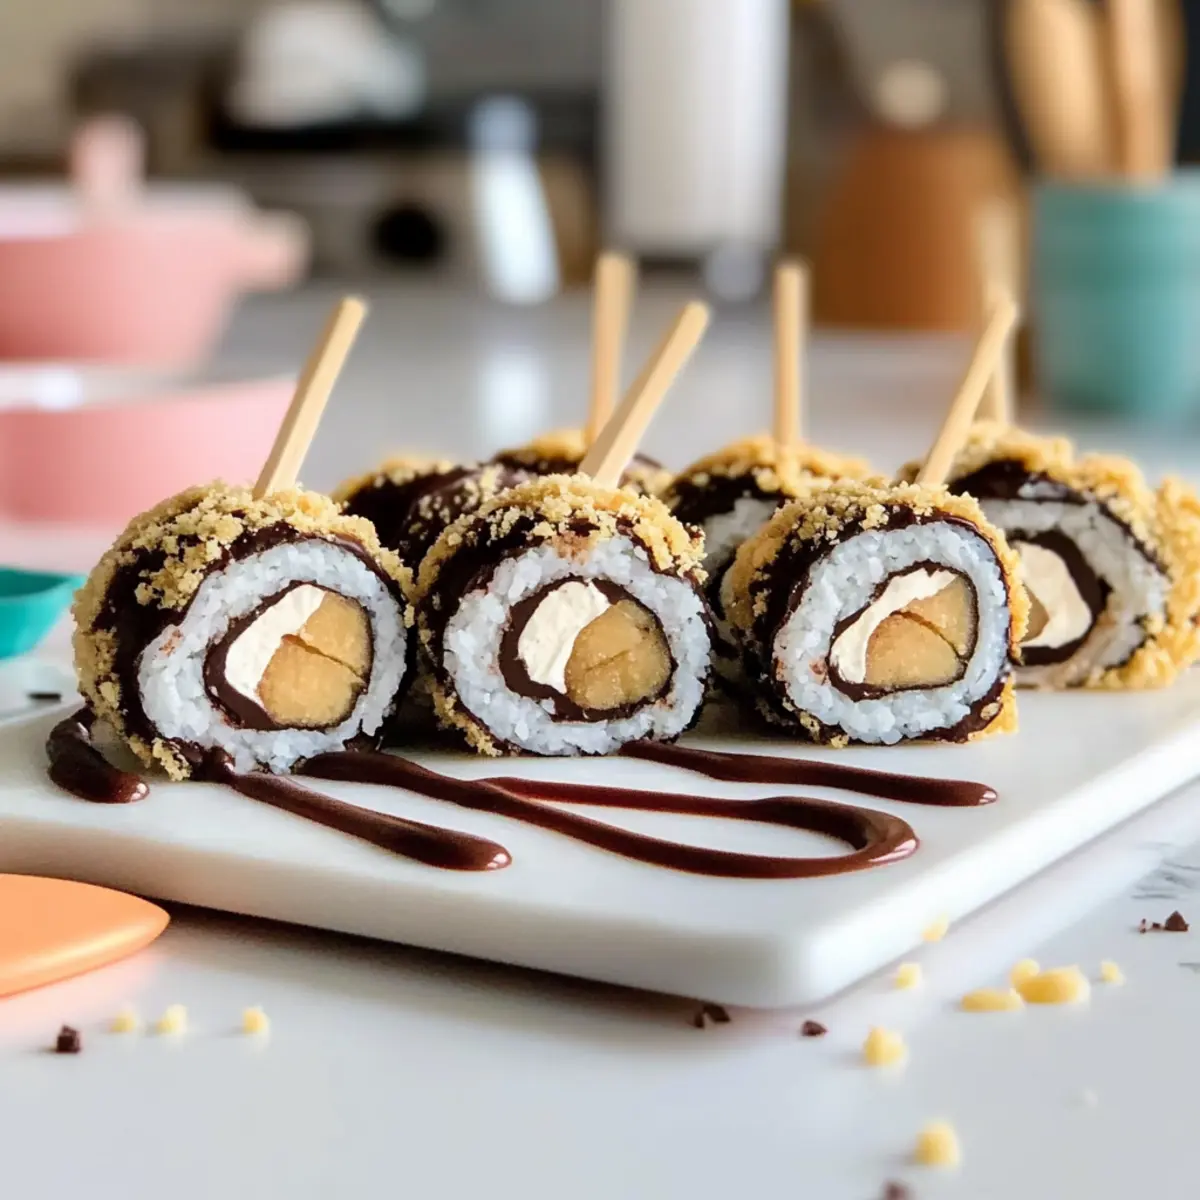
After chilling, use a sharp knife to slice the log into 1-inch pieces, resembling sushi rolls. This step reveals the colorful filling inside and showcases the delightful flavors of your Chocolate Chip Cookie Sushi. For cleaner slices, you may also use unflavored dental floss for a smooth cut.
Step 9: Serve and Enjoy
Arrange the slices on a serving platter and enjoy your delicious Chocolate Chip Cookie Sushi! These eye-catching treats are perfect for parties or a fun dessert at home, combining indulgent cookie flavors with a playful twist.
How to Store and Freeze Chocolate Chip Cookie Sushi
Fridge: Store your Chocolate Chip Cookie Sushi in an airtight container for up to 5 days. Keeping it chilled will preserve its freshness and flavor.
Freezer: You can freeze uncut logs of the sushi for up to 2 months. Wrap tightly in plastic wrap and then aluminum foil to prevent freezer burn.
Thawing: To enjoy frozen Chocolate Chip Cookie Sushi, thaw overnight in the fridge. Slice once it’s soft, and enjoy!
Serving Reminder: For the best experience, slice and serve as needed to keep the rolls looking their best!
Chocolate Chip Cookie Sushi Variations
Feel free to get creative with this delightful recipe and make it your own!
-
Dairy-Free: Substitute butter with vegan butter and use almond or coconut milk for a creamy, dairy-free treat. Perfect for accommodating dietary restrictions!
-
Nut-Free: Opt for sunflower seed butter instead of peanut butter for a tasty filling that’s safe for school lunches.
-
Fruit-Filled: Swap in your favorite fruit preserves or jams like raspberry or strawberry for a bright and fruity twist.
-
Chocolate Lover’s Delight: Instead of mini chocolate chips, use chopped chocolate bars or chunks to amplify those chocolatey bites.
-
Spice It Up: Add a sprinkle of cinnamon or nutmeg to the dough for a warm, aromatic flavor kick. It’s an unexpected delight!
-
Cheesecake Inspired: Try a layer of creamy cheesecake filling made from cream cheese sweetened with a bit of sugar for a decadent filling.
-
S’mores Version: Combine melted chocolate, marshmallow fluff, and crushed graham crackers for a fun s’mores-flavored twist!
-
Candy Crush: Incorporate crushed candy bars, like Snickers or Twix, into your filling to surprise your taste buds and add extra texture.
Remember, this recipe is super flexible! Just like my Dark Chocolate Quinoa treats, these variations will ensure you create something truly special, tailored to your tastes or occasions!
Expert Tips for Chocolate Chip Cookie Sushi
- Heat-Treat Flour: Always heat-treat your all-purpose flour by baking it at 350°F for 5 minutes. This makes it safe for raw consumption when making Chocolate Chip Cookie Sushi.
- Chill for Precision: After rolling the dough, chill it well before slicing. This helps maintain the log shape and ensures cleaner cuts.
- Use Sharp Tools: For best results, use a sharp knife or unflavored dental floss to cut your sushi rolls. This prevents squishing the filling out.
- Customize Fillings: Don’t hesitate to mix and match fillings! Try combining Nutella with fruit leather or peanut butter with marshmallow fluff for versatile flavors in your Chocolate Chip Cookie Sushi.
- Keep Portions Small: For a lighter treat, consider cutting smaller slices. This allows everyone to savor the dessert without overindulging!
What to Serve with No-Bake Chocolate Chip Cookie Sushi Rolls
Creating the perfect meal is all about harmony, and these fun sushi rolls deserve equally delightful companions to elevate the experience.
- Fresh Fruit Medley: A mix of berries, melons, and citrus adds a refreshing touch, balancing the sweetness of the rolls.
- Chocolate Dipping Sauce: A rich chocolate ganache or melted chocolate allows for an extra layer of indulgence that chocolate lovers will adore.
- Whipped Cream: Light and airy, a dollop of whipped cream provides a luscious accompaniment that enhances the dessert’s creaminess.
- Vanilla Ice Cream: The cold, creamy scoop of vanilla ice cream creates a luscious contrast, making for a heavenly dessert experience.
- Mint Leaves: Adding fresh mint as a garnish brings a fragrant and vibrant touch, refreshing the palate after each bite.
- Lemonade Spritzer: Refreshing and bubbly, a lemonade spritzer pairs perfectly with the sweetness, keeping everyone hydrated during gatherings.
- Sweet Tea: A poorly brewed sweet tea complements the dessert flavors, evoking warm memories of summer picnics.
- Miniature Cupcakes: Create a dessert platter with bite-sized treats for variety—chocolate or vanilla cupcakes will delight your guests!
- Milk: Classic and nostalgic, serving these sushi rolls with a glass of chilled milk never goes out of style.
- Fruit Juice Smoothies: Blending your favorite fruits into a creamy smoothie makes for a vibrant and delicious drink that kids will love.
Make Ahead Options
These delightful Chocolate Chip Cookie Sushi are perfect for meal prep enthusiasts! You can prepare the cookie dough and roll it up into a log up to 24 hours in advance, wrapping it tightly in parchment paper and storing it in the refrigerator to keep its shape and freshness. Additionally, feel free to pre-spread your chosen fillings on the dough before rolling; just ensure to keep it tightly wrapped to maintain flavor and texture. When you’re ready to serve, simply slice the chilled log into 1-inch pieces and arrange them on a platter. With this make-ahead strategy, you’ll have a fun and creative dessert ready to impress guests at a moment’s notice!
Chocolate Chip Cookie Sushi Recipe FAQs
How do I choose the right ripeness for my fillings?
Absolutely! When it comes to fillings like fruit leather, ensure it’s fresh and pliable, not dried out or hard. For spreads like Nutella or peanut butter, check that they are creamy and easy to spread to enhance the texture of your Chocolate Chip Cookie Sushi.
What is the best way to store Chocolate Chip Cookie Sushi?
Store your sushi rolls in an airtight container in the fridge for up to 5 days. This keeps them fresh and maintains their delightful flavors. I always recommend placing a layer of parchment paper between the layers to prevent sticking!
Can I freeze Chocolate Chip Cookie Sushi?
Yes, you absolutely can! To freeze, wrap uncut logs of the sushi tightly in plastic wrap and then in aluminum foil to prevent freezer burn. They can be frozen for up to 2 months. When you’re ready to enjoy them, simply thaw them overnight in the fridge before slicing.
What if my dough becomes too sticky?
Very good question! If your dough feels overly sticky while preparing, no worries! You can sprinkle a little more heat-treated flour on your work surface and your hands to make it easier to roll out. Additionally, chilling the dough for about 10 minutes can help firm it up, making it easier to work with.
Are there any dietary considerations I should be aware of?
Definitely! If you’re making this dessert for others, be sure to ask about allergies. For nut allergies, consider using safe alternatives like sunbutter instead of peanut butter. If making it for kids or someone with dietary restrictions, ensure you choose fillings that cater to their needs or preferences.
Can I prepare this recipe ahead of time?
Absolutely! You can prepare the Chocolate Chip Cookie Sushi log and store it in the fridge for up to 3 days before slicing. This is perfect for parties or when you want to have a fun dessert ready to go on short notice. Just slice before serving to keep them looking fresh and tempting!
Delicious Chocolate Chip Cookie Sushi Rolls for Fun Treats
Ingredients
Equipment
Method
- Cream the butter and sugars until fluffy and light in color, about 2-3 minutes.
- Combine wet ingredients: milk and vanilla extract into the creamed mixture, mixing until smooth.
- Incorporate the dry ingredients: flour and salt until just combined.
- Fold in mini chocolate chips gently with a spatula until evenly distributed.
- Roll out the dough into a rectangle about 1/4-inch thick on parchment paper.
- Spread your chosen filling evenly over the rolled-out dough, leaving a border around edges.
- Roll the dough into a tight log using the parchment paper and chill for 10-15 minutes.
- Slice the log into 1-inch pieces resembling sushi rolls using a sharp knife.
- Serve on a platter and enjoy as a fun dessert.
Leave a Reply