
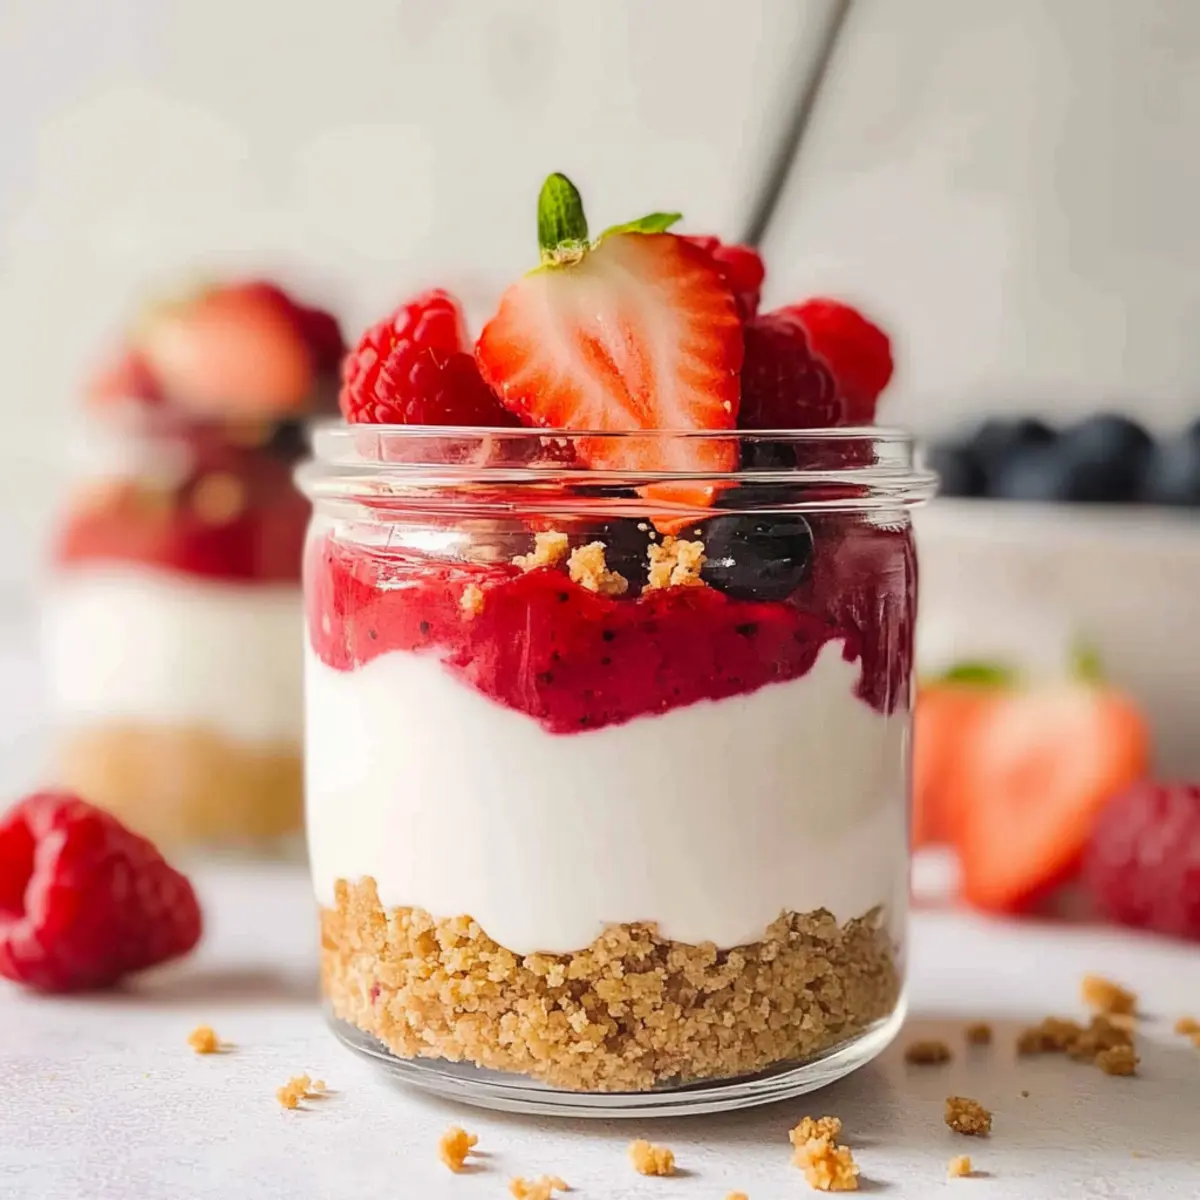
As I stood in my kitchen, a whirlwind of flavors filled the air—cottage cheese mingling with a hint of maple syrup, and the anticipation of something beautiful unfolding. That’s when I knew I had to share my No-Bake High Protein Cheesecake Jars with Berries recipe. This delightful dish not only satisfies your craving for a luscious dessert but also packs an impressive 30 grams of protein per serving, making it the perfect guilt-free treat. Whipping it up takes just 15 minutes, so you can enjoy a sweet reward without the fuss of traditional baking. Trust me, these jars deliver a creamy, smooth texture that rivals any classic cheesecake, all while being light and refreshing. Are you ready to indulge your sweet tooth with a healthier twist? Let’s dive in!
Why are these cheesecake jars a must-try?
Creamy Indulgence: With the rich blend of cottage cheese and Greek yogurt, you can savor a dessert that’s both satisfying and guilt-free.
High Protein Boost: Each jar serves up an impressive 30 grams of protein, turning your sweet indulgence into a nutritious option.
No-Bake Convenience: In just 15 minutes, you can whip up these jars, making them perfect for last-minute gatherings or sweet cravings!
Versatile Toppings: Feel free to switch up the fruits—strawberries, blueberries, or kiwi will all add fun twists! For more delicious ideas, check out these Breakfast Protein Biscuits or High Protein Bagel.
Crowd-Pleasing Dessert: Serve these cheesecake jars at your next gathering and watch them disappear as everyone falls in love with their luscious flavor and texture.
High Protein Cheesecake Jars Ingredients
For the Cheesecake Mixture
- Cottage Cheese – Provides the creamy base and protein content; you can use low-fat cottage cheese for a lighter version.
- Plain Greek Yogurt – Contributes creaminess and additional protein; flavored Greek yogurt can enhance the taste.
- Maple Syrup – Adds natural sweetness; honey or agave nectar can be used for a different flavor profile.
For the Crunchy Layer
- Crushed Graham Crackers – Adds texture and sweetness to the layers; use gluten-free graham crackers to make it gluten-free.
For the Topping
- Berries – Offers freshness and vibrant color; a mix of strawberries, blueberries, or raspberries can be used based on preference or season.
These delightful High Protein Cheesecake Jars make for a healthier dessert option that’s both satisfying and delicious!
Step‑by‑Step Instructions for High Protein Cheesecake Jars
Step 1: Blend the Cottage Cheese
In a food processor, add the cottage cheese and blend for 1-2 minutes until it transforms into a smoothly creamy texture. Watch for any lumps; you want a velvety base for your High Protein Cheesecake Jars. This step is essential in achieving that perfect consistency reminiscent of rich cheesecake.
Step 2: Sweeten the Mixture
Once the cottage cheese is smooth, pour in the maple syrup and blend again until fully incorporated, approximately 30 seconds. This is where your cheesecake filling gets its delightful sweetness, harmonizing with the creamy base. Make sure there are no streaks of syrup left to ensure even flavor throughout the mixture.
Step 3: Combine with Greek Yogurt
In a mixing bowl, carefully combine the whipped cottage cheese mixture with plain Greek yogurt using a silicone spatula. Gently fold the two ingredients together until they form a unified, creamy blend, which should take about 1-2 minutes. This step adds even more creaminess and protein to your delightful cheesecake jars.
Step 4: Layer the Ingredients
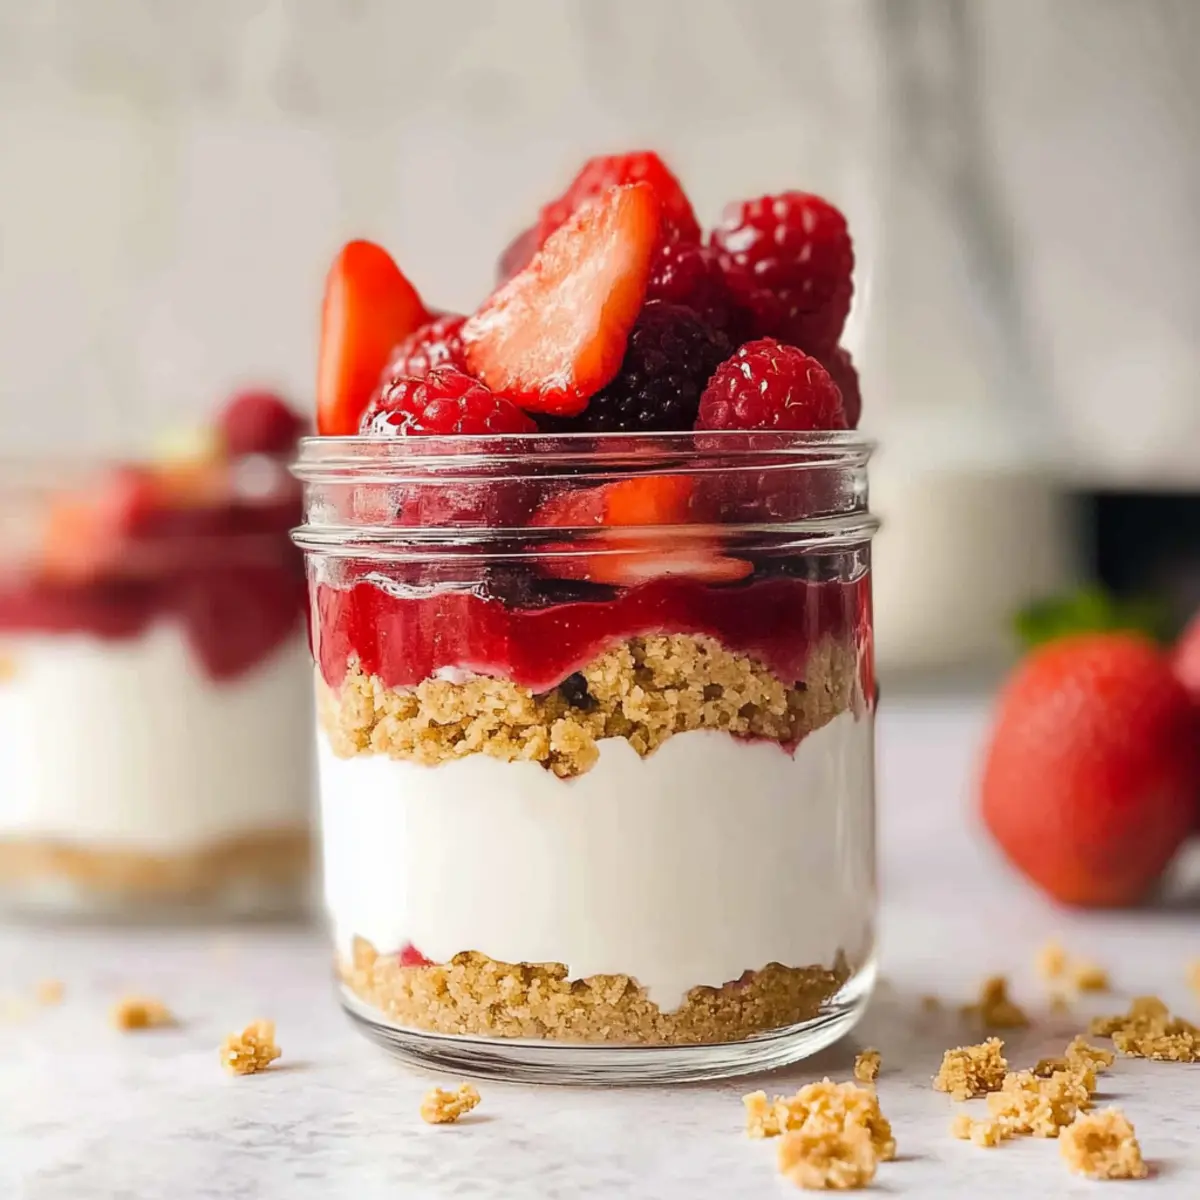
Now it’s time to assemble your High Protein Cheesecake Jars! Start by adding a layer of crushed graham crackers at the bottom of each jar, creating a delightful crunchy base. Use about 2 tablespoons per jar, ensuring an even layer that adds texture to contrast the creamy filling.
Step 5: Add Cheesecake Mixture
Spoon in a generous layer of the creamy cheesecake mixture on top of the graham cracker base. Aim for about 1/3 of your jar’s height, smoothing the top with your spatula to create an inviting layer. This is the heart of your jars, showcasing that luscious creamy filling we’ve worked so hard to create.
Step 6: Repeat Layers
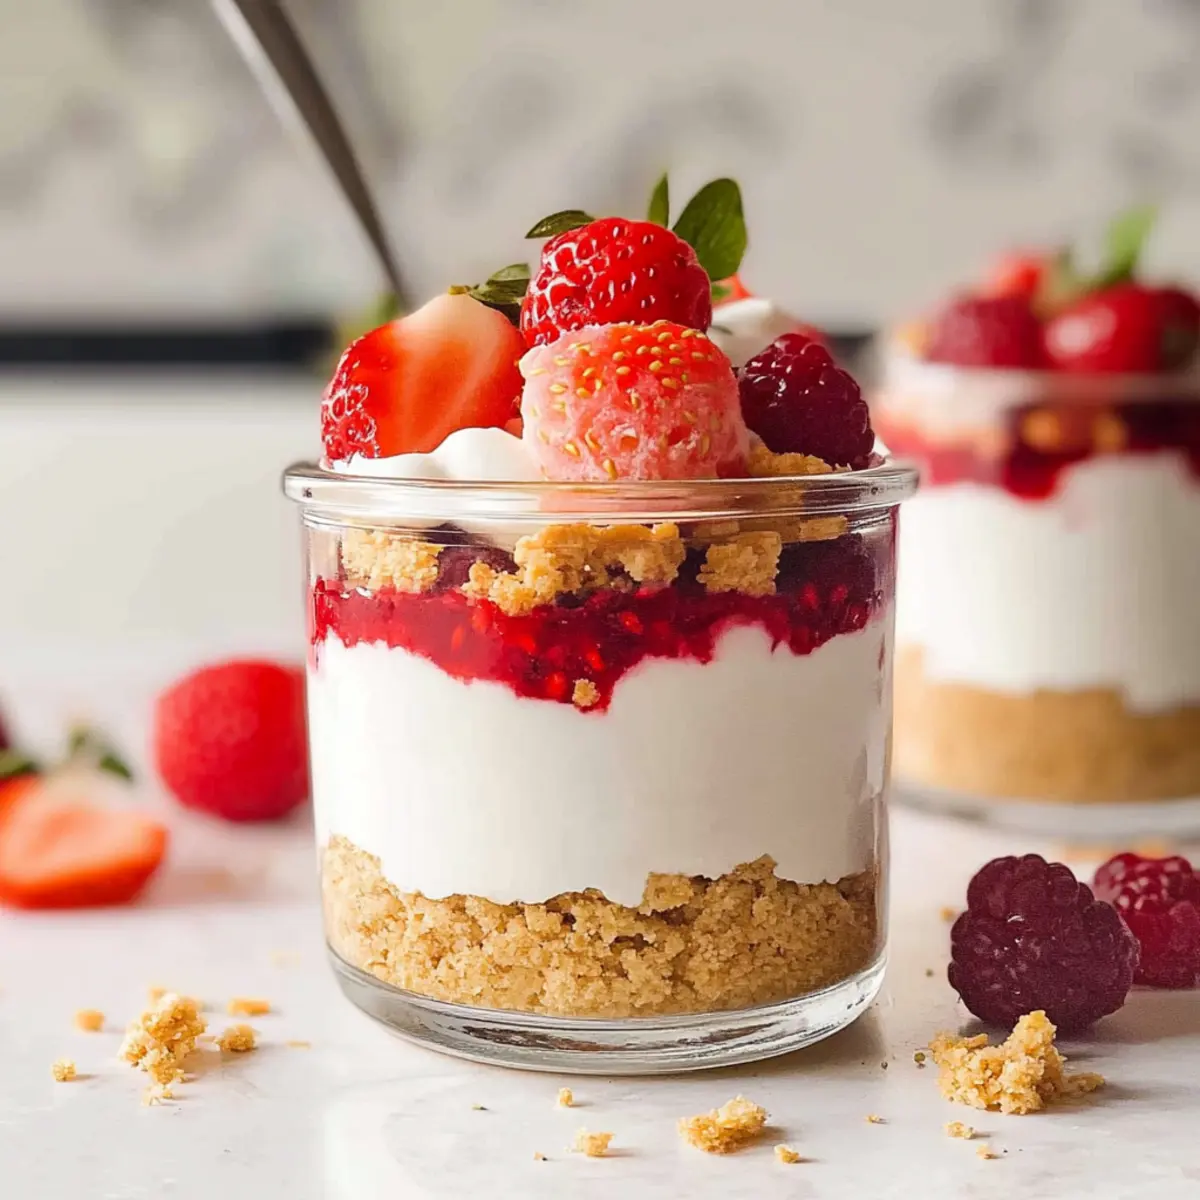
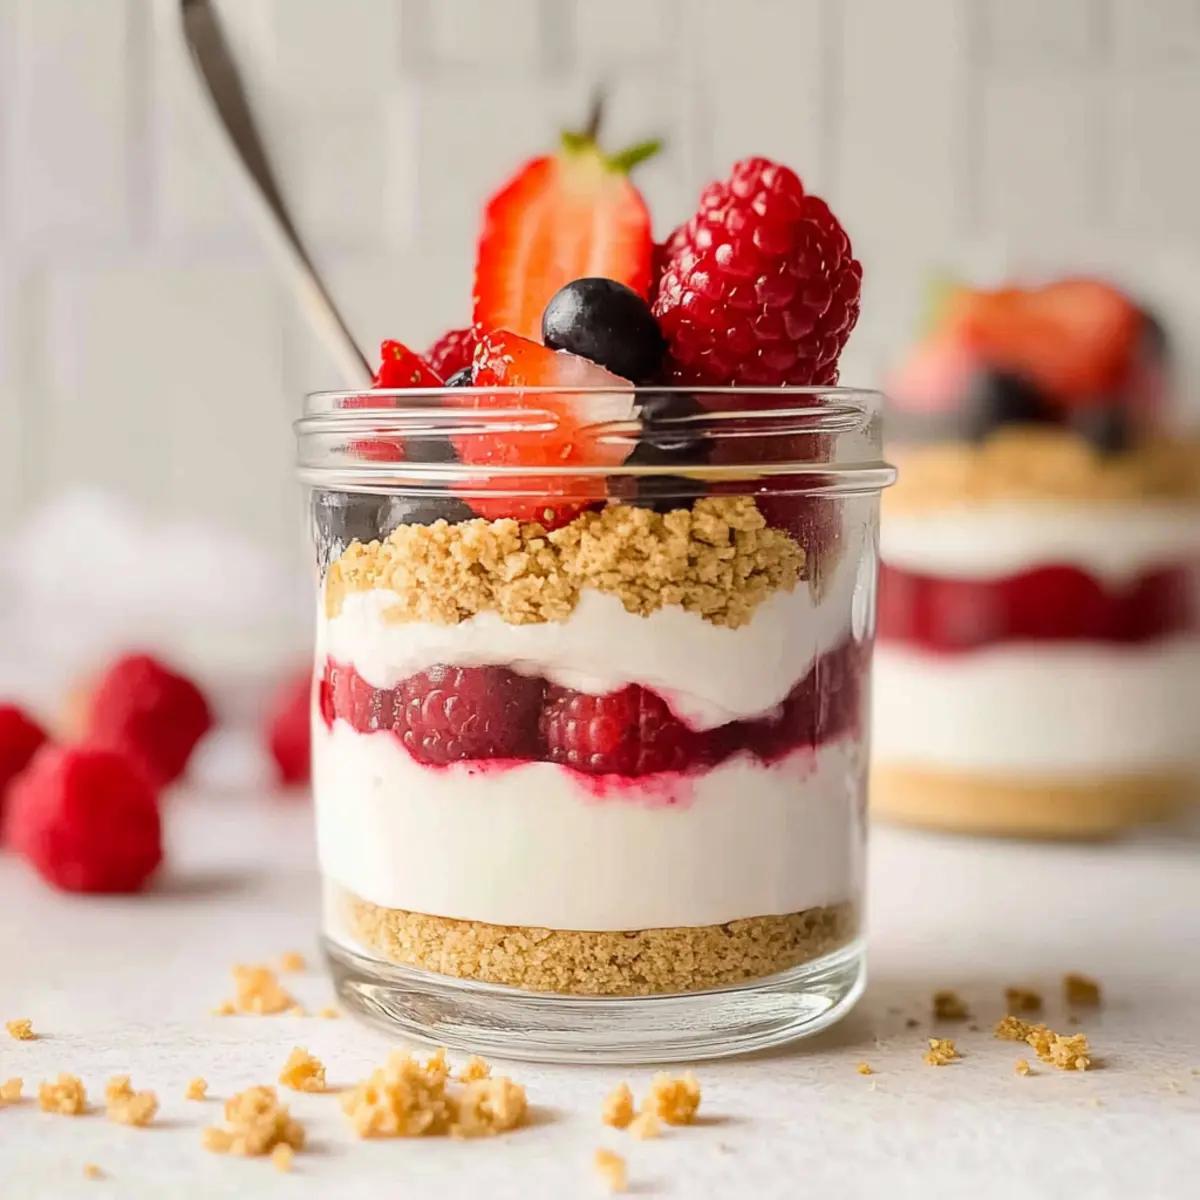
Continue building your High Protein Cheesecake Jars by adding another layer of crushed graham crackers followed by more cheesecake mixture. Repeat this process until you reach the top of the jars, leaving a little room for the vibrant berries. Two layers of each ingredient will create a beautiful and indulgent dessert.
Step 7: Finish with Berries
Top each jar with a handful of fresh berries, such as strawberries, blueberries, or raspberries, for a pop of color and freshness. This final touch not only enhances the visual appeal but also adds a refreshing element to the rich cheesecake, balancing flavors beautifully.
Step 8: Chill and Serve
For best results, cover the jars and refrigerate them for at least 30 minutes before serving. This cool-down period allows the flavors to meld while giving the cheesecake a chance to set slightly. Serve chilled, and prepare to enjoy your irresistibly creamy High Protein Cheesecake Jars!
What to Serve with High Protein Cheesecake Jars
Elevate your dessert experience with delicious accompaniments that perfectly complement these creamy, protein-packed treats.
-
Fresh Fruit Salad: A medley of seasonal berries and citrus will provide a refreshing contrast and brighten up the presentation.
-
Chocolate Drizzle: A light drizzle of melted dark chocolate adds a decadent and rich layer that enhances the cheesecake’s flavor.
-
Whipped Coconut Cream: The lightness of whipped coconut cream offers a tropical flair, making each bite feel indulgent and airy.
-
Homemade Granola: Sprinkle some crunchy, nutty granola on top for a delightful texture contrast and a nutty flavor boost.
-
Iced Herbal Tea: A chilled glass of refreshing herbal tea like hibiscus or mint will cleanse the palate beautifully between bites.
-
Mini Cheesecake Bites: For dessert lovers, pair these jars with small bites of classic cheesecake for a delightful tasting experience.
-
Mint Leaves: Garnish with fresh mint leaves not only adds a pop of color but also a refreshing aroma that enhances the overall dish.
Expert Tips for High Protein Cheesecake Jars
-
Smooth Texture: Make sure to blend the cottage cheese long enough until it’s completely smooth. This prevents any graininess in your High Protein Cheesecake Jars.
-
Berry Freshness: Use seasonal berries for the best flavor. Rinse them gently to keep them fresh and vibrant without damaging them.
-
Layer Separately: If you’re preparing these jars ahead of time, keep the graham cracker base separate until just before serving. This will help preserve the crunchiness!
-
Customize Sweetness: Feel free to adjust the sweetness level by adding more or less maple syrup, depending on your preference. Always taste as you go!
-
Experiment with Flavors: Try using flavored Greek yogurt or even a splash of vanilla extract in the cheesecake mixture for an extra depth of flavor.
High Protein Cheesecake Jars Variations
Feel free to get creative and make these cheesecake jars your own with some delightful tweaks!
- Low-Fat Option: Use low-fat cottage cheese for a lighter dessert without sacrificing creaminess.
- Sweet Swap: Substitute maple syrup with honey or agave nectar for a different flavor profile that stirs your taste buds.
- Flavorful Yogurt: Experiment with flavored Greek yogurt—think strawberry or blueberry—to enhance the creamy mixture’s taste.
- Crunchy Alternatives: Swap out crushed graham crackers for crushed nuts or even gluten-free cookies for a delightful texture twist.
- Fruity Variations: Load your jars with seasonal fruits like mango or kiwi for a tropical flair that brightens each bite.
- Nutty Crunch: Add a sprinkle of chopped nuts between layers for extra crunch and a protein boost that’s hard to resist.
- Vanilla Infusion: A dash of vanilla extract in the cheesecake mixture will elevate the flavor and add a warm, aromatic touch.
- Chocolate Lovers: Mix in cocoa powder for a chocolaty twist that pairs wonderfully with fresh berries; adding a layer of chocolate is pure bliss!
Feeling inspired? For more high-protein ideas, try these scrumptious Blueberry Cheesecake Protein bites or a delightful High Protein Beef Pasta for a hearty meal option. Let those creative juices flow!
How to Store and Freeze High Protein Cheesecake Jars
Fridge: Keep the jars covered in the refrigerator for up to 3 days to maintain freshness and flavor. This will ensure you can enjoy your High Protein Cheesecake Jars throughout the week.
Freezer: If you’d like to store them longer, you can freeze the jars for up to 2 months. Make sure to use airtight containers to prevent freezer burn.
Thawing: To enjoy frozen jars, transfer them to the fridge for several hours or overnight to thaw. Avoid using a microwave, as it can change the texture.
Reheating: These jars are best served chilled, but if you prefer a warm dessert, warm the cheesecake mixture separately and then layer it back into the jars with fresh toppings.
Make Ahead Options
These High Protein Cheesecake Jars are a fantastic option for meal prep! You can prepare the cheesecake mixture up to 24 hours in advance and store it in an airtight container in the refrigerator. To maintain the graham cracker layer’s crunch, it’s best to layer the jars just before serving; instead, store the crushed graham crackers in a separate bag. When you’re ready to enjoy your dessert, simply layer the prepared cheesecake mixture, crushed graham crackers, and berries in your jars. Not only do these jars save time for busy weeknights, but they also offer a delicious, guilt-free treat that feels indulgent without the hassle!
High Protein Cheesecake Jars Recipe FAQs
How do I choose the right cottage cheese for my cheesecake jars?
Absolutely! Look for cottage cheese that’s labeled “small curd” for a smoother, creamier texture, which blends beautifully into the cheesecake mixture. It should be fresh with no dark spots or an off smell. If you prefer a lighter version, low-fat cottage cheese works just as well!
What’s the best way to store my cheesecake jars?
Very good question! Store your High Protein Cheesecake Jars covered in the refrigerator for up to 3 days. Use airtight containers to preserve their freshness and flavor. If you’re making them in advance, consider preparing the graham cracker layer separately until you’re ready to serve!
Can I freeze the cheesecake jars?
Yes, you can! These cheesecake jars can be frozen for up to 2 months. Place them in airtight containers to avoid freezer burn. When you’re ready to enjoy them, just transfer the jars to the refrigerator for several hours or overnight to thaw—this preserves the texture beautifully.
What should I do if my cheesecake mixture is too grainy?
No worries! If you encounter a grainy texture, ensure that you blend the cottage cheese long enough in the food processor—1-2 minutes should do the trick! If it still feels grainy after mixing, consider straining it through a fine-mesh sieve or adding a touch more Greek yogurt to smooth it out.
Are there any dietary considerations for these cheesecake jars?
Absolutely! If you’re concerned about allergies, be mindful of using low-fat dairy options if lactose is a concern. For gluten-free alternatives, simply swap in gluten-free graham crackers. Additionally, always check labels on yogurt and other ingredients for allergens. These jars are perfect for a variety of dietary needs!
How can I change the flavor of my cheesecake jars?
You have plenty of options! You can try substituting flavored Greek yogurt, like vanilla or lemon, for a delightful twist. Adding a dash of vanilla extract to the cheesecake mixture can also enhance it. Experiment with different seasonal fruits for toppings, such as peaches or kiwi, for even more flavors!
High Protein Cheesecake Jars: Creamy, No-Bake Delight!
Ingredients
Equipment
Method
- Blend the cottage cheese until smooth in a food processor for 1-2 minutes.
- Pour in the maple syrup and blend for 30 seconds until fully incorporated.
- Combine the cottage cheese mixture with Greek yogurt using a silicone spatula.
- Layer crushed graham crackers at the bottom of each jar.
- Spoon in a generous layer of the cheesecake mixture on top of the graham cracker base.
- Repeat the layers of graham crackers and cheesecake mixture until jars are filled.
- Top each jar with a handful of fresh berries.
- Cover and refrigerate for at least 30 minutes before serving.
Leave a Reply