
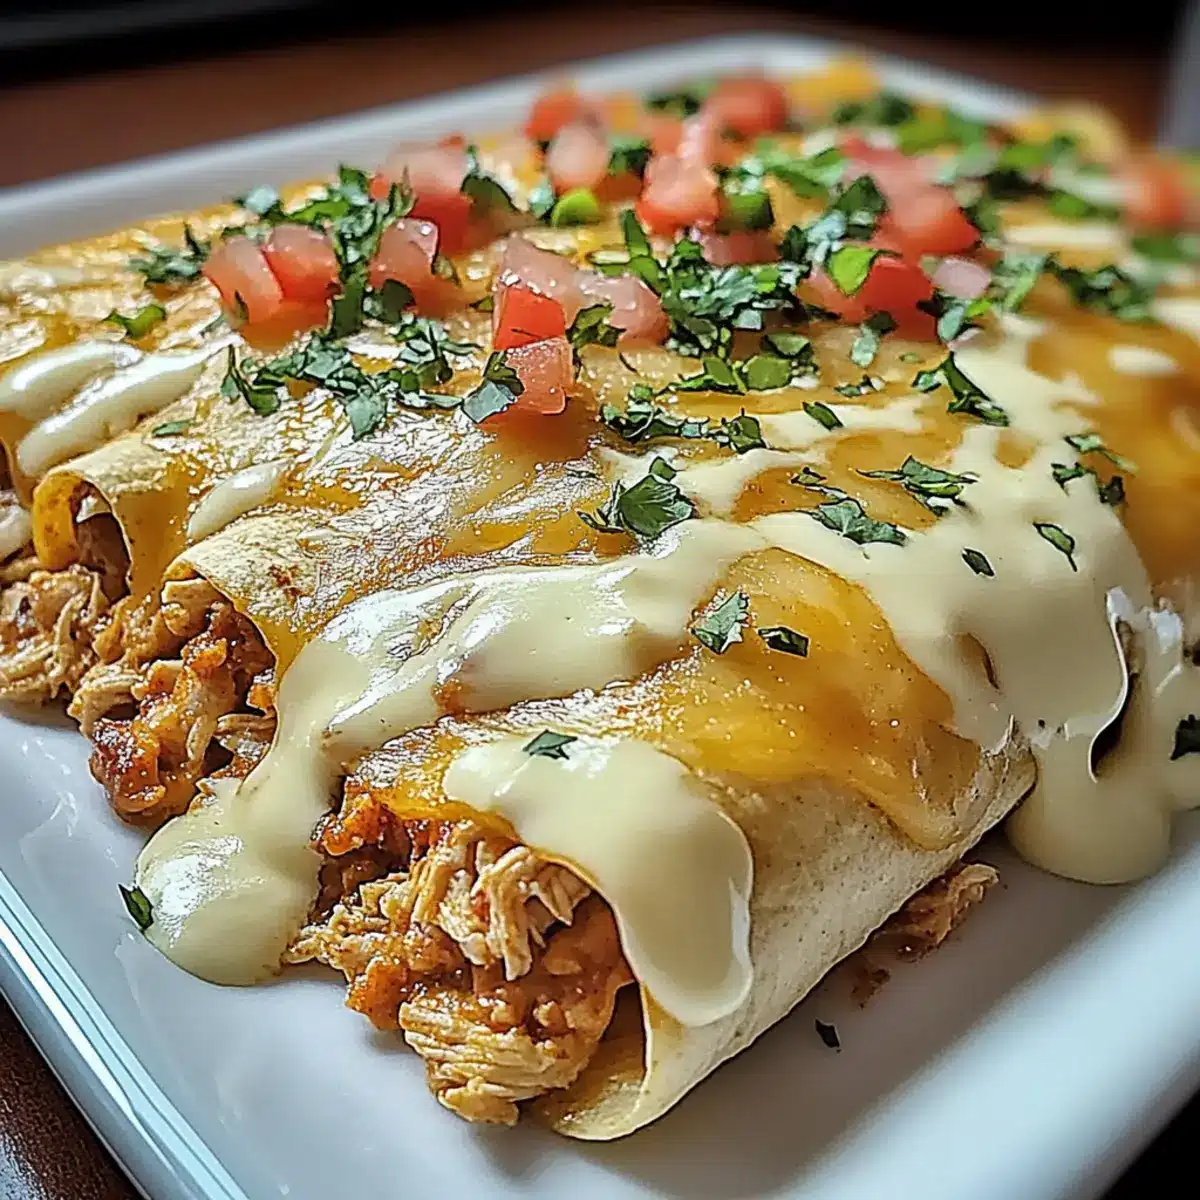
There’s something magical about the sizzle of a pan and the aroma of warm tortillas embracing a savory filling. When my week gets hectic, I turn to Queso Chicken Enchiladas for a quick and satisfying meal that feels indulgent yet is easy enough for any night. With just 10 minutes of prep, these enchiladas bring families together around the dinner table, showcasing a cheesy goodness that everyone loves. Plus, with the freedom to customize the filling with different proteins or even vegetarian options, it’s the ideal dish for those craving comfort food without the fuss. Ready to dive into a plate of gooey goodness? Let’s get cooking!
Why are Queso Chicken Enchiladas a Must-Try?
Quick Preparation: You can whip up these enchiladas in just 10 minutes, making them a game-changer for busy weeknights.
Customizable Creations: Whether you’re craving vegetarian options or experimenting with different proteins like pulled pork or turkey, these enchiladas cater to every taste!
Family Favorites: With their rich queso sauce and gooey cheese, these enchiladas become an instant hit around the dinner table, bringing a smile to everyone’s face.
Indulgent Comfort: Enjoy that warm, cheesy goodness in every bite, reminiscent of traditional comfort foods, while still easy enough for cooking novices.
Make Ahead Flexibility: You can easily store leftovers, allowing for a quick meal whenever you need it, from a busy Monday evening to a cozy weekend dinner. Plus, why not explore more delightful options like Chicken Enchiladas or our Peruvian Chicken Rice for variety?
Queso Chicken Enchiladas Ingredients
Get ready for a cheesy adventure!
For the Filling
- Shredded Chicken – Provides the main protein component; opt for rotisserie chicken for convenience!
- Taco Seasoning – Adds flavor and zest; feel free to use homemade seasoning for a milder taste.
- Sour Cream – Brings creaminess to the filling; Greek yogurt can make it a healthier choice.
- Shredded Cheddar Cheese – Contributes to the cheesy goodness; Monterey Jack or pepper jack work as delicious alternatives.
- Chopped Green Chilies – Infuses flavor and a bit of heat; leave them out for a milder option or swap for jalapeños for spice.
For the Queso Sauce
- Cubed Velveeta – Creates a smooth, creamy sauce; opt for reduced-fat cheese for a lighter alternative!
- Diced Tomatoes with Green Chilies – Enhances the queso flavor; consider using undrained canned tomatoes for a better sauce consistency.
For the Wrap
- Tortillas – The perfect vessel for your delicious filling; choose from corn, flour, or whole-wheat varieties for more options!
Step‑by‑Step Instructions for Queso Chicken Enchiladas
Step 1: Preheat the Oven
Begin by preheating your oven to 350°F (175°C), ensuring it is ready for baking. This crucial first step sets the stage for perfectly bubbling Queso Chicken Enchiladas. While the oven heats, gather your casserole dish and any ingredients you’ll need so everything is at your fingertips.
Step 2: Prepare the Filling
In a large mixing bowl, combine the shredded chicken, taco seasoning, sour cream, and shredded cheddar cheese. Gently fold in the chopped green chilies until the mixture is well combined and creamy. It should look enticing and easy to scoop. Set aside to let the flavors meld while you prepare the queso sauce.
Step 3: Make the Queso Sauce
In a saucepan over medium-high heat, melt the cubed Velveeta cheese along with the diced tomatoes and green chilies. Stir continuously until the mixture becomes smooth and velvety, about 5-7 minutes. If needed, lower the heat to avoid scorching. The cheese should be fully melted and oozy—this will create the indulgent layer topping your enchiladas.
Step 4: Assemble the Enchiladas
Take a tortilla and spoon in ½ to ¾ cup of the chicken filling, placing it towards one end before rolling it up gently, burrito-style. Ensure each tortilla is filled but not overstuffed for easier rolling. Repeat the process with the remaining tortillas, placing the rolled enchiladas seam-side down in a greased 9×13-inch casserole dish.
Step 5: Pour the Queso Sauce
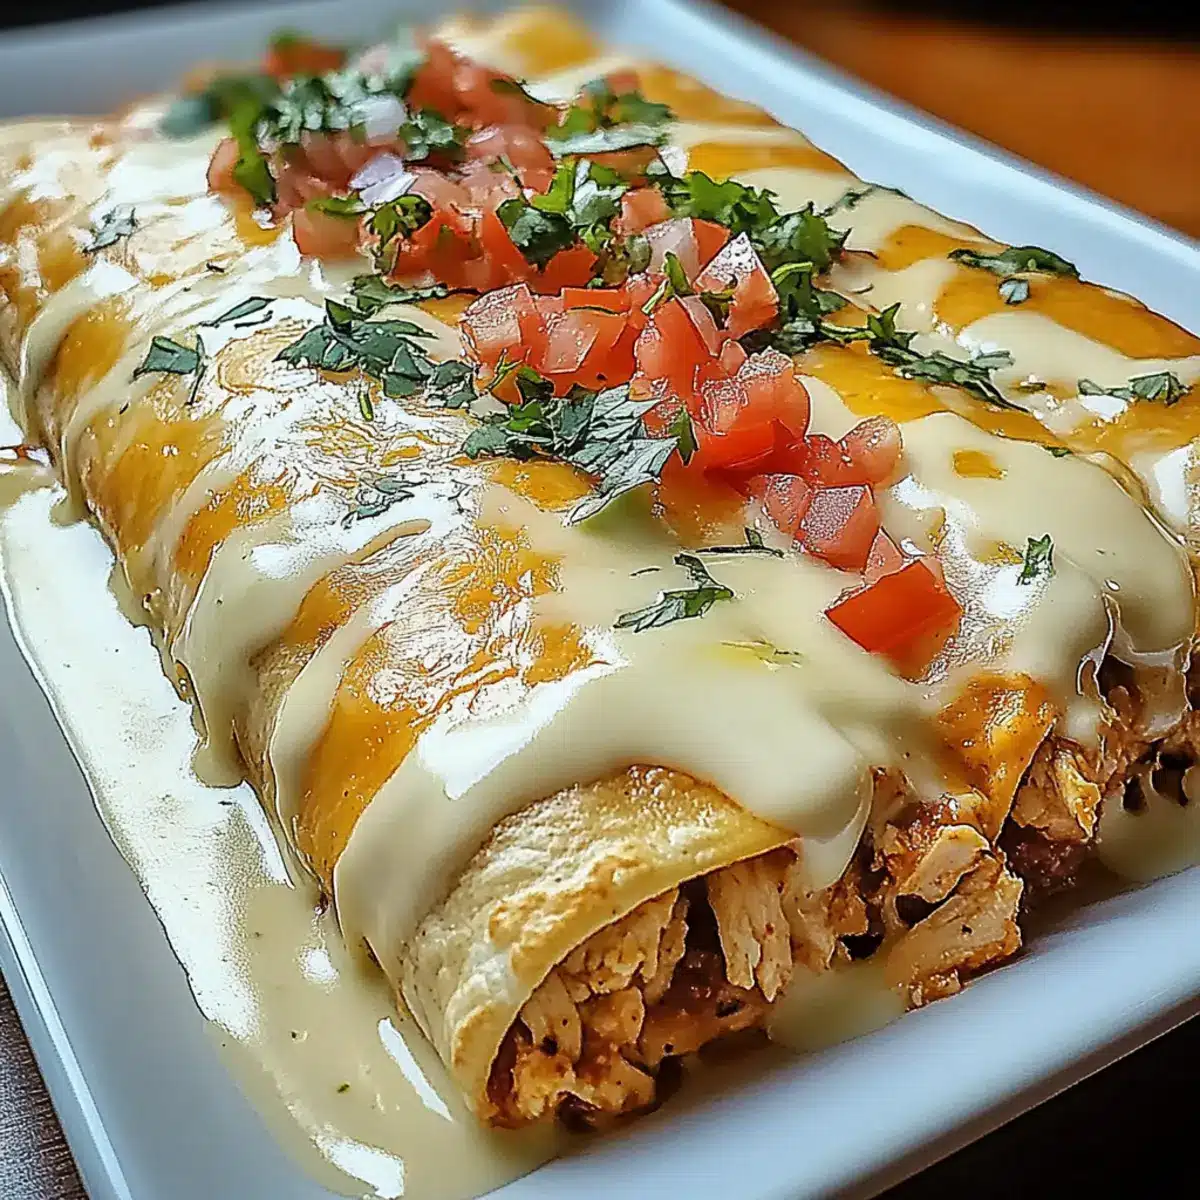
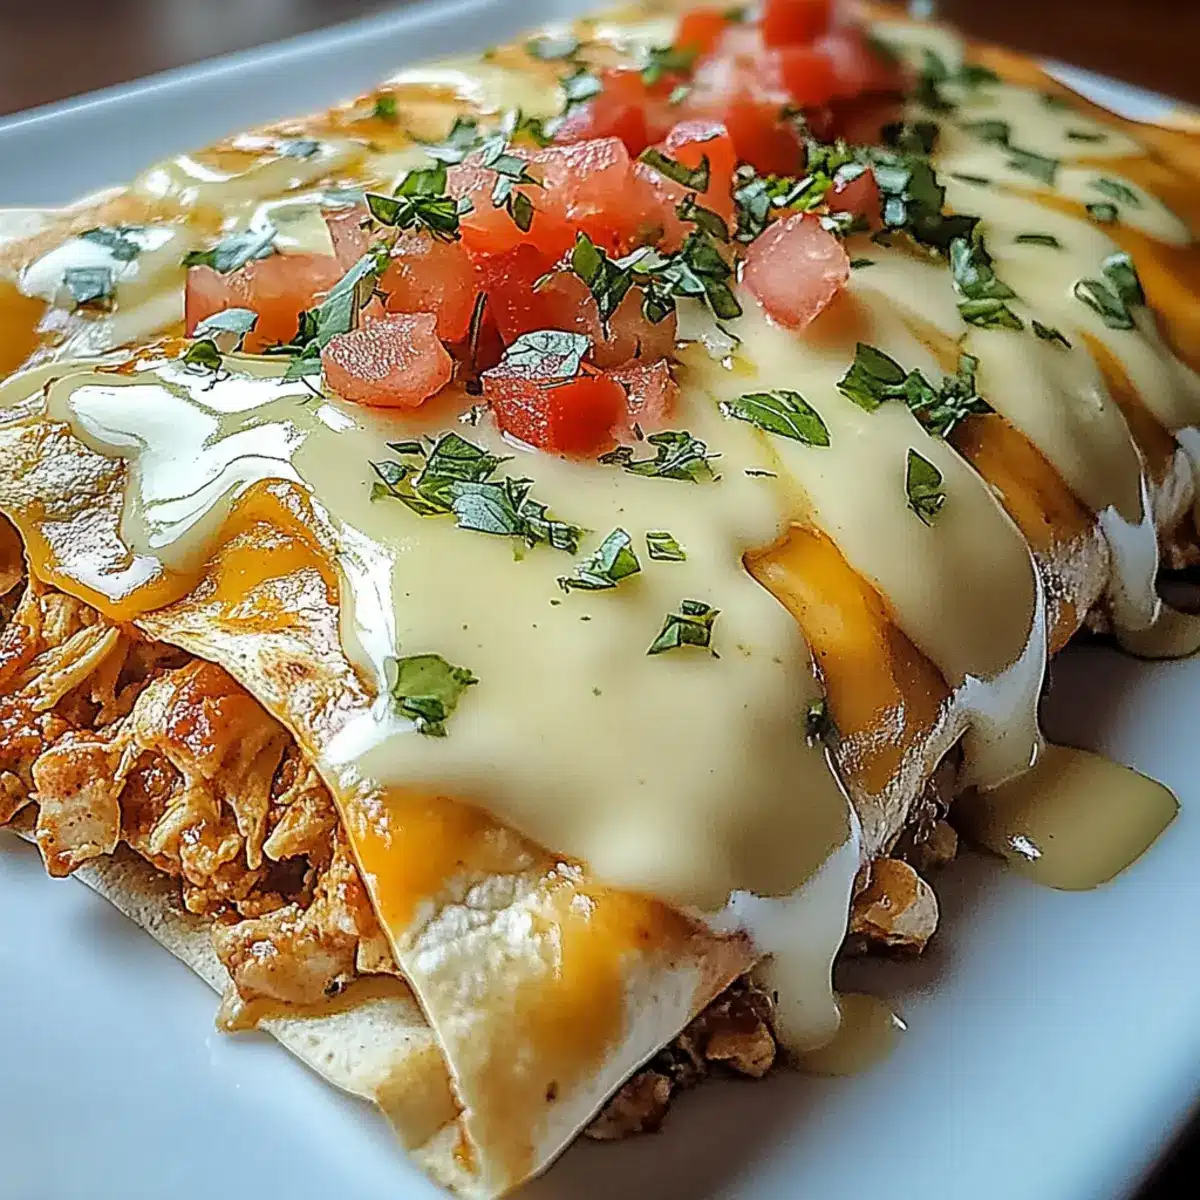
Carefully pour the melted queso sauce over the assembled enchiladas, ensuring each one is generously covered. Spread it evenly with a spatula if necessary, making sure the sauce reaches all corners of the dish. This gooey blanket will transform your Queso Chicken Enchiladas into a cheesy masterpiece as they bake.
Step 6: Bake to Perfection
Place the casserole dish in the preheated oven and bake for 20-25 minutes. Keep an eye on them as you want the top to bubble and achieve a beautiful golden color. Once done, the enchiladas should be visibly heated throughout, and the queso sauce should be delightfully bubbling at the edges.
Step 7: Serve and Enjoy
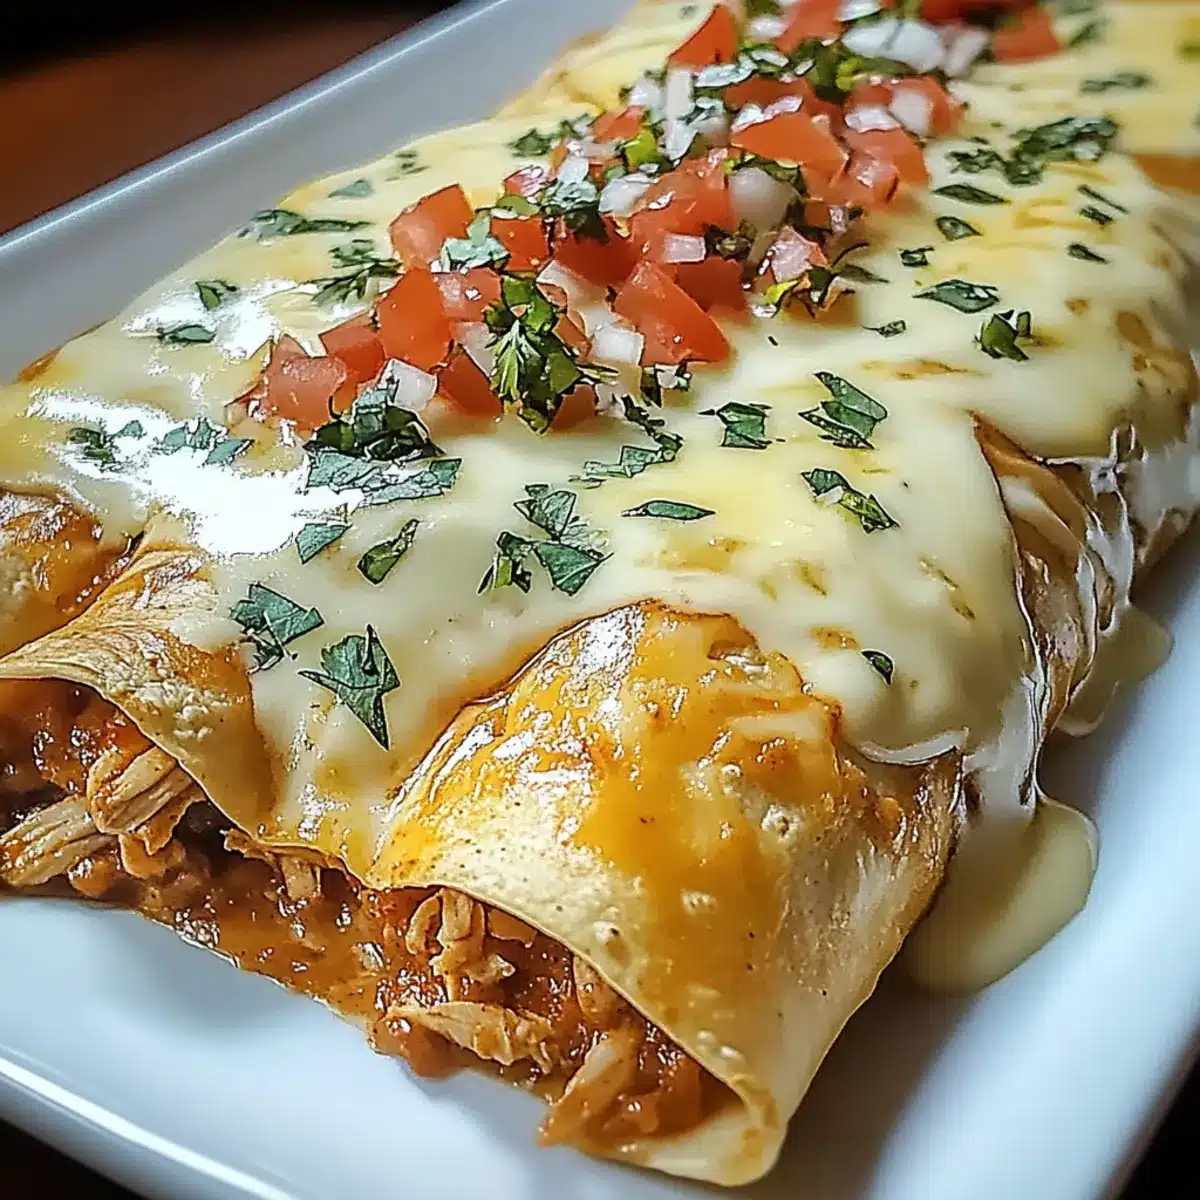
Remove the Queso Chicken Enchiladas from the oven and let them cool for a few minutes before serving. This wait will allow the flavors to settle and make them easier to scoop. Garnish with fresh cilantro or avocado slices if desired, then dive into your delicious, comforting meal that the whole family will love!
Queso Chicken Enchiladas Variations to Try
Customize your Queso Chicken Enchiladas with these exciting options that bring new flavors and textures to every bite!
-
Vegetarian Swap: Replace shredded chicken with black beans or lentils for a hearty, plant-based option. These choices not only add protein but also create a delightful texture in every roll.
-
Spicy Kick: Amp up the heat by adding diced jalapeños or a splash of your favorite hot sauce to the chicken filling. This fiery twist makes each bite a thrilling experience!
-
Creamy Avocado: For a refreshing finish, top your enchiladas with sliced avocado or drizzle a creamy avocado sauce. Not only does it enhance the flavor, but it also adds a beautiful contrast to the warm queso.
-
Seasonal Veggies: Get creative by incorporating seasonal vegetables like zucchini, spinach, or sweet corn into the filling mix. These colorful veggies elevate the dish and bring a burst of freshness!
-
Different Proteins: Experiment with ground beef, turkey, or even pulled pork as alternate fillings. Each protein choice brings unique flavors, catering to different taste buds in your family.
-
Personal-sized Servings: For a fun twist, use individual ramekins to create personal servings of enchiladas. This approach makes them perfect for entertaining or meal prep, plus the presentation looks adorable!
-
Heat-Free Option: If you’re cooking for little ones or not in the mood for spice, simply omit the green chilies and jalapeños. Instead, try adding a sprinkle of mild cheese for an extra layer of creaminess.
For even more delicious meal ideas, don’t forget to check out our Honey Lime Chicken or the satisfying Ginger Scallion Chicken Noodle Soup for your next family dinner!
How to Store and Freeze Queso Chicken Enchiladas
Fridge: Store leftovers in an airtight container for up to 3 days, ensuring they remain fresh and ready for a quick meal.
Freezer: Wrap tightly in plastic wrap or aluminum foil, then place in an airtight container to freeze for up to 2 months. Thaw overnight in the fridge before reheating.
Reheating: Reheat in the oven at 350°F (175°C) for about 15–20 minutes, or until heated through and the queso is bubbly and warm. This way, you can enjoy your cheesy Queso Chicken Enchiladas just like the first time!
What to Serve with Queso Chicken Enchiladas
As you savor the cheesy layers of comfort, consider these delightful pairings to elevate your meal experience.
- Spanish Rice: This flavorful side dish brings a zesty touch, perfectly balancing the richness of your enchiladas and adding a hearty element to your plate.
- Refried Beans: Creamy and satisfying, these beans provide an extra dose of protein and a lovely contrast in texture to the enchiladas, making each bite more substantial.
- Fresh Guacamole: A dollop of guacamole offers a cool, creamy finish that beautifully complements the spicy notes of the enchiladas. Its freshness elevates the overall dining experience.
- Tangy Slaw: A refreshing slaw made with cabbage and lime adds crispness and a bright flavor that cuts through the richness of the cheese. Just imagine that crunch!
- Grilled Corn on the Cob: Sweet, smoky corn is a fantastic side that brings a delightful sweetness. Its charred flavor pairs exceptionally well with the savory enchiladas.
- Chilled Jarritos or Agua Fresca: Quench your thirst with these fruity beverages, offering a vibrant contrast to the cheesy indulgence of your Queso Chicken Enchiladas.
- Chocolate Flan: For a sweet finish, this silky dessert provides a rich and creamy end to your meal, rounding off the flavors beautifully with its chocolatey goodness.
- Sliced Jalapeños: For those who crave a kick, serve these alongside your enchiladas to add an extra layer of heat and excitement. A little spice always livens things up!
Expert Tips for Queso Chicken Enchiladas
Melted Perfection: Ensure your cheese is completely melted and smooth; adding a touch of milk can help achieve that creamy consistency.
Tortilla Technique: Avoid overfilling each tortilla (½ to ¾ cup is ideal) to make rolling easier and prevent spills during baking.
Flavor Adjustments: Don’t hesitate to customize your fillings! Adding black beans or spinach can elevate your Queso Chicken Enchiladas and impress your family.
Baking Time: Keep a close eye on the baking time—overcooking can lead to dried-out enchiladas. Aim for a bubbly, golden top for the best results.
Storage Smart: Store any leftovers in an airtight container for up to 3 days, ensuring you have a quick meal option ready to enjoy later.
Make Ahead Options
These Queso Chicken Enchiladas are perfect for meal prep and can save you valuable time during busy weeknights! You can prepare the filling (shredded chicken, taco seasoning, sour cream, cheese, and chilies) up to 24 hours in advance—just mix and store it in an airtight container in the refrigerator. The assembled enchiladas can also be made ahead and refrigerated for up to 3 days before baking. To maintain quality, cover them with foil to prevent drying out. When ready to serve, pour the melted queso sauce over the enchiladas and bake them directly from the fridge, adding an extra 5-10 minutes to the baking time for perfectly bubbly and gooey results!
Queso Chicken Enchiladas Recipe FAQs
What type of chicken should I use for the filling?
Opt for shredded rotisserie chicken for convenience and flavor, but cooked, shredded chicken breast or thighs also work wonderfully. If you’re feeling adventurous, leftover grilled chicken can add a smoky twist!
How should I store leftover Queso Chicken Enchiladas?
Store any leftovers in an airtight container in the fridge for up to 3 days. If you want to keep them longer, you can freeze them for up to 2 months. Just make sure they’re tightly wrapped to prevent freezer burn.
Can I freeze Queso Chicken Enchiladas?
Absolutely! To freeze, wrap the assembled enchiladas tightly in plastic wrap or aluminum foil, then place them in an airtight container. When you’re ready to enjoy them, thaw overnight in the fridge and reheat in the oven until bubbly.
What should I do if my queso sauce is too thick?
If your queso sauce turns out too thick, don’t worry! Simply whisk in a splash of milk or cream while heating it, slowly adding until you achieve the desired consistency. This will keep your queso smooth and creamy, perfect for drizzling over your enchiladas.
Can I make these enchiladas vegetarian?
Very! Swap the shredded chicken for black beans, lentils, or sautéed vegetables like zucchini and spinach. You can also add extra cheese or a creamy avocado sauce on top for added richness.
Are there any allergen considerations for this recipe?
Definitely! If you’re accommodating allergies, ensure to check the labels on ingredients like taco seasoning and cheese for any hidden allergens. Gluten-free tortillas can be used if needed, and for dairy-free options, consider using plant-based cheese and sour cream alternatives.
Delicious Queso Chicken Enchiladas for Quick Family Dinners
Ingredients
Equipment
Method
- Preheat your oven to 350°F (175°C) and gather your casserole dish and ingredients.
- In a large mixing bowl, combine the shredded chicken, taco seasoning, sour cream, and shredded cheddar cheese. Fold in chopped green chilies until well combined.
- In a saucepan over medium-high heat, melt Velveeta cheese with diced tomatoes and green chilies, stirring until smooth for about 5-7 minutes.
- Take a tortilla and fill with ½ to ¾ cup of the chicken filling. Roll it up gently and repeat with remaining tortillas.
- Pour the melted queso sauce over the rolled enchiladas, spreading it evenly.
- Bake in the preheated oven for 20-25 minutes until bubbly and golden on top.
- Remove from oven, let cool slightly, and serve garnished with cilantro or avocado.
Leave a Reply