
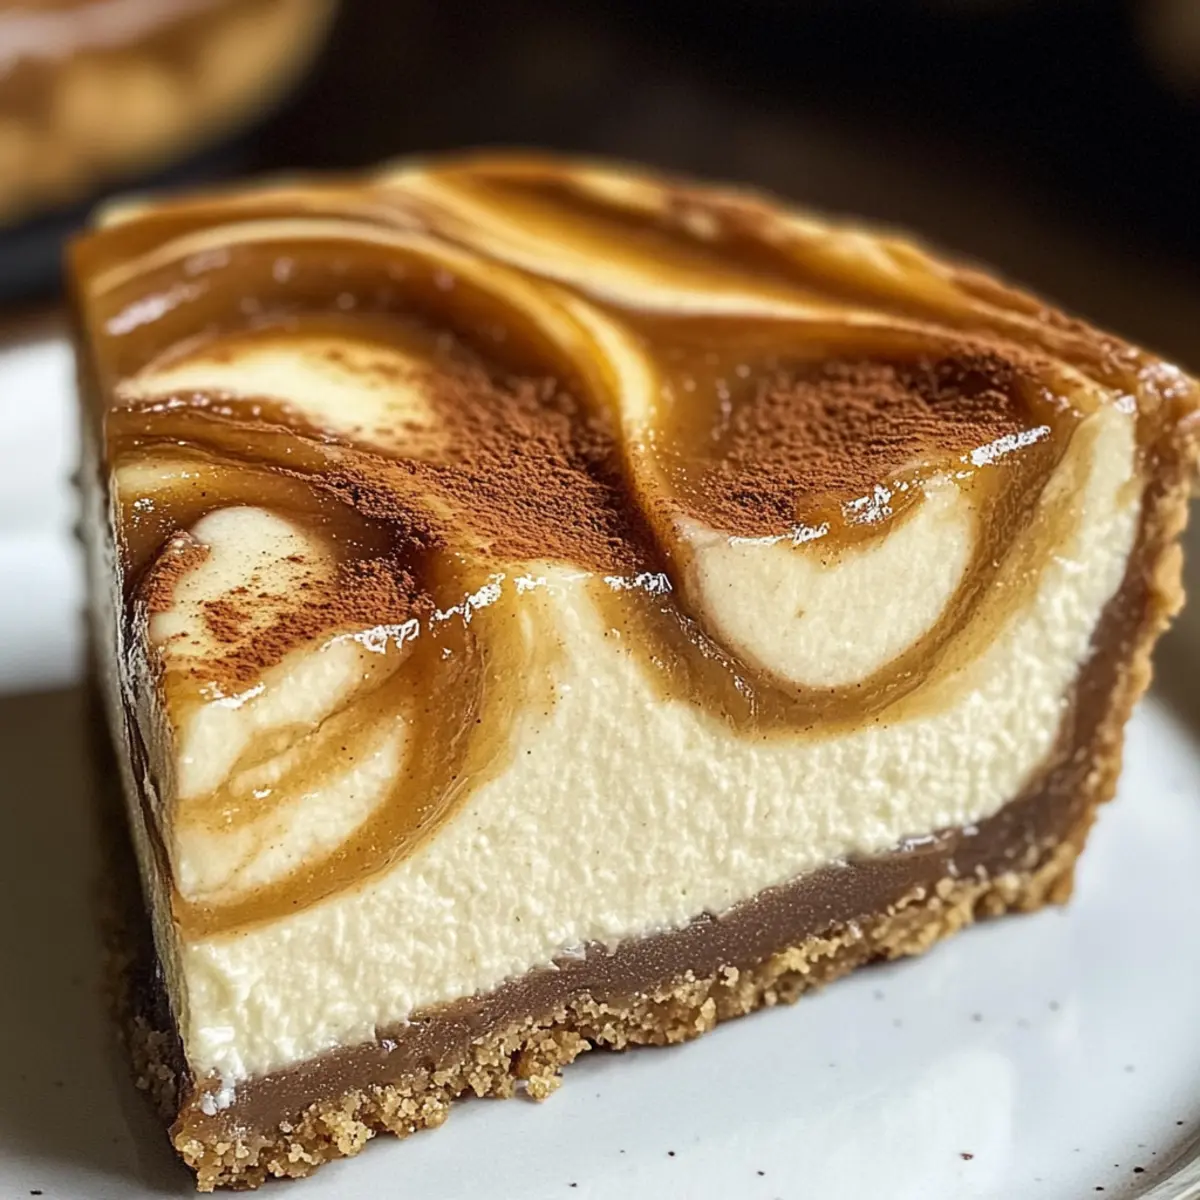
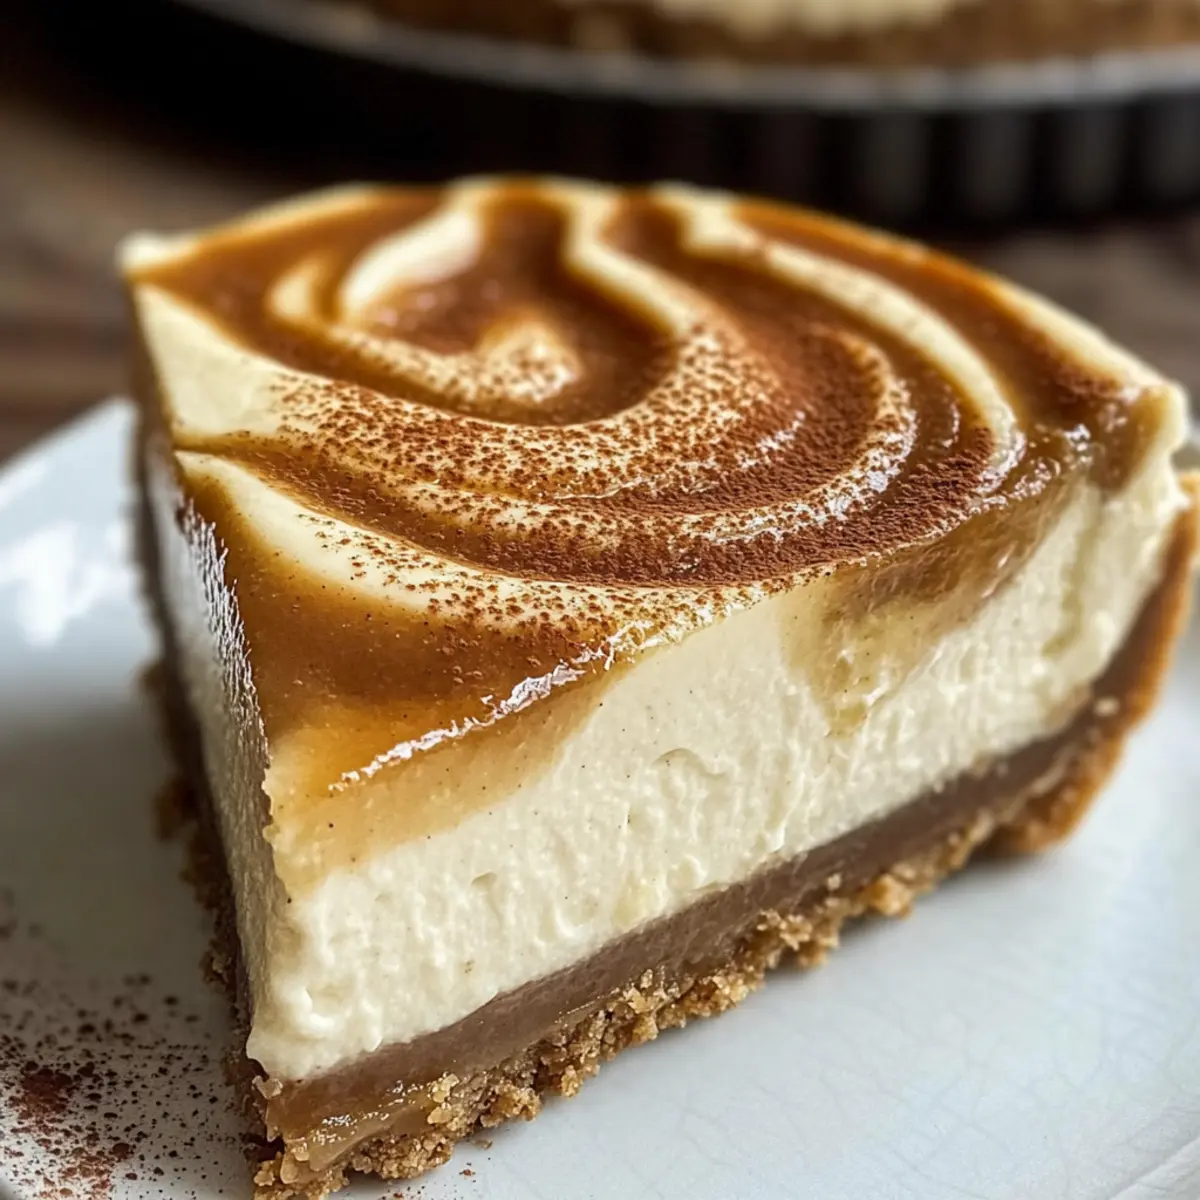
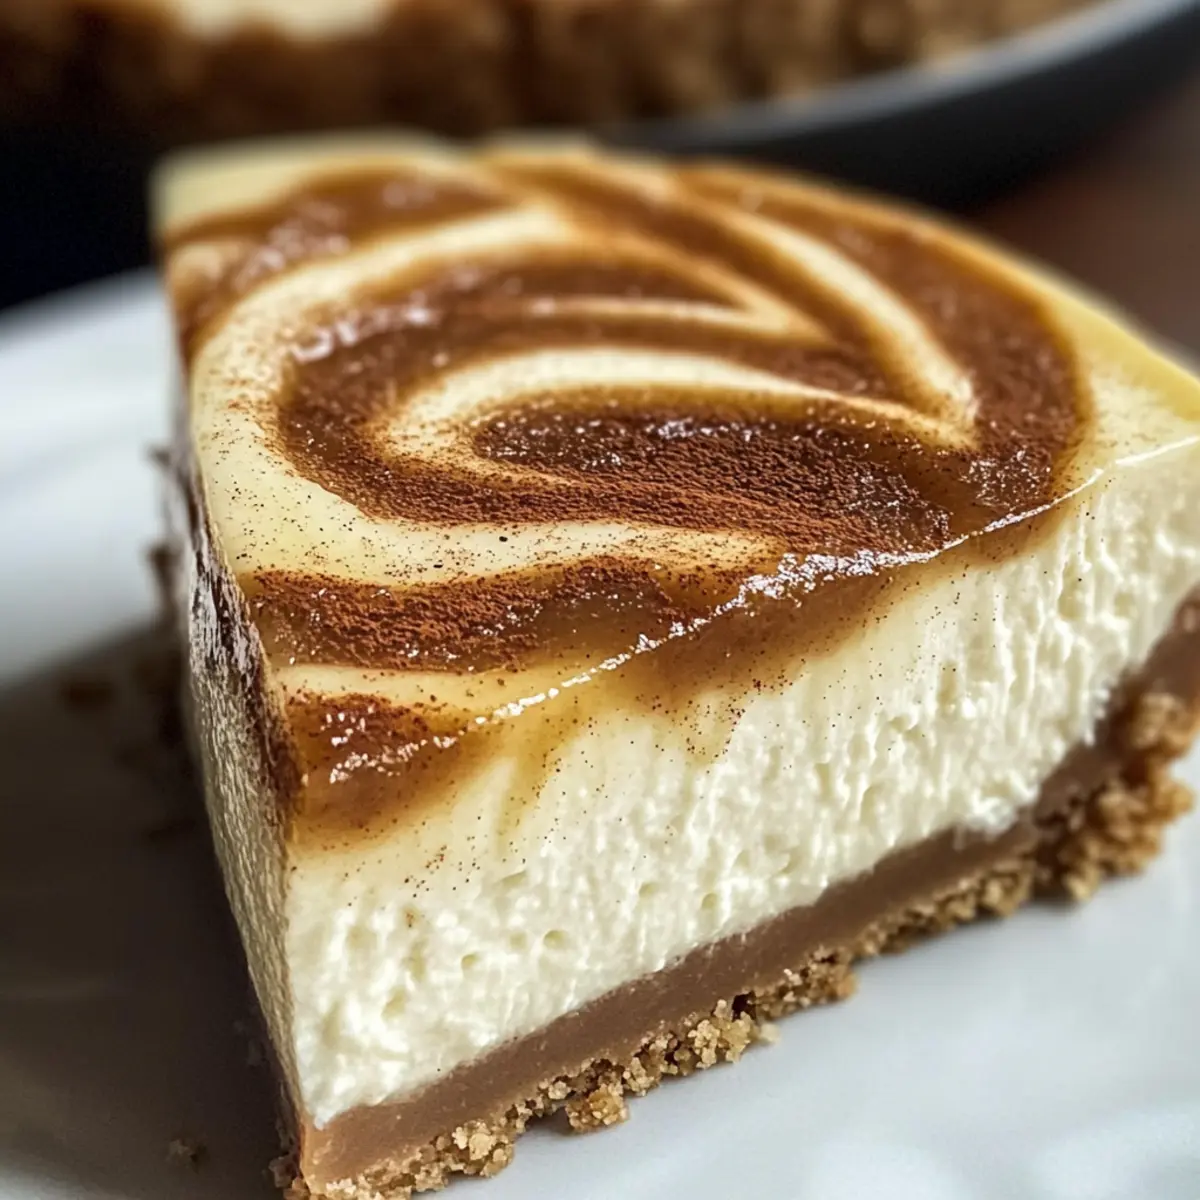
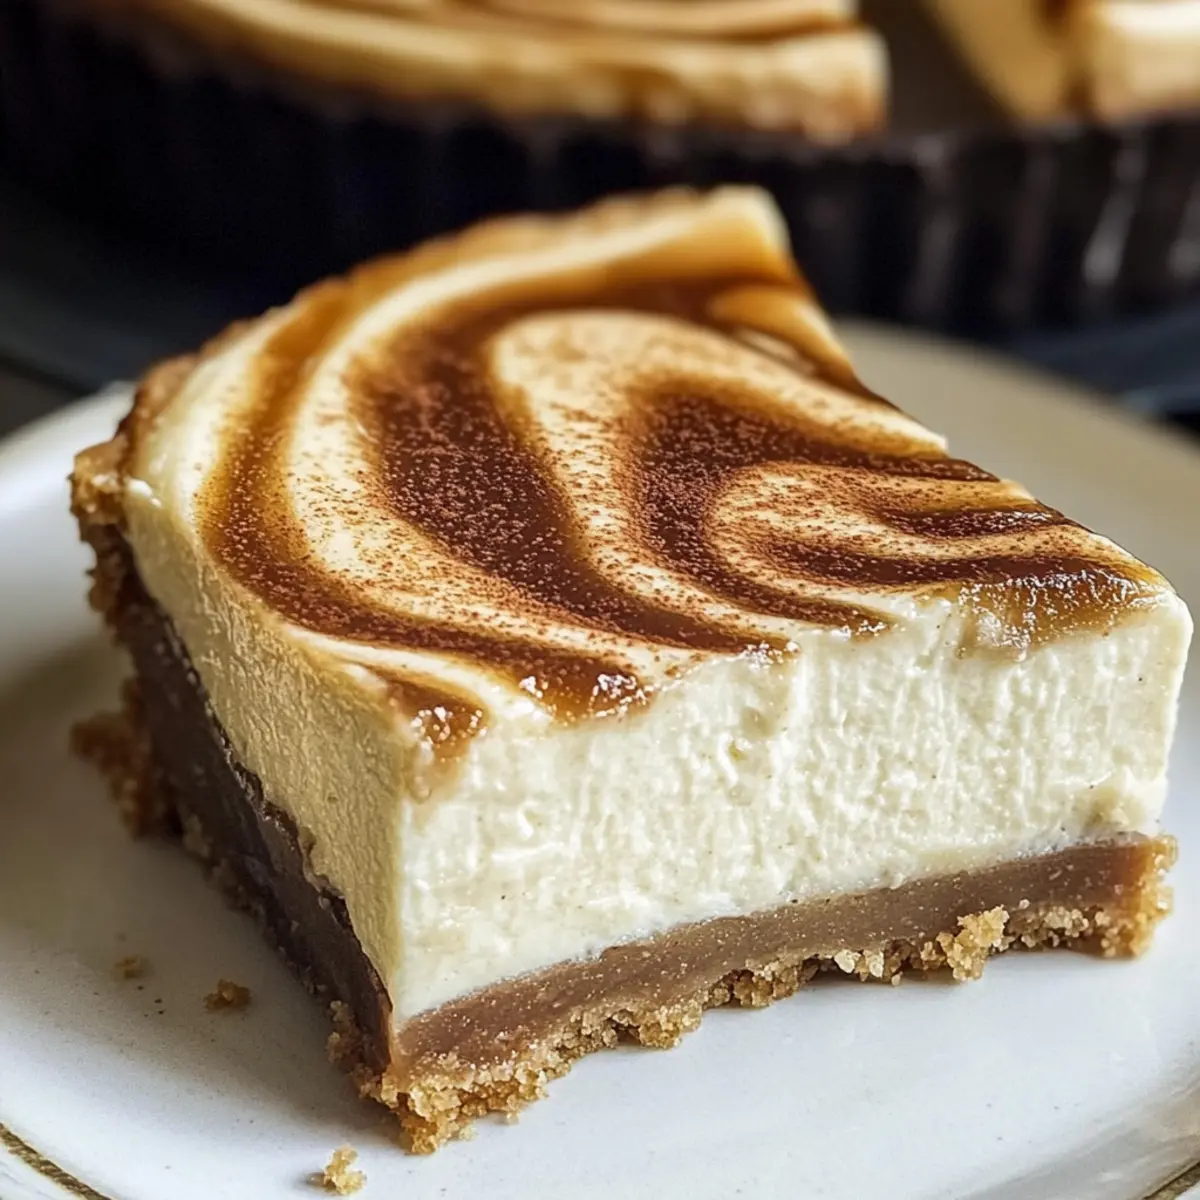
As I strolled through the local farmers market, the scent of warm spices lingered in the air, coaxing me to create something truly comforting. That’s when the idea of a creamy No-Bake Apple Butter Cheesecake struck me. This recipe is not only incredibly easy to prepare, but it also brings together the delightful flavors of autumn into each velvety bite. With a graham cracker crust that adds a sweet crunch and the warming essence of apple butter nestled in the filling, it’s a dessert destined to impress at any gathering. Perfect for both novice cooks and seasoned home chefs, this cheesecake is a crowd-pleaser that invites everyone to savor the joys of homemade treats. Curious how to whip up this luscious delight? Let’s dive in!
Why is Apple Butter Cheesecake a Must-Try?
Creamy Delight: This no-bake cheesecake features a smooth, velvety filling that melts in your mouth, perfectly complemented by a crunchy graham cracker crust.
Effortless Preparation: With just a few simple steps, even beginner bakers can create an impressive dessert that looks and tastes gourmet!
Seasonal Flavors: Infused with warm spices and the richness of apple butter, it captures the essence of autumn—all year long.
Versatile Serving: Whether it’s a cozy family dinner or a festive gathering, this cheesecake is a crowd-pleaser that will wow your guests.
Make-Ahead Friendly: Refrigerate overnight for the best flavor, so you can enjoy your time with loved ones without fussing over dessert. Plus, consider serving it alongside other easy treats like Blueberry Cheesecake Protein Bites for an exquisite spread!
Apple Butter Cheesecake Ingredients
For the Crust
• Graham Cracker Crumbs – A sweet, crunchy base that pairs wonderfully with the creamy filling; you can easily crush your own or buy pre-made.
• Unsalted Butter – Adds richness and helps bind the crust; make sure it’s melted for easy mixing.
For the Filling
• Cream Cheese – Essential for that classic cheesecake texture; ensure it’s softened to room temperature for the smoothest results.
• Powdered Sugar – Provides a delicate sweetness; using powdered sugar instead of granulated sugar helps create a smoother texture.
• Apple Butter – The star of the show, adding depth and warmth; feel free to opt for homemade or store-bought for convenience.
• Heavy Cream – Whipping this will achieve a light and airy filling; whisk until you see soft peaks forming for the best texture.
• Ground Cinnamon – Enhances the flavor profile; adjust according to your taste preferences to amplify the warm notes.
With these ingredients in hand, you’re ready to create a luscious Apple Butter Cheesecake that will leave everyone asking for seconds!
Step‑by‑Step Instructions for Apple Butter Cheesecake
Step 1: Prepare the Crust
In a medium bowl, combine 1 ½ cups of crushed graham crackers with ½ cup of melted unsalted butter until well mixed. Press this mixture firmly into the bottom and slightly up the sides of a 9-inch pie dish to form a solid base. Ensure the crust is evenly compacted for a sturdy foundation and set it aside to firm up while you prepare the filling.
Step 2: Mix Cheesecake Filling
In a large mixing bowl, beat 16 ounces of softened cream cheese with 1 cup of powdered sugar using an electric mixer on medium speed. Blend until the mixture is smooth and creamy, with no lumps remaining—typically about 2-3 minutes. This will create a luscious texture that serves as the foundation of your Apple Butter Cheesecake.
Step 3: Add Apple Butter
Once the cream cheese mixture is smooth, gently swirl in 1 cup of apple butter until fully incorporated. Use a spatula to fold the apple butter into the cream cheese mixture until the color is uniform throughout. This step infuses the cheesecake with warm, spiced flavor, making it truly delightful.
Step 4: Whip Cream
In a separate bowl, whip 1 cup of heavy cream until soft peaks form, being careful not to over-whip. This should take about 3-5 minutes at medium speed. The whipped cream will add a light and airy texture to the Apple Butter Cheesecake, enhancing its creaminess while keeping it from being overly dense.
Step 5: Fold in Whipped Cream
Gently fold the whipped cream into the apple butter mixture using a spatula. Do this carefully to maintain the airiness of the whipped cream, which is key to achieving a fluffy texture in your cheesecake. The filling should be thick yet spreadable, creating a beautiful consistency for your dessert.
Step 6: Assembly
Pour the apple butter cheesecake filling into the prepared graham cracker crust. Use a spatula to smooth the top, ensuring an even layer. This step is crucial for presentation, so take your time to create a beautiful surface ready for chilling.
Step 7: Chill
Cover the cheesecake with plastic wrap and refrigerate for at least 4 hours, or preferably overnight, until it is fully set. Chilling allows the flavors to meld and the cheesecake to firm up, creating that luscious, sliceable dessert you crave from an Apple Butter Cheesecake.
Step 8: Serve
Once chilled, remove the cheesecake from the refrigerator and slice it into wedges. Serve the cheesecake cold, and feel free to top it with whipped cream, caramel, or sliced apples for added texture and flavor. Enjoy your beautifully crafted Apple Butter Cheesecake with family and friends!
What to Serve with Creamy No-Bake Apple Butter Cheesecake
The perfect dessert deserves some delightful companions to enhance your meal experience.
- Fresh Fruit Salad: A colorful medley of seasonal fruits adds a refreshing contrast, balancing the creaminess of the cheesecake with bright, zesty flavors.
- Charcuterie Board: A selection of cheeses, cured meats, and nutty crackers provides a savory edge, making for a wonderful pre-dessert nibble.
- Spiced Nuts: Sweet and salty, lightly spiced nuts complement the warm flavors in the cheesecake and offer a nice crunchy texture.
- Whipped Cream Topping: A dollop of freshly whipped cream on top not only adds frothy richness but also makes the cheesecake extra indulgent.
- Coffee or Tea: Pair your cheesecake with a warm cup of coffee or chai. The deep, aromatic flavors enhance the autumn essence of the dessert beautifully.
- Pumpkin Cookies: Serve alongside chewy pumpkin cookies for an autumnal treat that echoes the flavors of apple butter, creating a festive vibe.
- Cinnamon Crust Mini Pies: These tiny pies are perfect for an added treat; they’re spiced to perfection and create a fun variety in your dessert spread.
- Caramel Sauce Drizzle: A sweet drizzle of caramel sauce takes indulgence to new heights and enhances the apple flavor for a luxurious finish.
- Ice Cream Scoops: Vanilla or cinnamon ice cream served beside your cheesecake gives a delightful temperature contrast that’s undeniably pleasing!
Expert Tips for Apple Butter Cheesecake
Room Temperature Cream Cheese: Use cream cheese that’s softened to room temperature to prevent lumps, ensuring a silky smooth filling for your cheesecake.
Chill Time Matters: Always allow the cheesecake to chill for at least 4 hours, preferably overnight. This ensures the flavors meld beautifully and the texture sets perfectly.
Fold Gently: When incorporating the whipped cream, fold carefully to maintain airiness. Over-mixing can lead to a denser texture, which might compromise the delightful creaminess of your Apple Butter Cheesecake.
Check Consistency: The cheesecake filling should be thick yet spreadable. If it’s too runny, it might not set well after chilling; make sure you’ve whipped the cream to soft peaks.
Spice It Up: Experiment with spices like nutmeg or ginger for additional warmth. A dash can elevate the flavor and give your cheesecake a unique twist!
How to Store and Freeze Apple Butter Cheesecake
Fridge: Store your Apple Butter Cheesecake in an airtight container in the refrigerator for up to 5 days. This keeps it fresh and ready to enjoy any time.
Freezer: If you want to keep it longer, freeze the cheesecake (wrapped tightly) for up to 2 months. Thaw it overnight in the fridge before serving.
Slicing: If you plan to freeze, consider slicing the cheesecake first for easy serving later on. This way, you can enjoy single portions without needing to thaw the whole dessert.
Reheating: There’s no need to reheat the cheesecake—serve it chilled right from the fridge for that perfect creamy texture!
Make Ahead Options
These Creamy No-Bake Apple Butter Cheesecake can be a lifesaver for busy home cooks! You can prepare the graham cracker crust up to 3 days in advance by storing it in an airtight container at room temperature, ensuring it stays fresh and crunchy. The cheesecake filling can also be mixed and refrigerated for up to 24 hours ahead of time; just be sure to cover it tightly to prevent any exposure to air that could diminish its creaminess. When you’re ready to serve, pour the filling into the crust and allow the cheesecake to chill in the fridge for at least 4 hours, or preferably overnight for the best flavor and texture. This way, you’ll have a show-stopping dessert ready to impress without the last-minute rush!
Apple Butter Cheesecake Variations
Feel free to personalize this delightful cheesecake, adding your favorite twists to make it truly your own!
- Graham Cracker Alternative: Swap in digestive biscuits for a different flavor profile. This subtle change adds a unique richness to the crust!
- Spice It Up: Add ginger or nutmeg to the filling for a warm, aromatic flavor that captures the essence of fall. A little pinch can take your dessert to new heights.
- Nutty Crunch: Sprinkle some chopped pecans or walnuts on top for added texture and a delicious crunch. Nuts can also be folded into the filling for extra surprise in every bite!
- Fruit-Infused: Top with caramelized apples or sliced pears for a fresh, fruity layer that complements the cheesecake beautifully. The added citrusy notes provide perfect contrasts to the sweet apple butter.
- Dairy-Free Option: Use coconut cream in place of heavy cream and a dairy-free cream cheese alternative. Your dairy-free friends will love this creamy twist!
- Chocolate Lovers Unite: Drizzle or swirl chocolate ganache on top of the cheesecake for an indulgent, rich contrast to the apple flavors. It’s an irresistible combo that will wow your guests!
- Freeze and Serve: Consider making mini versions in your muffin tin for individual portions that can be frozen and enjoyed later, just like No-Bake Gingerbread Cheesecake Cups that are perfect for holiday gatherings!
- Savor Every Slice: If you fancy a bit of heat, add a pinch of cayenne or red pepper flakes to the filling for an unexpected kick. It’s a daring twist that can surprise your palate in the best way!
Remember, each variation invites creativity while keeping the heart of this Apple Butter Cheesecake intact!
Apple Butter Cheesecake Recipe FAQs
What kind of apple butter should I use?
Absolutely! You can use either homemade or store-bought apple butter. Homemade apple butter allows you to control the sugar and spice levels, giving it a personal touch. If you choose store-bought, just look for one that is free from excessive additives and preservatives for the best flavor.
How do I store leftover Apple Butter Cheesecake?
Very simply! Keep your leftovers in an airtight container in the refrigerator. They should stay fresh for up to 5 days. Make sure it’s covered well to prevent it from absorbing any odors from the fridge.
Can I freeze Apple Butter Cheesecake?
Yes, you can! To freeze, wrap the cheesecake tightly in plastic wrap and then in aluminum foil or place it in a freezer-safe container. It will maintain its quality for up to 2 months. When you’re ready to indulge, thaw it overnight in the refrigerator before serving. Slice it into portions before freezing for easier serving later!
Why did my cheesecake not set properly?
If your cheesecake didn’t set, it might be due to insufficient chilling time; ensure it’s refrigerated for at least 4 hours, or preferably overnight. Additionally, the whipped cream must be whipped to soft peaks before folding it into the mixture—over or under-whipping can affect the consistency. If the filling seems too runny before chilling, it might need a bit more whipped cream to help it firm up.
Is Apple Butter Cheesecake safe for those with allergies?
Good question! This cheesecakes contains dairy (cream cheese and heavy cream), which is important to note for those with lactose intolerance or a dairy allergy. Always check the labels of your ingredients for any potential allergens. You can also consider using dairy-free cream cheese and whipped cream alternatives if needed.
Can I make Apple Butter Cheesecake ahead of time?
Definitely! This cheesecake is ideal for make-ahead preparation. You can prepare it up to two days in advance. Just remember to cover it tightly with plastic wrap to keep it fresh in the fridge. This allows the flavors to meld beautifully, making it even more delicious for your gathering.
Creamy Apple Butter Cheesecake That Will Wow Your Guests
Ingredients
Equipment
Method
- Combine crushed graham crackers and melted unsalted butter in a bowl and mix well. Press into a 9-inch pie dish.
- Beat cream cheese and powdered sugar with an electric mixer until smooth and creamy, about 2-3 minutes.
- Gently fold in apple butter until fully incorporated.
- Whip heavy cream in a separate bowl until soft peaks form, about 3-5 minutes.
- Fold whipped cream into apple butter mixture gently to maintain airiness.
- Pour filling into the graham cracker crust and smooth the top with a spatula.
- Cover with plastic wrap and refrigerate for at least 4 hours or preferably overnight.
- Slice and serve cold. Top with whipped cream, caramel, or sliced apples if desired.
Leave a Reply