
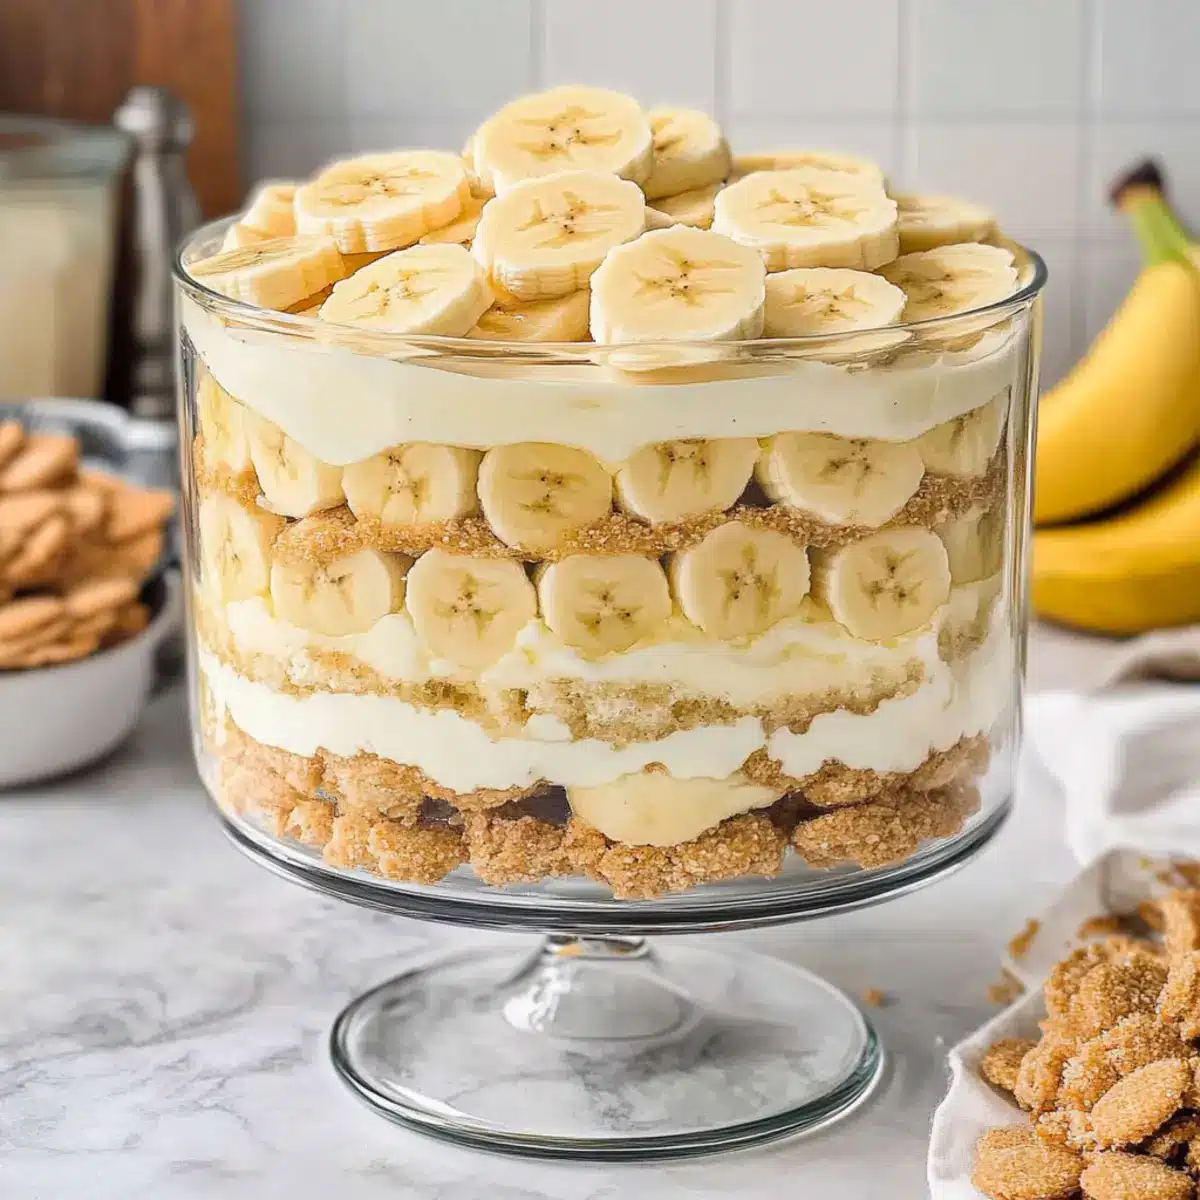
At a summer picnic, I overheard a little boy exclaim, “This is the best dessert ever!” as he devoured spoonfuls of Classic Southern Banana Pudding. This delightful creation, filled with creamy layers of vanilla pudding, fresh bananas, and crunchy Nilla Wafers, is the epitome of nostalgia served in a dish. Not only is this an easy recipe to whip up, but it also makes for a perfect make-ahead treat that will have everyone coming back for seconds. Whether you’re hosting a BBQ or simply looking to impress your family with a classic summer dessert, banana pudding never goes out of style. Want to find out how to create this beloved delight? Let’s dive right in!
Why is Banana Pudding a Summer Favorite?
Endless Delight: This Classic Southern Banana Pudding is a guaranteed hit at any gathering, sure to spark joy and conversation.
Easy to Make: With simple ingredients and straightforward steps, you can whip this up even on a busy day.
Crowd Pleaser: Its creamy layers and delightful textures make it irresistible to both kids and adults alike.
Make-Ahead Convenience: Prep it in advance, letting you enjoy your time with guests without any last-minute stress.
Versatile Options: Experiment by swapping Nilla Wafers for graham crackers or adding a hint of chocolate, just like in our Chocolate Chip Banana variation.
Trust me, once your friends and family take a bite, they’ll be asking for your recipe!
Banana Pudding Ingredients
For the Pudding Mixture
• Vanilla Pudding Mix – This provides the luscious base flavor; a family-sized box will save you time.
• Cold Milk – It hydrates the pudding mix, creating that perfect creamy texture.
• Condensed Milk – Adds sweetness and a rich consistency; opt for sweetened condensed milk for ideal flavor.
For the Topping and Layers
• Whipped Topping – Gives lightness and creaminess; reserve some for finishing touches. You can substitute with homemade whipped cream for a fresher taste.
• Vanilla Wafer Cookies – Essential for that crunchy texture and sweet flavor; don’t skip these!
• Bananas – Adds natural sweetness and freshness; slice just before assembly to prevent browning.
With these ingredients for your delicious Banana Pudding, you’re well on your way to creating a beloved summer dessert that everyone will cherish!
Step‑by‑Step Instructions for Banana Pudding
Step 1: Prepare the Pudding Mixture
In a large mixing bowl, whisk together one box of vanilla pudding mix and 4 cups of cold milk until smooth. Continue whisking for about 2 minutes until the mixture thickens slightly. Once done, cover the bowl and refrigerate the pudding mixture for at least 5 minutes to allow it to set properly.
Step 2: Incorporate the Condensed Milk
After the pudding has thickened, gently fold in 1 cup of sweetened condensed milk until well blended with the pudding. This addition will enhance the creaminess and sweetness of your Banana Pudding, creating a luscious base. Ensure there are no lumps, and then set the mixture aside while you prepare the whipped topping.
Step 3: Whip the Topping
In another bowl, take 2 cups of whipped topping and reserve 1 cup for the final layer of the dessert. Fold the remaining whipped topping into the pudding mixture, combining until smooth and fluffy. This step adds lightness to your banana pudding, creating the perfect creamy texture that everyone loves. Once mixed, chill this combo in the refrigerator.
Step 4: Slice the Bananas
While the pudding mixture is chilling, slice 3-4 ripe bananas into thin rounds. To prevent browning, slice them just before assembling the dessert. The bananas will provide natural sweetness and a delightful freshness to your Banana Pudding, making each layer burst with flavor.
Step 5: Layer the Ingredients
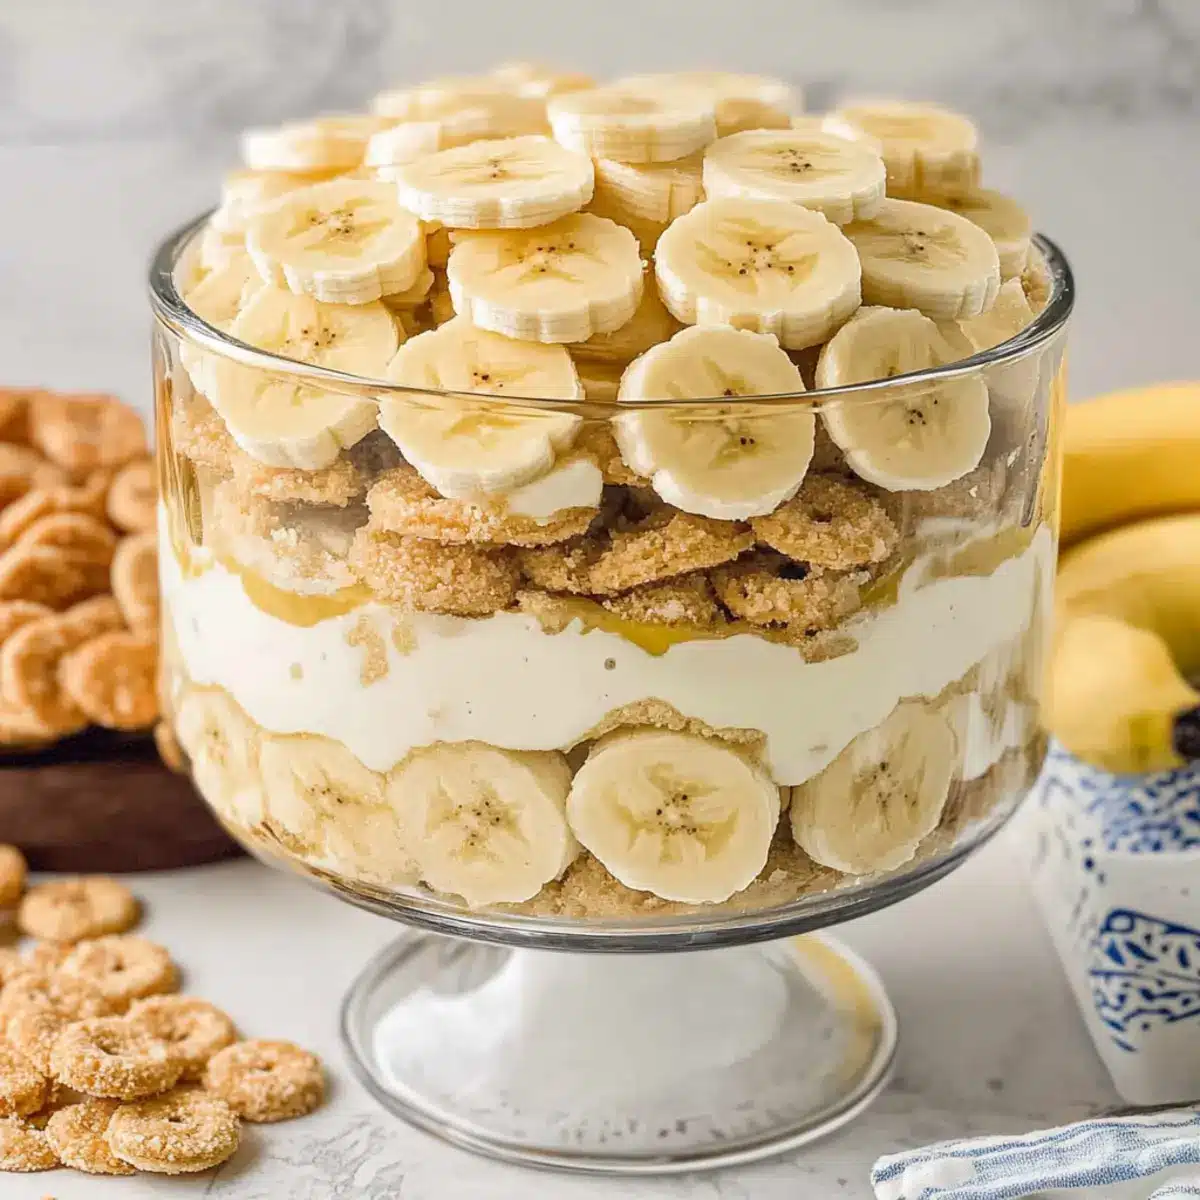
In a large trifle dish or a 9×13 inch pan, start by layering half of the Nilla Wafers at the bottom. Next, add half of the sliced bananas over the cookies, then pour half of the pudding mixture on top, spreading it evenly. Repeat this layering process, finishing with the last of the pudding on top for a stunning presentation.
Step 6: Final Touches
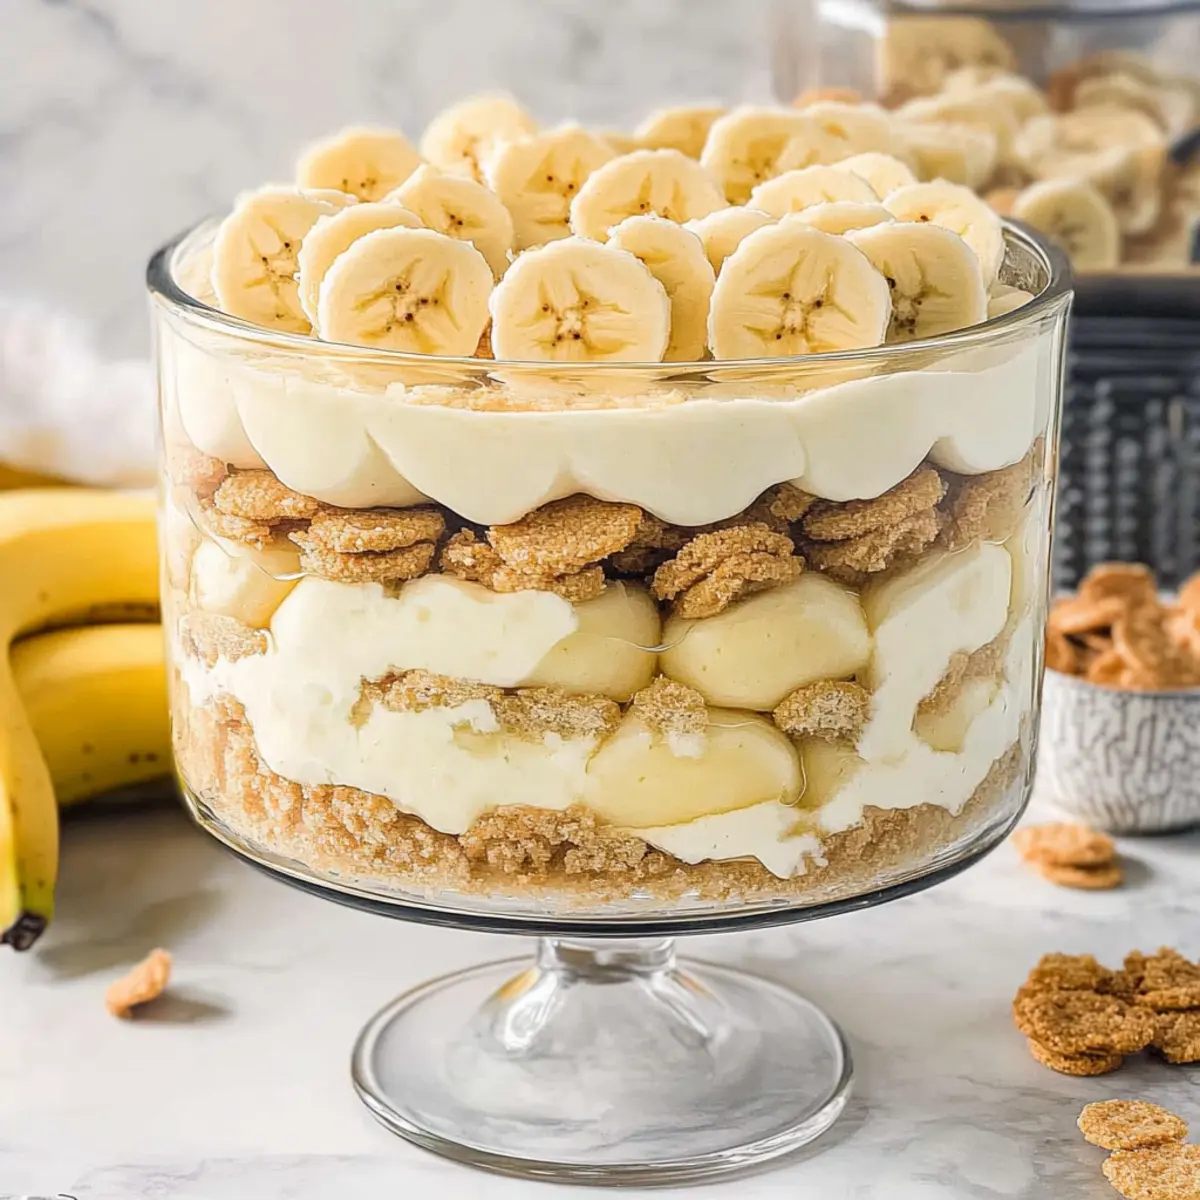
Spread the reserved whipped topping over the top layer of pudding, smoothing it out for a clean finish. Garnish with crushed Nilla Wafers and a few extra banana slices for an inviting look. This adds a delightful crunch and visual appeal to your Banana Pudding and makes it ready to impress!
Step 7: Chill and Serve
Cover the assembled dessert with plastic wrap and chill in the refrigerator for at least 1 hour before serving. This allows the flavors to meld together and the Nilla Wafers to soften into a perfect balance of texture. Once chilled, serve with a smile and enjoy the delightful layers of your homemade Banana Pudding!
How to Store and Freeze Banana Pudding
Fridge: Store your Banana Pudding in an airtight container in the refrigerator for up to 3 days. For optimal texture, consume it sooner rather than later.
Freezer: While not recommended for freezing due to potential texture changes, if needed, you may freeze the pudding mixture (without bananas) for up to 2 months.
Reheating: If you’ve frozen the pudding, thaw it in the fridge overnight and revisit its creamy texture by gently re-whipping before serving.
Make-Ahead: Prepare the pudding mixture and slice the bananas a day in advance, but layer them just before serving to enjoy the freshness and prevent browning.
Banana Pudding Variations & Substitutions
Feel free to get creative and customize your Banana Pudding with these delightful variations!
- Graham Crackers: Swap Nilla Wafers for graham crackers to infuse a new level of crunch and flavor. The buttery notes will surprise your taste buds in this classic.
- Chocolate Pudding: Trade vanilla pudding for chocolate pudding mix for an indulgent twist. Chocolate and bananas are a heavenly combination that no one can resist!
- Nutty Crunch: Incorporate chopped walnuts or pecans between layers for added crunch and a nutty flavor that complements the pudding beautifully.
- Coconut Bliss: Stir in some shredded coconut into the pudding mixture for a tropical flair. It adds sweetness and texture, making each bite a mini vacation!
- Honey Drizzle: Instead of condensed milk, try using honey for a natural sweetener. This twist brings a lovely floral note that enhances the banana flavor.
- Peanut Butter: Add a layer of whipped peanut butter to take your pudding to the next level. It’s a match made in dessert heaven with bananas!
- Almond Milk: For a dairy-free option, substitute cold milk with almond milk. It will yield a lighter texture, but the flavors will still delight!
- Caramel Sauce: Drizzle caramel sauce between layers for an irresistible sweetness. This addition makes every spoonful a little piece of heaven.
If you’re looking for additional delightful recipes like Cinnamon Swirl Banana or Banana Bread Moist, don’t hesitate to explore!
Expert Tips for Delicious Banana Pudding
- Assemble Just Before Serving: To keep the Nilla Wafers from becoming soggy, layer the dessert shortly before you plan to serve it.
- Chill Properly: Ensure your pudding mixture is properly chilled to achieve that perfect creamy texture for your Banana Pudding.
- Cut Bananas Last: Slice the bananas just before layering to prevent browning; this keeps your dessert looking fresh and appetizing.
- Use Quality Ingredients: Opt for fresh and high-quality ingredients like sweetened condensed milk and real whipped cream for superior flavor.
- Experiment with Variations: Try different crunch elements, such as graham crackers or nuts, to mix up the classic Banana Pudding experience!
Make Ahead Options
These Classic Southern Banana Pudding layers are perfect for meal prep enthusiasts! You can prepare the pudding mixture (vanilla pudding mix and cold milk) and refrigerate it up to 24 hours in advance, allowing the flavors to meld beautifully. Additionally, slice the bananas and store them in an airtight container with a sprinkle of lemon juice to prevent browning, but do this no more than 2 hours before assembly. When you’re ready to impress your guests, simply layer the Nilla Wafers, banana slices, and chilled pudding mixture as outlined in the directions. With these make-ahead tips, you’ll enjoy delicious, stress-free servings of banana pudding that are just as delightful as freshly made!
What to Serve with Classic Southern Banana Pudding
Creating the perfect meal involves balancing flavors and textures, and this delightful dessert is just the beginning!
- Grilled Chicken: The smoky flavors of tender grilled chicken harmonize with the sweetness of the banana pudding, making for a delightful contrast.
- Fresh Berry Salad: A mix of strawberries, blueberries, and raspberries adds a refreshing, tart burst, perfectly complementing the creamy layers of banana pudding.
- Corn on the Cob: Sweet, juicy corn on the cob provides a delightful crunch and natural sweetness that pairs beautifully with the richness of the pudding.
- Lemonade: A chilled glass of lemonade offers a zesty and refreshing drink option to cut through the creaminess of the banana pudding.
- Peach Crisp: The warm, gooey peach crisp adds comfort to your meal, enhancing the summer vibes while still delivering that sweet finish.
- BBQ Ribs: Smoky, sweet BBQ ribs create a deliciously rich meal, allowing the lightness of banana pudding to shine as a perfect dessert.
- Roasted Veggies: Seasoned and slightly caramelized roasted vegetables bring a healthy, earthy element to the table, balancing beautifully with the dessert’s richness.
- Chocolate Milkshake: For a playful twist, a chocolate milkshake makes for a nostalgic pairing, reminiscent of a classic diner experience.
- Ice Cream Float: A fun, fizzy ice cream float with soda and ice cream serves as a whimsical treat to enjoy alongside the creamy banana pudding.
Banana Pudding Recipe FAQs
How do I select ripe bananas for my Banana Pudding?
When selecting bananas, look for ones that are slightly yellow with a few brown spots. These will provide the best sweetness and flavor. Avoid bananas that are overly brown or have dark spots all over, as they may be overripe and mushy.
How should I store leftover Banana Pudding?
You can store your Banana Pudding in an airtight container in the refrigerator for up to 3 days. Make sure to consume it sooner rather than later for the best texture and flavor, as the Nilla Wafers can become soggy over time.
Can I freeze Banana Pudding?
While I don’t typically recommend freezing Banana Pudding due to the texture changes that occur, if you decide to freeze it, skip the bananas and freeze just the pudding mixture. Place it in a freezer-safe container, leaving space for expansion. It can last up to 2 months. When you’re ready to serve, thaw it in the fridge overnight and gently re-whip to restore some creaminess.
What can I do if my pudding mixture is too runny?
If your pudding mixture seems too runny, ensure that you’ve whisked the pudding mix and cold milk long enough (at least 2 minutes). The pudding needs time to thicken in the refrigerator for about 5 minutes. If it’s still not setting, you can add a bit more pudding mix (about 1 tablespoon, mixed with a bit of milk to dissolve) and stir until fully blended.
Are there any dietary considerations I should keep in mind for Banana Pudding?
Yes, you should consider allergies such as dairy if you use condensed milk and whipped topping, both of which are dairy products. For a dairy-free version, try using coconut or almond milk with a plant-based pudding mix, ensuring all other ingredients are also dairy-free. Always check labels for any hidden allergens!

Irresistible Banana Pudding with Creamy Layers of Joy
Ingredients
Equipment
Method
- In a large mixing bowl, whisk together one box of vanilla pudding mix and 4 cups of cold milk until smooth. Cover and refrigerate for at least 5 minutes.
- Gently fold in 1 cup of sweetened condensed milk until well blended. Set aside.
- In another bowl, fold the remaining whipped topping into the pudding mixture until smooth and fluffy. Chill the mixture.
- Slice 3-4 ripe bananas into thin rounds just before assembling to prevent browning.
- Layer half of the Nilla Wafers at the bottom of a trifle dish. Add half of the sliced bananas, then half of the pudding mixture. Repeat the layers.
- Spread the reserved whipped topping over the top layer of pudding, and garnish with crushed Nilla Wafers and banana slices.
- Cover with plastic wrap and chill in the refrigerator for at least 1 hour before serving.
Leave a Reply