
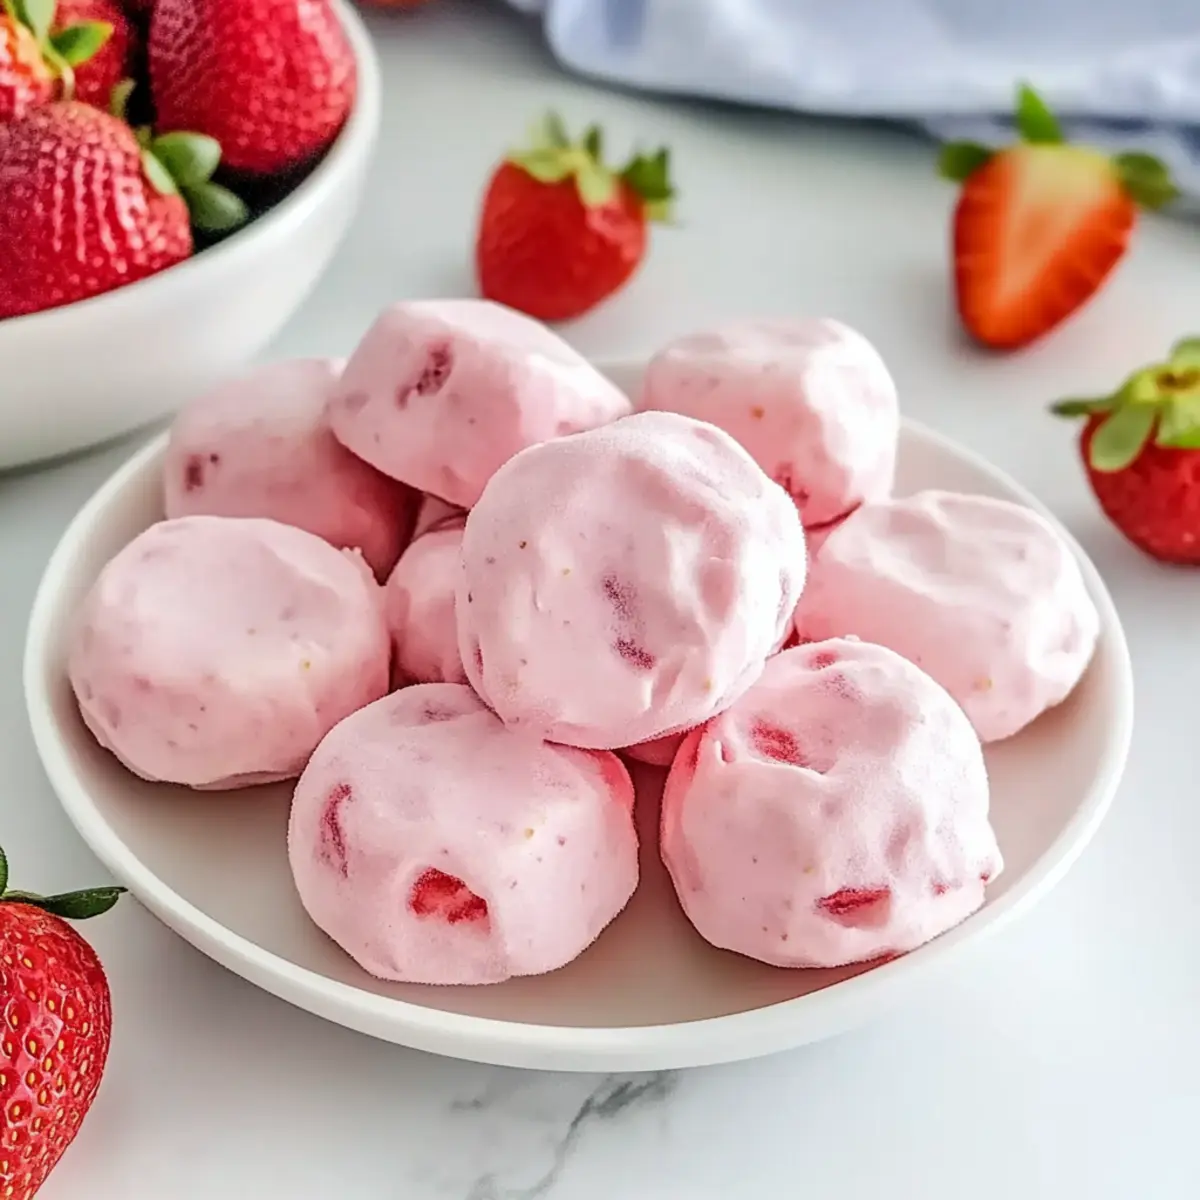
As the warm weather dances in, cravings for refreshing snacks start creeping in. That’s when I turn to my all-time favorite treat: Easy Strawberry Yogurt Bites. With just three simple ingredients, these bites are not only a breeze to whip up, but they also deliver on taste and nutrition without the guilt. Perfect for kids and adults alike, they transform simple strawberries and creamy Greek yogurt into a delightful icy snack—ideal for those sunny afternoons when you need a little pick-me-up. Plus, they’re gluten-free and make an excellent healthy alternative to store-bought sugary treats. Curious about how to make this delightful frozen snack? Let’s dive in!
Why Are You Going to Love These Bites?
Quick and Easy: These Easy Strawberry Yogurt Bites can be whipped up in under an hour, making them perfect for busy parents or anyone needing a fast snack.
Healthy Sweetness: With just three ingredients, including fresh strawberries and Greek yogurt, you’re indulging in a treat that’s both nutritious and delicious.
Adaptable Flavor: Explore creativity! You can swap strawberries for other fruits like blueberries or mango for a new twist on this easy recipe.
Kid-Friendly: These bites are not only simple to make but also fun for kids to enjoy, making them an excellent option for lunchboxes or after-school snacks.
Guilt-Free Treat: Forget those sugary store-bought snacks; these bites are low-calorie, gluten-free, and satisfying, ensuring you can indulge without any guilt!
And if you’re looking for more healthy options, check out my recipes for Cheesecake Protein Bites and Protein Bagel Bites.
Easy Strawberry Yogurt Bites Ingredients
Discover how simple it is to create these delicious snacks!
For the Bites
- Fresh Strawberries – Provides natural sweetness and vibrant flavor; use ripe strawberries for the best taste.
- Greek Yogurt – Adds creaminess and a protein boost; you can substitute with flavored Greek yogurt for added taste.
- Honey – Serves as a natural sweetener; adjust the amount to reduce sweetness, or swap with maple syrup for a vegan option.
Step‑by‑Step Instructions for Easy Strawberry Yogurt Bites
Step 1: Prepare the Strawberry Purée
In a food processor, combine fresh strawberries and honey, blending them until you achieve a smooth purée. This should take about 30 seconds. Remember to reserve ¼ cup of the purée for later use! Visualize a beautifully vibrant red mixture, free of lumps—it’s the perfect base for your Easy Strawberry Yogurt Bites.
Step 2: Mix with Greek Yogurt
In a mixing bowl, add the remaining strawberry purée to the Greek yogurt. Stir gently until the mixture is well-combined and smooth, ensuring the creamy yogurt and sweet purée blend perfectly. This process should take about 1 minute. The final mixture should be a beautiful, pale pink and velvety in texture, ready for creating delightful bites.
Step 3: Prepare the Piping Bag
Transfer the strawberry-yogurt mixture into a piping bag or a zip-top bag with a corner snipped off. This step is crucial for portion control and neatness. Take your time to make sure there are no air bubbles, as a smooth flow is essential for forming the perfect dollops. You’ll want to have everything ready for easy application.
Step 4: Shape the Bites
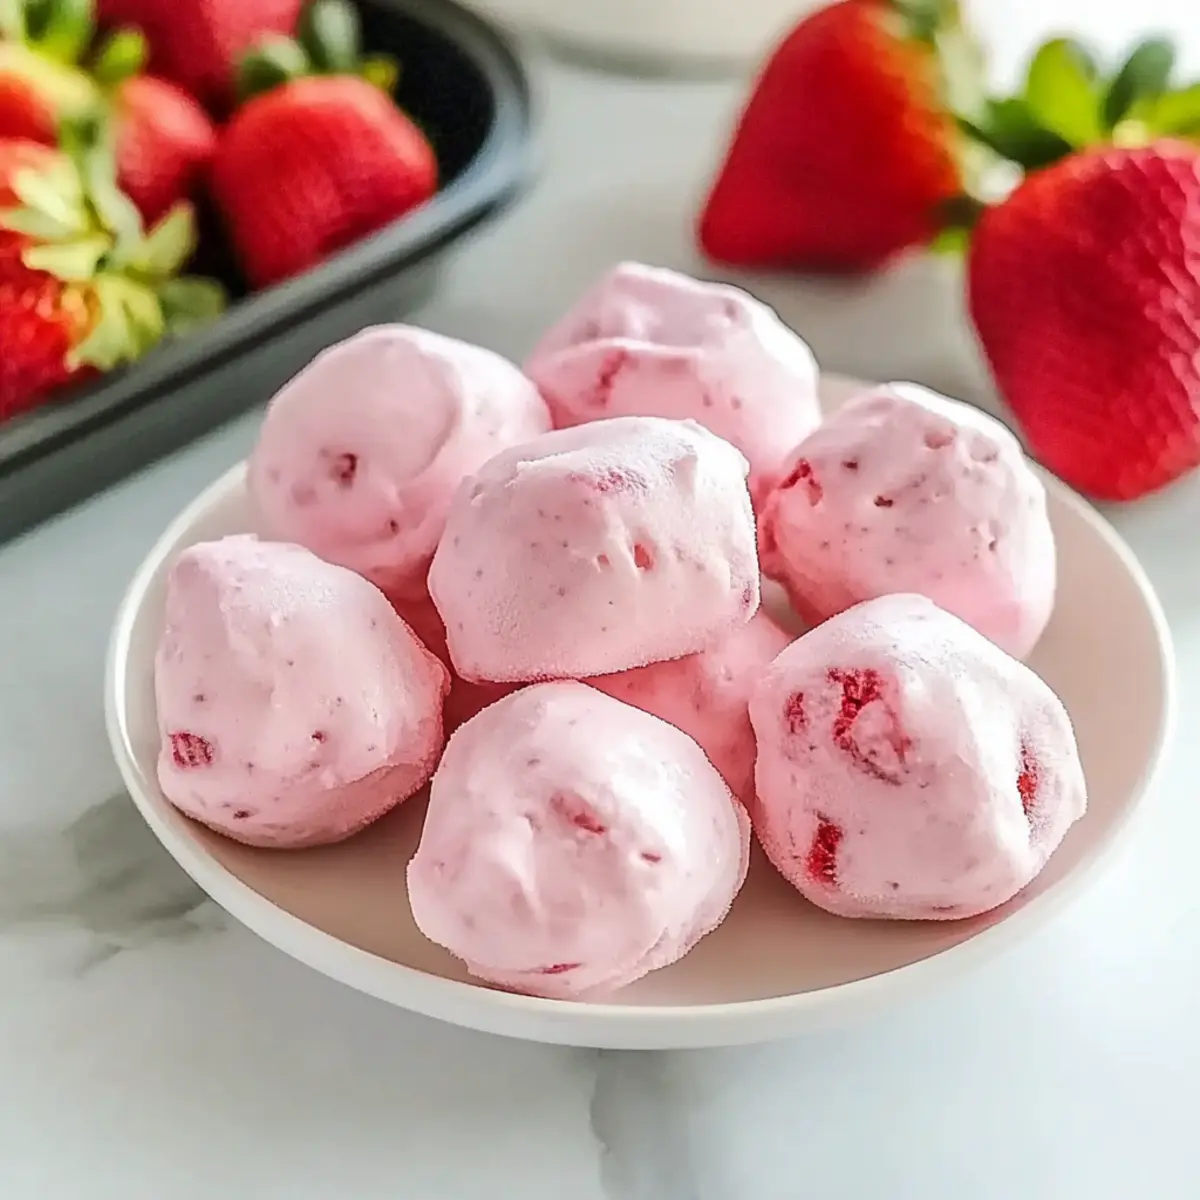
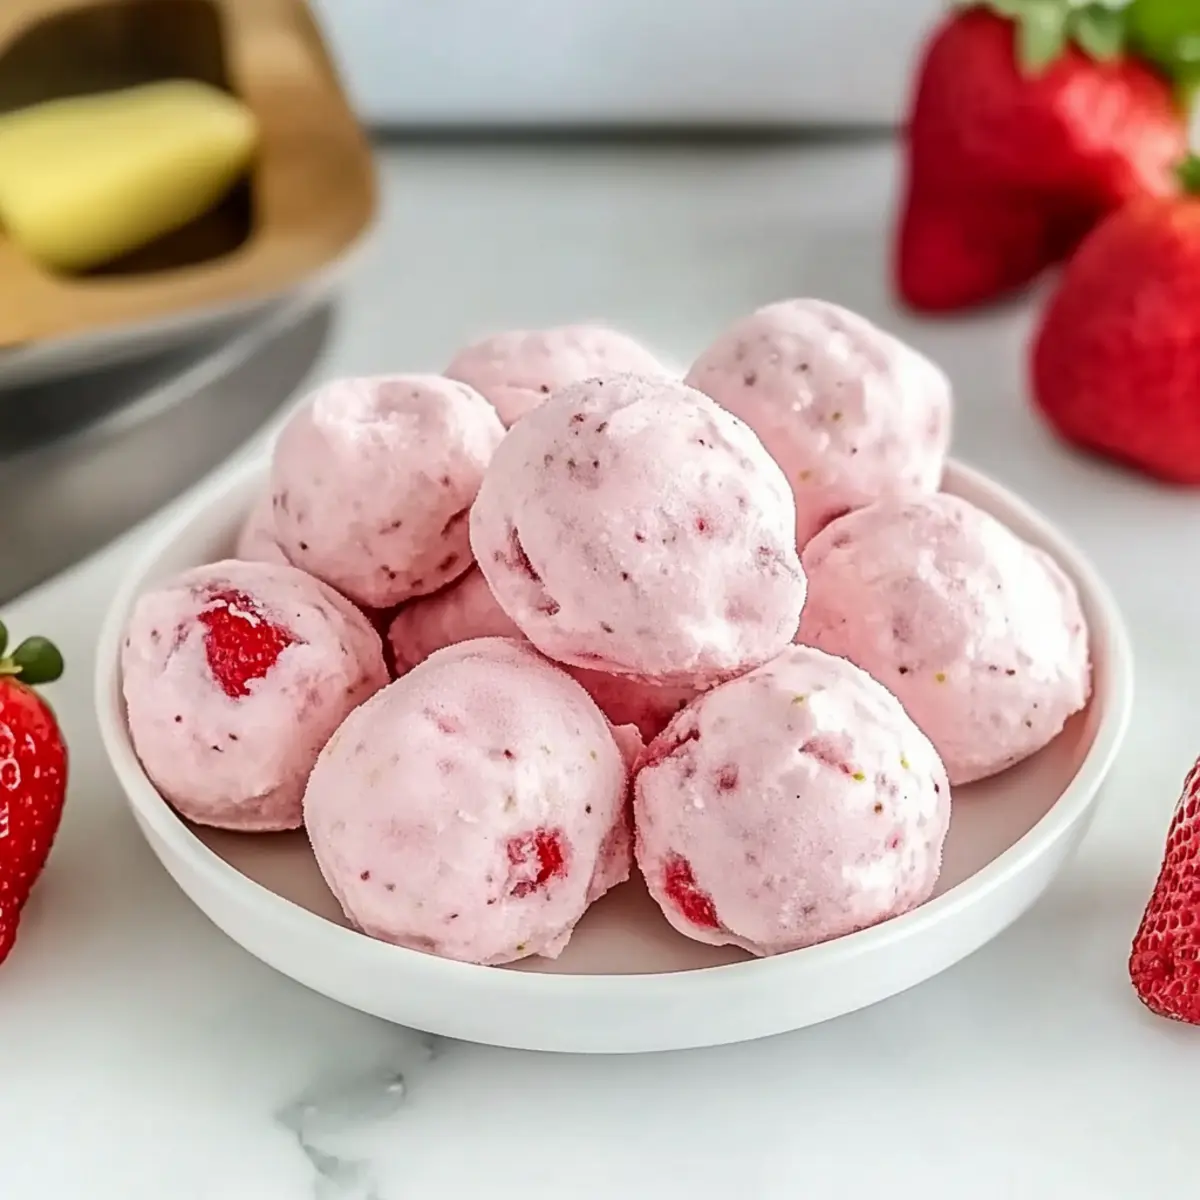
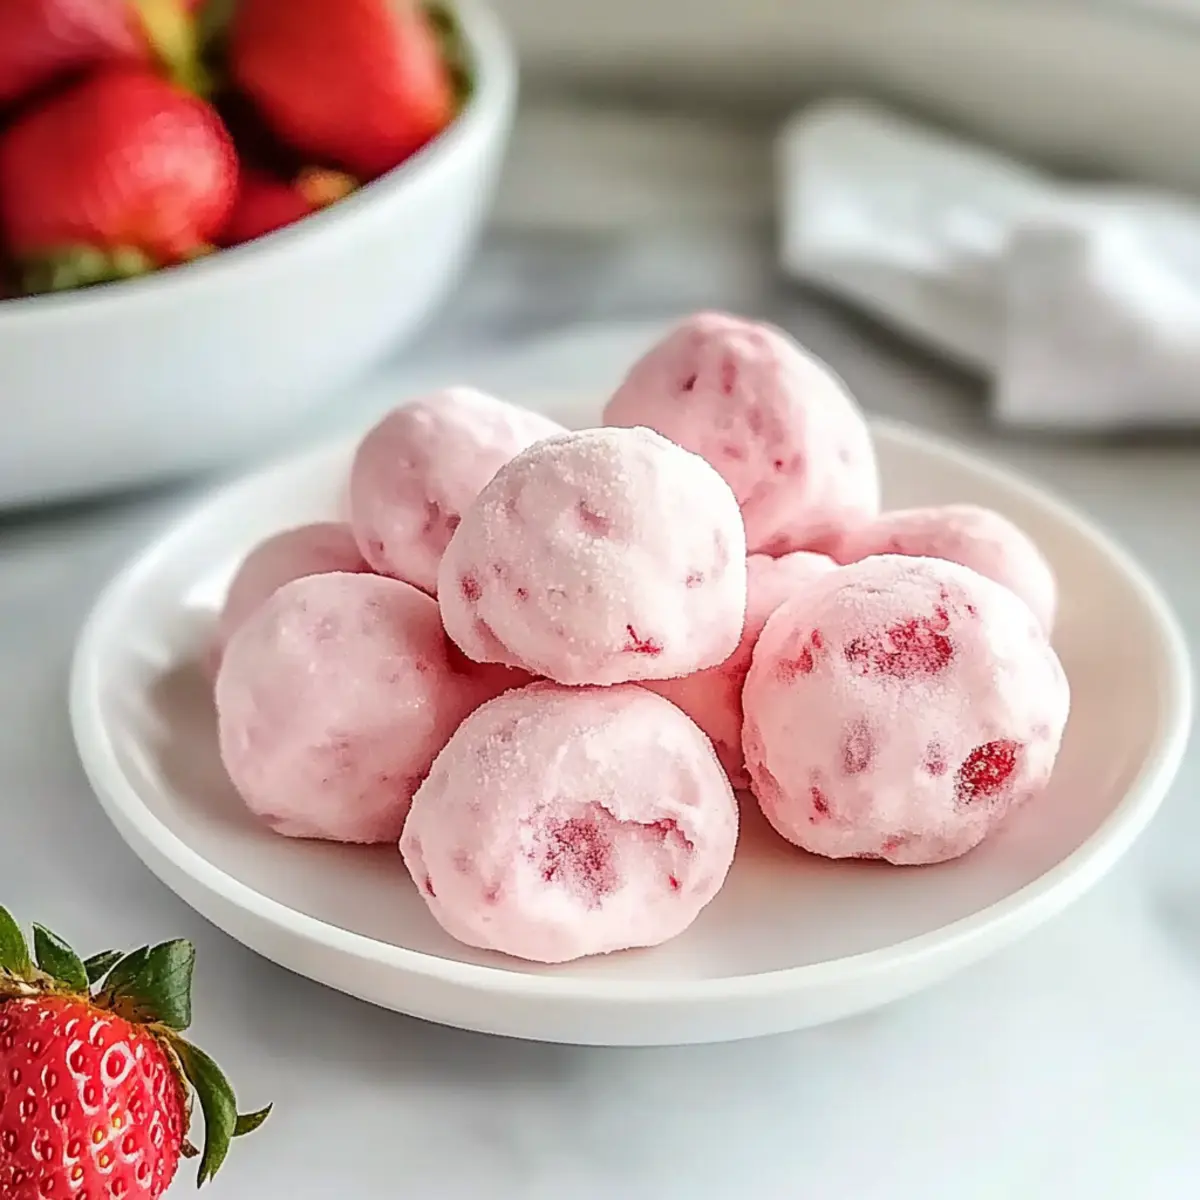
Line a sheet pan with wax or parchment paper to prevent sticking. Pipe small dollops, about 1-inch in diameter, onto the prepared sheet. Aim for about 24 dollops, spacing them evenly apart. As you create these mounds, take a moment to admire the lovely pink hue of your Easy Strawberry Yogurt Bites taking shape.
Step 5: Freeze Until Firm
Place the sheet pan in the freezer and allow the yogurt bites to freeze for about 1 hour, or until they are firm to the touch. This crucial step gives them their delightful icy texture. When you check your bites, they should be solid and ready to enjoy, resembling little frozen treats.
Step 6: Serve & Enjoy
Once your Easy Strawberry Yogurt Bites are firm, remove them from the freezer and serve immediately. Enjoy these refreshing snacks straight from the freezer for the best taste and texture. They are perfect for warm days, satisfying sweet cravings while keeping things healthy and guilt-free!
Make Ahead Options
These Easy Strawberry Yogurt Bites are perfect for meal prep, allowing you to enjoy a refreshing snack throughout the week! You can prepare the yogurt and strawberry mixture and refrigerate it for up to 24 hours before assembling the bites. Simply blend the strawberries with honey and mix with Greek yogurt, then store this mixture in a sealed container to maintain freshness. When you’re ready to serve, just pipe the mixture onto a lined sheet pan and freeze for about 1 hour until firm. This process not only saves time during busy days but also ensures you have delicious, guilt-free snacks on hand whenever cravings strike!
Easy Strawberry Yogurt Bites Variations
Customize your Easy Strawberry Yogurt Bites for a delightful twist on this healthy treat that your taste buds will adore!
-
Berry Blend: Swap out strawberries for a combination of blueberries and raspberries for a fruity medley.
-
Nutty Crunch: Add chopped almonds or walnuts into the yogurt mix for added texture and a nutritious boost. Textural contrasts make every bite exciting!
-
Tropical Vibe: Substitute strawberries with fresh mango for a tropical flavor that will remind you of sunny beach days. It’s a refreshing twist!
-
Choco-Dip: After the bites are frozen, dip them in melted dark chocolate for a decadent dessert. A chocolate coating adds an irresistible layer of flavor!
-
Sweet Spice: Mix in a pinch of cinnamon or a splash of vanilla extract to the yogurt for a warm, aromatic taste that tantalizes the senses.
-
Coconut Delight: Stir shredded coconut into the mixture before freezing to give it a tropical flair. The chewy texture adds a lovely surprise!
-
Heat Wave: For the adventurous, add a dash of cayenne pepper or chili powder to elevate your bites with a spicy kick. The heat creates a surprising flavor sensation that lingers.
-
Color Fun: Swirl in a natural food coloring before freezing to create visually striking bites that are as pleasing to the eyes as they are to the palate! These colorful snacks are sure to be a hit with kids.
For more delightful alternatives, you can also explore my delicious recipes like Chicken Shawarma Yogurt or treat yourself to some Sweet Air Bites. Enjoy experimenting with these variations!
How to Store and Freeze Easy Strawberry Yogurt Bites
Fridge: Keep your Easy Strawberry Yogurt Bites in the fridge for up to 3 days in a sealed container. However, they lose their delightful icy texture when kept in the fridge.
Freezer: Store them in an airtight container in the freezer for up to 2 months. Place parchment paper between layers to prevent sticking, ensuring easy serving later.
Thawing: When you’re ready for a snack, simply remove a few bites from the freezer and let them sit at room temperature for about 5 minutes before enjoying.
Reheating: There’s no need to reheat; these bites are best enjoyed frozen! Perfectly refreshing for those warm, sunny days.
What to Serve with Easy Strawberry Yogurt Bites
As the perfect companion to your refreshing frozen snacks, these delightful additions will elevate your snacking experience!
-
Crunchy Granola: A sprinkle of granola adds a satisfying crunch and complements the creamy texture of the yogurt bites. Perfect for an added layer of flavor.
-
Fresh Fruit Salad: A vibrant mix of berries, melons, and citrus will invigorate your palate, making each bite refreshing and visually stunning. The bright colors and flavors harmonize beautifully.
-
Nutty Trail Mix: Combine nuts with dried fruits for a wholesome snack option that balances sweetness with a pleasant crunch. It’s perfect for an energy boost!
-
Smoothies: Pairing these bites with a berry or banana smoothie creates a blissful balance of flavors. Sip on a smoothie while enjoying the bites for a satisfying treat combo!
-
Coconut Whipped Cream: Drizzling a bit of whipped coconut cream on top elevates the bites to dessert status. It adds a creamy element that complements the strawberry flavor wonderfully.
-
Lemonade or Iced Tea: Refreshing drinks like homemade lemonade or iced tea provide a zing that pairs perfectly with the sweetness of the yogurt bites. It’s a delightful way to quench your thirst!
-
Chocolate Drizzle: For a decadent touch, drizzle some melted dark chocolate over the bites right before serving. It adds depth and a touch of indulgence.
Make your snacking even more delightful by exploring these complementary options!
Expert Tips for Easy Strawberry Yogurt Bites
- Blend Thoroughly: Ensure strawberries are blended until completely smooth for the best texture. Any lumps can affect the bite’s creaminess.
- Room Temperature Yogurt: Let the Greek yogurt sit out for a few minutes to soften; this makes blending easier and ensures a smoother mixture.
- Consistent Sizes: Aim to pipe dollops of equal size for even freezing; this prevents some bites from being rock-hard while others are too soft.
- Use Silicone Molds: For a fun presentation, try using silicone molds to freeze your mixture. They make it easier to pop out the Easy Strawberry Yogurt Bites!
- Substitution Flexibility: Feel free to experiment by swapping out strawberries for your favorite fruits; this keeps snacking exciting and allows you to create personalized flavors.
Easy Strawberry Yogurt Bites Recipe FAQs
How do I select ripe strawberries for the best flavor?
Absolutely! Ripe strawberries should be bright red with a glossy finish and free from dark spots or mold. Pick strawberries that are fragrant and firm; this ensures you’ll get that burst of sweet flavor in every bite!
What’s the best way to store Easy Strawberry Yogurt Bites?
You can keep your Easy Strawberry Yogurt Bites in the freezer for up to 2 months in an airtight container. I recommend placing parchment paper between layers to avoid sticking, which makes it super simple to grab a few for a snack later on. They can also be stored in the fridge for about 3 days, but their delightful icy texture will be compromised.
Can I freeze these yogurt bites if I want to make them ahead of time?
Yes, definitely! To freeze, place your piped bites directly in an airtight container with parchment paper layered between them to prevent sticking. They’ll stay fresh in the freezer for up to 2 months. Just take out what you need and let them sit at room temperature for about 5 minutes to soften slightly before enjoying!
What if my yogurt mixture is too runny or too thick?
No worries! If your mixture is too runny, try refrigerating it for about 15-20 minutes before piping, as the cooler temperature can help thicken it. If it’s too thick, let the yogurt sit at room temperature for a few minutes until it softens, and then reblend it with a little more fruit puree to achieve the desired consistency.
Are these bites safe for kids with nut allergies?
Yes, these Easy Strawberry Yogurt Bites are gluten-free and can easily be made nut-free. Just be cautious if you’re considering adding any mix-ins like nuts; opt for other toppings like shredded coconut or chocolate chips instead. Always check labels when selecting ingredients to ensure there are no nut cross-contaminations.
Can I use other fruits for this recipe?
Very! This recipe is incredibly adaptable. You can try using blueberries, mango, or raspberries in place of strawberries for different flavors. Just make sure to blend or mash them well to maintain that creamy texture with the yogurt!
Deliciously Easy Strawberry Yogurt Bites for Guilt-Free Snacking
Ingredients
Equipment
Method
- In a food processor, combine fresh strawberries and honey, blending until you achieve a smooth purée.
- Add the remaining strawberry purée to the Greek yogurt in a mixing bowl and stir gently until well-combined.
- Transfer the strawberry-yogurt mixture into a piping bag or a zip-top bag with a corner snipped off.
- Line a sheet pan with wax or parchment paper and pipe small dollops, about 1-inch in diameter, onto the prepared sheet.
- Place the sheet pan in the freezer and allow the yogurt bites to freeze for about 1 hour.
- Remove the frozen yogurt bites from the freezer and serve immediately.
Leave a Reply