
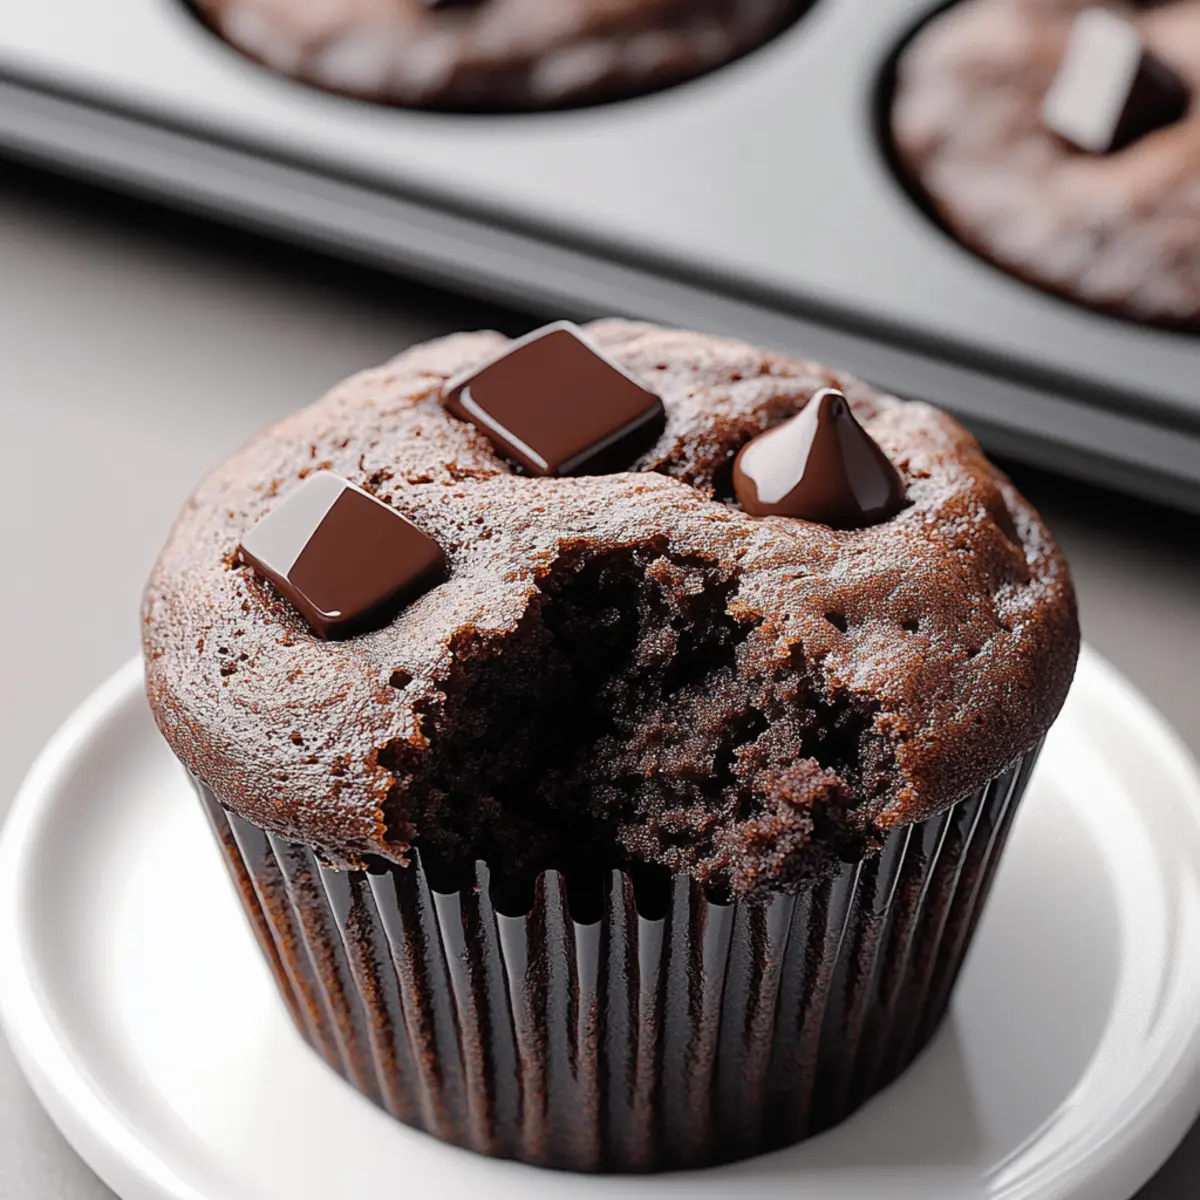
As I stood in my kitchen, the warm aroma of rich cocoa enveloping me, I knew I was creating something special: Gluten-Free Chocolate Muffins. These delights are a triumph for anyone craving a sweet, chocolatey treat without the gluten. They whip up easily with simple, budget-friendly ingredients, making them perfect for a quick breakfast or an afternoon snack. Plus, they offer the freedom to customize—whether you want to stir in chocolate chips for extra allure or sprinkle in nuts for a satisfying crunch, the choice is yours. Want to elevate your muffin game and discover the magic of homemade goodness? Let’s dive into this delicious recipe that’s sure to become a favorite in your kitchen!
Why are these muffins so irresistible?
Heavenly flavors: Each bite of these gluten-free chocolate muffins is a luxurious experience, bursting with rich cocoa goodness.
Quick and easy: Whipping up a batch is simple, requiring just a handful of budget-friendly ingredients.
Customizable: Feel free to personalize your muffins—add chocolate chips for an extra indulgence or nuts for delightful crunch.
Perfect for any occasion: Whether it’s breakfast, a snack, or dessert, these muffins cater to every sweet craving!
Crowd pleaser: Impress your family and friends with a treat everyone will love, even those without gluten sensitivities. For more delicious options, try these Chocolate Chip Banana muffins or fun twists like Keto Flourless Fudge.
Gluten-Free Chocolate Muffin Ingredients
For the Muffin Base
• Gluten-Free All-Purpose Flour – Provides the necessary structure, so use a blend suitable for baking.
• Unsweetened Cocoa Powder – Delivers a rich chocolate flavor; opt for Dutch-processed cocoa for a deeper taste.
• Baking Soda – Ensures a light and airy texture by helping the muffins rise.
• Baking Powder – Works harmoniously with baking soda to create perfect muffins.
• Salt – Balances the sweetness and enhances all the flavors.
• Granulated Sugar – Adds sweetness while contributing to moisture.
• Brown Sugar – Introduces depth of flavor and extra moisture to the mix.
For the Wet Ingredients
• Buttermilk – Provides moisture and acidity for a tender crumb; substitute with a milk + lemon juice blend if needed.
• Vegetable Oil – Adds richness and moisture; can be replaced with coconut or olive oil.
• Eggs – Acts as a binder for structure and richness.
• Vanilla Extract – Elevates the overall flavor of the muffins.
• Boiling Water – Blooms the cocoa for enhanced flavor and maintains moisture.
Optional Add-ins
• Chocolate Chips – Adds extra chocolatey goodness and texture; choose semi-sweet, dark, or milk chocolate.
• Chopped Nuts – Incorporates crunch and absorbs moisture, adding a new layer of texture.
Unleash your baking creativity and transform ordinary ingredients into something extraordinary with these Gluten-Free Chocolate Muffins!
Step‑by‑Step Instructions for Gluten Free Chocolate Muffins
Step 1: Preheat the Oven
Start by preheating your oven to 375°F (190°C). This ensures a perfect baking environment for your gluten-free chocolate muffins. While the oven warms, line a muffin tin with paper liners or generously grease it with cooking spray or butter to prevent sticking.
Step 2: Combine Dry Ingredients
In a large mixing bowl, whisk together the gluten-free all-purpose flour, unsweetened cocoa powder, baking soda, baking powder, and salt. This step is crucial as it evenly distributes the leavening agents and cocoa, giving your muffins a rich chocolate flavor. Aim for a light, fluffy texture by making sure there are no lumps.
Step 3: Mix Wet Ingredients
In another bowl, combine the granulated sugar, brown sugar, buttermilk, vegetable oil, eggs, and vanilla extract. Use a whisk to blend these ingredients until smooth and well combined. This mixture contributes moisture and richness to your gluten-free chocolate muffins, creating a tender crumb that’s hard to resist.
Step 4: Combine Wet and Dry Mixtures
Gradually pour the wet ingredients into the dry ingredient bowl, mixing gently until just combined. Be mindful not to overmix—this helps maintain the light and fluffy texture of your muffins. The batter should be slightly lumpy with no visible streaks of flour.
Step 5: Add Boiling Water
Carefully mix in the boiling water to your batter, which will result in a thinner consistency but will deeply enhance the cocoa flavor and moisture levels. Stir gently until everything is blended, ensuring that the mix is homogeneous without any dry bits left behind.
Step 6: Fold in Add-Ins
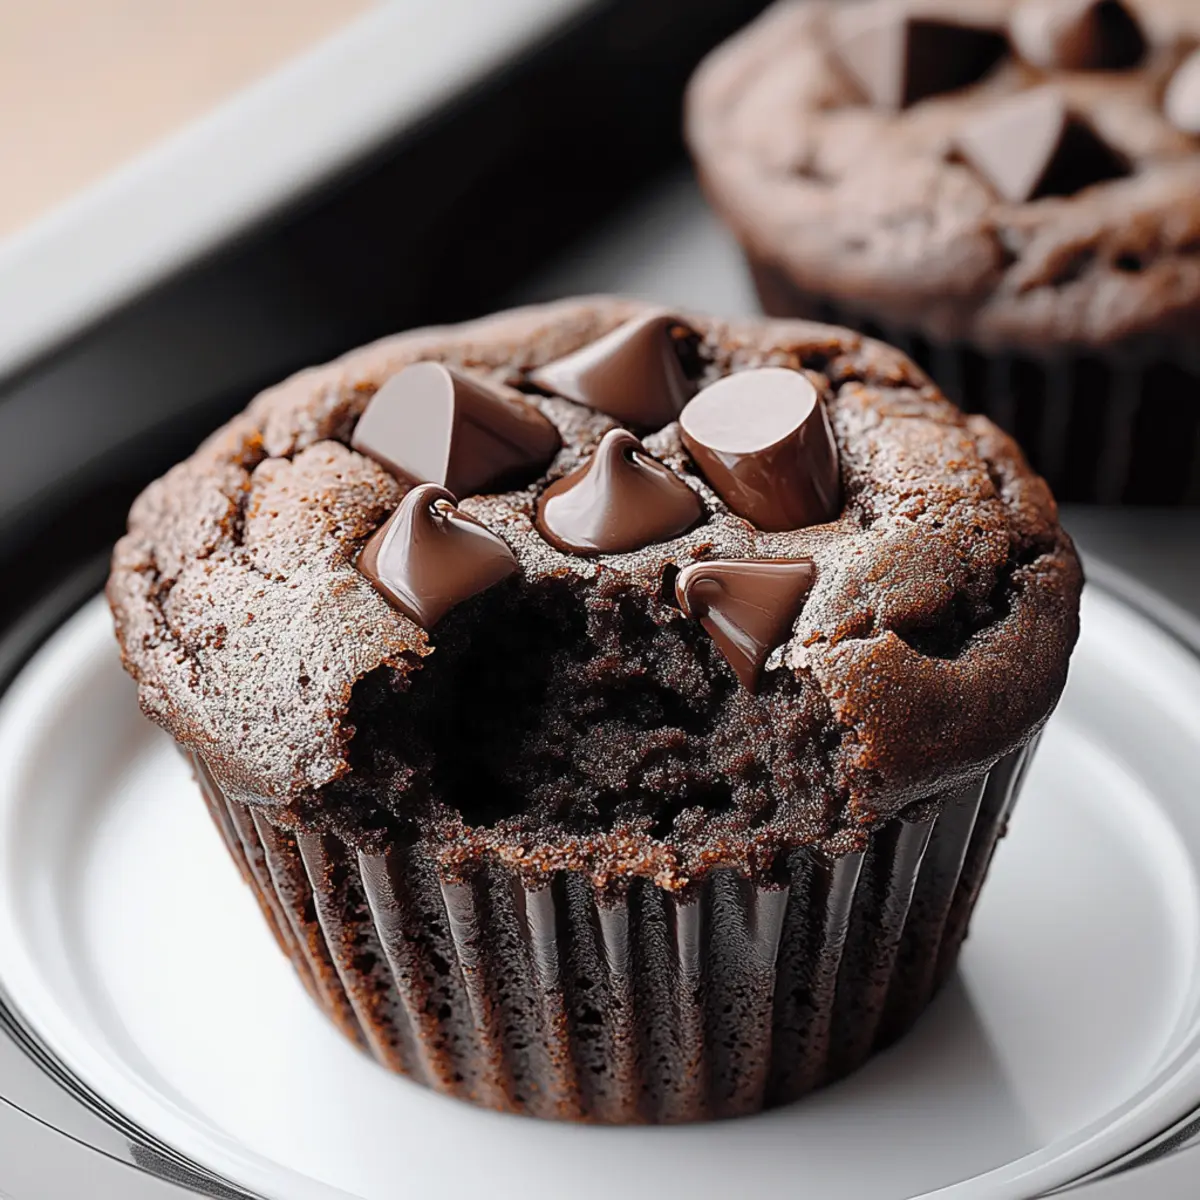
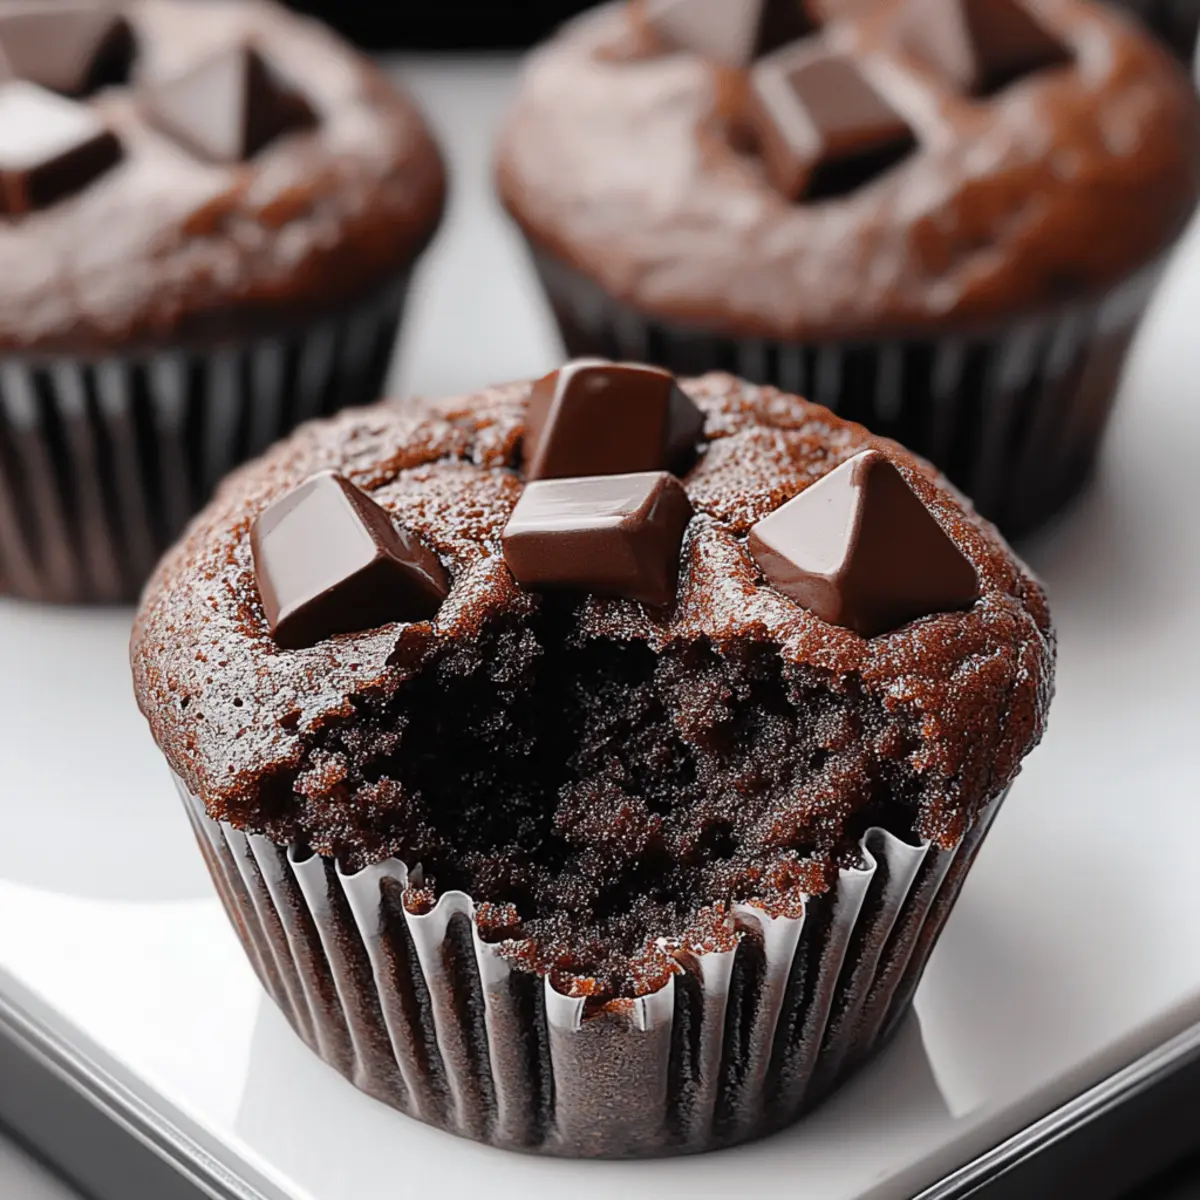
If you choose to include chocolate chips or chopped nuts, fold them into the batter now, ensuring they are evenly distributed throughout. This step adds delightful texture and extra bursts of chocolatey flavor to your gluten-free chocolate muffins.
Step 7: Fill Muffin Tin
Using a large ice cream scoop or spoon, fill each muffin cup about 2/3 full with the batter. This allows room for the muffins to rise without overflowing during baking. Aim for even distribution to ensure consistent baking and perfect muffin tops.
Step 8: Bake the Muffins
Place the muffin tin in the preheated oven and bake for 18-20 minutes. Check for doneness by inserting a toothpick into the center of a muffin; it should come out clean or with a few moist crumbs. This is the moment you’ll experience an irresistible chocolate aroma filling your kitchen!
Step 9: Cool the Muffins
After baking, let the muffins cool in the tin for about 5 minutes. This will help them set and makes transferring easier. Then, gently remove the muffins from the tin and allow them to cool completely on a wire rack, where they will finish firming up and develop their delightful texture.

What to Serve with Gluten-Free Chocolate Muffins
Indulging in rich, chocolatey muffins opens the door to a world of delicious pairings to create the perfect meal or snack experience.
-
Fresh Fruit: Juicy berries or sliced bananas add a refreshing contrast, balancing the richness of your muffins while adding a burst of natural sweetness.
-
Whipped Cream: A dollop of fluffy whipped cream on top creates a delightful dessert vibe, making each bite feel like a special treat.
-
Greek Yogurt: Creamy Greek yogurt drizzled with honey offers a healthy tang that complements the chocolate without overpowering it.
-
Coffee or Espresso: The deep flavors of dark coffee or a shot of espresso enhance the overall taste, creating a perfect pairing for breakfast or an afternoon pick-me-up.
Adding a hot beverage elevates the moment, transforming a simple muffin into a festive occasion, perfect for gatherings or quiet mornings.
-
Vanilla Ice Cream: Serve your muffins warm with a scoop of vanilla ice cream for a decadent dessert that’s sure to impress guests or treat yourself on a cozy night in.
-
Nut Butter: A spread of almond or peanut butter amps up the protein and makes these muffins even more satisfying, turning them into an extraordinary breakfast or snack option.
-
Herbal Tea: A calming herbal tea can offset the sweetness and provide a soothing complement, making the moment cozy and refreshing.
-
Chocolate Ganache: Drizzling a bit of melted ganache ties in indulgence, transforming your muffins into a gourmet treat that’s as beautiful as it is delicious.
Feel free to mix and match these delightful options to create your ideal serving scenario alongside your Gluten-Free Chocolate Muffins!
Make Ahead Options
These Gluten-Free Chocolate Muffins are a brilliant choice for meal prep enthusiasts looking to save time on busy mornings! You can prepare the dry ingredients and store them in an airtight container for up to 3 days. Additionally, you can mix the wet ingredients and refrigerate them for up to 24 hours. When you’re ready to bake, simply combine the mixtures and add boiling water—your muffins will be just as delicious and moist! For optimal quality, refrigerate any prepared wet mixture in a tightly sealed container to maintain freshness. Enjoy your freshly baked muffins with minimal effort, making those hectic mornings a little sweeter!
Expert Tips for Gluten-Free Chocolate Muffins
- Watch the Mixing: Avoid overmixing the batter; stop once you see no flour streaks to keep muffins light and fluffy.
- Check Doneness Early: Start checking for doneness at 18 minutes—this prevents overbaking, which can dry out your gluten-free chocolate muffins.
- Even Portions: Use a large ice cream scoop for filling muffin cups to ensure uniform baking and perfectly shaped muffins.
- Rotate for Consistency: Halfway through baking, rotate the muffin tin to achieve even browning on all muffins—no one likes a soggy side!
- Customize Wisely: When adding chocolate chips or nuts, make sure they’re evenly distributed, so every muffin packs that yummy, flavorful punch.
Gluten Free Chocolate Muffins Variations
Feel free to make these delectable muffins your own by exploring delightful twists and substitutions!
- Dairy-Free: Substitute buttermilk with almond milk and a splash of vinegar for a creamy, vegan-friendly option.
- Nut-Free: Omit nuts and use seeds like sunflower or pumpkin seeds for crunch without allergens.
- Flavor Infusion: Add a teaspoon of espresso powder to the batter to deepen the chocolate flavor for a unique kick.
- Fruit-Packed: Toss in some diced bananas or apples for natural sweetness and added moisture—perfect for a breakfast boost!
- Choco-Matcha: Experiment with flavors by swirling in a bit of matcha powder for a beautiful contrast and earthy depth.
- Cacao Nib Crunch: Swap chocolate chips with cacao nibs for a crunchy texture and a slightly more bitter chocolate note.
- Peanut Butter Swirl: Create a mouthwatering peanut butter ribbon by spooning in dollops of creamy peanut butter and gently swirling before baking.
No matter what you choose, each variation leads to a delicious adventure! Dive into more scrumptious recipes like our Dark Chocolate Quinoa for another fabulous treat your family will love!
How to Store and Freeze Gluten-Free Chocolate Muffins
Room Temperature: Store muffins in an airtight container at room temperature for up to 3 days to maintain freshness and moisture.
Fridge: If you prefer, you can refrigerate the muffins for up to a week. Just be sure to keep them in an airtight container to avoid drying out.
Freezer: For longer storage, freeze the gluten-free chocolate muffins for up to 3 months. Wrap each muffin individually in plastic wrap and place them in a zip-top freezer bag.
Reheating: To enjoy, let the muffins come to room temperature or warm them in the microwave for about 15-20 seconds for a delightful fresh-out-of-the-oven taste.
Gluten-Free Chocolate Muffins Recipe FAQs
What type of gluten-free flour should I use for the muffins?
It’s best to use a gluten-free all-purpose flour blend that contains xanthan gum, as this helps provide structure and prevents the muffins from being too crumbly. Brands like Bob’s Red Mill or King Arthur Flour work wonderfully.
How should I store gluten-free chocolate muffins?
Store the gluten-free chocolate muffins in an airtight container at room temperature for up to 3 days. For optimal freshness, you can refrigerate them for up to a week. If you want to keep them for longer, they can be frozen for up to 3 months.
Can I freeze these muffins? What’s the best way?
Absolutely! To freeze your gluten-free chocolate muffins, start by wrapping each muffin individually in plastic wrap. Place them in a zip-top freezer bag, removing as much air as possible before sealing. This helps prevent freezer burn and keeps them delicious. When you’re ready, let them thaw at room temperature or warm in the microwave for about 15-20 seconds.
What should I do if my muffins don’t rise properly?
If your gluten-free chocolate muffins don’t rise as expected, it’s often due to expired leavening agents. Check your baking powder and soda for freshness. Make sure to mix the dry and wet ingredients just until combined—overmixing can also lead to dense muffins. Lastly, ensure your oven is fully preheated before baking to achieve the best rise!
Are gluten-free chocolate muffins suitable for those with dietary restrictions?
Yes, these gluten-free chocolate muffins can be made dairy-free by substituting buttermilk with a non-dairy milk and an acid, like lemon juice or vinegar. Always check labels to avoid unexpected allergens, especially with chocolate chips and nuts if you have allergy concerns.
How do I know when my muffins are done baking?
To check for doneness, insert a toothpick into the center of a muffin. It should come out clean or with a few moist crumbs attached. Start checking around the 18-minute mark to ensure they do not overbake, as gluten-free muffins can dry out quickly.
Heavenly Gluten Free Chocolate Muffins That Melt in Your Mouth
Ingredients
Equipment
Method
- Preheat your oven to 375°F (190°C). Line a muffin tin with paper liners or grease it.
- In a large bowl, whisk together the gluten-free flour, cocoa powder, baking soda, baking powder, and salt.
- In another bowl, mix the sugars, buttermilk, oil, eggs, and vanilla extract until smooth.
- Gradually combine wet and dry mixtures, mixing gently until just combined.
- Add boiling water to batter and stir gently until blended.
- Fold in chocolate chips or nuts if using.
- Fill each muffin cup about 2/3 full with batter.
- Bake for 18-20 minutes or until a toothpick comes out clean.
- Cool muffins in the tin for 5 minutes, then transfer to a wire rack to cool completely.
Leave a Reply