
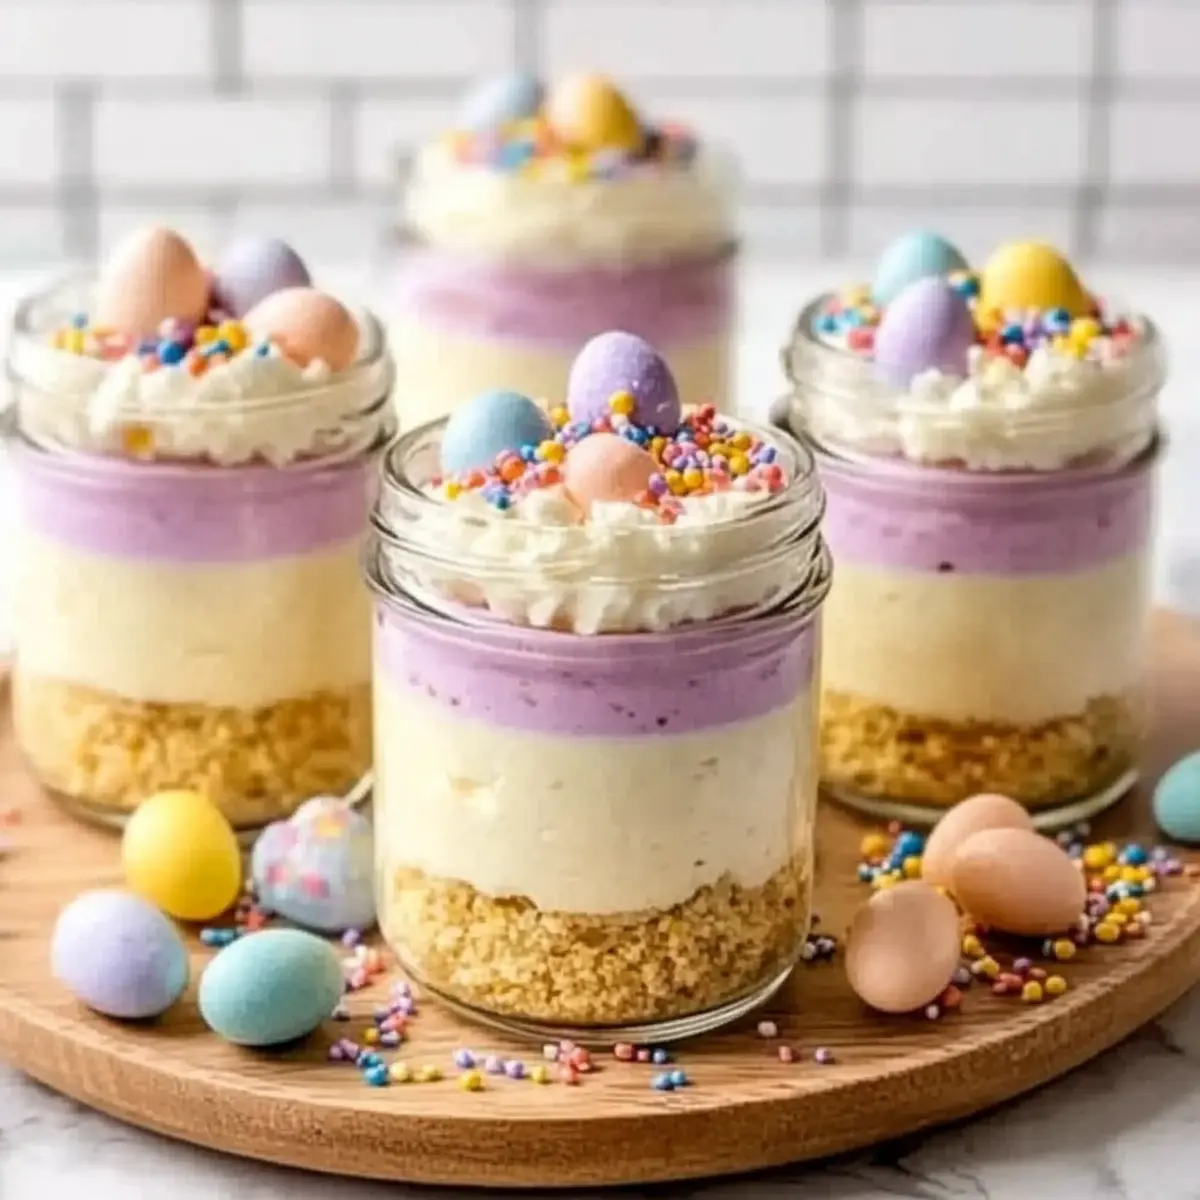
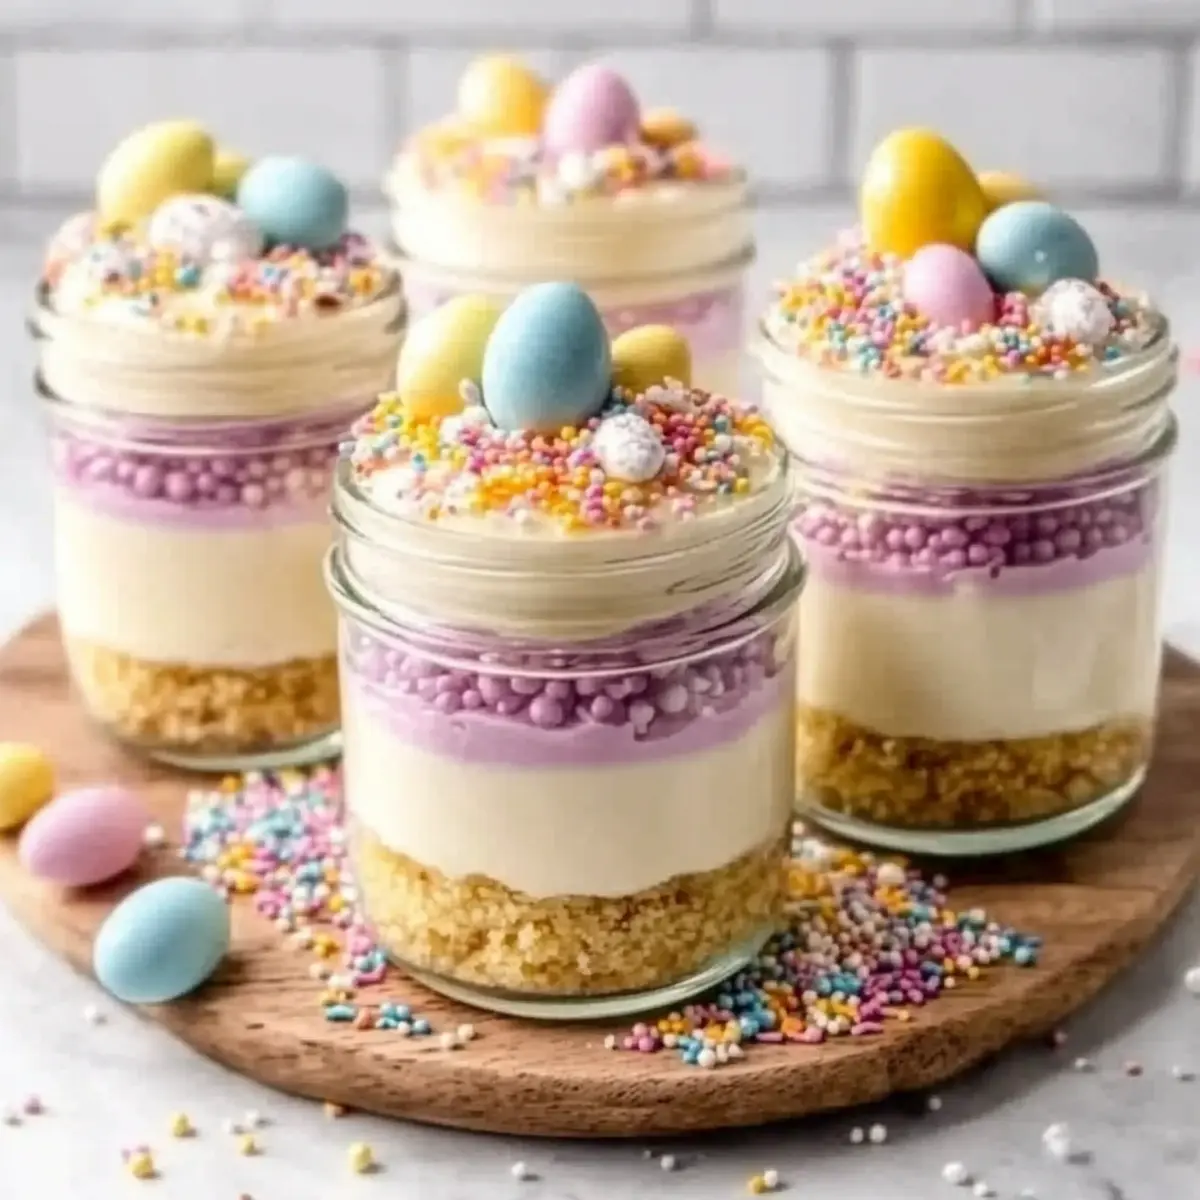
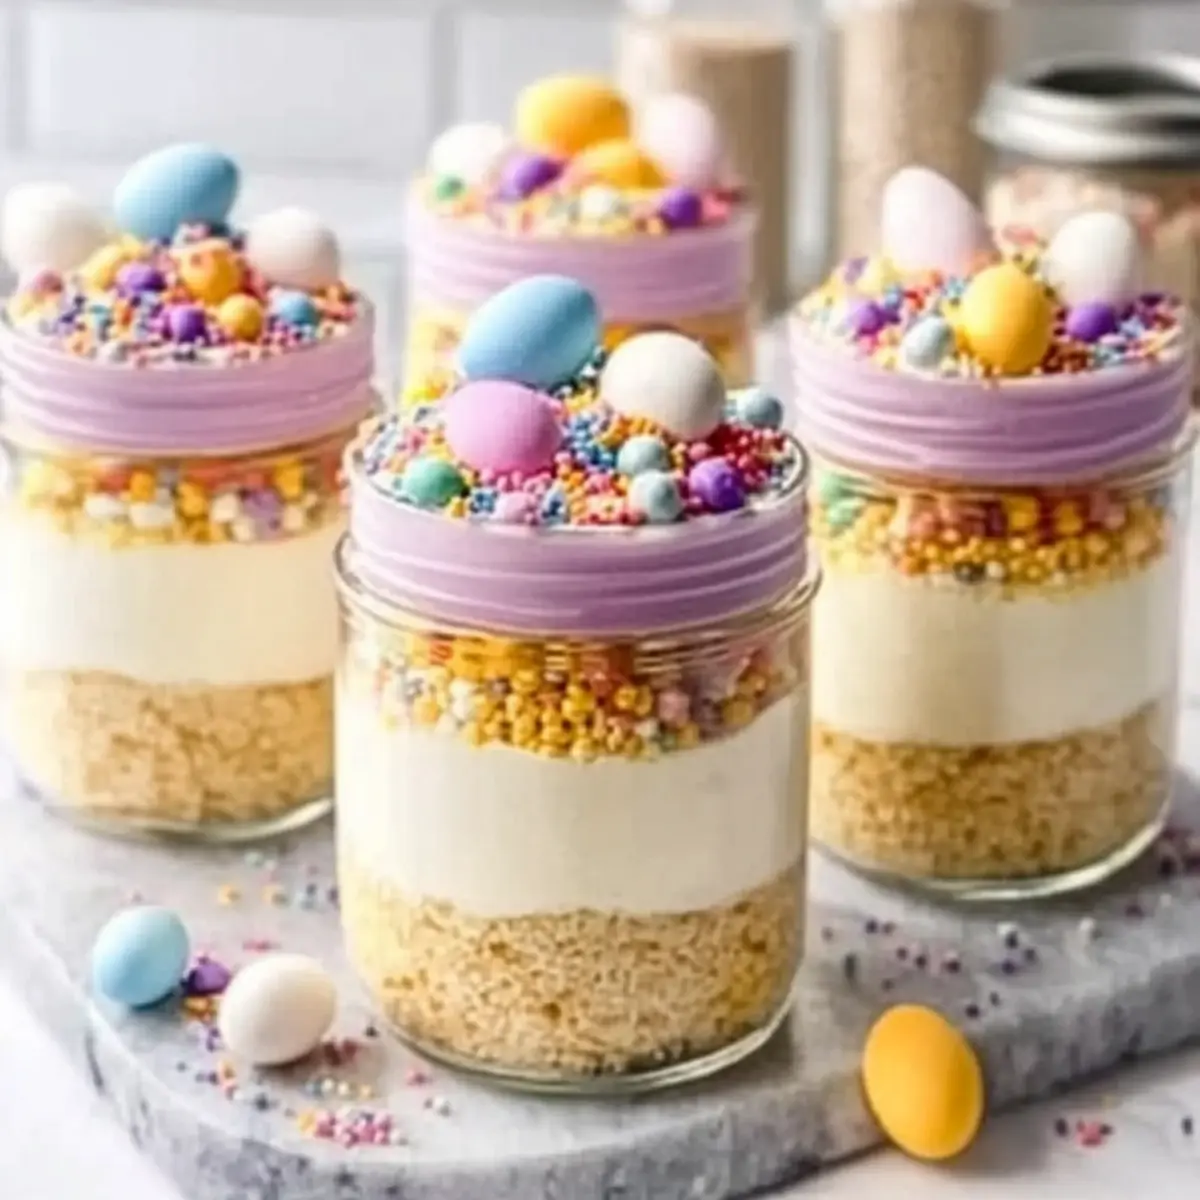
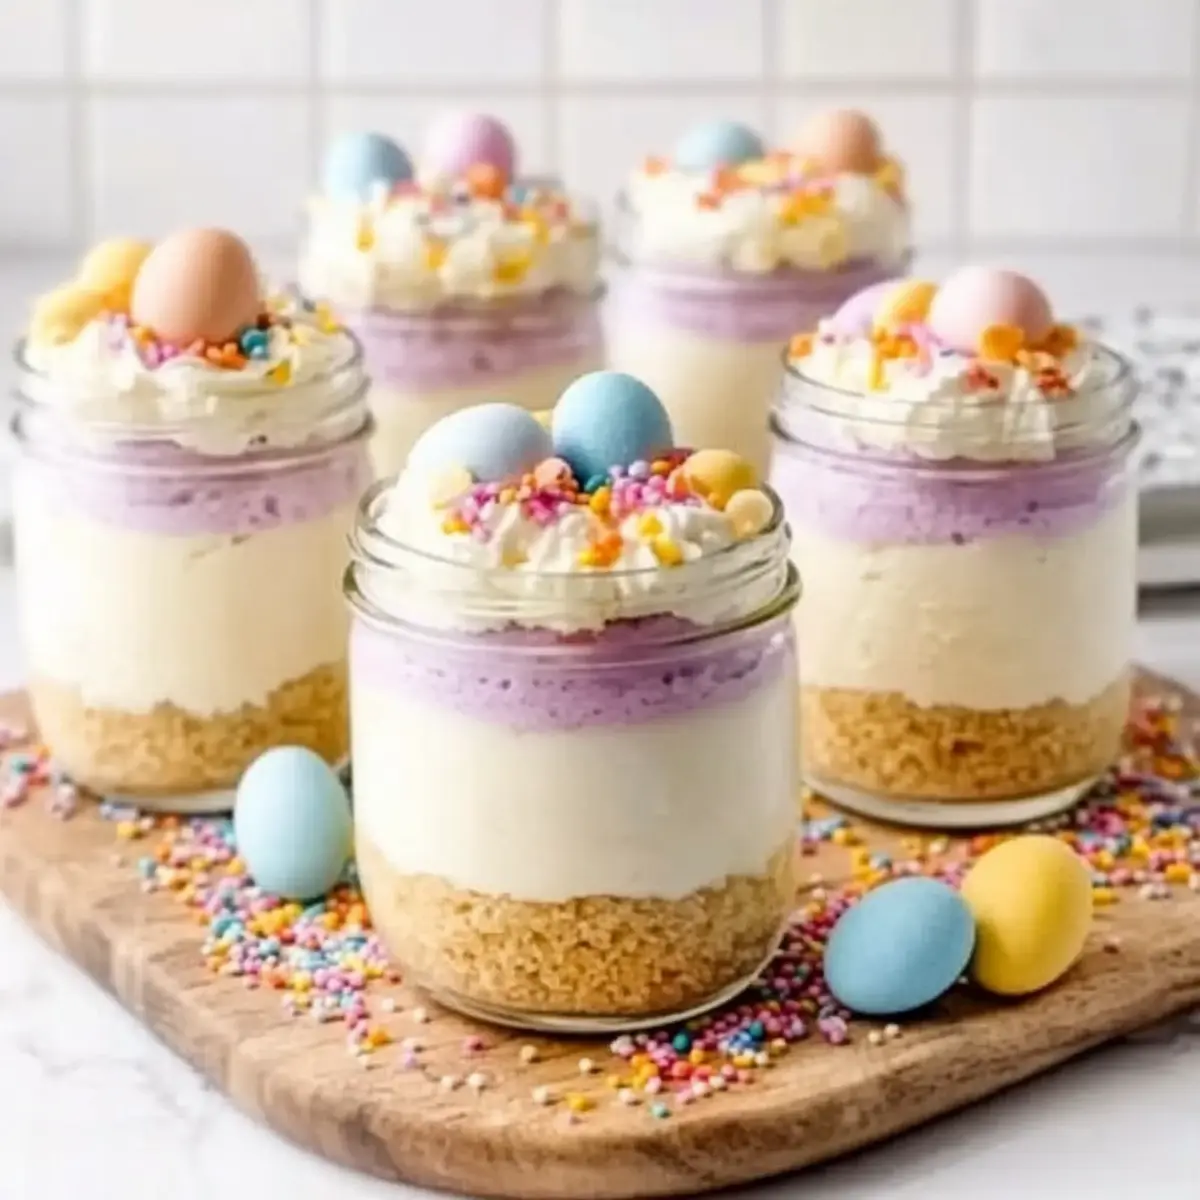
As I wandered through the local market, vibrant colors of Easter decorations caught my eye—pastel eggs, fluffy bunnies, and spring blooms everywhere. It inspired me to create something special this season: Mini Easter Cheesecake Jars. These delightful treats combine a creamy, fluffy cheesecake layered on a buttery crumb crust, topped with cheerful Easter candies! What makes these jars even better is that they are no-bake and super easy to customize according to your family’s tastes. They’re perfect for make-ahead entertaining, meaning you can spend less time in the kitchen and more time celebrating with loved ones this spring. So, are you ready to whip up these little jars of joy? Let’s get mixing!
Why You’ll Adore These Cheesecake Jars?
Customization Galore: You can personalize these Mini Easter Cheesecake Jars with different flavors and toppings to match your family’s preferences!
Festively Fun: Their vibrant colors and delightful textures make them a hit at any spring gathering or Easter brunch.
No-Bake Magic: Quick to assemble and perfect for those who want delicious desserts without turning on the oven!
Make-Ahead Convenience: Prepare these jars a day in advance, making entertaining effortless while impressing your guests with a homemade treat.
Kid-Approved: With their sweet, creamy filling and fun toppings, kids will love helping to create and decorate their own jars.
Feel free to explore similar delightful recipes, such as Mini Grilled Cheese for your next gathering!
Mini Easter Cheesecake Jars Ingredients
For the Crust
• Graham Cracker Crumbs – Creates a flavorful, crunchy base; substitute with digestive biscuits for a twist.
• Unsalted Butter – Binds the crumb mixture together; you can use coconut oil for a dairy-free option.
• Sugar – Adds sweetness to the crust; feel free to adjust or substitute with your favorite sweetener.
• Salt – Enhances the crust’s flavor; opt for sea salt for a richer taste.
For the Cheesecake Filling
• Cream Cheese – Provides a creamy texture; make sure it’s softened to avoid lumps.
• Powdered Sugar – Sweetens the filling for a perfect taste; you can adjust based on your preference.
• Vanilla Extract – Infuses aroma and flavor; swap for almond extract for a unique twist.
• Lemon Juice – Brightens the overall flavor; lime juice can be used as a delightful alternative.
• Heavy Whipping Cream – Whipped to create lightness and fluffiness; substitute with whipped topping if needed.
• Gel Food Coloring – Optional for tinting; pastel shades are perfect for a cheerful Easter theme.
For the Toppings
• Mini Chocolate Eggs/Jelly Beans – Fun, festive toppings that add a pop of color; customize based on holiday themes.
• Sprinkles – Add a burst of joy; choose seasonal colors to enhance the festive spirit.
• Shredded Coconut – For added texture and a spring-like feel; consider toasting for a nutty flavor.
Dive into these delightful Mini Easter Cheesecake Jars and let your creativity shine with each layer!
Step‑by‑Step Instructions for Mini Easter Cheesecake Jars
Step 1: Prepare the Crust
In a mixing bowl, combine graham cracker crumbs, sugar, and salt. Pour in melted unsalted butter, mixing until the mixture resembles wet sand. Ensure your ingredients are evenly distributed, and the butter is fully incorporated. This buttery blend will form the delicious crust for your Mini Easter Cheesecake Jars.
Step 2: Pack the Crust
Spoon 2-3 tablespoons of the crust mixture into each individual jar. Firmly press down with the back of a spoon or your fingers to create an even layer. This compression is essential to ensure your crust holds its shape. The jars should be filled about one-third of the way, leaving room for the creamy filling to come.
Step 3: Whip the Cream
Chill a mixing bowl and beaters for about 10 minutes in the freezer to enhance the whipping process. Add heavy whipping cream to the cold bowl and whip on medium speed until you achieve medium-stiff peaks, about 3-4 minutes. The whipped cream should hold its shape well, adding lightness to the cheesecake filling.
Step 4: Mix Cream Cheese Filling
In a separate bowl, beat softened cream cheese with powdered sugar, vanilla extract, and lemon juice until the mixture is completely smooth and creamy, around 2-3 minutes. Use an electric mixer for best results. Scrape down the sides as needed to ensure even blending, creating a rich, fluffy filling for your Mini Easter Cheesecake Jars.
Step 5: Fold in Whipped Cream
Gently fold the whipped cream into the cream cheese mixture in two additions—this retains the airy texture. Start with one-third of the whipped cream, mixing just until combined, then add the remaining whipped cream. Be careful not to overmix; you want the filling to be light and fluffy, perfect for your cheesecake jars.
Step 6: Add Color (Optional)
If you’d like to tint your cheesecake filling, divide the mixture into bowls and add a few drops of gel food coloring. Gently fold the color in with a spatula until you achieve your desired pastel shades. This step brings a fun and festive touch to your Mini Easter Cheesecake Jars, perfect for spring celebrations.
Step 7: Fill the Jars
Using a piping bag or a spoon, carefully fill the jars with your cheesecake mixture, layering it over the crust. Leave at least half an inch at the top for festive toppings. Smooth the tops with a spatula for an even surface, creating a beautiful presentation for your Mini Easter Cheesecake Jars.
Step 8: Chill
Cover the jars with lids or plastic wrap and refrigerate for at least 2 hours, allowing the cheesecakes to firm up. You can also let them sit for up to 24 hours if you prefer to prepare ahead. Chilling not only sets the filling but also melds the flavors, enhancing the taste of your delightful jars.
Step 9: Decorate
Just before serving, remove the jars from the refrigerator and unleash your creativity! Sprinkle with colorful sprinkles, mini chocolate eggs, or jelly beans for a festive touch. This final decoration step adds a pop of color and excitement to your Mini Easter Cheesecake Jars, making them irresistible to everyone.
Step 10: Serve
Provide small spoons for guests to dive into these delightful Mini Easter Cheesecake Jars. As they dig through the layers of creamy cheesecake and crunchy crust, the joyous flavors will shine through. These jars not only taste fantastic but also bring a cheerful vibe to any spring gathering!
Storage Tips for Mini Easter Cheesecake Jars
Fridge: Store covered in the refrigerator for up to 3 days. This keeps your Mini Easter Cheesecake Jars fresh, allowing the flavors to meld beautifully.
Freezer: While not recommended for best texture, you can freeze the jars for up to one month. Wrap tightly in plastic wrap and foil to prevent freezer burn.
Thawing: To enjoy frozen jars, transfer them to the fridge 8 hours before serving. Avoid quick thawing methods, as they can result in a watery filling.
Reheating: These jars are served chilled, so no reheating is necessary. Enjoy straight from the fridge for the perfect refreshing dessert!
Mini Easter Cheesecake Jars Variations
Feel free to mix up these Mini Easter Cheesecake Jars and make them uniquely yours!
-
Flavor Twist: Substitute vanilla extract with lemon extract for a refreshing citrus zing! This brightens up each bite, bringing a lively touch to your cheesecake.
-
Berry Layers: Add fresh strawberries or blueberries between cheesecake layers for a burst of fruity flavor. It’s a sweet surprise that harmonizes beautifully with the creamy filling!
-
Color Themes: Adjust the gel food coloring for different occasions—pink for Valentine’s or red and green for Christmas. The festive colors can elevate any event!
-
Nutty Delight: Mix in crushed nuts like almonds or walnuts to your crust for a delightful crunch. Pairing creaminess with a nutty texture adds richness to every spoonful.
-
Chocolate Fantasy: Swap out graham cracker crumbs for chocolate cookie crumbs for a richer base and stir cocoa powder into the cheesecake for a chocolate lover’s dream come true.
-
Minty Fresh: Incorporate a few drops of peppermint extract into the filling for a refreshing minty cheesecake. It’s perfect for spring celebrations and adds a unique twist!
-
Lower Sugar Option: Use a sugar substitute in the filling for a healthier approach without sacrificing flavor. Your guests will never know the difference!
-
Gourmet Topping: Upgrade your toppings with crushed pistachios or a drizzle of caramel for a gourmet touch that impresses while enriching those delightful flavors!
These variations offer fun, creative ways to experience the joy of making Mini Easter Cheesecake Jars while appealing to everyone’s taste preferences. Why not explore similar recipes like Mini Grilled Cheese and get inspired in the kitchen?
Make Ahead Options
These Mini Easter Cheesecake Jars are perfect for busy home cooks looking to save time while still enjoying a delightful homemade dessert! You can prepare the crust and fill the jars with the cheesecake filling up to 24 hours in advance. Simply assemble the jars, cover them tightly with plastic wrap, and refrigerate to keep them fresh and creamy. This method allows the flavors to meld beautifully while ensuring the crust remains crunchy. When you’re ready to serve, just add your favorite toppings, such as sprinkles or mini chocolate eggs, right before diving in for a sweet spring treat that’s just as delicious as freshly made!
Expert Tips for Mini Easter Cheesecake Jars
-
Cream Cheese Care: Ensure the cream cheese is slightly softened at room temperature for a smooth texture. Over-softening leads to a runny filling—nobody wants that!
-
Whip with Precision: Whip the heavy cream until medium-stiff peaks form, providing stability to your cheesecake. Be careful not to overwhip, or it may become grainy.
-
Gentle Folding: When combining the whipped cream and cream cheese mixture, fold gently to maintain that light, airy texture. Overmixing can lead to a denser cheesecake.
-
Chill Time Counts: Don’t skip the chilling step! Allow your Mini Easter Cheesecake Jars to set for at least 2 hours, but longer is better for flavor melding.
-
Decorate Last Minute: Add your festive decorations like sprinkles and mini chocolate eggs just before serving. This keeps them fresh and colorful for your guests to enjoy!
What to Serve with Mini Easter Cheesecake Jars?
Delight in creating a memorable meal experience that pairs perfectly with your festive cheesecake treats.
-
Fresh Berries: Serve a medley of strawberries, blueberries, and raspberries to provide a burst of freshness that complements the creamy sweetness.
-
Spring Salad: A light arugula salad with lemon vinaigrette adds a refreshing, crisp contrast, balancing the richness of the cheesecake jars while highlighting seasonal flavors.
-
Chocolate-Covered Strawberries: These decadent bites are a classic pairing that brings together a sweet fruit flavor and a touch of elegance to your dessert table.
-
Sparkling Lemonade: Refresh your guests with a bright and zesty lemonade; the bubbly drink enhances the cheerfulness of the gathering and keeps everyone feeling light.
-
Mini Carrot Cake Muffins: Their subtle spices and sweetness create a lovely contrast to the cheesecake jars, adding a touch of warmth to the festive spread.
-
Easter-themed Cookies: Colorful, decorated cookies add a fun, playful element, perfect for kids and adults alike, matching the joyful spirit of the occasion.
-
Whipped Cream Topping: A side of homemade whipped cream not only enhances the jars but also allows guests to customize their dessert, leading to a more interactive experience.
-
Iced Herbal Tea: Serve a refreshing iced herbal tea, perhaps lavender or mint, to cleanse the palate between bites while keeping the atmosphere relaxed and inviting.
-
Fruit Sorbet: For a light and fruity addition, consider offering a pastel-colored sorbet, adding a cooling effect that enhances the flavors of the cheesecake.
Let your Mini Easter Cheesecake Jars shine as the star of your spring gathering, paired with these delightful accompaniments!
Mini Easter Cheesecake Jars Recipe FAQs
How should I select the ripeness of my ingredients?
Absolutely! When choosing cream cheese, look for blocks that are soft but not overly mushy. This helps avoid lumps in your filling. If you’re using fresh lemon juice, opt for lemons that feel heavy for their size, indicating juiciness—the perfect zesty addition to your Mini Easter Cheesecake Jars!
What is the best way to store Mini Easter Cheesecake Jars?
Store your cheesecake jars covered in the refrigerator for up to 3 days. Ensure to use airtight lids or plastic wrap to maintain freshness. Enjoy the layered flavors melding beautifully over time, making them just as delightful on the third day as they are on the first!
Can I freeze Mini Easter Cheesecake Jars?
Yes, you can! To freeze, tightly wrap each jar in plastic wrap followed by aluminum foil to minimize freezer burn. These treats can be frozen for up to one month. When ready to serve, simply transfer them to the fridge the night before to thaw slowly. Avoid quick thawing to maintain that perfect creamy texture.
What should I do if my cheesecake filling is too runny?
Not to worry! If your filling is runny, check that your cream cheese was softened only to room temperature, not overly warm. If you’ve already mixed in the whipped cream and find it too loose, you can fold in additional whipped cream that’s been whipped to medium-stiff peaks to add volume and stability.
Are there any dietary considerations for my Mini Easter Cheesecake Jars?
Very! You can easily customize these jars for dietary needs. For a gluten-free version, swap graham cracker crumbs with gluten-free alternatives such as almond flour or gluten-free biscuits. If allergies exist, vegan cream cheese and coconut whipped topping make a delightful dairy-free option. Always read labels to ensure they meet specific dietary requirements.
How can I customize the colors or flavors of my Mini Easter Cheesecake Jars?
The more the merrier! For a colorful twist, divide your filling into separate bowls and add gel food coloring for those vibrant pastels perfect for Easter. For flavors, consider using lemon or almond extract in place of vanilla, or incorporate zest from oranges or limes for that extra zing! Top with seasonal fruits for an added freshness that makes each jar unique.
Mini Easter Cheesecake Jars: Sweet, No-Bake Spring Treats
Ingredients
Equipment
Method
- In a mixing bowl, combine graham cracker crumbs, sugar, and salt. Pour in melted unsalted butter, mixing until the mixture resembles wet sand.
- Spoon 2-3 tablespoons of the crust mixture into each jar and press down to create an even layer.
- Chill a mixing bowl and beaters for about 10 minutes. Whip heavy cream until medium-stiff peaks form, about 3-4 minutes.
- In a separate bowl, beat cream cheese with powdered sugar, vanilla extract, and lemon juice until smooth, about 2-3 minutes.
- Gently fold the whipped cream into the cream cheese mixture in two additions.
- Optionally, divide mixture and fold in gel food coloring to achieve desired shades.
- Fill the jars with the cheesecake mixture over the crust, leaving room for toppings.
- Cover and refrigerate for at least 2 hours to firm up.
- Decorate with sprinkles, mini chocolate eggs, or jelly beans just before serving.
- Serve chilled with small spoons for guests to enjoy.
Leave a Reply