
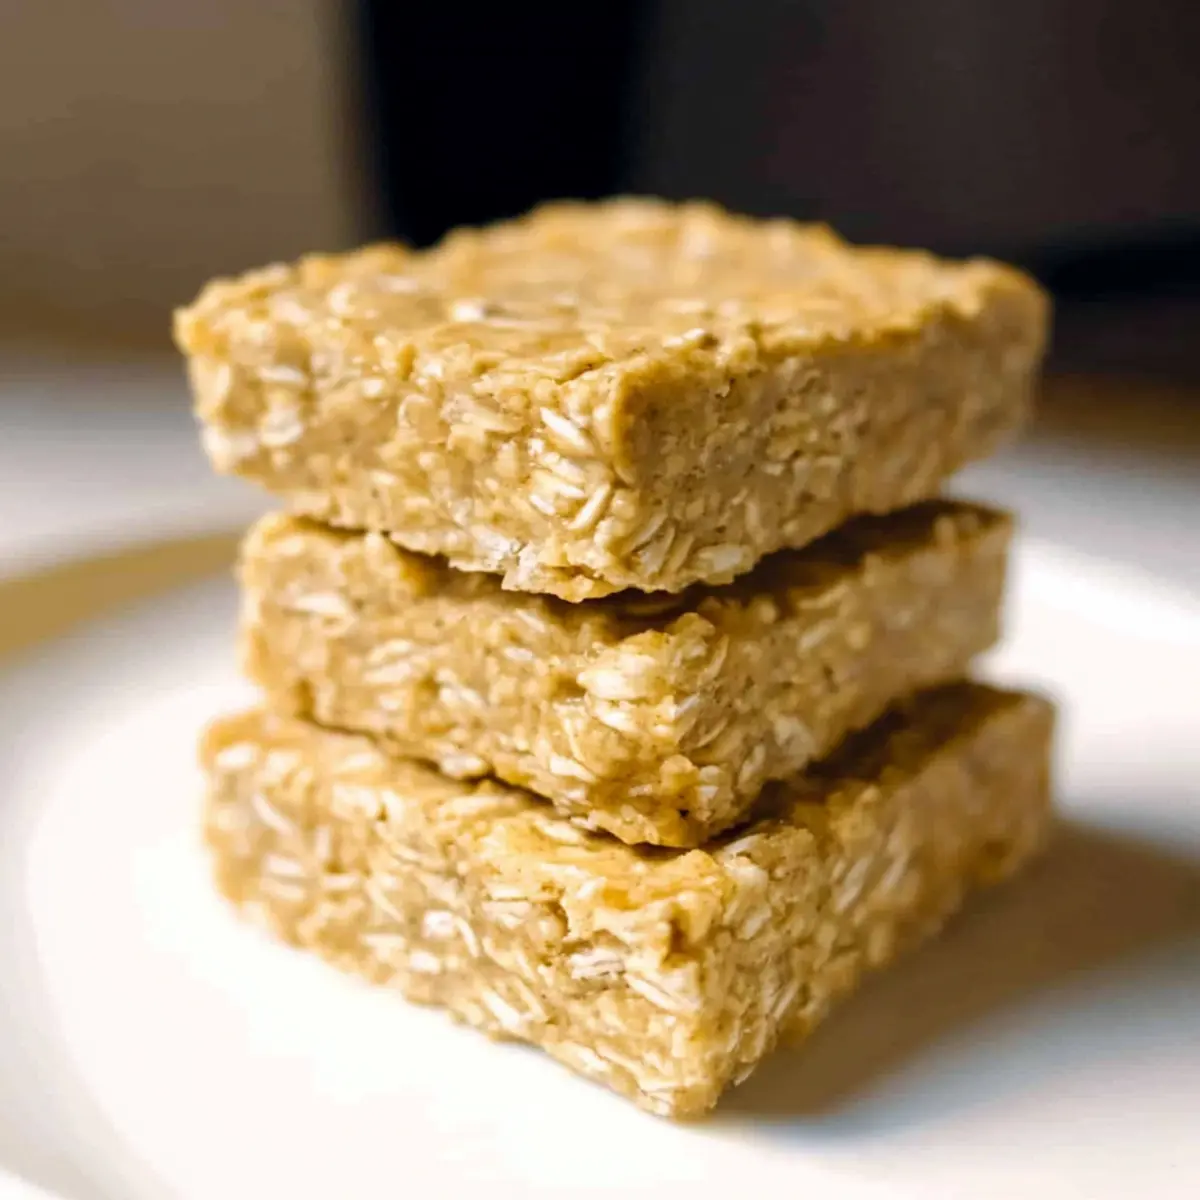
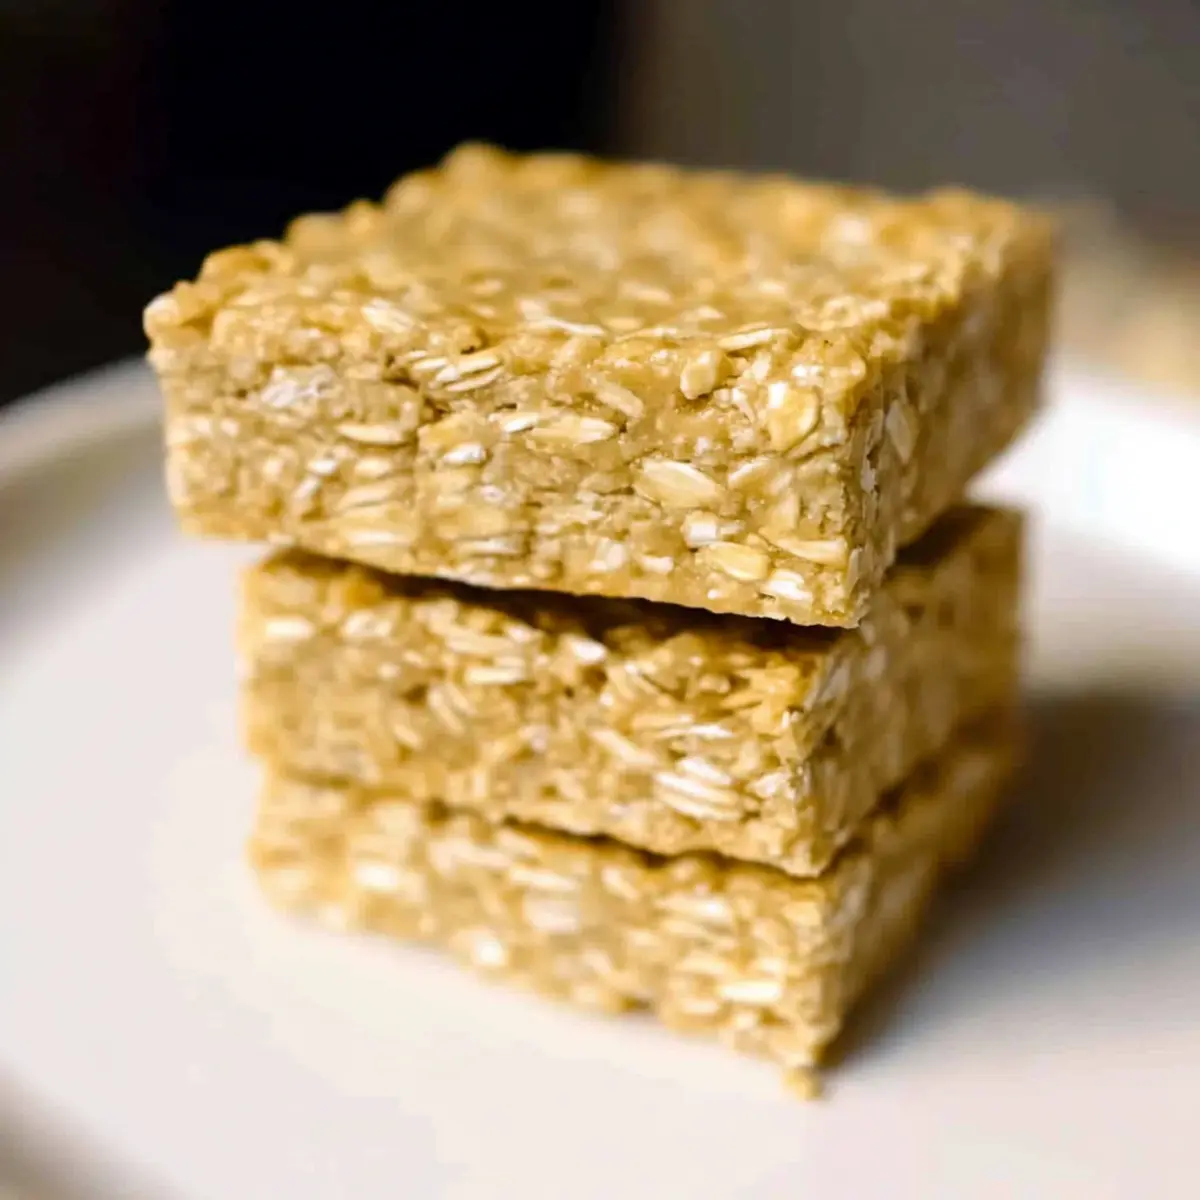
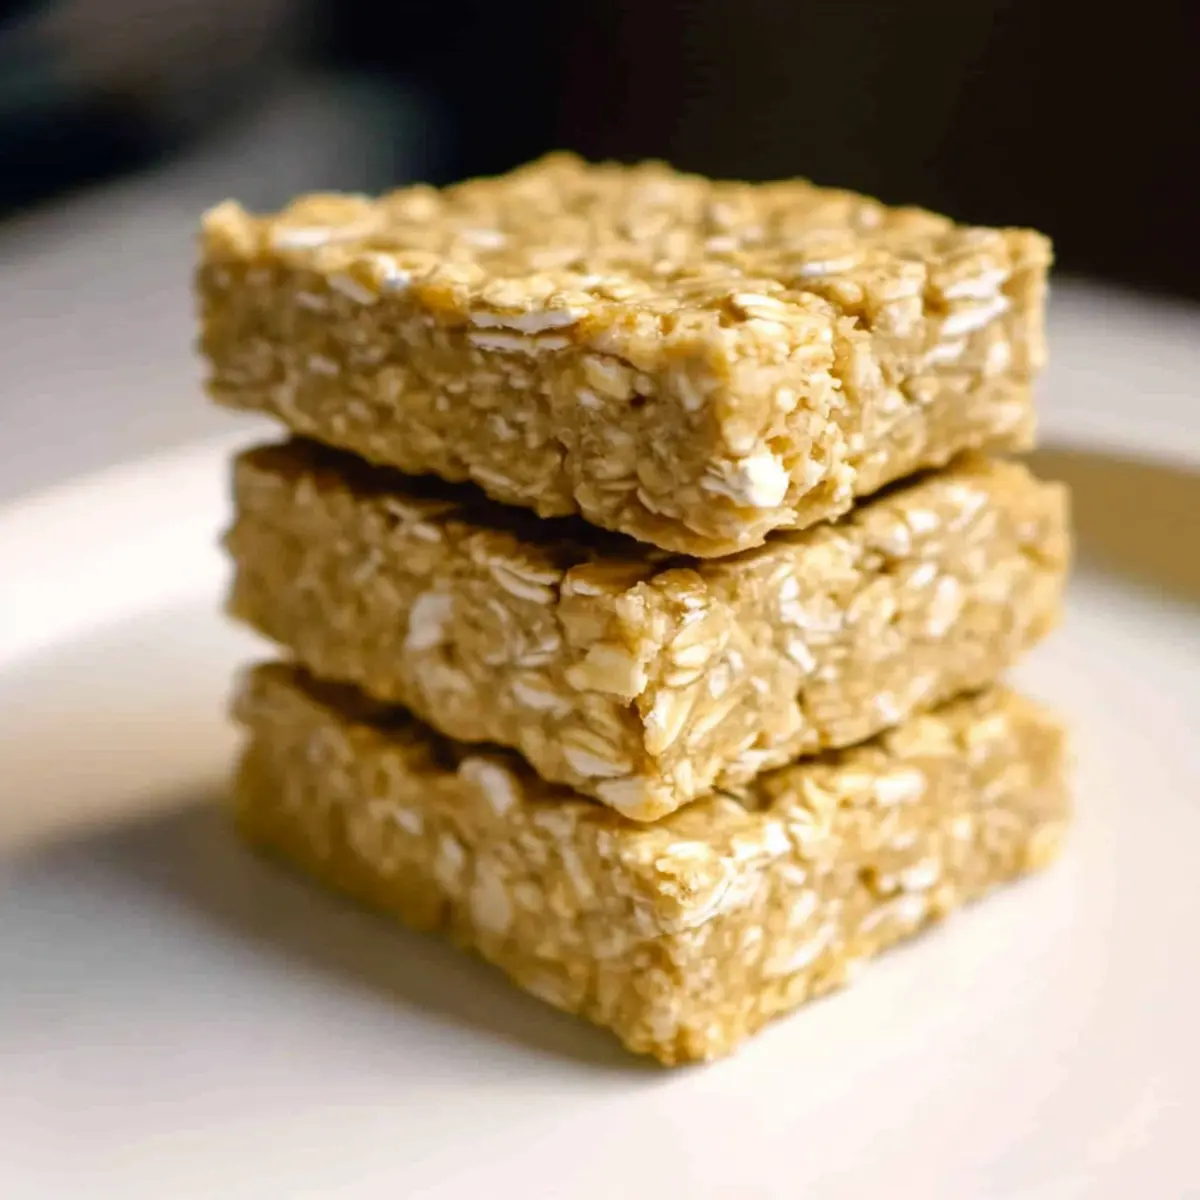
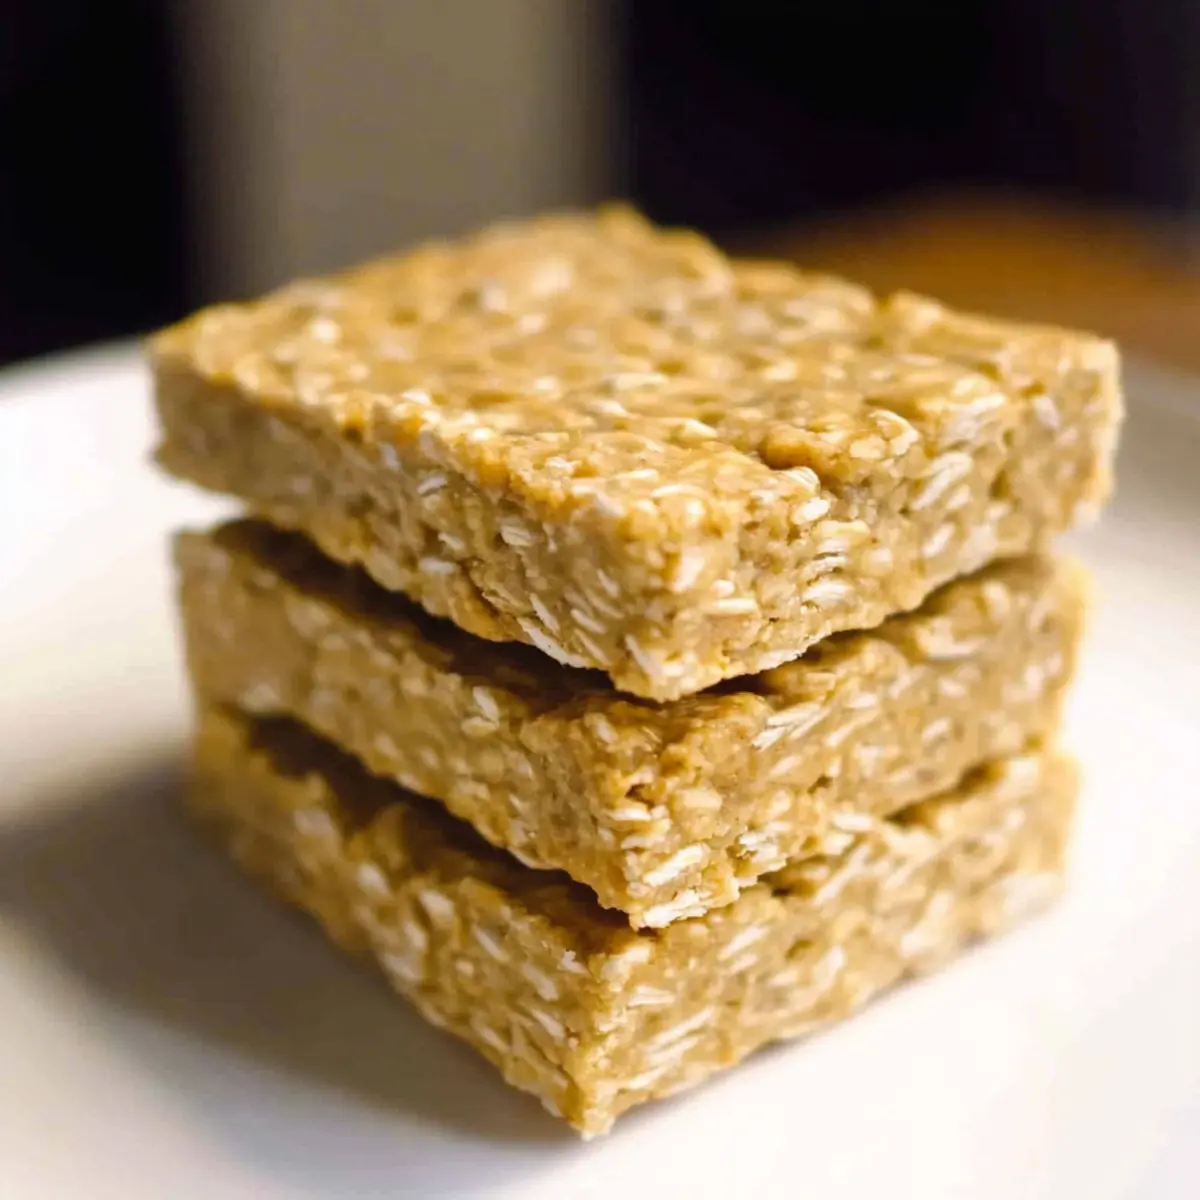
As I stood in my kitchen, staring at a half-eaten jar of peanut butter and a bag of oats, inspiration struck. Why not create something easy, healthy, and satisfying? That’s how my No-Bake Oat Bars came to life! These scrumptious 3-ingredient bars are the perfect solution for anyone tired of fast food or looking to elevate their snack game. They don’t just offer a quick prep time; they also invite a world of customization, so you can easily swap in your favorite mix-ins. Whether you need a nutritious breakfast or a mid-afternoon energy boost, these bars deliver delightful taste and texture without the fuss. Curious to see how you can whip them up in no time? Let’s dive into the recipe!
Why Are No-Bake Oat Bars a Must Try?
Simplicity at Its Finest: Whipping up these bars is incredibly easy—just three ingredients and no baking required!
Customizable Creations: Tailor them to your taste by adding chocolate chips, nuts, or dried fruits. The possibilities are endless!
Nutritious Energy Boost: Packed with healthy fats, fiber, and natural sweetness, these oat bars keep you energized throughout the day.
Quick Prep Time: Get these delicious snacks ready in minutes, providing a perfect solution for busy mornings or snack cravings.
Family-Friendly Treat: Kids love them! They’re an excellent wholesome option for school lunches or after-school snacks.
If you enjoy easy and healthy recipes, you might also want to check out Lemon Poppy Oats for a refreshing breakfast idea or try making the delightful Bake Gingerbread Cheesecake for a special occasion!
No-Bake Oat Bars Ingredients
• Get ready for a delightful treat!
For the Base
- Rolled Oats – Provides structure and fiber for the bars; use gluten-free oats for a gluten-free option.
- Natural Peanut Butter – Adds creaminess and healthy fats, binding the ingredients together; substitute with any nut or seed butter if you prefer.
- Honey – Acts as a natural sweetener and a binding agent; maple syrup works great for a vegan version.
Optional Extras
- Salt – Enhances sweetness and balances flavors; feel free to omit if desired.
- Mix-Ins – Options like chocolate chips, dried fruits, or nuts can elevate your No-Bake Oat Bars with extra flavor and nutrition!
Step‑by‑Step Instructions for No-Bake Oat Bars
Step 1: Combine the Ingredients
In a large mixing bowl, add rolled oats, natural peanut butter, honey, and a pinch of salt if desired. Use a spatula or wooden spoon to mix everything together until the ingredients are fully combined, forming a thick, cohesive mixture. It may take a few minutes of thorough stirring to achieve an even distribution of flavors.
Step 2: Prepare the Baking Tray
Line an 8×8 or 9×9 baking tray with parchment paper, ensuring that it hangs over the edges for easy removal later. Secure the paper with binder clips on the sides, so it stays in place. This setup will make it easier to cut the No-Bake Oat Bars once they are set and chilled.
Step 3: Transfer the Mixture
Pour the oat mixture into the prepared tray, spreading it evenly with a spatula. Use the back of the spatula to press the mixture down firmly, compressing it tightly to eliminate any air gaps. This step is crucial for ensuring that your No-Bake Oat Bars hold together perfectly after chilling.
Step 4: Chill to Set
Place the tray in the refrigerator and let the mixture chill for 2 to 3 hours. This time allows the bars to firm up and set properly, making them easier to cut later. As the mixture cools, it will lose its sticky texture, so be patient and resist the urge to slice too early.
Step 5: Cut into Bars
Once your No-Bake Oat Bars have set and feel firm to the touch, remove the tray from the refrigerator. Carefully lift the parchment paper out of the tray and place it on a cutting board. Use a sharp knife to cut the mixture into bars or squares, pressing down firmly to get clean edges.
Step 6: Store or Serve
After cutting, you can either enjoy your delicious No-Bake Oat Bars right away or store them for later. Transfer the bars to an airtight container and keep them in the refrigerator for up to one week. These bars make for a healthy snack option, packed with energy and perfect for busy days!
How to Store and Freeze No-Bake Oat Bars
Fridge: Keep your no-bake oat bars in an airtight container in the fridge for up to one week. This keeps them fresh and ready for snacking!
Freezer: For longer storage, freeze the bars wrapped individually in plastic wrap or stored in a freezer-safe container for up to three months.
Reheating: When you’re ready to enjoy them, simply take a bar out and let it thaw in the fridge for a few hours or at room temperature for quicker results.
Serving Tips: For best texture, enjoy the bars chilled straight from the fridge or after thawing from the freezer—they’ll still hold their deliciousness!
No-Bake Oat Bars Variations & Substitutions
Feel free to explore these fun ideas to tailor the no-bake oat bars to your personal taste, and enjoy a burst of flavor!
-
Nut-Free: Swap natural peanut butter with sunflower seed butter for a nut-free alternative that still packs a creamy punch.
-
Vegan Delight: Use maple syrup instead of honey to keep these bars vegan without sacrificing sweetness and binding.
-
Extra Crunch: Add a handful of crispy rice cereal to the oat mixture for a delightful crunch that kids will love!
-
Flavor Boost: Stir in a teaspoon of cinnamon or vanilla extract to enhance the flavor profile with warming spices.
-
Decadent Chocolate: Mix in dark chocolate chips or cocoa powder for a deliciously chocolaty twist that satisfies your sweet tooth.
-
Dried Fruit Medley: Throw in a mix of chopped dates, apricots, or cranberries for a fruity explosion of flavor and added chewiness.
-
Protein Power: Boost nutrition by folding in your favorite protein powder, making them perfect for a post-workout snack.
-
Spicy Kick: If you like a hint of heat, sprinkle in some cayenne or chili powder alongside chocolate for a surprising spicy treat!
If you’re looking for additional breakfast ideas, you might also enjoy making the crisp and refreshing Lemon Poppy Oats or indulge in a sweet special occasion with Bake Gingerbread Cheesecake – both are sure to impress!
Make Ahead Options
These No-Bake Oat Bars are perfect for meal prep enthusiasts! You can mix the ingredients and transfer the mixture to the baking tray up to 24 hours ahead of time, ensuring a quick and easy snack is always within reach. Just prepare the mixture, press it into the lined tray, and refrigerate it. To maintain quality, keep them covered in the fridge until ready to slice and serve. When you’re ready to enjoy, simply remove the bars from the fridge, cut them into squares, and they’ll be just as delicious as if you made them fresh! Perfect for busy weeknights or on-the-go mornings!
What to Serve with No-Bake Oat Bars
Imagine indulging in a wholesome snack that perfectly pairs with these delightful oat bars.
- Creamy Yogurt: The tangy creaminess of yogurt complements the sweet oats, creating a refreshing balance. Drizzle some honey on top for extra sweetness!
- Fresh Berries: Juicy strawberries, blueberries, or raspberries add a burst of freshness and tartness, enhancing the flavor profile of your snack experience.
- Nutty Trail Mix: A crunchy trail mix, with nuts and seeds, provides texture contrast, making each bite an adventure while offering protein-packed energy.
- Banana Slices: Sliced bananas pair beautifully, delivering a creamy mouthfeel that enriches the oat bars’ chewy goodness. Plus, they’re a perfect source of potassium!
- Dark Chocolate Drizzle: A drizzle of melted dark chocolate over your bars elevates the indulgence factor, bringing a deep, rich flavor that pairs wonderfully with oats.
- Herbal Tea: Enjoy a soothing cup of herbal tea alongside your oat bars. Chamomile or peppermint varieties make an excellent relaxing companion, perfect for afternoon breaks.
- Caramel Sauce: For a decadent treat, serve with a small side of caramel sauce for dipping. The sweetness adds a delightful twist that’ll make your bars even more irresistible!
- Apple Slices with Peanut Butter: Crisp apple slices paired with a bit of peanut butter mirror the flavors in the bars while adding crunch and juiciness—what a satisfying combination!
Expert Tips for No-Bake Oat Bars
-
Mix Dry First: Combine rolled oats and salt before adding wet ingredients for better consistency and a well-blended flavor.
-
Adjust Consistency: If the mixture becomes too thick after adding extras like protein powder, a splash of milk or more honey can help.
-
Refrigerate Fully: Ensure to chill for the full 2-3 hours for optimal binding; cutting too soon may result in crumbly bars.
-
Use Quality Ingredients: Choose natural peanut butter and pure honey for the best taste and health benefits—this enhances your no-bake oat bars!
-
Tidy Presentation: For cleaner cuts, use a sharp knife and press firmly down; a gentle sawing motion can create uneven edges.
No-Bake Oat Bars Recipe FAQs
What type of oats should I use?
Absolutely! Rolled oats work best for this recipe as they provide the right texture and structure. If you need a gluten-free option, make sure to use certified gluten-free rolled oats. Avoid using quick oats since they may result in a softer bar that could crumble.
How should I store my No-Bake Oat Bars?
To keep your no-bake oat bars fresh, store them in an airtight container in the refrigerator for up to one week. This will help maintain their chewy texture and keep them ready for snacking whenever you need an energy boost!
Can I freeze No-Bake Oat Bars, and how?
Very! You can freeze your oat bars for up to three months. Wrap them individually in plastic wrap or foil, then place them in a freezer-safe bag or container. When you’re ready to enjoy, simply let them thaw in the fridge for a few hours or at room temperature for a quicker treat.
What if my mixture is too crumbly to hold together?
No worries! If you find the mixture crumbling and not sticking, it might be due to not enough binding agents or dry ingredients. Add a little more honey or nut butter to enhance the stickiness. If it still feels dry, a splash of milk can help bring everything together—just mix it in slowly until you achieve the right consistency.
Are these bars suitable for kids?
Definitely! These no-bake oat bars are a family favorite and a great option for kids. Free of preservatives and filled with wholesome ingredients, they make for a nutritious after-school snack. Plus, you can get your kids involved in customizing them with their favorite mix-ins!
Can pets eat No-Bake Oat Bars?
While the ingredients are generally safe for pets, it’s best to avoid giving them any bars that contain peanut butter or honey. Some pets might have allergies or sensitivities to these ingredients. Always consult your veterinarian before introducing any new treats into your pet’s diet.
No-Bake Oat Bars: Easy, Customizable Healthy Snacks
Ingredients
Equipment
Method
- In a large mixing bowl, add rolled oats, natural peanut butter, honey, and a pinch of salt if desired. Mix until fully combined.
- Line an 8x8 or 9x9 baking tray with parchment paper, securing it with binder clips.
- Pour the oat mixture into the prepared tray and press down firmly to eliminate air gaps.
- Place the tray in the refrigerator and let it chill for 2 to 3 hours to set properly.
- After chilling, lift the parchment paper out of the tray and cut into bars.
- Store in an airtight container in the refrigerator for up to one week.
Leave a Reply