
As I opened my fridge, staring at a collection of beloved ingredients, the thought struck me: why not whip up something that embodies summer joys? Enter these No-Bake Oreo Cheesecake Cups, the delightful dessert that requires no baking—perfect for those moments when the heat makes you want to skip the oven. With just a handful of ingredients, you’ll create a creamy, light, and satisfying treat that’s as fun to make as it is to eat. These cups boast a satisfying crunch from crushed Oreos, layered with a fluffy cheesecake filling, making them a fantastic choice for gatherings, or simply a lazy weekend indulgence. Plus, they’re vegetarian-friendly and can be prepped in a snap! Curious about how to craft these sweet wonders? Let’s dive in!
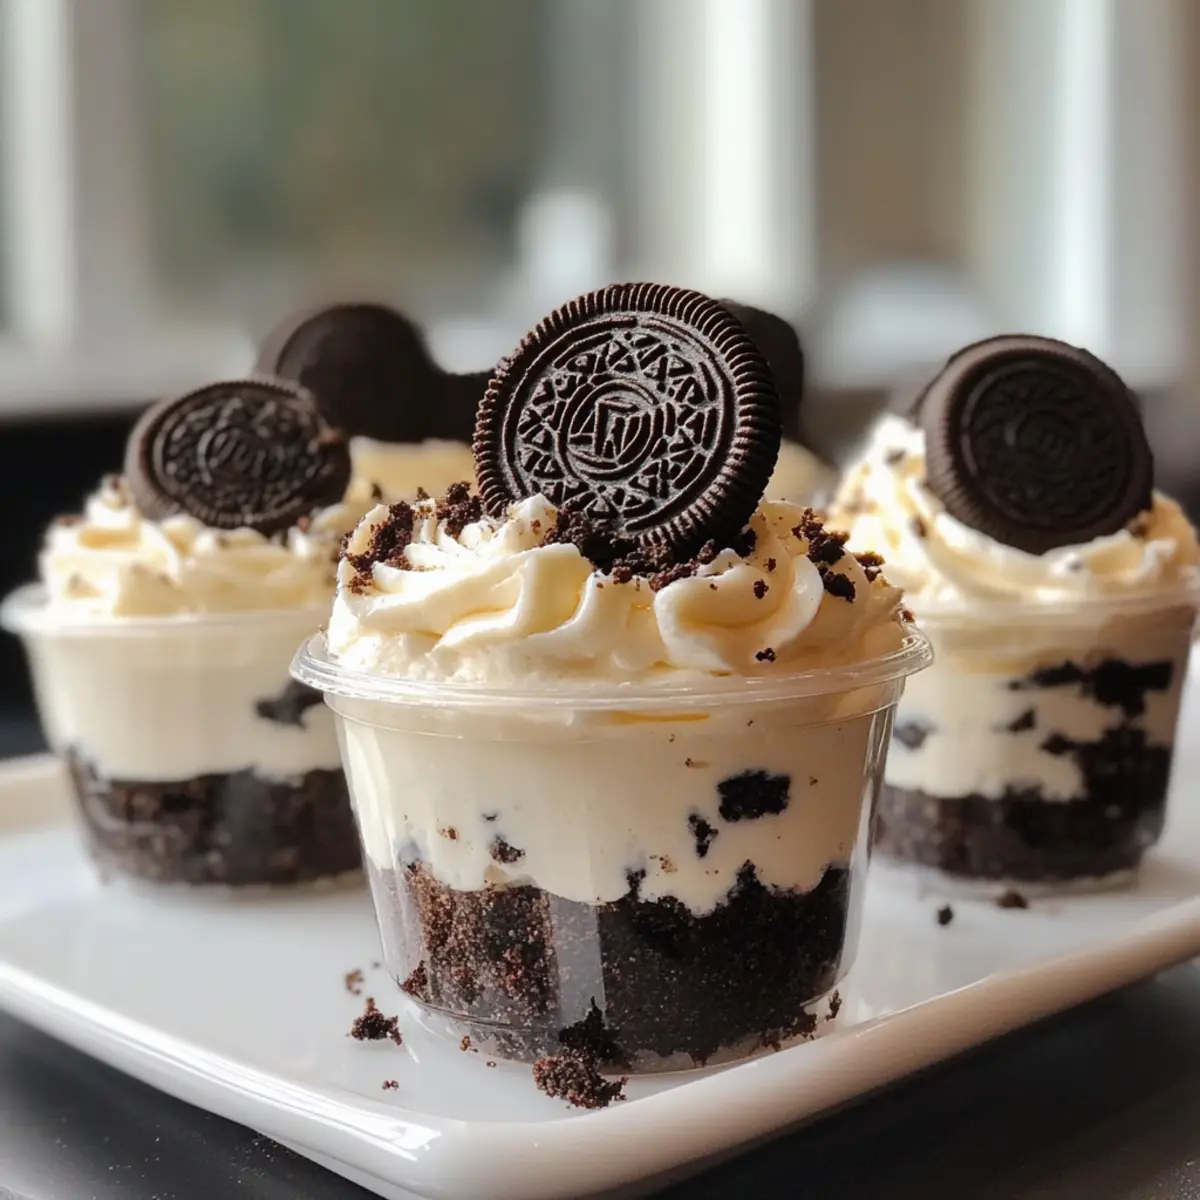
Why are No Bake Oreo Cheesecake Cups so amazing?
Irresistible Taste: The rich chocolate and creamy cheesecake blend beautifully to create a dessert that’s simply hard to resist.
Effortless Preparation: With no baking required, you’ll have these delicious cups ready in no time, making them perfect for busy days or surprise guests.
Customizable Delight: You can easily switch up flavors using different Oreo varieties, like mint or peanut butter, for an exciting twist on this classic.
Family-Friendly Fun: Kids and adults alike will love helping you layer the ingredients, making this a delightful activity for everyone.
Chill for Perfection: The longer they chill, the better they taste; you can prepare them ahead of time for stress-free entertaining!
For more easy dessert ideas, check out the delightful Bake Gingerbread Cheesecake or indulgent Blueberry Cheesecake Protein Bites.
No Bake Oreo Cheesecake Cups Ingredients
• Curious about the components of this delightful dessert?
For the Crust
- Oreo Cookies – Form the crunchy base that brings a rich chocolate flavor; try using flavored Oreos for a fun twist!
- Butter – Binds the crumbs together to create a cohesive crust; margarine works well for a dairy-free option.
For the Cheesecake Filling
- Cream Cheese – The star ingredient that provides the creamy texture and structure; mascarpone can be used for an enriched flavor.
- Powdered Sugar – Sweetens the filling while enhancing the creaminess; consider stevia for a low-sugar version.
- Vanilla Extract – Elevates the cheesecake flavor; almond extract can substitute for a unique spin.
- Whipped Topping – Adds lightness to the filling; homemade whipped cream is a delightful alternative if stabilized with powdered sugar.
For Topping
- Mini Oreo Cookies – Perfect for garnishing your cups and adding an extra crunch; feel free to experiment with other cookie varieties too!
- Oreo Crumbs – A wonderful way to sprinkle a bit more flavor and texture on top.
Crafting No-Bake Oreo Cheesecake Cups has never been easier! Get ready to impress your family and friends with this simple, creamy delight.
Step‑by‑Step Instructions for No Bake Oreo Cheesecake Cups
Step 1: Make the Crust
Start by crushing about 20 Oreo cookies in a food processor until they resemble fine crumbs, which should take about 30 seconds. Melt 4 tablespoons of butter in a microwave-safe dish for about 20 seconds, then combine it with the cookie crumbs in a mixing bowl. Press this mixture firmly into the bottom of your serving cups, creating a sturdy base, and set them aside while you prepare the filling.
Step 2: Beat Cream Cheese
In a large mixing bowl, add 8 ounces of softened cream cheese, 1 cup of powdered sugar, and 1 teaspoon of vanilla extract. Using an electric mixer, beat the mixture on medium speed for about 2-3 minutes until it becomes smooth and fluffy. You want it to reach a creamy consistency that would be a delightful base for your No Bake Oreo Cheesecake Cups, with no lumps remaining.
Step 3: Fold in Whipped Topping
Once your cream cheese mixture is fluffy, gently fold in 1 cup of whipped topping using a spatula. Be careful not to overmix; the goal is to maintain that light and airy texture. This step is crucial to ensure your cheesecake filling remains creamy and has the perfect mouthfeel, which will beautifully complement the Oreo crust.
Step 4: Assemble Cups
Now it’s time to layer your No Bake Oreo Cheesecake Cups. Spoon or pipe the cream cheese filling over the crust, filling each cup about halfway. For added texture, sprinkle a layer of crushed Oreo cookies in the middle of the filling. This will create delightful surprises with each bite and enhance the overall flavor of your dessert.
Step 5: Add Toppings
Top each cup generously with more whipped topping, smoothing it out for a lovely finish. Next, sprinkle crushed Oreo crumbs over the whipped topping, ensuring an even distribution for aesthetic appeal. For the final touch, gently place a mini Oreo cookie on top of each cup, adding a cute decoration that invites anyone to dig in.
Step 6: Chill
Place your assembled No Bake Oreo Cheesecake Cups in the refrigerator and let them chill for at least 1 hour. This time allows the layers to firm up and the flavors to meld beautifully, creating that irresistible creamy texture everyone loves. If you can resist the urge, letting them chill for several hours or overnight will enhance the flavors even further!
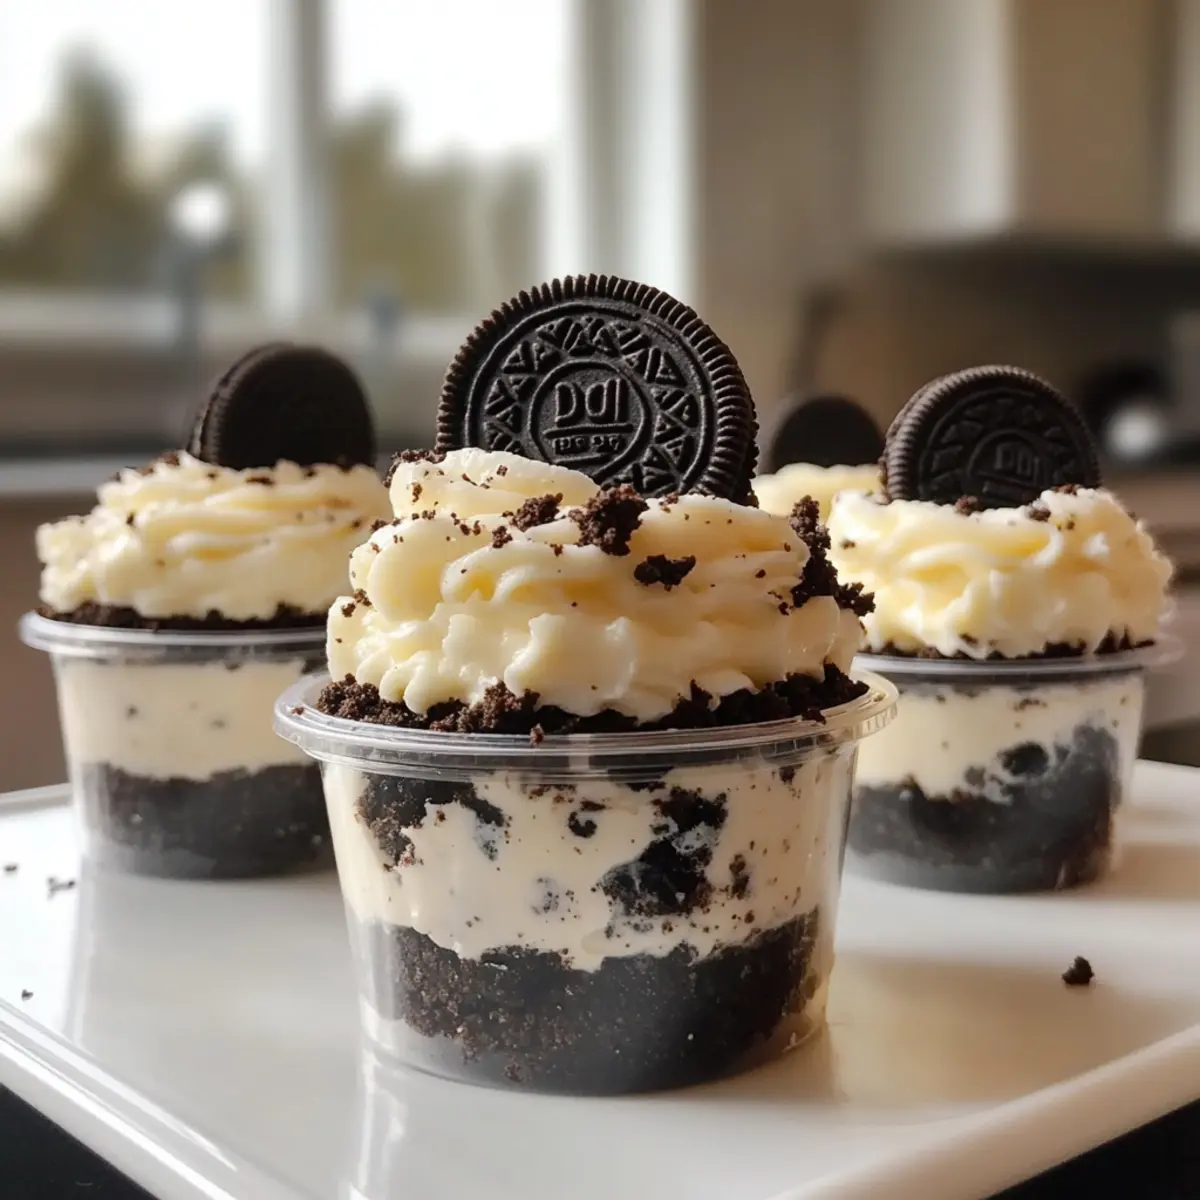
Expert Tips for No Bake Oreo Cheesecake Cups
Crust Consistency: Ensure your Oreo crumbs are finely crushed; larger chunks can result in a crumbly crust that doesn’t hold together well.
Cream Cheese Temperature: Use softened cream cheese to prevent lumps in your filling. Take it out of the fridge at least 30 minutes before using for the best texture.
Whipped Topping Folding: Gently fold in the whipped toppings to maintain the light and airy texture of your filling; overmixing can lead to a dense cheesecake.
Chill Time: For maximum flavor, allow the No Bake Oreo Cheesecake Cups to chill overnight. The extended time helps meld the flavors beautifully.
Layering Fun: Feel free to get creative with your layers! Experiment with additional cookie layers or toppings to make each cup unique and delightful.
What to Serve with No-Bake Oreo Cheesecake Cups?
Add a touch of joy to your dessert table with these delightful pairings that elevate your summer indulgence.
-
Fresh Strawberries: Their natural sweetness and vibrant color beautifully contrast the rich filling, offering a refreshing balance.
-
Mint Chocolate Chip Ice Cream: A scoop of this cool treat enhances the chocolatey flavor, creating a scoop-worthy dream of bliss.
-
Chocolate Drizzle: Drizzling warm chocolate sauce over the cups adds a luxurious touch, making every bite a heartwarming experience.
-
Coffee: A cup of freshly brewed coffee provides a comforting warmth that offsets the sweetness of the cheesecake cups.
-
Lemon Sorbet: The tartness cuts through the creaminess while providing a refreshing surprise, making it a zesty partner for chocolate.
-
Whipped Cream: Serve it on the side for those who crave even more fluffiness, inviting everyone to customize their cups.
-
Coconut Macaroons: The crunchy, chewy texture pairs well and offers a delightful contrast to the silky cheesecake.
-
Pineapple Chunks: Their sweetness brings a tropical twist, adding a burst of freshness to each rich bite.
-
Sparkling Water: A sip of bubbly with a twist of lime cleanses the palate and enhances the overall dessert experience!
Make Ahead Options
These No-Bake Oreo Cheesecake Cups are perfect for meal prep, allowing you to get a head start on your dessert plans! You can make the Oreo crust and cheesecake filling up to 24 hours in advance, storing them separately in airtight containers in the refrigerator. Assemble the cups just before serving to maintain the freshness and texture of the whipped topping. For even more convenience, you can fully assemble the cups and refrigerate them for up to 3 days; however, for the best taste and quality, aim to enjoy them within 24 hours. Remember, the longer they chill, the more the flavors meld, creating a creamy, delightful dessert that’s just as delicious on day two!
Storage Tips for No Bake Oreo Cheesecake Cups
Fridge: Store your No Bake Oreo Cheesecake Cups in an airtight container for up to 3 days to keep them fresh. The cool environment will maintain their creamy texture.
Freezer: For longer storage, you can freeze the cups! They’ll last up to 2 months. Just make sure to wrap them tightly in plastic wrap and aluminum foil to prevent freezer burn.
Thawing: When ready to enjoy, simply remove the cups from the freezer and let them thaw in the fridge for about 15 minutes before serving for the best texture.
Make-Ahead: These delightful treats can be prepared a day in advance. They actually improve with chilling, allowing the flavors to meld beautifully!
No Bake Oreo Cheesecake Cups Variations
Feel free to get creative with these delicious variations to make your No Bake Oreo Cheesecake Cups even more exciting!
- Flavored Oreos: Use mint or peanut butter Oreos for a unique twist on flavor. Each variation brings its own distinctively delicious vibe!
- Dairy-Free Option: Swap cream cheese with dairy-free cream cheese and use margarine in the crust. Enjoy creamy goodness without the dairy!
- Mascarpone Swap: Try using mascarpone cheese for an even richer and more decadent filling. Your taste buds will dance with joy!
- Low-Sugar Delight: Substitute powdered sugar with stevia or your favorite alternative sweetener to create a guilt-free version of these creamy cups. Perfect for health-conscious dessert lovers.
- Drizzle Temptation: Add a drizzle of caramel or chocolate sauce over each cup for an indulgent touch that looks as good as it tastes. A sweet finishing touch can elevate the dish!
- Fruit Topping: Top with berries or slices of banana for a fresh and fruity twist. It adds a burst of flavor and a lovely pop of color!
- Crunchy Layer: Add chopped nuts or additional cookie layers between the cheesecake and the crust for a delightful crunch. This texture twist creates an unexpected surprise in every bite.
- Pie Flavor: Infuse your filling with a bit of lemon or lime juice for a zesty cheesecake flavor that brightens up the creamy dessert beautifully!
These variations allow you to explore different flavors and textures while keeping the essence of your delectable No Bake Oreo Cheesecake Cups intact. For another easy dessert you might enjoy, don’t miss out on the delicious Apple Cinnamon Bake or the satisfying Sweet Potato Green Bean Tray Bake.
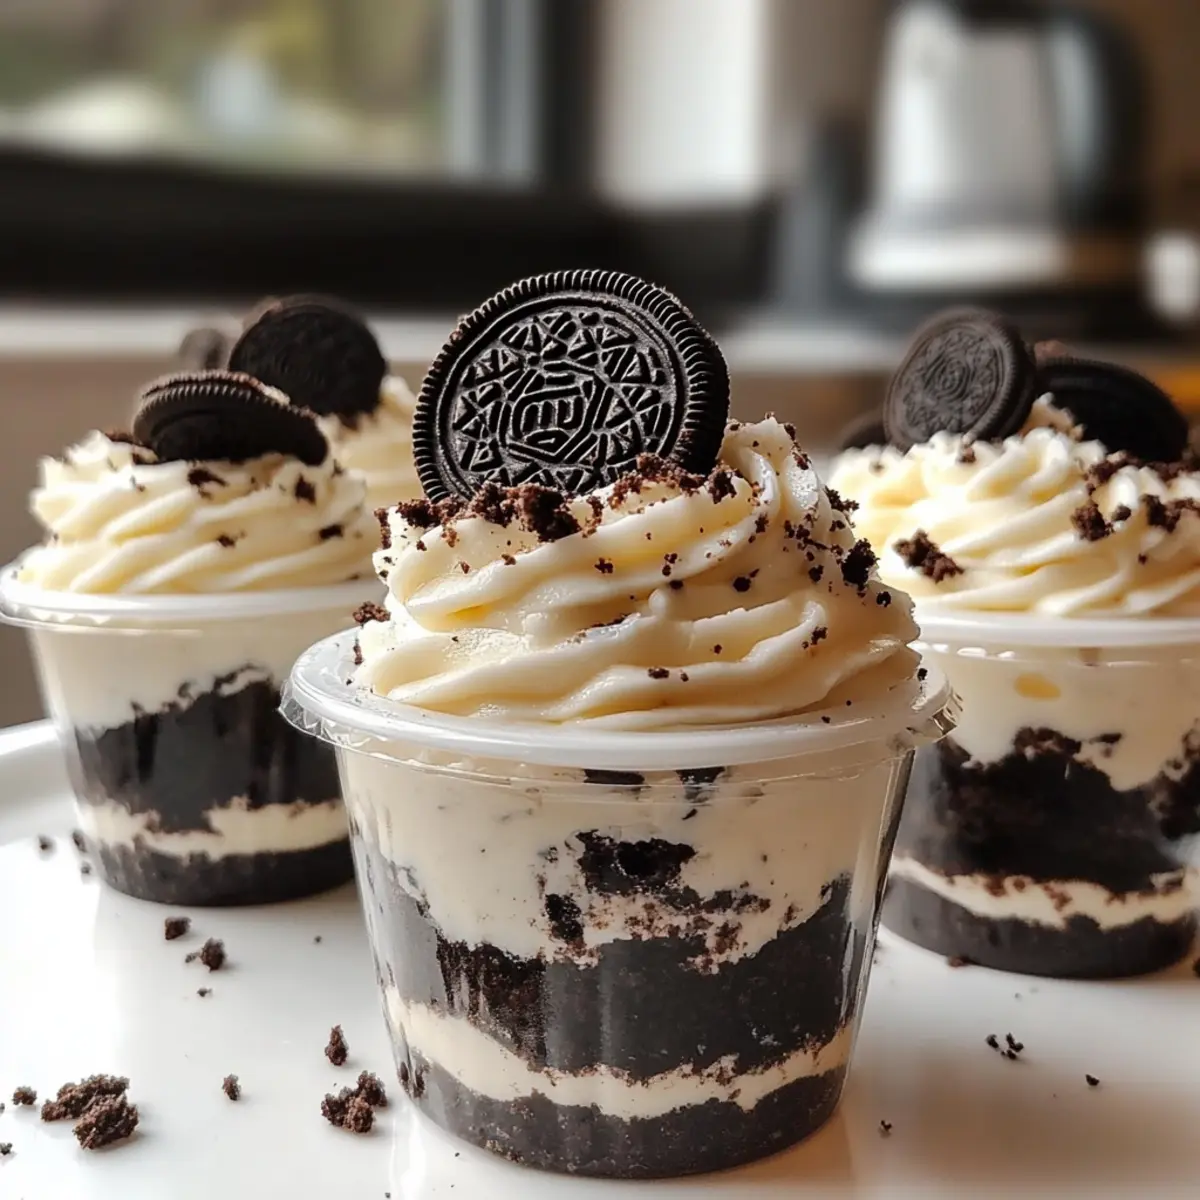
No-Bake Oreo Cheesecake Cups Recipe FAQs
How do I choose the right Oreos for this recipe?
Absolutely! When selecting Oreos, look for ones that aren’t broken or stale. Freshly sealed packs work best to ensure the crust holds together well. You can also experiment with flavored Oreos like mint or peanut butter to add a unique twist.
What’s the best way to store leftover No-Bake Oreo Cheesecake Cups?
To keep your delicious cups fresh, store them in an airtight container in the fridge for up to 3 days. This will help maintain their creamy texture and flavor, ensuring every bite is just as delightful as the first!
Can I freeze No-Bake Oreo Cheesecake Cups for later?
Yes! For longer storage, you can freeze the cups for up to 2 months. Make sure to wrap each cup tightly in plastic wrap and foil to prevent freezer burn. When you’re ready to serve, thaw them in the refrigerator for about 15 minutes for the best texture.
What if my cheesecake filling is too thick?
Not a problem! If you find your filling is too thick, try adding a touch of milk, one tablespoon at a time, while mixing until you reach a smoother consistency. This will also help lighten it up, making it easier to spoon into your cups.
Are there any dietary considerations I should know about?
Certainly! This recipe is vegetarian-friendly, and you can easily adapt it for various dietary needs. Use dairy-free butter and whipped topping for a vegan version, and opt for gluten-free Oreos if you’re catering to gluten sensitivities. Always check the packaging for allergens.
How do I ensure my whipped topping stays fluffy?
Great question! To keep your whipped topping light and fluffy, gently fold it into your cream cheese mixture instead of stirring vigorously. This preserves the airiness, ensuring a delightful, fluffy cheesecake filling that contrasts beautifully with the crunchy crust.
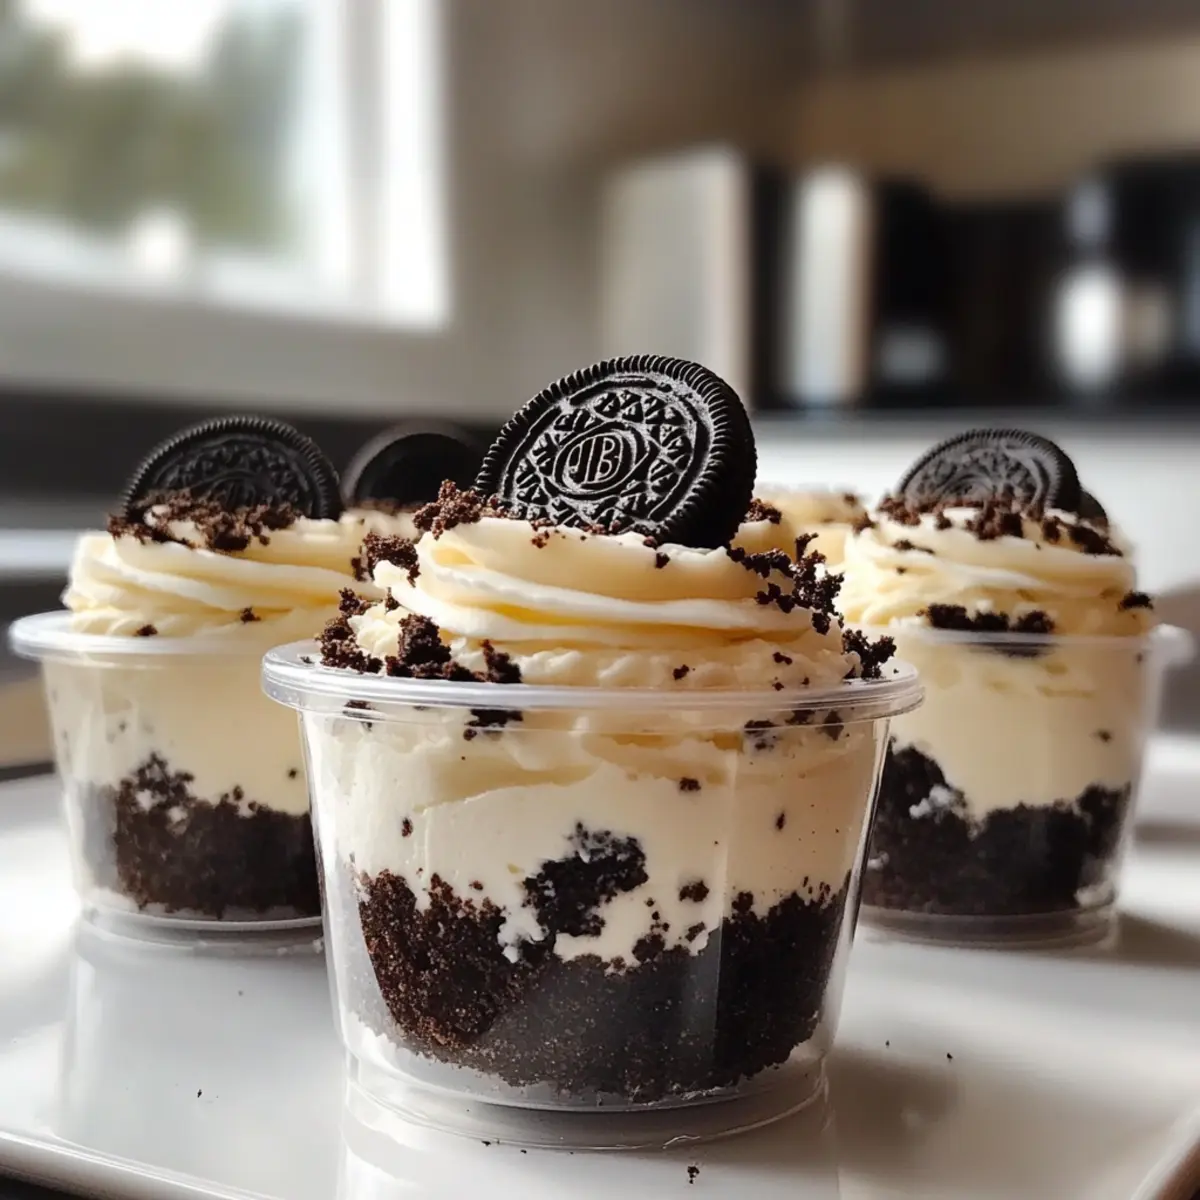
Irresistibly Creamy No Bake Oreo Cheesecake Cups You’ll Love
Ingredients
Equipment
Method
- Crush about 20 Oreo cookies in a food processor until they resemble fine crumbs. Melt 4 tablespoons of butter and combine it with the cookie crumbs. Press into the bottom of serving cups.
- In a mixing bowl, beat 8 ounces of softened cream cheese, 1 cup of powdered sugar, and 1 teaspoon of vanilla extract for 2-3 minutes until smooth.
- Gently fold in 1 cup of whipped topping until well combined.
- Layer the cheesecake filling into the cups, spooning over the crust. Sprinkle a layer of crushed Oreo cookies in the middle.
- Top each cup with more whipped topping and sprinkle with Oreo crumbs. Garnish with a mini Oreo cookie.
- Refrigerate for at least 1 hour to allow the layers to firm up and flavors to meld.
Leave a Reply