
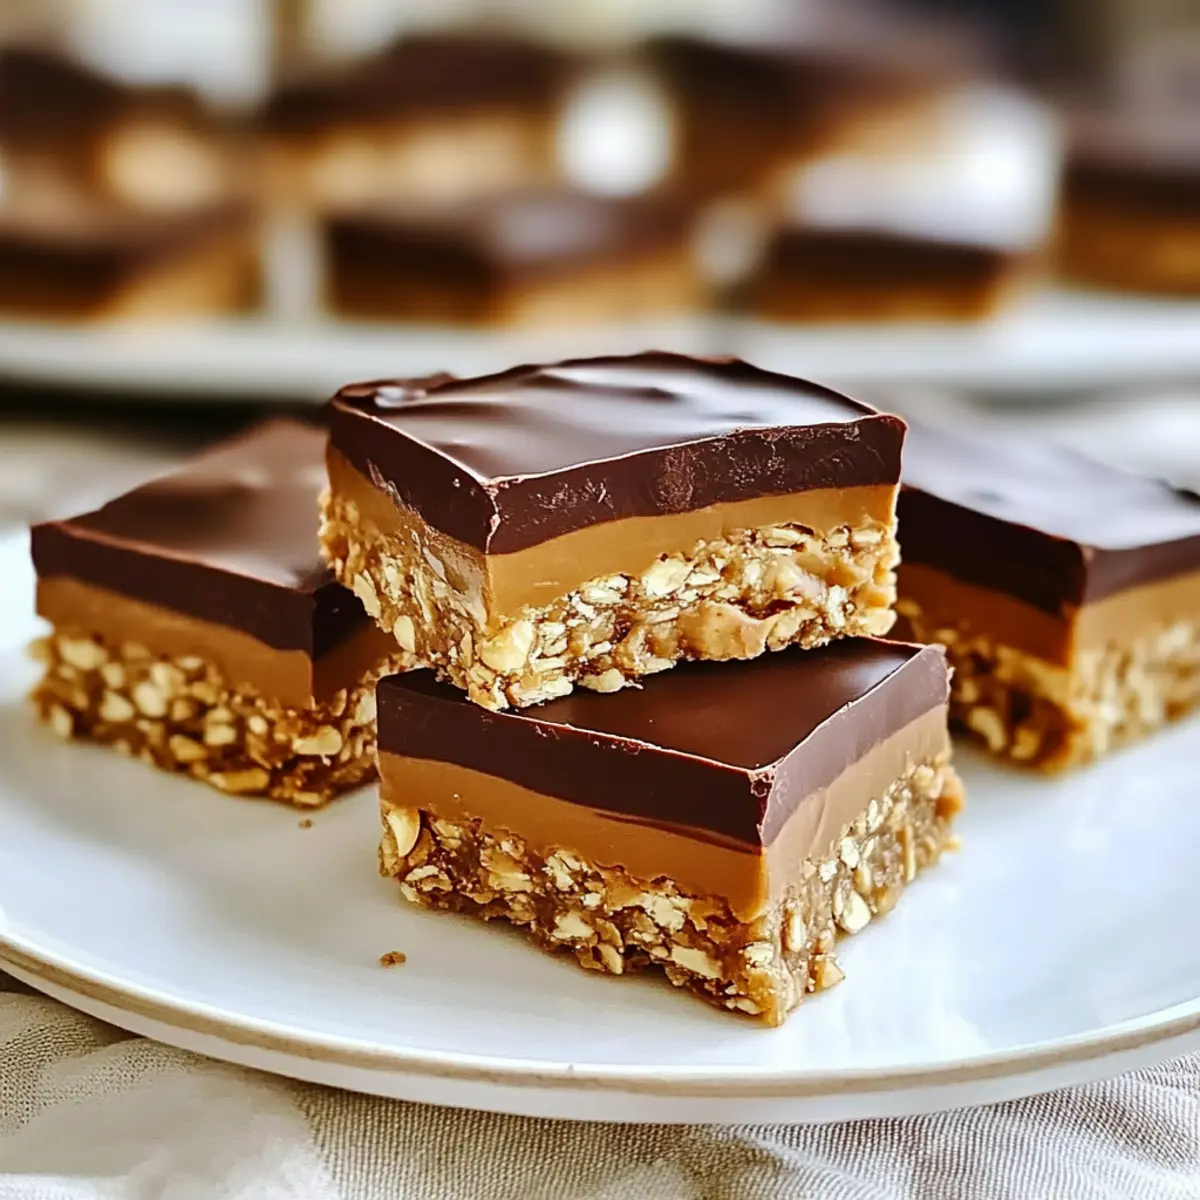
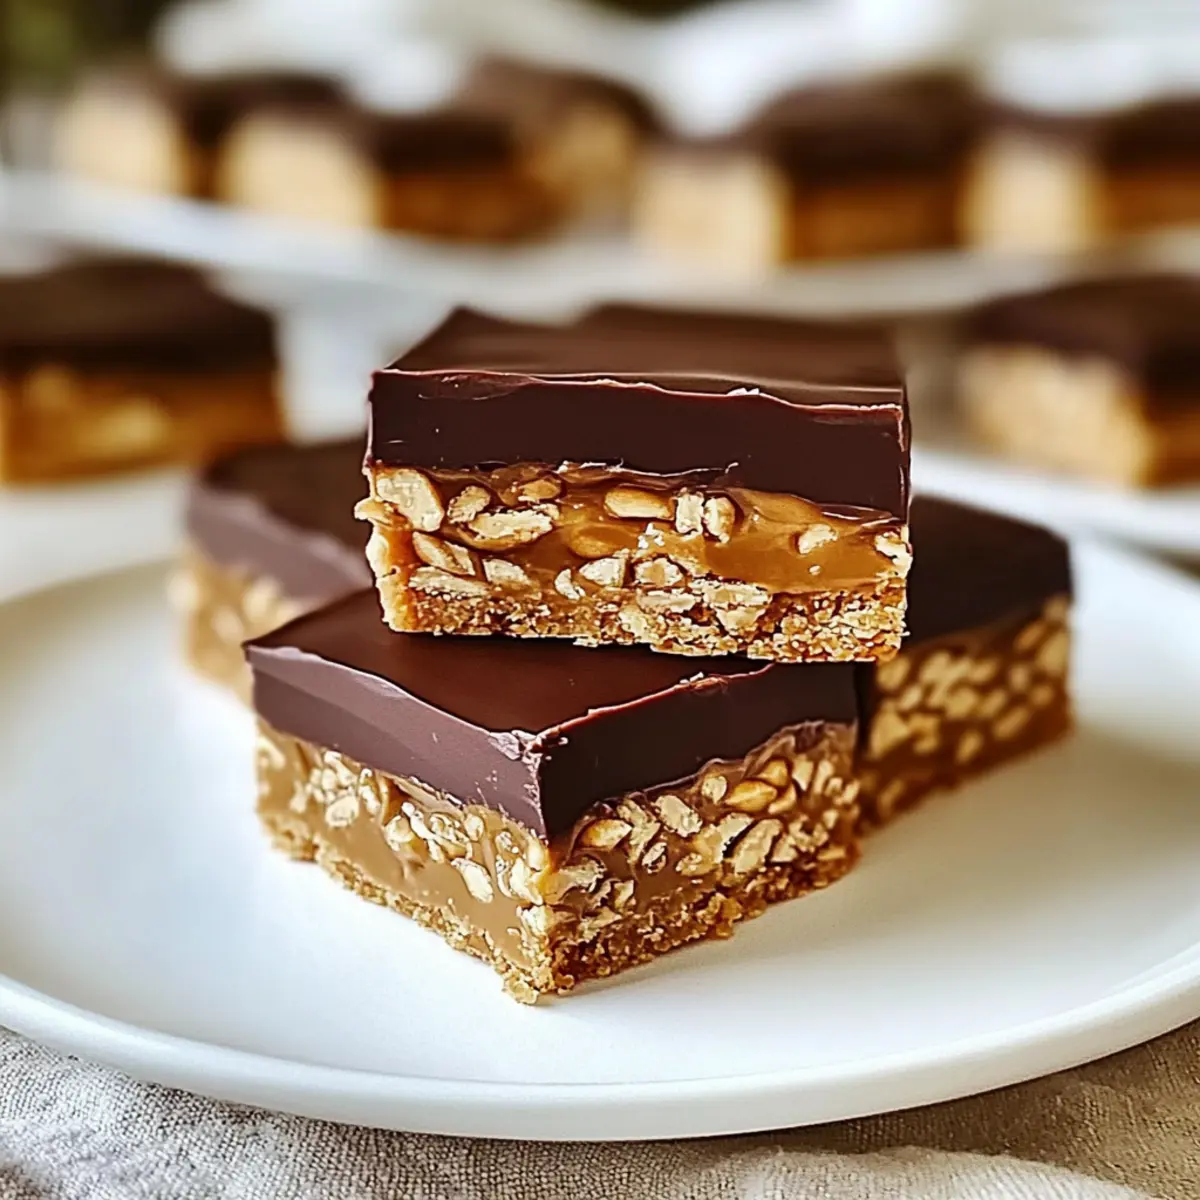
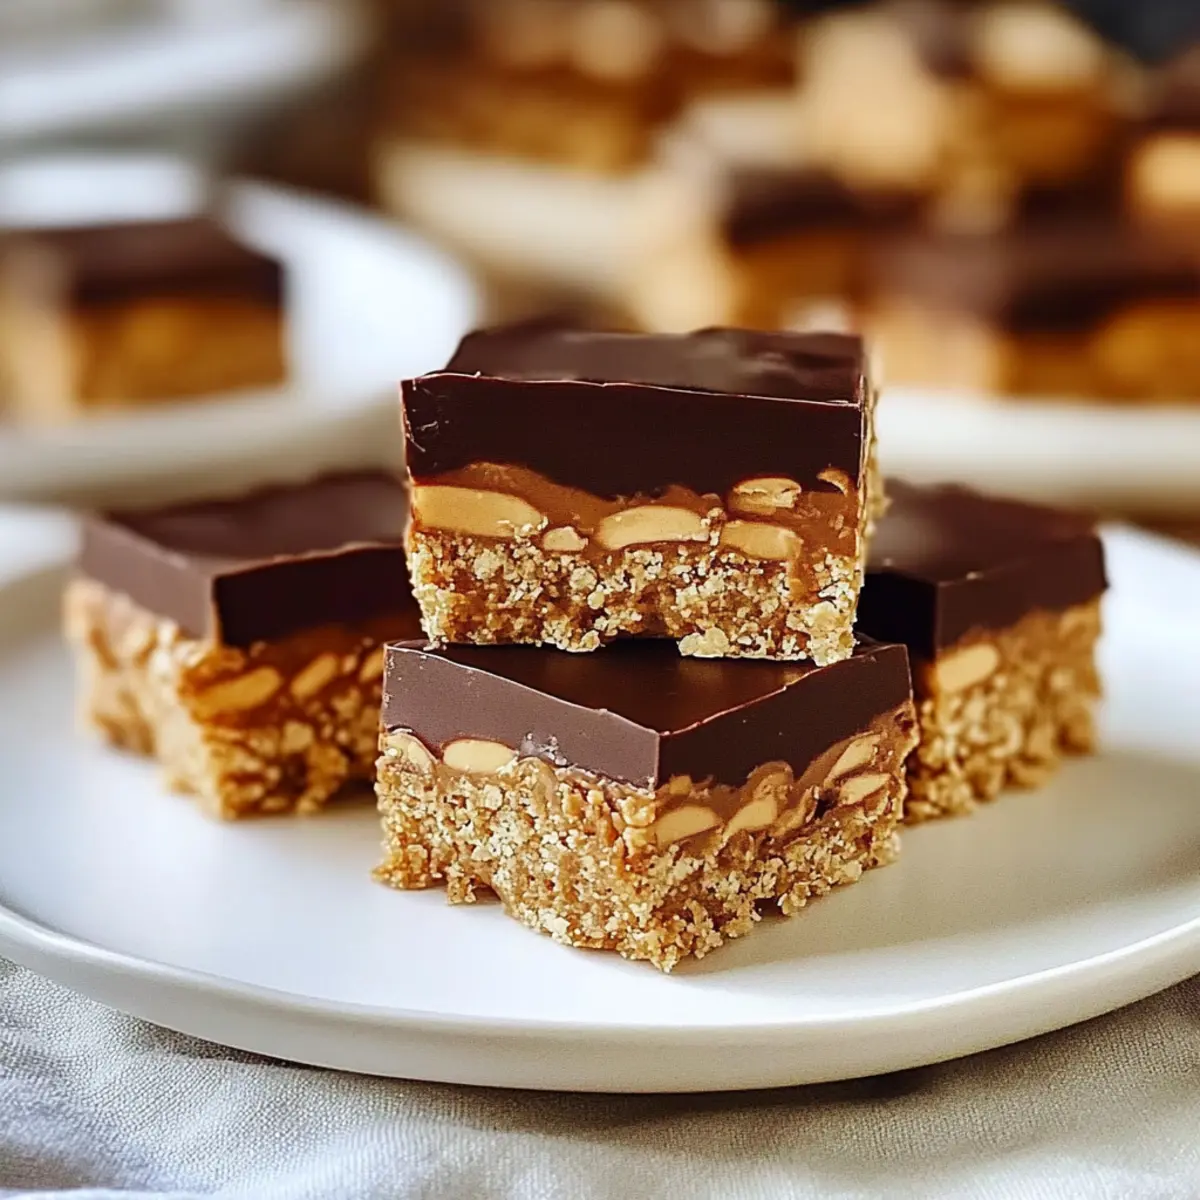
“Can you believe how quickly that came together?” I exclaimed to my friend, as I pulled out a tray of these irresistible Easy No-Bake Peanut Butter Bars from the fridge. Just 20 minutes and a handful of simple ingredients transform into a delectable treat that’s not only gluten-free but also offers a vegan option! The best part? You can switch up the nut butter or sweetener to suit your taste, making them a versatile snack for everyone. Imagine indulging in a healthy dessert that satisfies your sweet tooth without the fuss of baking—perfect for our bustling lives. These bars blend chewy rolled oats with crispy rice for crunch and a luscious chocolate layer on top. Intrigued? Let’s dive into how you can whip up these delicious bars that might just redefine your treat game!
Why Are No-Bake Peanut Butter Bars Perfect?
Quick and Easy: In just 20 minutes, you’ll have a delicious treat ready to satisfy your cravings without turning on the oven.
Nutritious Ingredients: Packed with protein and healthy fats, these bars make a guilt-free snack that keeps you energized.
Customizable Options: Whether you prefer honey, maple syrup, or want to swap out your nut butter, these bars can be tailored to fit any taste or dietary preference.
Crowd-Pleaser: Perfect for family gatherings, kids’ lunches, or even a snack for yourself, they appeal to both young and old alike!
No Baking Required: Embrace simplicity and skip the long dessert prep. If you love easy treats, you might also enjoy Gingerbread Cheesecake Cups or Vanilla Cinnamon Buttermilk Pancakes.
Satisfying and Delicious: Each bite offers a wonderful mix of textures, from chewy oats to crispy rice and smooth chocolate, making these bars endlessly enjoyable!
No-Bake Peanut Butter Bars Ingredients
For the Base
• Peanut Butter – Rich, nutty flavor that holds everything together; swap with almond or cashew butter for a twist.
• Honey or Maple Syrup – Adds natural sweetness and helps bind the ingredients; use maple syrup for a vegan-friendly version.
• Coconut Oil (melted) – Blends the ingredients smoothly and gives a slight tropical flair; substitute with another oil if needed.
• Rolled Oats – Provides a chewy texture and hearty feel; opt for gluten-free oats to keep it gluten-free.
• Crispy Rice Cereal – Adds delightful crunch and lightness; replace with chopped nuts for extra flavor.
For the Topping
• Dark Chocolate Chips – Imparts sweetness and rich chocolate flavor; consider milk or white chocolate chips if you prefer a different taste.
• Salt – Elevates the overall flavors; a crucial component to balance the sweetness—don’t skip it!
• Vanilla Extract (optional) – Enhances the rich flavor profile; can be omitted if you want a simpler taste.
Step‑by‑Step Instructions for No-Bake Peanut Butter Bars
Step 1: Combine the Wet Ingredients
In a large mixing bowl, use a spatula to blend together 1 cup of peanut butter, 1/2 cup of honey (or maple syrup), and 1/4 cup of melted coconut oil until the mixture is smooth and creamy. This should take about 2-3 minutes. If you’d like to enhance the flavor, add a teaspoon of vanilla extract to the mix and stir until well combined.
Step 2: Add the Dry Ingredients
Next, fold in 2 cups of rolled oats, 1 cup of crispy rice cereal, and a pinch of salt into the peanut butter mixture. Use a spatula to ensure all the dry ingredients are thoroughly coated in the creamy mixture, which should take about 1-2 minutes. The combination will start to form a sticky and cohesive dough-like consistency.
Step 3: Prepare the Baking Dish
Line an 8×8-inch baking dish with parchment paper, allowing some excess paper to hang over the edges for easy lifting later. Make sure the parchment covers the bottom and sides of the dish well. This step is essential for an effortless removal of your delicious no-bake peanut butter bars once they’re set.
Step 4: Press the Mixture
Pour the peanut butter mixture into the prepared baking dish. Using a spatula or your hands, press the mixture down firmly and evenly into the dish, creating a compact layer that is uniform in thickness. Aim for a level surface to ensure even cutting once set, which should take about 3-5 minutes.
Step 5: Melt the Chocolate
In a microwave-safe bowl, add 1 cup of dark chocolate chips. Heat in the microwave in 30-second intervals, stirring after each interval until completely melted and smooth, which typically takes about 1-2 minutes. This melted chocolate will serve as a luscious topping that adds a rich flavor to your no-bake peanut butter bars.
Step 6: Spread the Chocolate Topping
Carefully pour the smooth melted chocolate over the pressed peanut butter mixture. Use a spatula to spread the chocolate evenly across the surface, ensuring every corner is covered. The chocolate layer will add a delightful sweetness and glossy finish to your no-bake peanut butter bars.
Step 7: Chill to Set
Place the baking dish in the refrigerator for at least 1-2 hours. This chilling time allows the bars to firm up and the chocolate to set completely. After the time has passed, you can check them; they should be firm to the touch and ready for slicing.
Step 8: Cut and Serve
Once your no-bake peanut butter bars are fully set, lift them out of the dish using the parchment paper overhang. Place the bars on a cutting board and slice them into squares or rectangles, depending on your preference. Serve them cold for the best texture and flavor experience, enjoying these easy treats with family or friends!
Storage Tips for No-Bake Peanut Butter Bars
-
Room Temperature: These bars can be kept at room temperature for up to 2 days if you live in a cool, dry place. Ensure to store them in an airtight container to maintain freshness.
-
Fridge: Store your no-bake peanut butter bars in an airtight container in the fridge for up to 1 week. This keeps them firm and delicious, perfect for a quick snack anytime!
-
Freezer: For longer storage, freeze the bars wrapped tightly in plastic wrap and then in aluminum foil or a freezer-safe container. They can last for up to 3 months frozen.
-
Reheating: To enjoy a slightly melty chocolate topping, let the bars sit at room temperature for about 10 minutes before serving if taken out of the fridge or freezer.
Expert Tips for No-Bake Peanut Butter Bars
-
Pack Tightly: Ensure the mixture is pressed down firmly in the baking dish; this helps the bars hold together after cutting.
-
Choose Your Peanut Butter: If using natural peanut butter, add a little extra coconut oil. This improves texture and ensures a smooth finish.
-
Storage Matters: Keep your no-bake peanut butter bars in an airtight container in the fridge for up to a week, or freeze them to enjoy later.
-
Customize Wisely: Experiment with sweeteners or nut butters, but remember that different ingredients can affect the final flavor and texture.
-
Add Extra Crunch: For a textured twist, mix in chopped nuts or seeds along with the crispy rice cereal. Just ensure they’re evenly distributed!
No-Bake Peanut Butter Bars Variations
Inviting you to get creative, these no-bake peanut butter bars can easily be customized to satisfy your cravings!
-
Sweetener Swap: Use agave syrup instead of honey for a lower-glycemic sweetener option. This twist keeps the bars gooey and sweet.
-
Nut Butter Love: Try almond or cashew butter for a different nutty flavor. Each nut butter adds its own character to these delicious treats!
-
Add Some Crunch: Mix in chopped nuts, like walnuts or almonds, for extra texture. The addition can transform every bite into a delightful crunch fest.
-
Coconut Essence: Incorporate shredded coconut for a tropical flair. This adds both flavor and chewiness, heightening the overall experience.
-
Chocolate Variety: Swap dark chocolate chips for milk or white chocolate for a sweeter topping. Each variation offers a new taste adventure!
-
Fruit Fest: Toss in dried cranberries or raisins for a fruity burst in your bars. The sweetness complements the nuttiness beautifully, making every bite a treat.
-
Spice It Up: Add a dash of cinnamon or nutmeg for an aromatic kick. This simple addition makes the bars feel warm and inviting, perfect for snacking.
-
Drizzle Delight: Top with a drizzle of melted peanut butter or chocolate for a gorgeous finish. It’s a feast for the eyes and taste buds that makes every bar feel special.
Feel free to experiment! While you’re at it, you may also enjoy the sweet richness of Gingerbread Cheesecake Cups or the decadent experience of Vanilla Cinnamon Buttermilk Pancakes. Each alternative can bring a new world of flavor right to your kitchen!
What to Serve with Easy No-Bake Peanut Butter Bars
Whether you’re hosting a casual gathering or simply enjoying a quiet evening at home, pairing these delightful bars with complementary dishes can elevate your snacking experience.
-
Fresh Apple Slices: The crunchy sweetness of crisp apple slices brings a refreshing balance to the rich peanut butter bars, perfect for a wholesome snack.
-
Creamy Yogurt: A dollop of Greek yogurt adds a luscious creaminess that pairs beautifully with the chewy texture of the bars, enhancing their indulgent experience.
-
Chocolate-Dipped Strawberries: These elegant treats echo the dark chocolate topping, creating a decadent dessert spread sure to impress your guests and please your palate.
-
Nutty Trail Mix: A side of homemade trail mix introduces varied textures and flavors, adding a satisfying crunch to your snack time while seamlessly matching the nutty essence of the bars.
-
Coconut Chia Pudding: The lightness of chia pudding adds a tropical twist to your meal. Its smooth texture contrasts wonderfully with the bars’ crunch and chew.
-
Coffee or Herbal Tea: A steaming cup of coffee or a soothing herbal tea is the perfect companion for these bars, allowing the flavors to meld while warming the soul.
Consider these pairings as a delightful way to take your peanut butter bars from a simple treat to a memorable indulgence!
Make Ahead Options
These Easy No-Bake Peanut Butter Bars are a fantastic choice for meal prep! You can mix the peanut butter base and press it into the baking dish up to 24 hours in advance. Simply cover the dish tightly with plastic wrap or foil and refrigerate to keep everything fresh. If you prefer, also melt the chocolate topping up to 3 days ahead; store it in an airtight container in the fridge. When you’re ready to serve, pour the chilled chocolate over the base, let it set in the fridge for at least 1-2 hours, then slice into bars. You’ll have delicious, ready-made treats to enjoy at a moment’s notice!

No-Bake Peanut Butter Bars Recipe FAQs
What is the best way to select peanut butter for this recipe?
Absolutely! Look for a creamy or crunchy natural peanut butter that doesn’t contain added sugars or oils for the healthiest option. If you prefer a different flavor, almond or cashew butter can be great substitutes, bringing their own unique taste to these no-bake peanut butter bars.
How should I store the bars, and how long will they last?
Store your no-bake peanut butter bars in an airtight container in the fridge for up to 1 week. If left out at room temperature, they can stay fresh for about 2 days, especially in a cool environment. Keeping them refrigerated ensures they remain firm and delicious, making them perfect for a quick snack anytime!
Can I freeze these bars, and if so, how?
Yes! You can freeze your no-bake peanut butter bars for up to 3 months. Wrap each bar individually in plastic wrap, then place them in a freezer-safe container or zip-top bag to prevent freezer burn. To thaw, simply take them out of the freezer and let them sit at room temperature for about 10 minutes—this allows the chocolate to soften a bit before enjoying.
What should I do if the bars aren’t holding together well?
If your bars are falling apart, it might be due to not pressing the mixture down firmly enough in the baking dish. To remedy this, try pressing them down with more force or even using the back of a measuring cup to create a compact layer. Additionally, if you’re using natural peanut butter, consider adding more coconut oil to help bind the mixture together better.
Are these bars suitable for those with allergies?
While the no-bake peanut butter bars can be gluten-free when using certified gluten-free oats, they may not be suitable for those with nut allergies. If that’s a concern, you can try sunflower seed butter or tahini as an alternative to peanut butter. Always ensure you read labels carefully, especially when using store-bought ingredients, to avoid cross-contamination.
Can I use alternative sweeteners?
Certainly! If you’re looking for a different sweetener, agave syrup or date syrup will work well but may slightly alter the flavor. Just remember that the binding quality is essential, so ensure your choice has a similar consistency to honey or maple syrup to keep the bars intact!
Decadent No-Bake Peanut Butter Bars for a Guilt-Free Treat
Ingredients
Equipment
Method
- Combine the wet ingredients: In a large mixing bowl, blend together peanut butter, honey (or maple syrup), and melted coconut oil until smooth.
- Add the dry ingredients: Fold in rolled oats, crispy rice cereal, and salt until thoroughly coated.
- Prepare the baking dish: Line an 8x8-inch baking dish with parchment paper for easy removal later.
- Press the mixture: Pour the peanut butter mixture into the dish and press down evenly.
- Melt the chocolate: In a microwave-safe bowl, heat dark chocolate chips until melted and smooth.
- Spread the chocolate topping: Pour the melted chocolate over the pressed mixture and spread evenly.
- Chill to set: Refrigerate for at least 1-2 hours to allow bars to firm up.
- Cut and serve: Remove the bars using the parchment overhang, cut into squares or rectangles, and enjoy!
Leave a Reply