
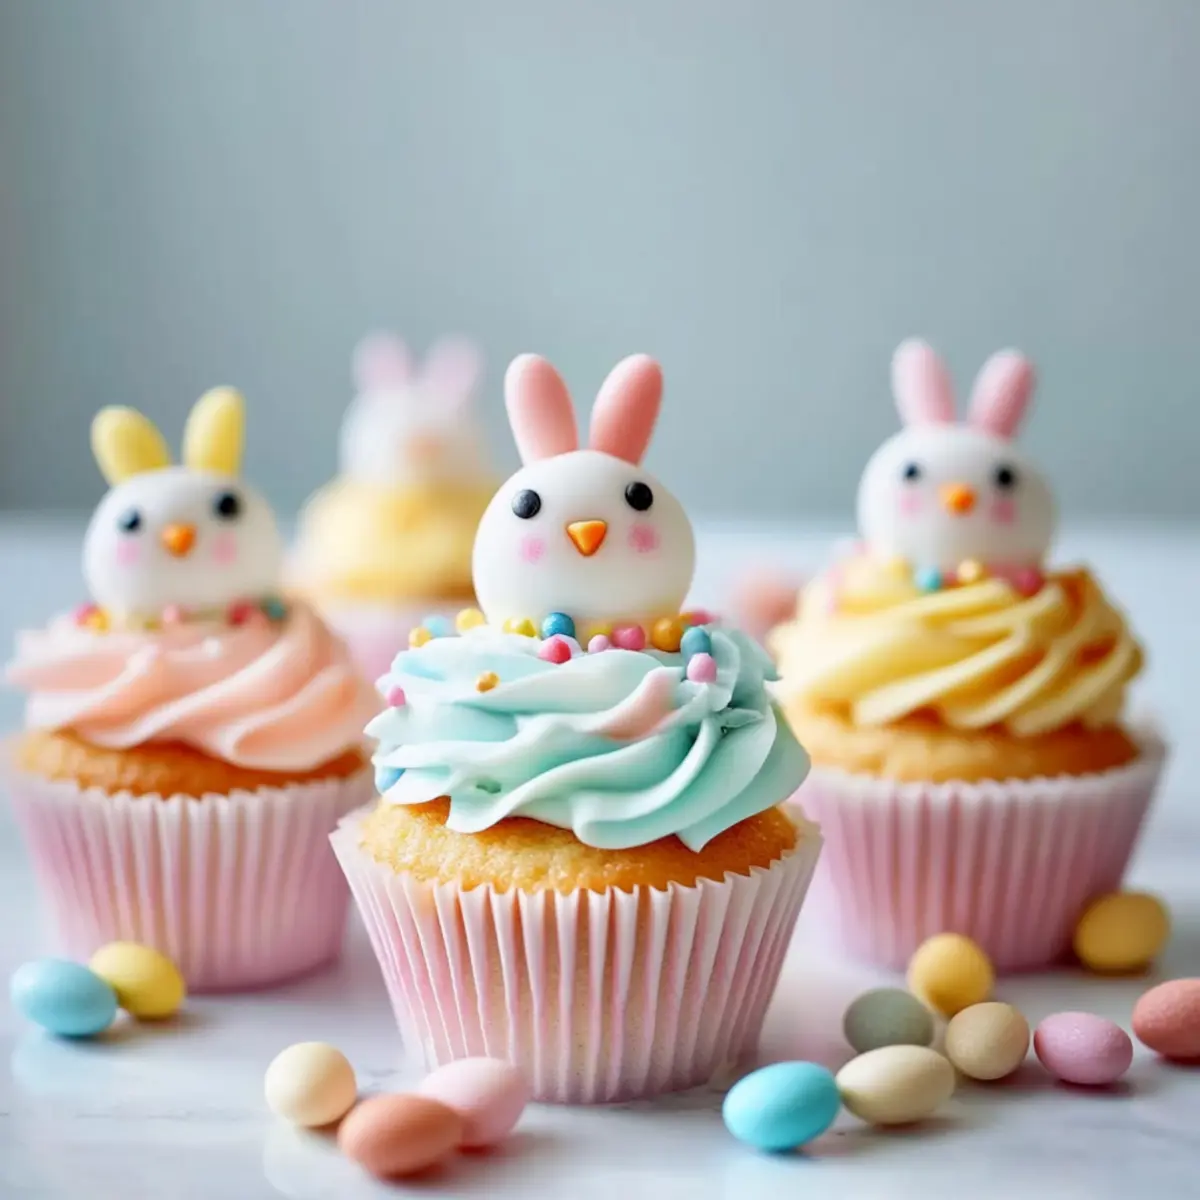
As I rummaged through vibrant sprinkles and fluffy frosting, I felt the delightful buzz of Easter approaching. The joy of baking pastel bunny cupcakes brings such warmth to my heart, and these treats are simply a must for your spring celebrations. With a playful nod to the holiday, these cupcakes combine rich flavors and colorful decorations, making them a fantastic choice for family gatherings or festive parties. What’s even better? They’re easy to whip up and guaranteed to impress both seasoned bakers and beginners alike. So, are you ready to indulge in these adorable masterpieces and sprinkle a little extra joy in your Easter festivities?
Why are Pastel Bunny Cupcakes a Must-Bake?
Festive Fun: These Pastel Bunny Cupcakes are the perfect way to celebrate Easter. Bursting with rich flavors and adorned with colorful decorations, they’ll become the centerpiece of your holiday table.
Easy & Enjoyable: The simple preparation makes baking fun for everyone, whether you’re a pro or just starting out! Plus, kids love helping out with the decorating.
Memorable Moments: Creating these adorable cupcakes will surely bring smiles and laughter, making unforgettable memories with friends and family.
Versatile Flavors: From chocolate to vanilla, you can customize flavors, making them suitable for every palate. Don’t forget to explore variations such as lemon or coconut for a delightful twist!
Impressive Presentation: With their charming designs, these cupcakes not only taste amazing but also look stunning, making them Instagram-worthy treats for your festive gatherings.
Pastel Bunny Cupcake Ingredients
-
For the Cupcakes
• All-Purpose Flour – Provides the structure for these delightful cupcakes; feel free to substitute with a gluten-free flour for an inclusive option.
• Granulated Sugar – Adds sweetness and helps achieve a light texture; brown sugar can be used for a richer flavor.
• Unsalted Butter – Adds moisture and richness; switch to margarine or vegan butter for a dairy-free treat.
• Large Eggs – Binds ingredients and adds moisture; use flax eggs or applesauce for a vegan version.
• Milk (or Buttermilk) – Contributes to the cupcake’s overall moisture; try almond milk for a dairy-free alternative.
• Baking Powder & Baking Soda – These leavening agents ensure your cupcakes rise beautifully; check for freshness to get the best results.
• Salt – Enhances flavor; while optional, including it helps balance sweetness.
• Flavor Add-ins (e.g., Vanilla Extract, Lemon Zest) – Imprints unique flavors into each bite; personalize according to your taste. -
For the Frosting
• Unsalted Butter – Creamed with sugar to create a fluffy frosting base; for a lighter option, use whipped cream.
• Powdered Sugar – Sweetens and gives the frosting a smooth texture; adjust the quantity for desired sweetness.
• Heavy Cream or Milk – Helps to achieve the perfect spreadable consistency; for a vegan alternative, opt for coconut cream.
• Food Coloring – Used to achieve delightful pastel hues; gel colors work best for vibrant, eye-catching shades. -
For Decoration
• Sprinkles – Adds color and fun; choose festive shapes like bunnies or eggs for a themed look.
• Chocolate Bunny Toppers – Adds a whimsical touch that emphasizes the Easter theme; look for small chocolate bunnies to crown your creation.
• Coconut Shavings – Mimics the appearance of Easter grass; for a fun twist, dye it with green food coloring!
These Pastel Bunny Cupcakes aren’t just a feast for the taste buds; they are a celebration of creativity and seasonal joy that everyone will love!
Step‑by‑Step Instructions for Pastel Bunny Cupcakes
Step 1: Preheat and Prepare
Start by preheating your oven to 350°F (175°C) and line your cupcake pans with colorful liners. The vibrant liners will complement the pastel bunny theme beautifully! Ensure you have your mixing bowls, measuring cups, and whisk ready for a smooth baking process. It’s the perfect setup for creating your delicious Pastel Bunny Cupcakes!
Step 2: Cream the Butter and Sugar
In a large mixing bowl, cream together softened unsalted butter and granulated sugar using an electric mixer on medium speed until the mixture is light and fluffy, typically about 3-5 minutes. This step is crucial for achieving a tender texture in your cupcakes. Add in the eggs one at a time, ensuring each is well incorporated before moving on.
Step 3: Add Milk and Flavorings
Once the butter and sugar mixture is fluffy, gradually pour in the milk and any chosen flavor add-ins like vanilla extract or lemon zest. Mix until well combined, creating a smooth batter. Take a moment to enjoy the delightful aroma as you create the base for your Pastel Bunny Cupcakes. A balanced mixture will bring rich flavors to your festive treats!
Step 4: Mix the Dry Ingredients
In a separate bowl, whisk together all-purpose flour, baking powder, baking soda, and salt. This ensures your leavening agents are evenly distributed, which is key for even rising. Once combined, slowly fold the dry ingredients into the wet mixture. Stir gently until just incorporated, avoiding overmixing to keep your cupcakes light and fluffy.
Step 5: Fill and Bake
Using a spoon or a piping bag, fill each cupcake liner about two-thirds full with the batter, leaving space for rising. Place the pans in the preheated oven and bake for 18-20 minutes. You’ll know they’re ready when a toothpick inserted into the center comes out clean. Enjoy the sweet scents wafting through your kitchen while they bake!
Step 6: Cool the Cupcakes
Once baked, remove the cupcake pans from the oven and allow them to cool for about 10-15 minutes. Then, transfer the cupcakes to a wire rack to cool completely. This step helps maintain their texture and prevents melting when you frost them later. Your Pastel Bunny Cupcakes will soon be ready for their delightful decorations!
Step 7: Make the Frosting
While the cupcakes cool, prepare your frosting by creaming together softened unsalted butter and powdered sugar in a mixing bowl. Slowly add in heavy cream or milk until you achieve a smooth, spreadable consistency. This fluffy frosting will be a sweet complement to your cupcakes, adding to the overall charm of your festive creations.
Step 8: Decorate Your Cupcakes
Once the cupcakes are completely cooled, use a knife or piping bag to frost each cupcake generously. Dive into the fun by adding sprinkles, chocolate bunny toppers, or coconut shavings to resemble Easter grass. These details will transform your pastries into adorable Pastel Bunny Cupcakes, making them a showstopper at your Easter celebration!
Variations & Substitutions for Pastel Bunny Cupcakes
Explore endless possibilities to make Pastel Bunny Cupcakes uniquely yours; your creativity will shine through every delightful twist!
-
Dairy-Free: Use almond milk and coconut cream in place of dairy to create a deliciously inclusive cupcake. The flavors will still be rich and vibrant!
-
Gluten-Free: Substitute all-purpose flour with a gluten-free blend for a batter that everyone can enjoy. Your cupcakes will remain fluffy and tender.
-
Sugar-Free: Replace granulated sugar with coconut sugar or a sugar alternative for a healthier version. This way, you don’t have to compromise on sweetness.
-
Different Zest: Swap lemon zest for orange or lime zest to add a refreshing twist to the flavor profile. The result will be a tantalizing citrus burst in every bite.
-
Indulgent Fillings: Add a surprise filling like chocolate ganache or raspberry jam to the center for a deliciously unexpected treat that enhances your cupcakes’ charm.
-
Colorful Frosting: Use natural food coloring from beet or spinach powders for the frosting. This gives you a pastel hue and adds an element of health consciousness to your treats.
-
Flavorful Add-ins: Add a teaspoon of almond extract or coconut flavoring to the batter for an exciting new taste experience. These flavors will create a lovely aroma as they bake.
-
Seasonal Decorations: Use festive toppings like edible flowers or tiny sugar carrots for a seasonal variation that captures the essence of spring celebrations.
Whether you’re baking for a special occasion or just for fun, these creative options can elevate your Pastel Bunny Cupcakes and make them even more memorable!
Make Ahead Options
These Pastel Bunny Cupcakes are a perfect treat for busy bakers looking to save time! You can bake and cool the cupcakes up to 24 hours in advance; simply store them in an airtight container at room temperature to maintain their fluffy texture. If you’d like to prepare your frosting ahead, you can make it up to 3 days in advance and refrigerate it—just remember to bring it back to room temperature and re-whip before frosting for a light, fluffy finish. When you’re ready to serve, simply frost and decorate your cupcakes, delighting your guests with fresh, festive treats that are just as delicious as if you made them that day!
What to Serve with Pastel Bunny Cupcakes?
Treat your family and friends to a delightful dining experience with these enchanting cupcake creations as the sweet centerpiece.
-
Refreshing Lemonade: The tartness of lemonade balances the sweetness of the cupcakes, making it a perfect pairing for spring gatherings.
-
Light Iced Tea: A refreshing herbal or citrus iced tea provides a soothing contrast to the festive flavors, ideal for warm Easter afternoons.
-
Fruit Salad: A colorful fruit medley adds a splash of freshness, enhancing the sweet experience with bright flavors and varied textures.
-
Chocolate-covered Strawberries: Rich chocolate-dipped strawberries create a luscious treat that complements the cupcakes’ sweetness, perfect for a decadent dessert table.
-
Coconut Macaroons: These chewy cookies replicate the coconut shavings on your cupcakes, echoing the festive theme while providing a different texture!
-
Cute Bunny Cheese Platter: Arrange cheeses, crackers, and fruit in the shape of a bunny for a fun, edible display that captures the holiday spirit and offers savory bites.
Indulging in these delicious pairings will create a splendid Easter celebration that everyone will remember fondly!
Expert Tips for Pastel Bunny Cupcakes
-
Room Temperature Ingredients: Ensure all ingredients are at room temperature for a smoother batter and better rise in your Pastel Bunny Cupcakes.
-
Avoid Overmixing: Mix just until ingredients are combined to prevent dense cupcakes. Overmixing can ruin the light, fluffy texture you’re aiming for.
-
Cool Completely: Always let your cupcakes cool fully before frosting. This prevents melting and gives your decorations a chance to shine.
-
Decorating Fun: Use a piping bag for professional-looking frosting. Encourage kids to help decorate with sprinkles and toppings for extra fun!
-
Experiment with Flavors: Don’t hesitate to try different flavor add-ins like almond extract or orange zest for a personal twist on your cupcakes.
Storage Tips for Pastel Bunny Cupcakes
Room Temperature: Store your cupcakes in an airtight container at room temperature for up to 3 days to keep them moist and fresh.
Fridge: If you’ve used cream cheese or whipped cream frosting, refrigerate the cupcakes. They will stay fresh for up to a week.
Freezer: You can freeze unfrosted Pastel Bunny Cupcakes for up to 3 months. Wrap them tightly in plastic wrap and place them in a freezer-safe bag.
Reheating: To enjoy frozen cupcakes, thaw them in the fridge overnight, then bring them to room temperature before frosting or serving.
Pastel Bunny Cupcakes Recipe FAQs
What type of flour is best for making Pastel Bunny Cupcakes?
Absolutely! All-purpose flour is ideal for creating light and fluffy cupcakes. If you’re looking for a gluten-free option, feel free to substitute with a gluten-free flour blend, which works wonderfully for this recipe.
How should I store my Pastel Bunny Cupcakes?
It’s best to store your cupcakes in an airtight container at room temperature for up to 3 days. This keeps them moist and fresh. However, if you’ve used cream cheese or whipped cream frosting, you’ll want to refrigerate them, where they can last up to a week.
Can I freeze my unfrosted Pastel Bunny Cupcakes?
Very! You can freeze unfrosted cupcakes for up to 3 months. Simply wrap each cupcake tightly in plastic wrap and place them in a freezer-safe bag. When you’re ready to enjoy them, thaw them in the fridge overnight. Once they reach room temperature, you can frost and decorate them!
What if my cupcake batter turns out too thick?
No worries! If your batter is too thick, you might need to add a little more liquid, such as milk, to reach the desired consistency. A smooth, pourable batter is key for light and airy cupcakes. Remember to mix gently until just combined to avoid dense results!
Are there any allergy considerations for Pastel Bunny Cupcakes?
Definitely! For those with dairy allergies, substitute the butter with vegan butter and milk with almond milk or another non-dairy alternative. Similarly, if you’re catering to egg allergies, consider using flax eggs or applesauce as egg replacements. Always check your ingredients for potential allergens.
Can I use different flavor add-ins for my cupcakes?
Of course! Feel free to experiment with various flavorings like almond or orange zest in place of vanilla. This is a fun way to personalize your Pastel Bunny Cupcakes, creating unique tastes that your family and friends will love!
Pastel Bunny Cupcakes That Make Easter Extra Special
Ingredients
Equipment
Method
- Preheat your oven to 350°F (175°C) and line your cupcake pans with colorful liners.
- Cream together softened unsalted butter and granulated sugar until light and fluffy, about 3-5 minutes. Add eggs one at a time.
- Gradually pour in the milk and any chosen flavor add-ins, mixing until well combined.
- In a separate bowl, whisk together all-purpose flour, baking powder, baking soda, and salt. Fold into the wet mixture until just incorporated.
- Fill each cupcake liner about two-thirds full with batter and bake for 18-20 minutes.
- Allow the cupcakes to cool for about 10-15 minutes before transferring them to a wire rack to cool completely.
- Prepare the frosting by creaming together softened unsalted butter and powdered sugar. Add milk until smooth.
- Once the cupcakes are cooled, frost each cupcake and decorate with sprinkles, chocolate bunny toppers, and coconut shavings.
Leave a Reply