
As I stepped into my kitchen, the sun kissed the countertop where fresh strawberries lay, their glossy red skins just begging to be transformed. This Classic Homemade Strawberry Pie has always been a favorite in our home. With its flaky crust and the sweet romance of summer fruits, it’s a guaranteed crowd-pleaser, perfect for turning any meal into a special occasion. Not only is it a delightful way to indulge your sweet tooth, but it’s also remarkably quick to whip up, allowing you more time to savor those sweet moments with loved ones. Are you ready to take your baking to the next level and fill your home with the irresistible scent of fresh pie? Let’s dive in!
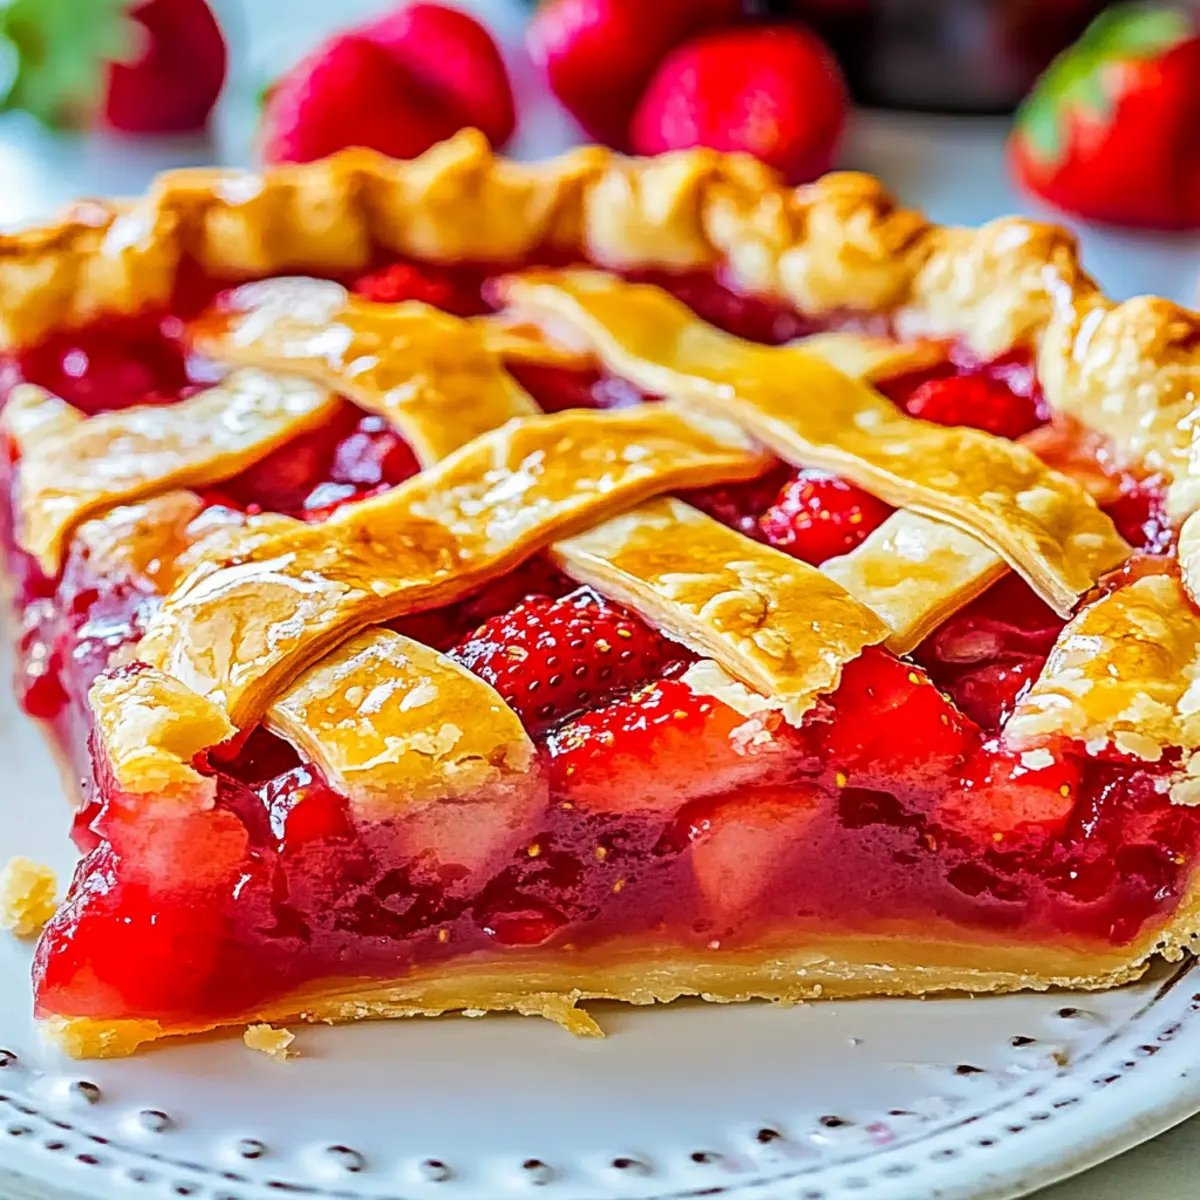
Why is this Strawberry Pie a must-try?
Deliciously Nostalgic: Each bite of this Classic Homemade Strawberry Pie transports you back to childhood summers.
Flaky Perfection: The buttery crust offers a delightful contrast to the juicy filling, making every slice a celebration.
Quick and Easy: With simple ingredients and straightforward steps, you’ll have a stunning pie in no time!
Customizable: Feel free to adapt the filling or add toppings like whipped cream or ice cream for extra indulgence. For a more rustic take, try a Beef Pot Pie that will be just as cherished by your family.
Impressive Presentation: A lattice top gives a beautiful finish that’s sure to impress at any gathering—perfect for sharing!
Strawberry Pie Ingredients
For the Crust
• All-purpose flour – Provides the structure for the crust; substitute with a gluten-free flour blend if needed.
• Cold unsalted butter – Adds richness and flavor to the crust; use vegan butter for a dairy-free option.
• Cold shortening – Contributes to a flaky texture in the crust; lard can be used for a more traditional flavor.
• Salt – Enhances flavor; essential for balancing the sweet filling.
• Sugar – Sweetens the dough; reduce if using sweetened filling.
• Ground cinnamon – Adds warmth to the crust (optional); omit if preferred.
• Cold water – Binds the dough without making it tough; adjust the amount as needed for the right consistency.
For the Filling
• Strawberry Pie Filling – The star of the pie ensuring sweetness and flavor; can use homemade or canned filling.
For the Glaze
• Egg – Used for egg wash to create a golden crust; substitute with a plant-based egg wash for vegan options.
Step‑by‑Step Instructions for Strawberry Pie
Step 1: Prepare Dough
In a food processor, combine all-purpose flour, salt, sugar, and optional ground cinnamon. Cut in cold unsalted butter and cold shortening until the mixture resembles coarse crumbs, about 10 seconds. Gradually add cold water, pulsing until the dough just comes together. This step should yield a cohesive but slightly sticky dough ready for chilling.
Step 2: Chill Dough
Shape the dough into a ball, then divide it into two equal halves. Wrap each half in plastic wrap and refrigerate for at least 3 hours or overnight for best texture. Chilling the dough is crucial as it firms up the fats, ensuring a flaky crust once baked.
Step 3: Roll Crust
On a lightly floured surface, roll out one dough ball to about 1/8-inch thickness for your 9-inch pie plate. Carefully transfer the rolled-out dough to the pie plate, pressing it gently into the bottom and up the sides. Trim any excess dough but leave about an inch overhang for a rustic finish, visualizing how the final pie will look.
Step 4: Add Filling
Prepare the strawberry pie filling according to your preference and ensure it is cool before adding. Spoon the filling into the prepared crust, making sure it is spread evenly. Aim for a heaping mound in the center for an appealing presentation. The vibrant red strawberries should be visible through the crust, making your strawberry pie irresistible.
Step 5: Lattice Top (Optional)
Roll out the second dough ball on the floured surface until it matches the size of the pie plate. Cut the rolled dough into strips about 1-inch wide. Create a lattice pattern by arranging the strips over the filling, weaving them over and under as you go. This decorative touch highlights the beautiful filling of your homemade strawberry pie.
Step 6: Egg Wash
In a small bowl, beat an egg with a tablespoon of water to create an egg wash. Using a pastry brush, gently apply the egg wash over the lattice and crust edges for a golden finish. Sprinkle a little sugar over the lattice for added sweetness and a touch of sparkle when baked. This step is key for that beautiful golden hue.
Step 7: Bake
Preheat your oven to 400°F (200°C). Place the prepared pie in the oven and bake for 20 minutes. Then, lower the temperature to 350°F (175°C) and bake for an additional 30 to 40 minutes, or until the crust is golden brown and the filling is bubbling slightly. You’ll know it’s done when the crust has a beautiful color and fragrant aroma fills the kitchen.
Step 8: Cool
Once baked, carefully remove the pie from the oven and allow it to cool on a wire rack. Let the pie chill in the refrigerator for 2 to 3 hours before serving. This cooling period allows the filling to set properly, ensuring that your strawberry pie slices hold their shape beautifully when cut.
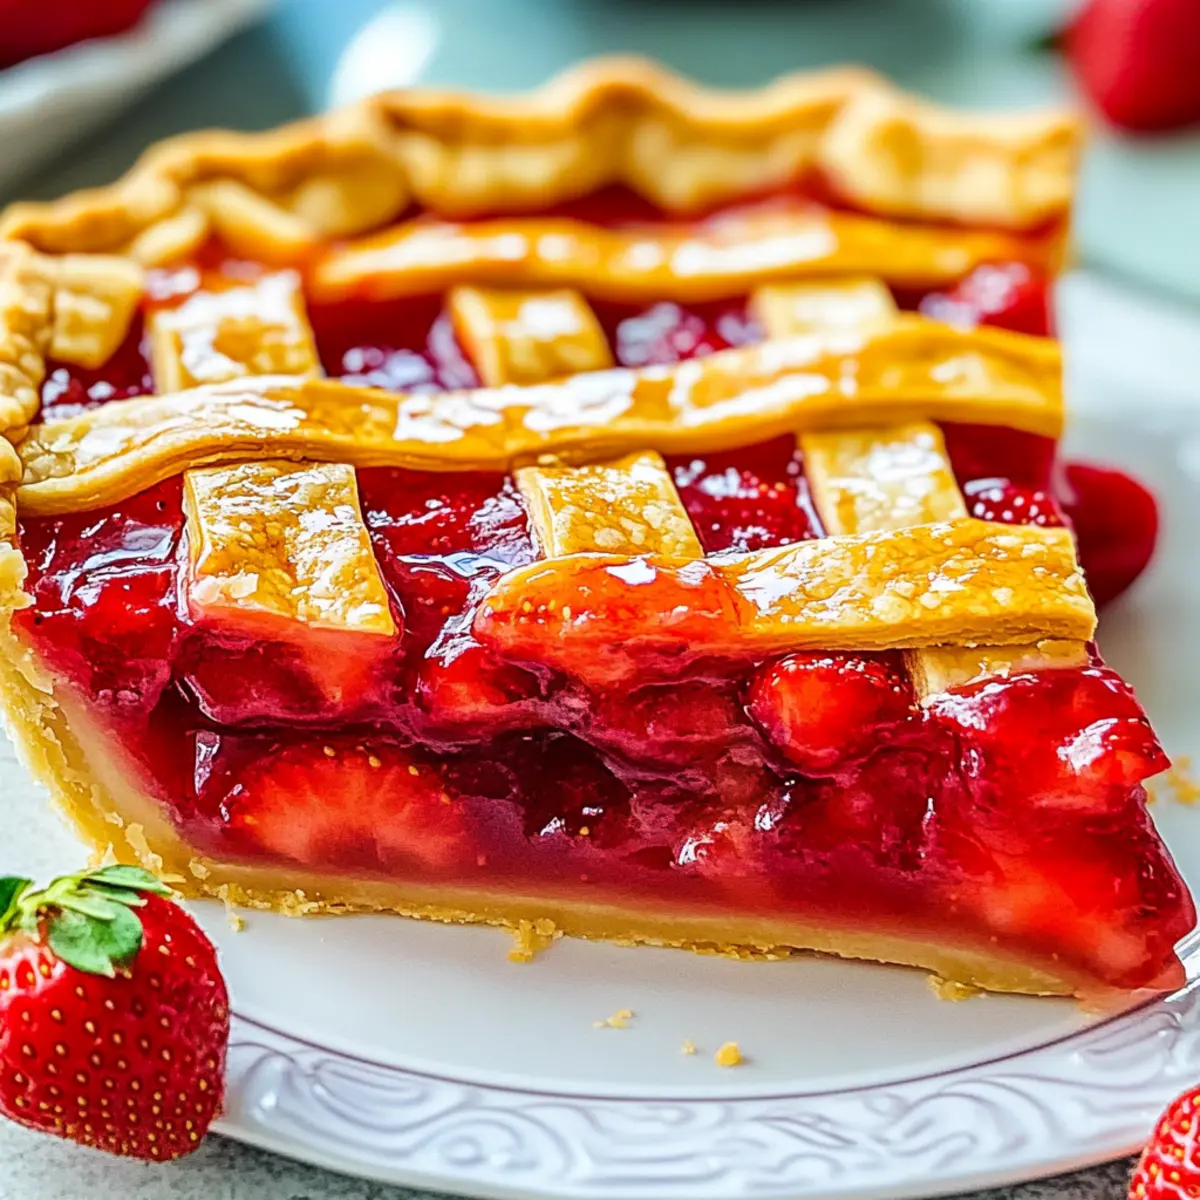
What to Serve with Classic Homemade Strawberry Pie
Elevate your dessert experience by pairing this delightful treat with complementary dishes and drinks that enhance its sweet, fruity essence.
-
Whipped Cream: A dollop of freshly whipped cream adds a light, airy contrast, making each bite even more indulgent.
-
Vanilla Ice Cream: The creamy vanilla flavor beautifully balances the tartness of the strawberries, creating a luscious dessert combination.
-
Chocolate Drizzle: A rich chocolate drizzle elevates the pie with a decadent touch, inviting a delightful mix of flavors.
-
Minted Fruit Salad: A vibrant salad of fresh fruits and mint provides a refreshing burst, balancing the pie’s sweetness with a zesty note.
-
Scones: Flaky homemade scones offer a delightful, buttery texture that pairs wonderfully with the strawberry filling. Consider serving them warm for extra comfort.
-
Sparkling Lemonade: A sparkling lemonade adds a bright and zesty refreshment, cutting through the richness of the pie for a delightful drink pairing.
-
Iced Tea with Fresh Berries: The subtle flavors of iced tea infused with fresh berries create a refreshing drink that complements the strawberries perfectly.
-
Cheese Platter: A selection of mild cheeses like brie or goat cheese can enhance the flavors of the pie and provide a savory contrast.
-
Shortbread Cookies: These crumbly, buttery bites make a delightful crunch alongside the soft texture of the pie, enhancing the overall experience.
Make Ahead Options
These Classic Homemade Strawberry Pies are perfect for meal prep! You can prepare the pie crust and refrigerate it up to 3 days in advance, or even freeze it for up to 2 months. Just ensure you wrap the dough tightly in plastic wrap to prevent it from drying out. Additionally, you can make the strawberry pie filling ahead of time and store it in an airtight container in the refrigerator for up to 3 days. When you’re ready to serve, simply roll out the chilled dough, fill it with the prepared filling, and bake as directed. This way, you’ll enjoy delicious, homemade strawberry pie with minimal effort on busy weeknights!
How to Store and Freeze Strawberry Pie
Room Temperature: Keep your Strawberry Pie at room temperature for up to 1 day, covered with a clean kitchen towel to protect it from drying out.
Fridge: Store pie in the refrigerator for up to 3 days. Cover it loosely with plastic wrap to prevent the crust from becoming soggy while allowing some air circulation.
Freezer: To freeze, wrap the pie tightly in plastic wrap and then aluminum foil. It can be frozen for up to 2 months. Thaw in the fridge overnight before serving.
Reheating: Warm individual slices in the microwave for 20-30 seconds or in the oven at 350°F for about 10 minutes to restore that just-baked flavor!
Expert Tips for Classic Strawberry Pie
- Chill Dough Properly: Refrigerate your dough for at least 3 hours or ideally overnight. This is crucial for a flaky texture that melts in your mouth.
- Use Fresh Strawberries: If possible, opt for in-season fresh strawberries for the best flavor. Thaw frozen strawberries completely and drain them well to prevent a soggy crust.
- Avoid Soggy Bottom: To keep the bottom crust crisp, blind bake the crust for 10 minutes before adding the filling—this creates a barrier that prevents sogginess.
- Perfectly Cut Slices: For clean slices, dip your knife in hot water before cutting each piece of the strawberry pie. It helps maintain that gorgeous presentation!
- Experiment with Flavors: Don’t hesitate to mix in other berries or add lemon zest for a refreshing twist. Your classic strawberry pie can be uniquely yours!
Strawberry Pie Variations & Substitutions
Feel free to get creative with this Strawberry Pie recipe and tailor it to your taste, ensuring each bite is just as delightful!
- Gluten-Free: Substitute all-purpose flour with a gluten-free flour blend for a tasty, inclusive crust.
- Dairy-Free: Use vegan butter instead of unsalted butter to keep it rich and guilt-free for dairy sensitivities. This ensures everyone can enjoy a slice!
- Mixed Berries: Add a blend of blueberries and raspberries to the filling for a colorful twist that brings in new flavors while complementing the strawberries beautifully.
- Spiced Crust: Enhance the flavor by adding a pinch of nutmeg or ginger to the crust, giving it a warm, aromatic touch that pairs perfectly with summer berries.
- Sugar-Free Option: Swap regular sugar with a natural sweetener, like agave syrup or stevia, to create a healthier version without compromising on sweetness.
- Lattice or Crumble Top: For a different texture, try a crumble topping with oats and flour, adding a delightful crunch that contrasts with the soft filling.
- Add a Zing: A touch of lemon juice or zest in the filling can brighten the flavors and elevate the overall tartness of your pie.
- Fruit Compote: Instead of traditional filling, make a strawberry compote by cooking fresh strawberries with sugar; this gives a saucy texture that’s absolutely delectable!
As you explore these variations, consider pairing your pie with a scoop of vanilla ice cream or some freshly whipped cream for that perfect indulgent finish. If you’re interested in pie-making techniques, you might enjoy checking out my take on Veggie Pot Pie or the comforting flavors of a classic Beef Pot Pie for even more delicious ideas!
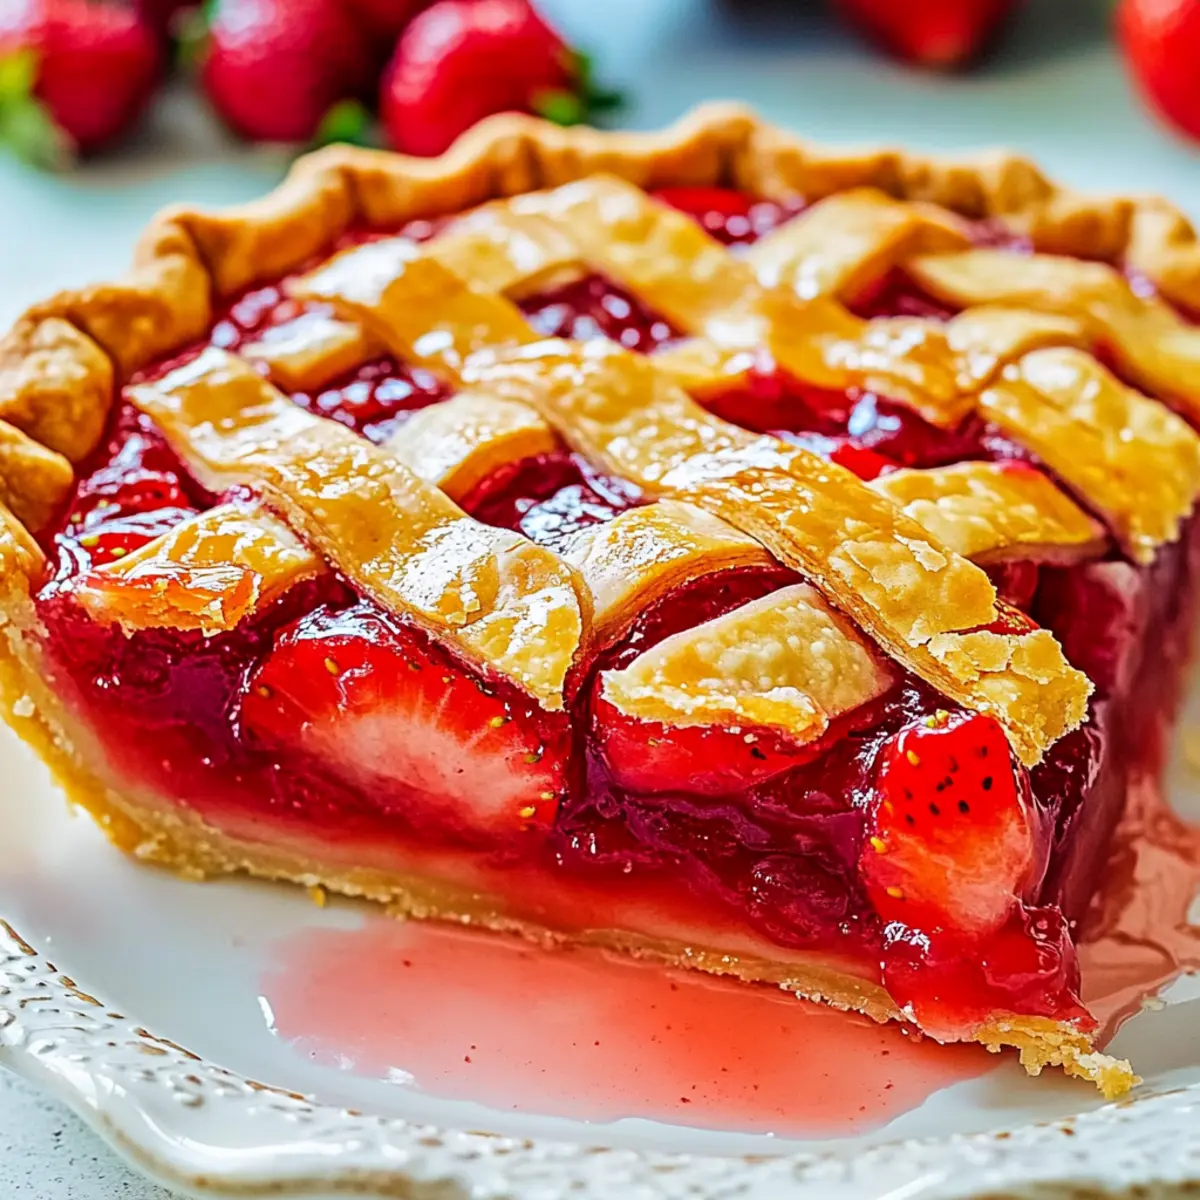
Classic Homemade Strawberry Pie Recipe FAQs
How do I select ripe strawberries for the pie?
Absolutely! When choosing strawberries, look for firm, plump berries with a deep red color and shiny skin. Avoid any that have green or white spots, as they won’t be as ripe or sweet. Gently squeeze them; if they yield slightly, they are perfect for your pie!
What is the best way to store leftover Strawberry Pie?
If you have leftover Strawberry Pie, store it in the refrigerator for up to 3 days. Cover it loosely with plastic wrap to prevent the crust from getting soggy while still allowing air circulation, preserving that delightful texture for your next slice.
Can I freeze Strawberry Pie?
Yes, you can! To freeze your Strawberry Pie, wrap it tightly in plastic wrap and then in aluminum foil. It can be stored in the freezer for up to 2 months. When you’re ready to enjoy it, thaw it in the refrigerator overnight for the best results.
Why is my pie crust soggy?
Soggy crust can often be due to too much liquid in the filling. If using frozen strawberries, make sure to thaw and drain excess liquid beforehand. Alternatively, you can blind bake your crust for about 10 minutes before adding the filling, which helps create a barrier that keeps it crispy.
Is this recipe suitable for those with dietary restrictions?
Definitely! This Classic Homemade Strawberry Pie can be adapted for various dietary needs. You can use gluten-free flour for those avoiding gluten, and replace the butter with vegan options to make it dairy-free. Always check your ingredients to ensure they meet specific dietary requirements!
How can I ensure perfect slices when serving?
For clean, beautiful slices, dip your knife in hot water before cutting into the pie. Wipe the blade between slices to maintain neat edges. This little trick not only keeps your pie looking fantastic but also makes serving a breeze!

Classic Strawberry Pie: A Slice of Summer Bliss
Ingredients
Equipment
Method
- In a food processor, combine all-purpose flour, salt, sugar, and optional ground cinnamon. Cut in cold unsalted butter and cold shortening until the mixture resembles coarse crumbs, about 10 seconds. Gradually add cold water, pulsing until the dough just comes together.
- Shape the dough into a ball, then divide it into two equal halves. Wrap each half in plastic wrap and refrigerate for at least 3 hours or overnight for best texture.
- On a lightly floured surface, roll out one dough ball to about 1/8-inch thickness for your 9-inch pie plate. Carefully transfer the rolled-out dough to the pie plate, pressing it gently into the bottom and up the sides.
- Prepare the strawberry pie filling according to your preference and ensure it is cool before adding. Spoon the filling into the prepared crust, making sure it is spread evenly.
- Roll out the second dough ball on the floured surface until it matches the size of the pie plate. Cut the rolled dough into strips about 1-inch wide. Create a lattice pattern by arranging the strips over the filling.
- In a small bowl, beat an egg with a tablespoon of water to create an egg wash. Using a pastry brush, gently apply the egg wash over the lattice and crust edges.
- Preheat your oven to 400°F (200°C). Place the prepared pie in the oven and bake for 20 minutes, then lower the temperature to 350°F (175°C) and bake for an additional 30 to 40 minutes.
- Once baked, carefully remove the pie from the oven and allow it to cool on a wire rack. Let the pie chill in the refrigerator for 2 to 3 hours before serving.
Leave a Reply