
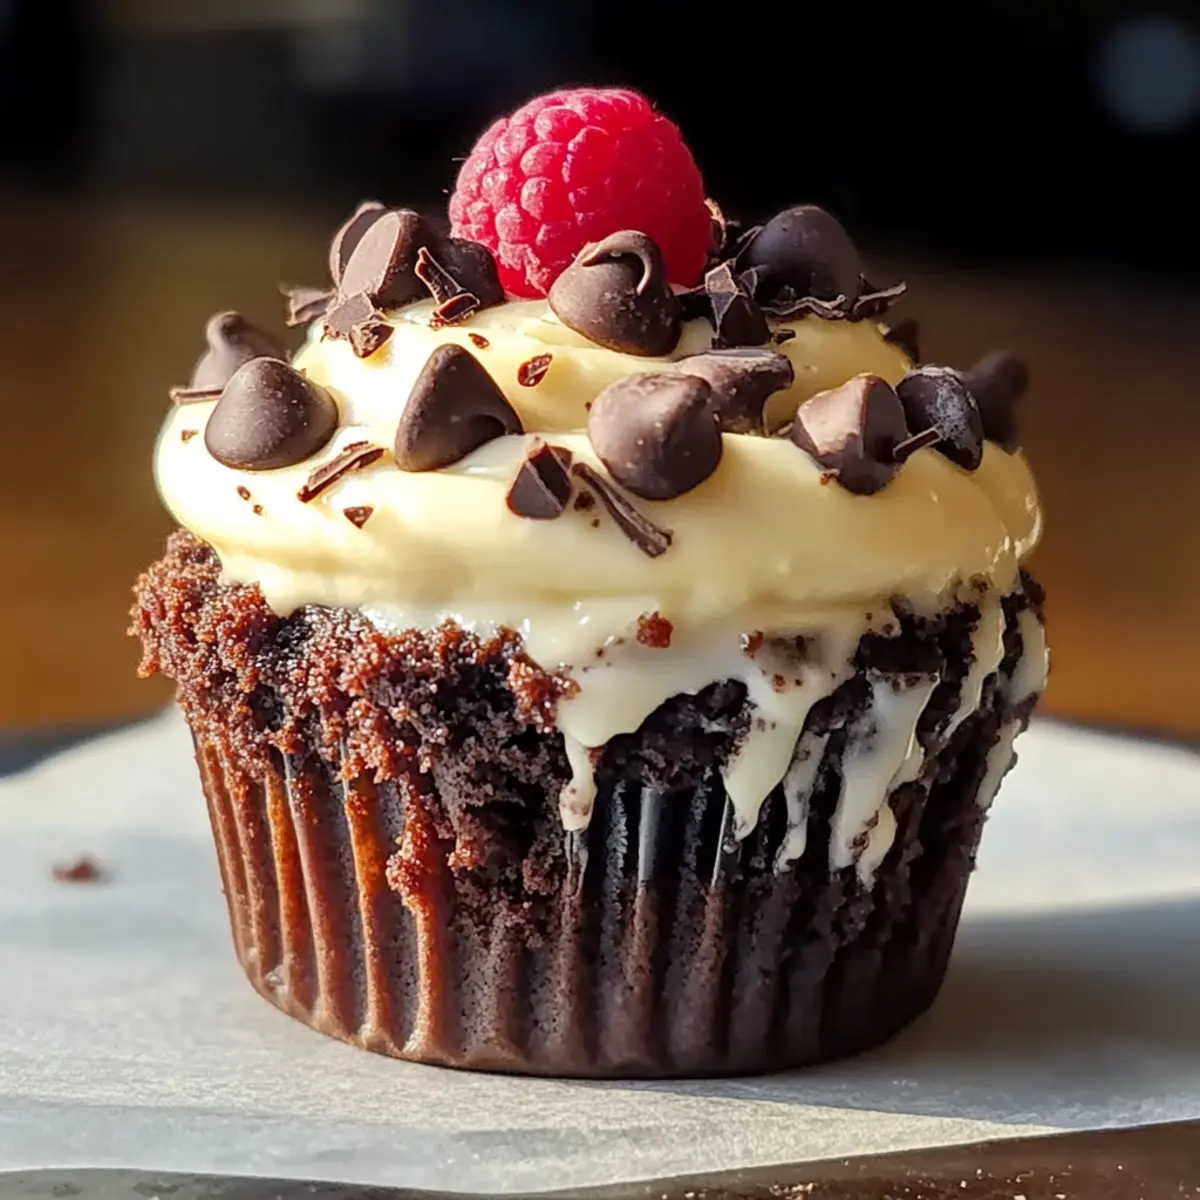
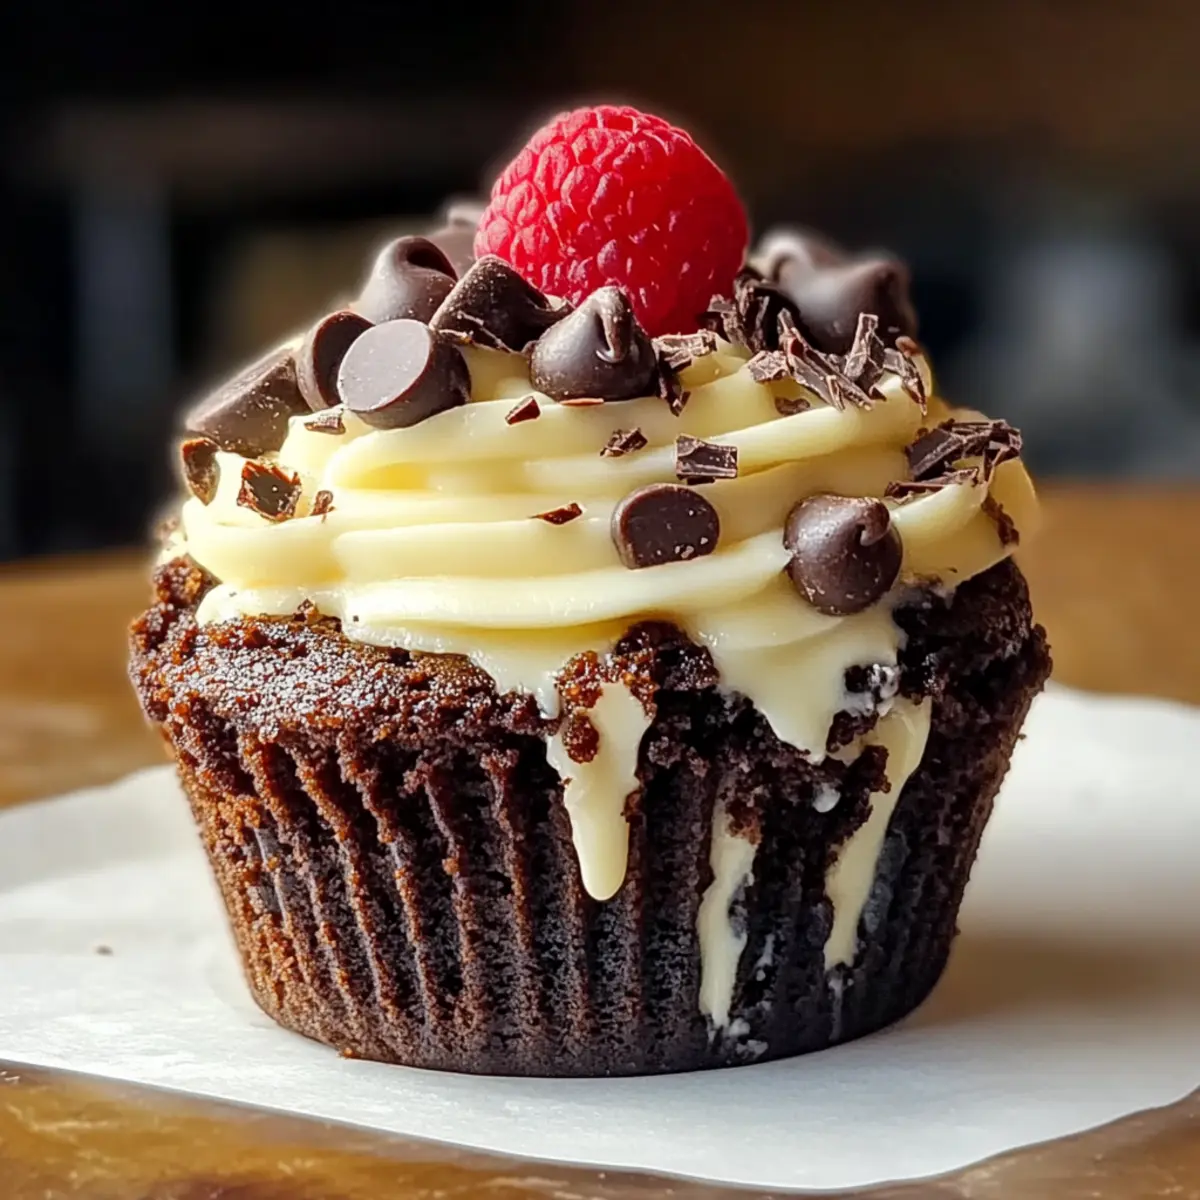
You know that feeling when you’re torn between a rich, fudgy brownie and a creamy cheesecake? Well, let me introduce you to the ultimate solution: Loaded Brownie Cheesecake Cups! These easy dessert delights combine the best of both worlds in a single, scrumptious bite that’s ready in no time. With their delightful textures and customizable toppings, they are perfect for impressing guests or simply treating yourself after a long day. Whether you want to whip them up for a special occasion or just because, these cups are the answer to your dessert dreams. Are you ready to elevate your dessert game with this irresistible recipe?
Why Love Loaded Brownie Cheesecake Cups?
Irresistible Combination: Enjoy the decadence of rich brownies paired with creamy cheesecake in each delightful cup.
Quick & Easy: Perfect for busy bakers, this recipe comes together in just a few simple steps.
Customizable: Top with your favorite ingredients, like whipped cream or fresh berries, to make it uniquely yours.
Crowd-Pleasing Treat: These brownie cheesecake cups are the ultimate dessert for gatherings, certain to impress family and friends.
Vegan-Friendly Option: Easily adapted for plant-based diets, simply swap in a flax egg and dairy-free cream cheese.
Dive into more delicious plant-based treats like Blueberry Cheesecake Protein or sweet treats such as Gingerbread Cheesecake Cups.
Loaded Brownie Cheesecake Cups Ingredients
For the Brownie Base
- Brownie Mix – Use a quality mix for an easy and tasty foundation; homemade brownie batter can add your personal touch.
- Vegetable Oil – This ensures moisture and richness in your brownies; there’s no need for substitutions.
- Egg – Acts as a binding agent; consider a flax egg if you’re going for a vegan option.
- Water – Helps activate the brownie mix for that signature fudgy texture; no substitutes needed.
For the Cheesecake Layer
- Cream Cheese – Provides the quintessential creaminess; Greek yogurt or dairy-free cream cheese can lighten it up.
- Granulated Sugar – Sweetens the cheesecake perfectly; coconut sugar or other alternatives work well too.
- Vanilla Extract – Enhances the flavor profile beautifully; skipping it isn’t recommended.
- Sour Cream – Adds creaminess and a delightful tang; Greek yogurt can serve as a substitute.
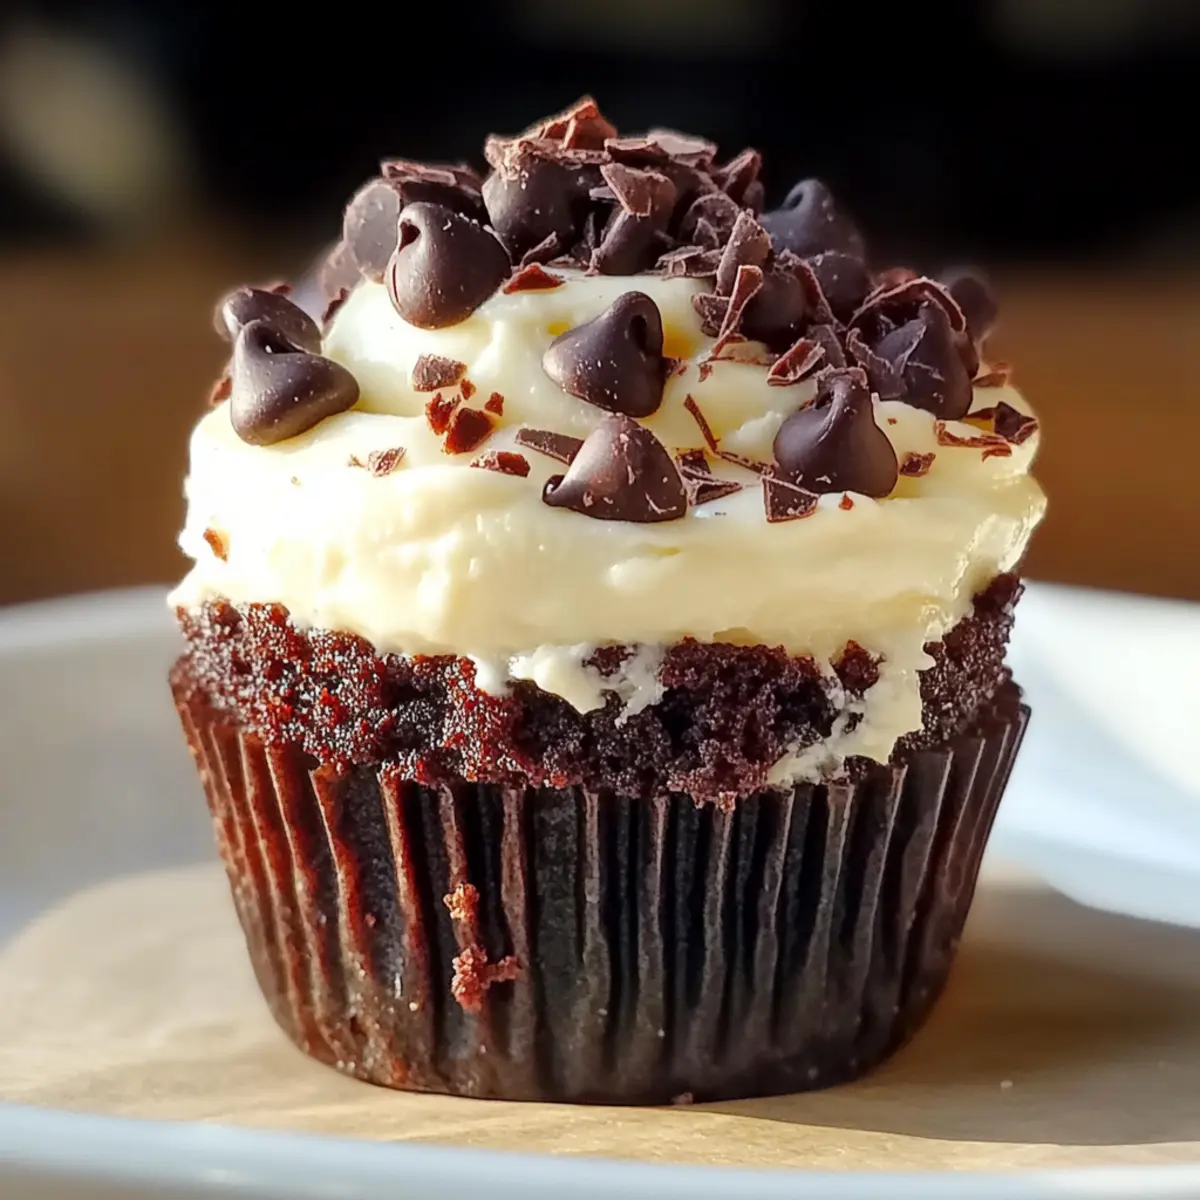
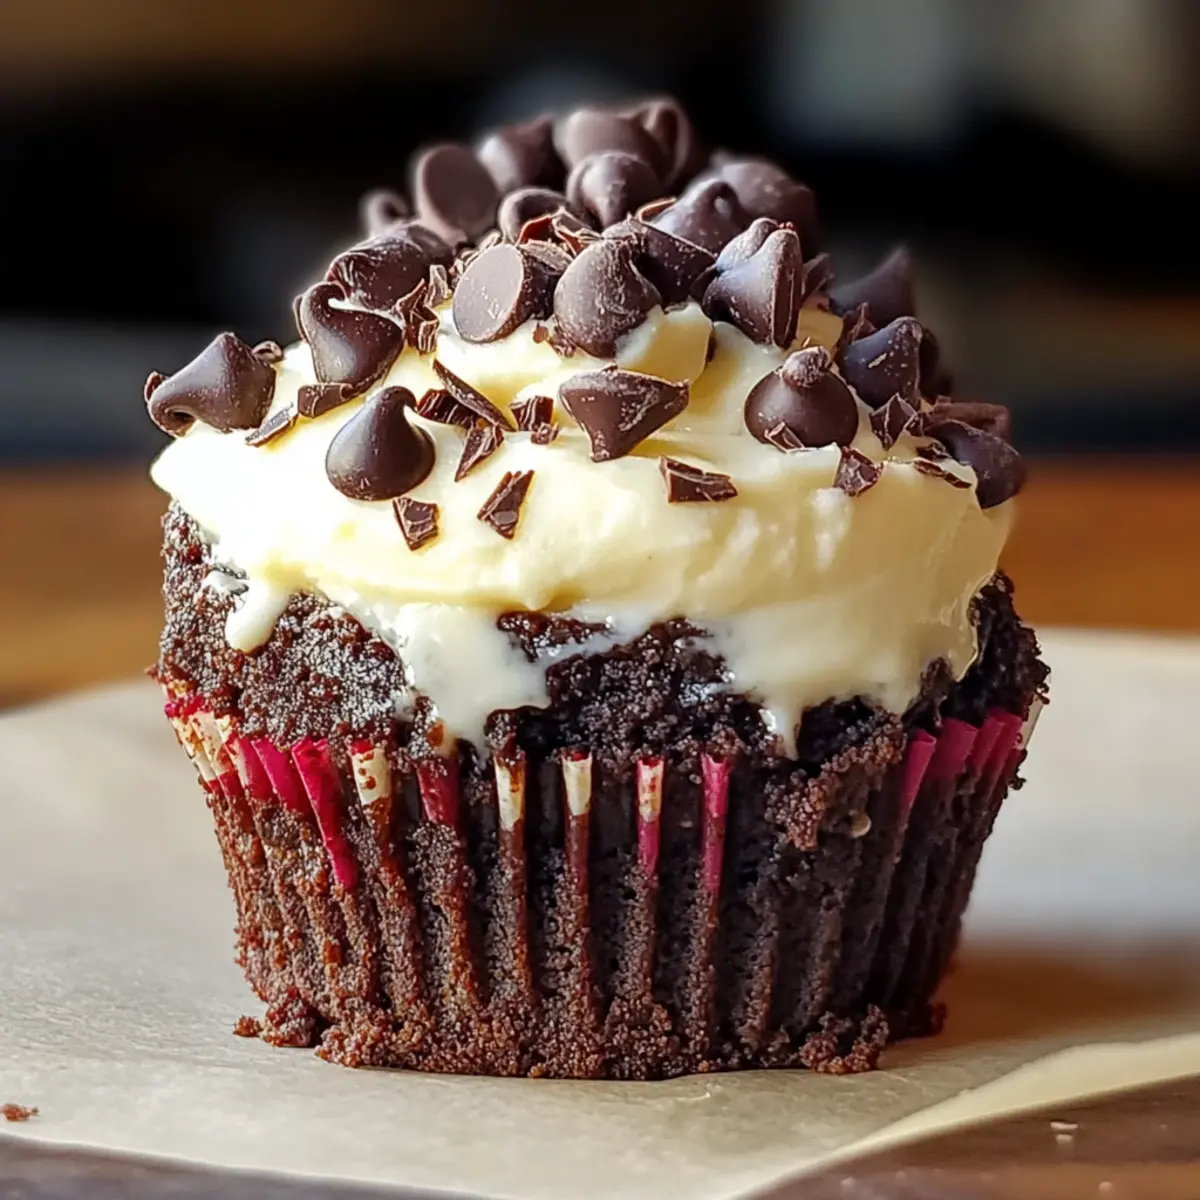
- Mini Chocolate Chips – Infuses extra chocolate flavor and delightful texture; feel free to replace with chopped nuts for a crunch or omit for a lighter treat.
Make these Loaded Brownie Cheesecake Cups your next dessert adventure!
Step-By-Step Instructions for Loaded Brownie Cheesecake Cups
Step 1: Preheat Oven
Start by preheating your oven to 350°F (175°C). While the oven warms up, line a muffin tin with cupcake liners to make removing the Loaded Brownie Cheesecake Cups easier once baked. This preparation will ensure you have everything ready as you move forward with the recipe.
Step 2: Mix Brownie Batter
In a large mixing bowl, combine the brownie mix, vegetable oil, egg, and water. Stir the mixture vigorously until it becomes thick and glossy, ensuring there are no lumps. The consistency should be smooth, creating a luscious base for your brownie cups that will be simply irresistible.
Step 3: Bake Brownies
Spoon the brownie batter into the lined muffin tin, filling each cup about halfway. Place the tin in your preheated oven and bake for 10–12 minutes. Keep an eye on them, and check for doneness using a toothpick; it should come out with a few moist crumbs, indicating a perfectly fudgy brownie base.
Step 4: Mix Cheesecake Layer
While the brownie bases bake, prepare the cheesecake layer. In another bowl, beat the cream cheese until it’s smooth and creamy. Gradually add sugar, vanilla extract, and the remaining egg, mixing until well combined. Finally, fold in the sour cream and mini chocolate chips, creating a delightful cheesecake mixture that will complement the brownies perfectly.
Step 5: Layer Cheesecake
Once the brownie bases have cooled slightly, carefully spoon the cheesecake mixture over the tops of each brownie cup, filling them nearly to the rim. This layering will create a beautiful contrast between the rich brownie and creamy cheesecake, giving you a treat that’s both elegant and delicious.
Step 6: Final Bake
Return the muffin tin to the oven for another 15–18 minutes. Bake until the cheesecake layer is slightly puffed and set, but still has a tender texture. You’ll know they’re ready when they look perfectly baked and smell heavenly throughout your kitchen.
Step 7: Cool & Chill
Allow the Loaded Brownie Cheesecake Cups to cool completely in the pan, which will take about 30 minutes. Then, transfer them to the fridge and chill for at least 2 hours, allowing the flavors to meld beautifully. This chilling step is key for a delightful dessert experience when you serve!
Storage Tips for Loaded Brownie Cheesecake Cups
- Fridge: Store the cups in an airtight container in the refrigerator for up to 3 days. This ensures they stay fresh and maintain their delightful texture.
- Freezer: If you want to save them for later, wrap the cups tightly in plastic wrap and place them in a freezer-safe container. They can be frozen for up to 2 months.
- Thawing: When ready to enjoy, simply transfer the Frozen Loaded Brownie Cheesecake Cups to the fridge to thaw overnight.
- Reheating: For a warm treat, you can microwave them for about 10-15 seconds, but be careful not to overheat, as the cheesecake layer could become too soft.
What to Serve with Loaded Brownie Cheesecake Cups?
These delightful treats are perfect for exploring your dessert pairing creativity, ensuring every bite is memorable!
-
Whipped Cream: A light dollop of whipped cream adds a fluffy texture that beautifully complements the dense brownie and creamy cheesecake.
-
Fresh Berries: Strawberries, raspberries, or blueberries provide a tart contrast, balancing the sweetness of the cups while adding a pop of color and freshness.
-
Vanilla Ice Cream: Serve warm with a scoop of vanilla ice cream for a classic dessert experience that combines creamy, cold, and rich textures.
-
Chocolate Sauce: Drizzle melted chocolate sauce for an extra indulgent treat that amplifies the rich chocolate flavor of the brownie base.
-
Espresso or Coffee: A hot cup of espresso is a delightful pairing, cutting through the sweetness and enhancing the dessert experience with its bold flavors.
Elevate your dessert table by combining these ideas with your Loaded Brownie Cheesecake Cups for unforgettable bites!
Loaded Brownie Cheesecake Cups Variations
Feel free to let your creativity shine and customize these delicious treats to suit your taste buds!
- Vegan Twist: Substitute the egg with a flax egg and use dairy-free cream cheese to craft a scrumptious vegan delight.
- Nutty Crunch: Add chopped walnuts or pecans to the cheesecake mixture for an extra crunch and rich flavor.
- Chocolate Explosion: For true chocolate lovers, fold in some dark chocolate chunks into the brownie batter before baking.
- Fruity Surprise: Incorporate a layer of raspberry or cherry jam in between the brownie and cheesecake layers for a burst of fruity flavor.
- Spicy Kick: Add a pinch of cayenne pepper or chili powder to the brownie mix for a surprising heat that complements the sweetness.
- Caramel Drizzle: Top your brownie cheesecake cups with a sprinkle of sea salt and a drizzle of caramel sauce for an indulgent finish.
- Flavor Infusion: Experiment with flavored extracts, like almond or orange, in place of vanilla for a unique twist on the classic cheesecake flavor.
- Zesty Lemon: Mix in some lemon zest into the cheesecake layer for a refreshing, citrusy punch that brightens up the dessert.
As you explore these variations, don’t forget to check out more delightful recipes like Gingerbread Cheesecake Cups for the holidays or the creamy goodness of Blueberry Cheesecake Protein for a healthful twist!
Expert Tips for Loaded Brownie Cheesecake Cups
-
Baking Time Alert: Keep a close eye on the baking time; the cheesecake should be set but still moist to avoid dryness.
-
Cooling is Key: Allow the cups to cool completely before refrigerating; this step enhances the flavor and texture, making your Loaded Brownie Cheesecake Cups extra special.
-
Ingredient Quality Matters: Choose high-quality cream cheese and chocolate chips for the richest flavor. It makes all the difference in this decadent dessert.
-
Storage Know-How: Store any leftovers in an airtight container in the fridge for up to 3 days, but trust me, they won’t last long!
-
Scoop Wisely: When layering the cheesecake on the brownie base, aim for an even distribution to create a beautiful, consistent look.
Make Ahead Options
These Loaded Brownie Cheesecake Cups are perfect for meal prep enthusiasts! You can prepare the brownie base up to 24 hours in advance by baking it, letting it cool completely, and storing it in an airtight container in the refrigerator. Similarly, the cheesecake layer can be mixed and kept in the fridge for an additional 24 hours before you layer it onto the brownies. To maintain quality, keep the cheesecake mixture tightly covered to prevent any drying out. When you’re ready to serve, simply layer the cheesecake over the brownie cups and bake as instructed. You’ll have a delicious dessert ready with barely any effort on the day of!
Loaded Brownie Cheesecake Cups Recipe FAQs
What’s the best way to select ripe ingredients for this recipe?
Absolutely! When choosing your ingredients, look for cream cheese that’s fresh and creamy without any discoloration, which could indicate spoilage. For the brownie mix, check the expiration date on the box to ensure freshness. If you’re opting for dairy-free cream cheese, look for products with a good texture; brands like Tofutti or Kite Hill are excellent choices!
How should I store Loaded Brownie Cheesecake Cups?
Simply store your Loaded Brownie Cheesecake Cups in an airtight container in the refrigerator for up to 3 days. To keep them at their best, ensure they’re fully cooled before sealing them up. If you have leftovers after a few days, I often recommend freezing them to preserve their deliciousness!
Can I freeze Loaded Brownie Cheesecake Cups?
Yes, you can! To freeze them, wrap each cup tightly in plastic wrap to prevent freezer burn and then place them in a freezer-safe container. They can be stored in the freezer for up to 2 months. When you’re ready to enjoy, thaw them overnight in the fridge, and they’ll taste just as delightful!
What should I do if my brownie base is too dry?
If your brownie base turns out dry, don’t worry! Next time, you might want to check the baking time a bit earlier and remove them when they’re still slightly underbaked, as they will continue to set while cooling. Also, ensure you’re using enough oil and that your oven’s temperature is accurate. A good trick is to keep a small oven thermometer on hand to help with those perfect bakes!
Are there any common allergens in this recipe?
Yes, be aware that the traditional recipe contains dairy and eggs, which can be allergens for some individuals. If you’re making them vegan, replacing the egg with a flax egg (1 tablespoon of flaxseed meal mixed with 2.5 tablespoons of water) is a fantastic alternative. Always check the labels on your cream cheese and brownie mix for any potential allergens, especially if you’re preparing them for guests.
How can I customize the Loaded Brownie Cheesecake Cups for dietary preferences?
The great thing about this recipe is how versatile it is! For a vegan version, substitute the egg with a flax egg and use dairy-free cream cheese and milk alternatives. Additionally, if you have nut allergies, feel free to skip the mini chocolate chips or opt for dairy-free varieties. You can also use alternative sweeteners like coconut sugar if needed. The more the merrier when it comes to customizing to your taste!
Decadent Loaded Brownie Cheesecake Cups You’ll Crave
Ingredients
Equipment
Method
- Preheat your oven to 350°F (175°C) and line a muffin tin with cupcake liners.
- Combine the brownie mix, vegetable oil, egg, and water in a large mixing bowl and mix until thick and glossy.
- Spoon brownie batter into the lined muffin tin, filling each cup halfway, and bake for 10-12 minutes.
- Beat cream cheese in a separate bowl until smooth, then add sugar, vanilla extract, and remaining egg, mixing well before folding in sour cream and mini chocolate chips.
- Spoon the cheesecake mixture over the brownie bases, filling each nearly to the rim.
- Return the muffin tin to the oven and bake for another 15-18 minutes until the cheesecake layer is set.
- Allow to cool in the pan for about 30 minutes, then chill in the fridge for at least 2 hours before serving.
Leave a Reply