
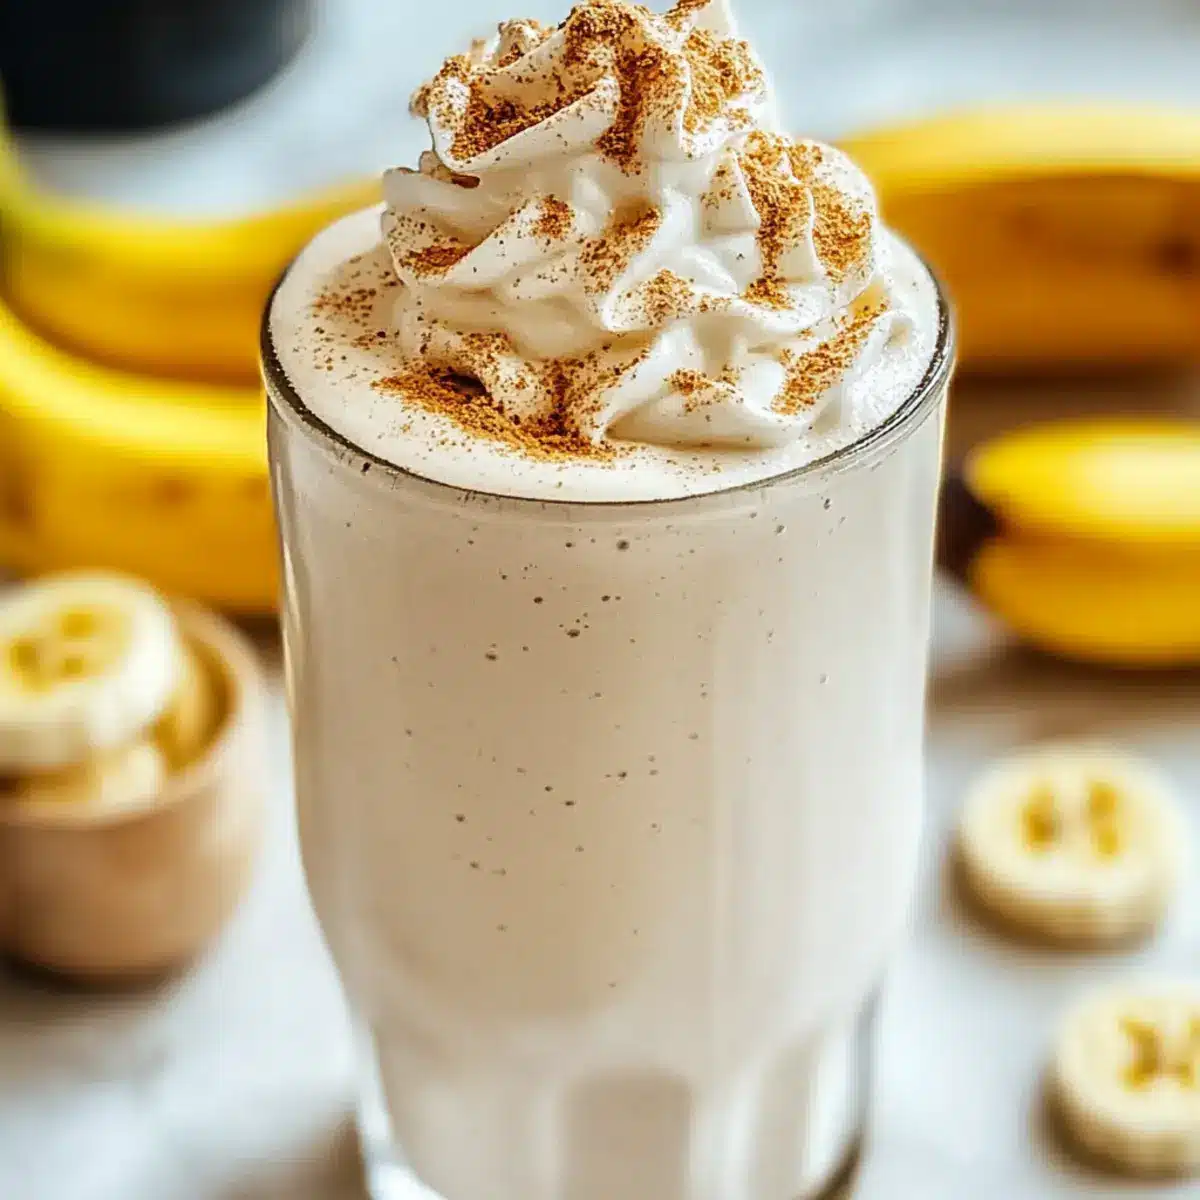
While rummaging through my pantry one sweltering afternoon, I stumbled upon some ripe bananas that were calling my name. This inspired me to whip up a delightful and nutritious treat—Crema Banana Milkshake Without Ice Cream. It’s the perfect antidote to overindulgent snacks, blending the lusciousness of fresh bananas with the creaminess of your favorite milk for a refreshingly satisfying experience. Not only is this shake incredibly simple to make, but it also caters to those seeking a healthier option without sacrificing taste. With just a handful of ingredients, you can indulge in a quick, creamy escape that’s gluten-free and low FODMAP, making it accessible to all. Curious about how you can effortlessly transition your snack time into something deliciously wholesome? Let’s dive right into this creamy treat!
Why Choose This Banana Milkshake?
Healthier Alternative: This Banana Milkshake Without Ice Cream serves as a guilt-free treat packed with vitamins and minerals without the extra calories.
Quick & Easy: Whip it up in just minutes—perfect for those busy afternoons or a fast snack.
Versatile Ingredients: Customize it with toppings or substitutions, such as adding almond milk or a scoop of protein powder for a nutritious boost.
Kid-Friendly: The natural sweetness of ripe bananas makes it a delightful way to introduce more fruit into your family’s diet.
Creamy & Delicious: Experience the thick, creamy texture and rich flavor that rivals traditional milkshakes, minus the excess sugar and fat.
Transform your snack time with this refreshing drink! If you’re also in the mood for something warm, consider trying Chicken Macaroni Cheese next!
Banana Milkshake Without Ice Cream Ingredients
For the Base
• Ripe Banana – Essential for natural sweetness and creaminess; using frozen yields a thicker shake.
• Ice Cubes – Adds a frosty texture; adjust quantity depending on how chilled you’d like your milkshake.
• Milk – Creaminess booster; choose from whole, skim, almond, or coconut milk to fit your taste.
For Sweetening & Flavor
• Granulated Sugar/Sweetener – Optional if you prefer a sweeter milkshake; ripe bananas may reduce the need.
• Vanilla Extract – Key for depth of flavor; don’t skip this aromatic ingredient.
• Ground Cinnamon – Adds warmth and spice; include if you enjoy a hint of cinnamon.
For Extra Creaminess
• Peanut Butter – For luscious texture and flavor; can be swapped with almond butter or sunflower seed butter.
• Cocoa Powder – Optional for a chocolatey twist; enhances flavor without adding too many calories.
Elevate your snack game today with this Banana Milkshake Without Ice Cream that’s not just nutritious but downright delicious!
Step‑by‑Step Instructions for Banana Milkshake Without Ice Cream
Step 1: Gather Your Ingredients
Begin by assembling all the delightful components for your Banana Milkshake Without Ice Cream. You’ll need 1 ripe banana, 1 cup of ice cubes, and 1 cup of your chosen milk. If you wish, bring along optional ingredients like granulated sugar, vanilla extract, ground cinnamon, peanut butter, or cocoa powder to customize your shake. A blender will be essential for this creamy concoction.
Step 2: Prepare the Banana
Peel the ripe banana and break it into manageable pieces, then place them into the blender. Ripe bananas are key to achieving that natural sweetness and creaminess in your milkshake. As you work, admire the vibrant yellow color—this will signal you’re on the right track for a flavorful experience!
Step 3: Add the Ice
For a refreshing chill in your Banana Milkshake, add 1 cup of ice cubes into the blender. If you prefer a thicker consistency, consider using ¾ cup of crushed ice instead. The ice will contribute to the frosty texture that makes this drink so enjoyable on warm days, inviting you to savor every sip.
Step 4: Pour in the Milk
Next, pour in 1 cup of milk, choosing from whole, skim, almond, or coconut according to your preference. This addition brings a creaminess that perfectly balances the sweetness of the banana. As it blends together, you’ll notice the ingredients transforming into a luscious mixture already!
Step 5: Sweeten to Taste
If you desire a touch more sweetness, add 1 heaping tablespoon of granulated sugar or your preferred sweetener. Blend it into the mixture, tasting to check the flavor balance. Remember, the ripeness of your banana may already provide enough sweetness, so adjust as you go for a delightful result.
Step 6: Enhance with Flavor
Incorporate 1 teaspoon of vanilla extract to enrich the flavor profile of your banana milkshake. If you’d like to introduce a pinch of ground cinnamon for warmth, now’s the perfect time! This aromatic essence will take your milkshake to new heights, making your taste buds dance with delight.
Step 7: Add Extra Creaminess
For that extra touch of indulgence, include 1 heaping spoonful of peanut butter (or almond butter) into the blender for a creamier texture. Alternatively, if you’re feeling adventurous, add 2 tablespoons of cocoa powder for a chocolaty spin. This step really elevates your Banana Milkshake Without Ice Cream!
Step 8: Blend Until Smooth
Secure the blender lid tightly and blend on high until all ingredients are thoroughly combined and the mixture is smooth and frosty. This process should take about 30–60 seconds. If needed, pause to scrape down the sides of the blender to ensure no chunks of banana are left behind, achieving a truly velvety shake.
Step 9: Serve and Enjoy
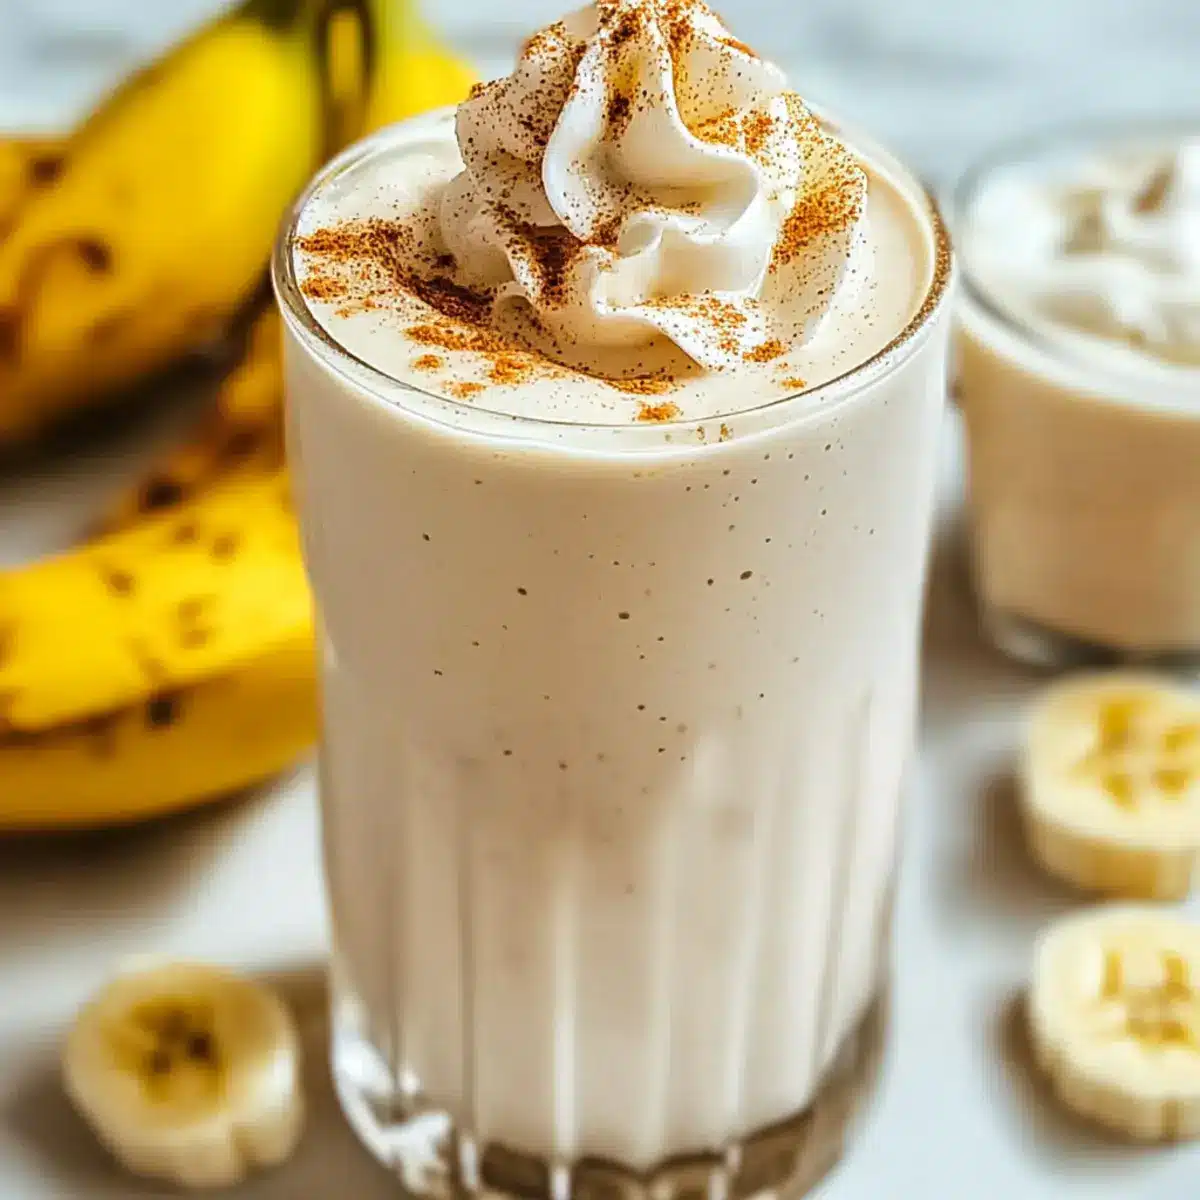
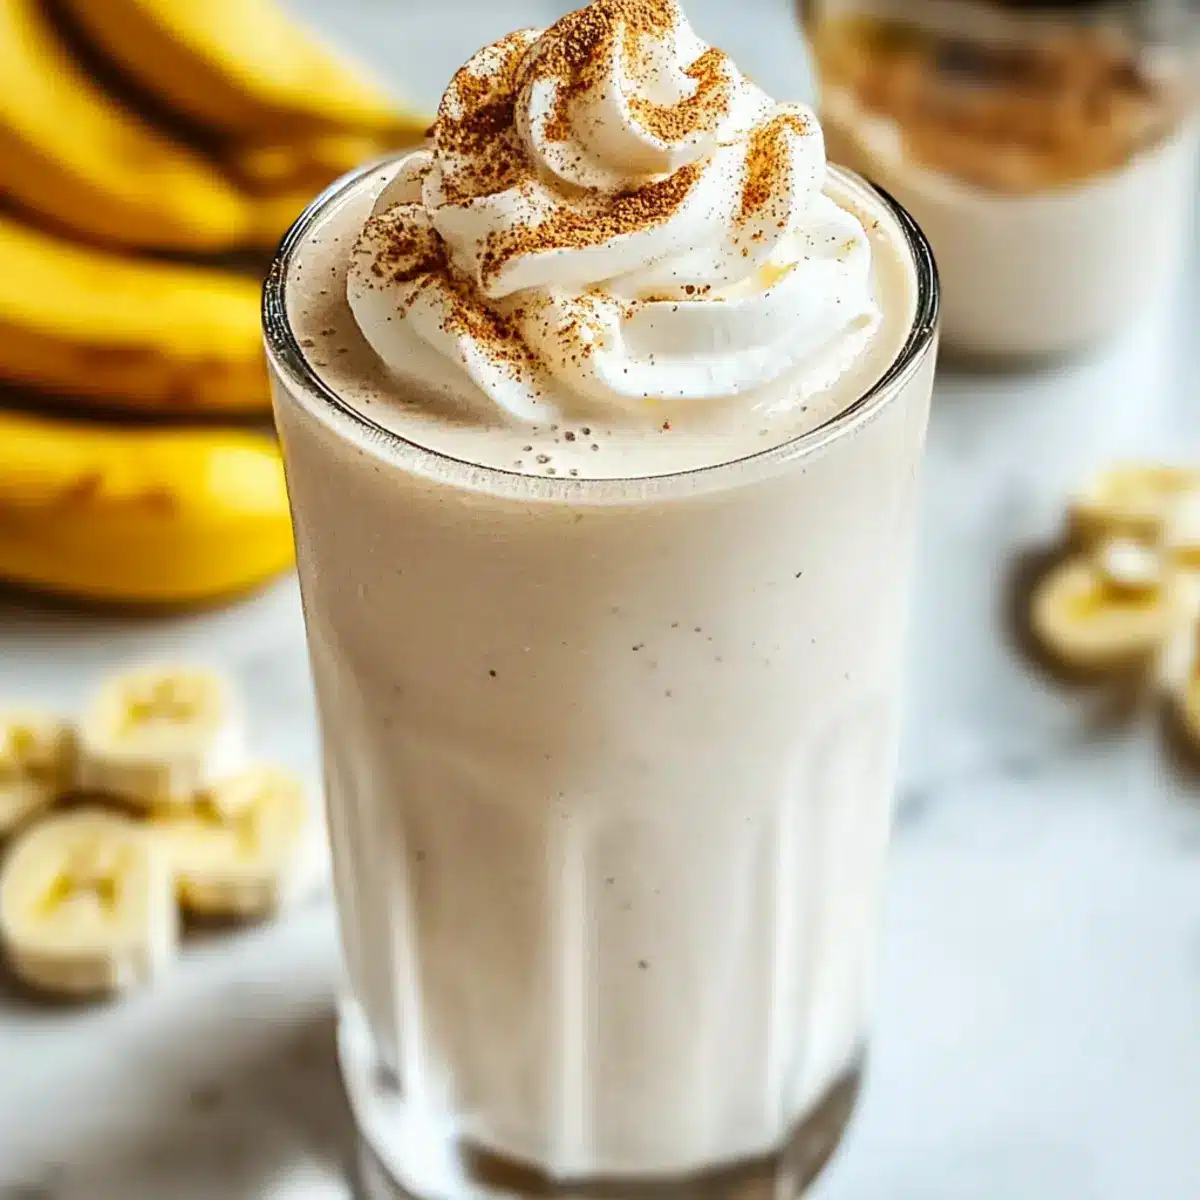
Carefully pour the finished Banana Milkshake Without Ice Cream into a tall glass. For an extra treat, consider topping it with whipped cream, a sprinkle of cinnamon, or even a drizzle of nut butter. Serve immediately and enjoy this refreshing, deliciously creamy shake by yourself or share it with friends!
Banana Milkshake Without Ice Cream Variations
Feel free to get creative with this delightful recipe and make it your own!
- Nut-Free: Swap peanut butter for sunflower seed butter to enjoy creamy goodness without nuts.
- Fruit Variations: Blend in strawberries, blueberries, or mango for a refreshing fruit twist. Each addition will create a unique flavor profile.
- Dairy-Free: Use almond or coconut milk instead of regular milk for a vegan-friendly delight. Its tropical vibes are truly irresistible!
- Protein Boost: Mix in a scoop of your favorite protein powder for an extra nutritious kick. Perfect for post-workout refueling!
- Chocolate Lover: Add two tablespoons of cocoa powder for a chocolatey version, making it a treat you can feel good about indulging in.
- Spiced Up: Introduce a hint of ground ginger or nutmeg for a spicy depth; it’s a surprising and delightful change!
- Creamy Coconut: For a tropical escape, incorporate coconut cream along with the milk. The added richness will transport you straight to paradise.
- Honey Sweetness: Instead of granulated sugar, drizzle in a bit of honey for a natural sweetness that complements the banana beautifully.
Each twist opens up a world of flavor possibilities that make this creamy banana bliss even more enjoyable! If you’re in the mood for something hearty afterwards, check out this comforting Chicken Macaroni Cheese for a perfect meal pairing!
What to Serve with Banana Milkshake Without Ice Cream
Imagine the pure joy of indulging in a refreshing treat while also savoring it alongside delightful accompaniments that enhance your experience!
-
Fluffy Pancakes: Soft and warm pancakes make a delightful breakfast pairing, complementing the creamy sweetness of your shake.
-
Fresh Fruit Salad: A medley of diced fruits adds a burst of freshness and texture, brightening your milkshake experience perfectly.
-
Granola Bars: Crunchy granola bars provide a satisfying contrast, making for a wholesome snack alongside your creamy banana delight.
-
Almond Butter Toast: The richness of almond butter on toasted bread enriches your breakfast spread, adding protein and a nutty flavor complement.
-
Chocolate Chip Cookies: A classic gooey cookie pairs beautifully with the smooth banana milkshake, creating a nostalgic indulgence that’s hard to beat.
-
Coconut Water: This light and hydrating beverage enhances the tropical vibe of your milkshake, refreshing your palate as you sip and savor.
-
Vanilla Yogurt Parfait: Layers of yogurt and fruit can create a deliciously balanced meal, perfectly offsetting the richness of the banana milkshake.
-
Iced Herbal Tea: A refreshing herbal tea is a splendid choice, offering a light floral note that cuts through the creaminess for a well-rounded refreshment.
Make Ahead Options
These Banana Milkshake Without Ice Cream are perfect for busy home cooks looking to save time! You can peel and slice the ripe banana and freeze it up to 3 days in advance, ensuring you always have the base ready to go. Additionally, you can measure out and mix any dry ingredients, like cocoa powder or sugar, and store them in a sealed container. When you’re ready to enjoy your milkshake, simply place the frozen banana, ice cubes, and milk in a blender, add any pre-measured ingredients, and blend until smooth. This method keeps the shake just as delicious and ensures minimal effort when snack time arrives!
Expert Tips for Banana Milkshake Without Ice Cream
-
Frozen Bananas: Using frozen bananas yields a thicker, creamier shake. Fresh bananas can create a thinner texture, so plan accordingly!
-
Taste as You Go: Adjust sweetness gradually by adding sugar or sweetener a little at a time. This helps you find the perfect balance for your Banana Milkshake Without Ice Cream.
-
Quality Blender: A good quality blender is essential for achieving a smooth, frosty texture. Make sure all ingredients are well-blended for optimal enjoyment.
-
Customize Ingredients: Feel free to swap peanut butter for almond or sunflower seed butter to suit your taste. Experimenting keeps it exciting!
-
Chill It Properly: For a refreshing drink, consider chilling your glass before serving. This simple step enhances the overall experience of your milkshake.
How to Store and Freeze Banana Milkshake Without Ice Cream
Fridge: Store any leftover Banana Milkshake Without Ice Cream in an airtight container in the refrigerator for up to 2 days. Stir before serving, as separation may occur.
Freezer: For longer storage, pour into ice cube trays and freeze. These banana milkshake cubes can be blended later for a quick treat, lasting up to 2 months.
Reheating: If you prefer a chilled drink, simply blend the frozen cubes with a splash of milk when ready to enjoy. This keeps the flavors fresh and vibrant!
Make-Ahead Tips: Prepare ripe bananas and freeze them ahead of time. This allows you to whip up your milkshake in minutes whenever cravings strike!
Banana Milkshake Without Ice Cream Recipe FAQs
How do I select the best ripe bananas for my milkshake?
Absolutely! Look for bananas with a bright yellow peel, showing some small brown spots. This indicates they are perfectly ripe and will offer maximum natural sweetness. Avoid bananas with dark spots all over, as they may be overripe.
How should I store leftover Banana Milkshake Without Ice Cream?
You can store any leftover milkshake in an airtight container in the refrigerator for up to 2 days. Be sure to stir before serving, as separation might occur due to the natural ingredients. Enjoy it chilled for the best taste!
Can I freeze Banana Milkshake Without Ice Cream, and how?
Yes, indeed! To freeze it, first pour your leftover milkshake into ice cube trays and freeze. This method allows you to have banana milkshake cubes ready for blending later. They can be stored for up to 2 months. When you’re ready to enjoy, just blend a few cubes with a splash of milk for a quick, creamy treat!
What should I do if my milkshake is too thin?
Very! If your banana milkshake turns out too thin, don’t worry; you can fix it! Simply add more ice cubes or half a frozen banana and blend again until you reach your desired thickness. This will help create that rich, creamy texture you’re looking for.
Are there any dietary considerations for this recipe?
Definitely! This Banana Milkshake Without Ice Cream is gluten-free and can be adapted for various dietary needs. If someone has nut allergies, you can replace peanut butter with sunflower seed butter or skip it altogether. Always be cautious of any potential allergens based on your ingredients.
Can this milkshake be made low FODMAP?
Absolutely! For a low FODMAP version, ensure to use lactose-free milk or almond milk. Additionally, make sure the bananas are ripe but not overripe, as they can contain higher levels of FODMAPs. Enjoy the deliciousness without worry!
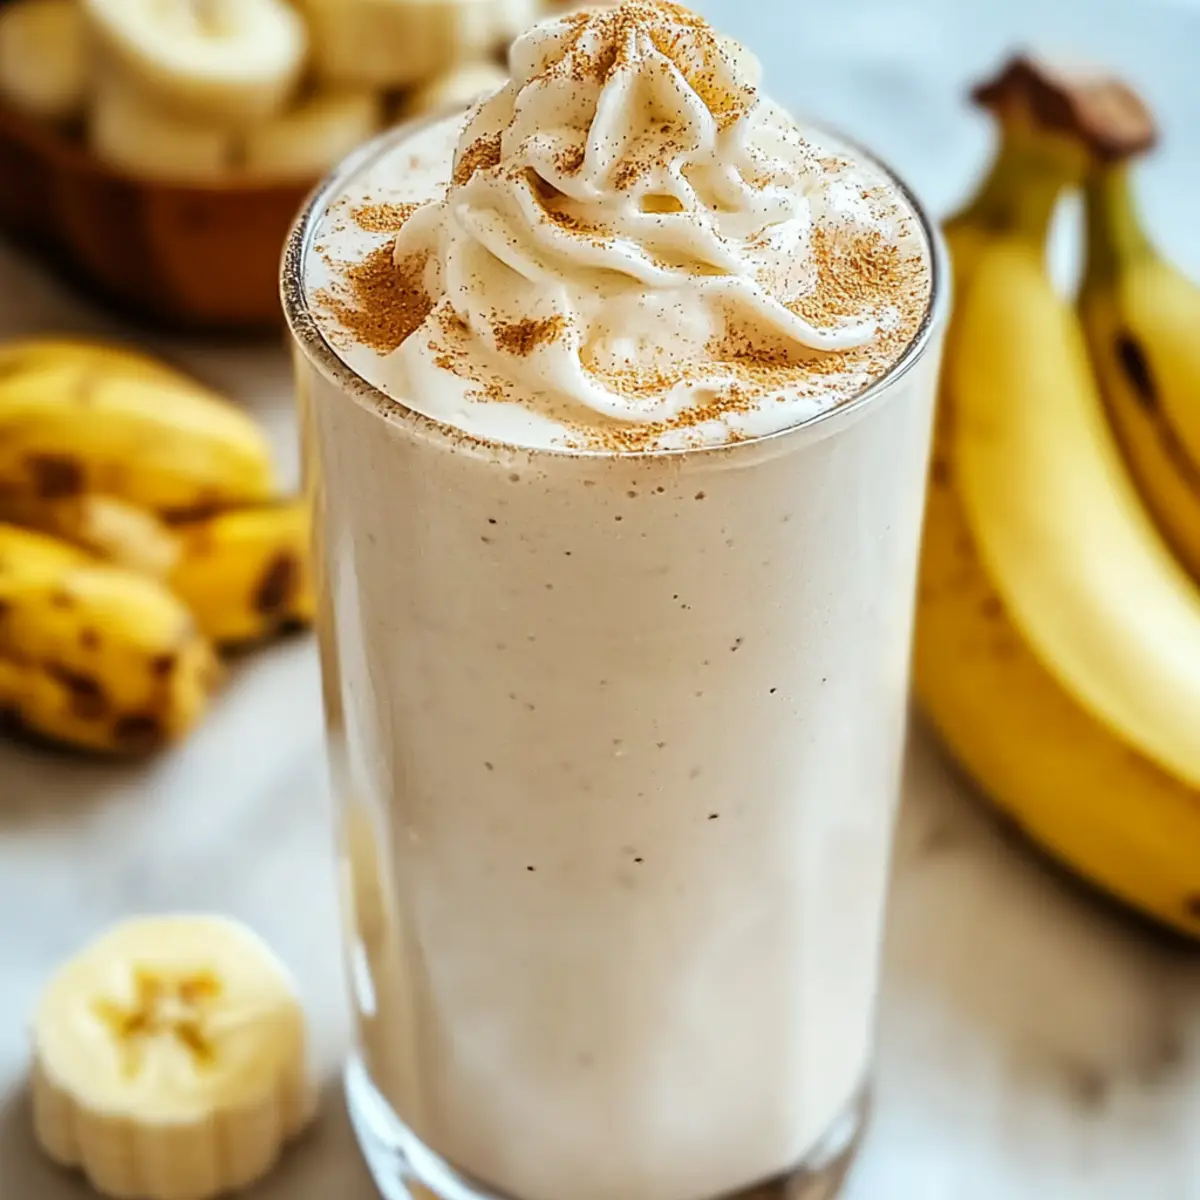
Creamy Banana Milkshake Without Ice Cream for Guilt-Free Bliss
Ingredients
Equipment
Method
- Gather your ingredients including 1 ripe banana, 1 cup of ice cubes, and 1 cup of your chosen milk. Optional ingredients include granulated sugar, vanilla extract, ground cinnamon, peanut butter, or cocoa powder.
- Peel the ripe banana and break it into manageable pieces, then place them into the blender.
- Add 1 cup of ice cubes into the blender for a refreshing chill. Alternatively, use ¾ cup of crushed ice for a thicker consistency.
- Pour in 1 cup of milk, choosing from whole, skim, almond, or coconut according to your preference.
- If desired, add 1 heaping tablespoon of granulated sugar or your preferred sweetener to taste.
- Incorporate 1 teaspoon of vanilla extract and a pinch of ground cinnamon into the blender.
- Add 1 heaping spoonful of peanut butter or 2 tablespoons of cocoa powder for extra creaminess.
- Blend on high until all ingredients are thoroughly combined and the mixture is smooth and frosty, about 30–60 seconds.
- Pour the finished Banana Milkshake Without Ice Cream into a tall glass. Serve immediately and enjoy!
Leave a Reply