
As I stood in my kitchen, the familiar aroma of melting chocolate and roasted peanuts wafted around me, taking me back to carefree childhood afternoons. Today, I’m sharing a recipe for Soft Homemade Peanut Butter Oreos that is bound to become a new favorite in your household. With irresistibly chewy chocolate cookies hugging a creamy peanut butter filling, these delights are not only incredibly easy to whip up in just a few steps but also perfect for satisfying any chocolate-peanut butter cravings. Whether you’re looking to impress guests at a gathering or simply indulge in a guilty pleasure, this recipe delivers comfort in every mouthful. So, are you ready to create a wholesome treat that will have everyone asking for seconds?
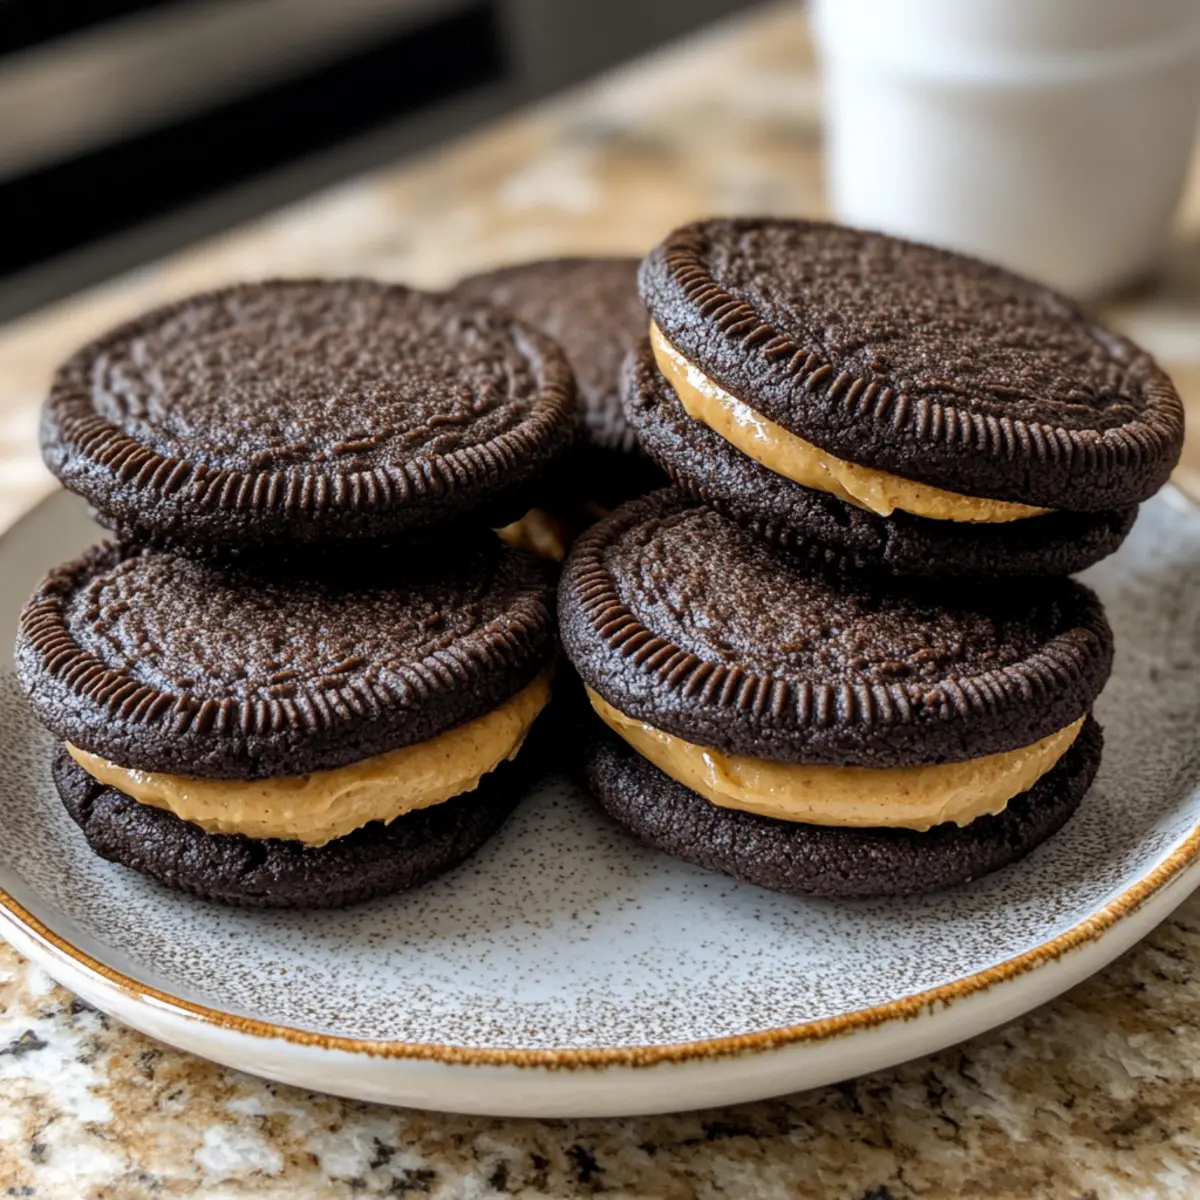
Why Will You Love These Cookies?
Irresistibly Chewy: Each cookie features a soft, fudgy texture that melts in your mouth, making every bite a dreamy experience.
Easy to Make: Simple and straightforward, you’ll whip these up quickly, leaving you time to enjoy or share them.
Perfect for All Occasions: Whether it’s a cozy night in or a festive gathering, these cookies are sure to impress.
Endless Variations: Feel free to customize with chocolate chips or marshmallow fluff for added fun. For more delicious treats, check out my Vanilla Cinnamon Buttermilk Pancakes or Buttermilk Beignets Light recipes.
Crowd-Pleaser: Friends and family won’t be able to resist coming back for more once they try the chocolate-peanut butter combo!
Homemade Peanut Butter Oreo Ingredients
For the Cookies
- Cocoa Powder – Adds a deep chocolate flavor; opt for dark cocoa for a richer taste.
- Butter – Provides richness; remember to soften it for easy mixing.
- Granulated Sugar – Sweetness and helps maintain cookie structure.
- Brown Sugar – Keeps cookies moist and chewy; don’t skip this for softness.
- Egg – Binds ingredients together and adds moisture for a fluffy texture.
- Flour – Gives structure to the cookies; if needed, substitute with a gluten-free blend.
- Baking Soda – Helps the cookies rise to their perfect softness.
- Salt – Balances sweetness and enhances flavors.
For the Filling
- Peanut Butter – Creamy adds a smooth and rich filling; try crunchy for an exciting texture.
- Powdered Sugar – Whips into a light, fluffy filling; add gradually to avoid making it too thin.
- Vanilla Extract – Enriches flavor; always go for real vanilla for the best result.
- Milk – Adjust filling consistency; start with a small splash to reach desired creaminess.
Every bite of these Homemade Peanut Butter Oreos is a pure delight waiting to happen!
Step‑by‑Step Instructions for Homemade Peanut Butter Oreos
Step 1: Preheat the Oven
Begin by preheating your oven to 350°F (175°C). While the oven warms up, line your baking sheets with parchment paper to prevent the cookies from sticking. This simple step ensures a smooth baking process, leading to delightful Homemade Peanut Butter Oreos that slide right off the sheets.
Step 2: Mix the Cookie Dough
In a large mixing bowl, beat together softened butter, brown sugar, and granulated sugar until the mixture is creamy and fluffy, which should take about 2-3 minutes. Next, add the egg and vanilla extract, mixing until well combined. This step creates a rich base for your cookies that will be irresistibly chewy and delicious.
Step 3: Combine Dry Ingredients
In a separate bowl, whisk together the flour, cocoa powder, baking soda, and salt until well combined. Gradually add this dry mixture to the wet ingredients, mixing on low speed until a soft dough forms. This step is essential to avoid overworking the dough, ensuring your Homemade Peanut Butter Oreos are tender and fudgy once baked.
Step 4: Shape the Cookies
Take small portions of the dough and roll them into balls, about 1 inch in diameter. Place them on the prepared baking sheets, leaving ample space for spreading. Gently flatten each ball with your palm or a fork to create uniform cookie shapes. This method helps the cookies bake evenly and achieve a delightful texture.
Step 5: Bake the Cookies
Slide the baking sheets into the preheated oven and let the cookies bake for 8-10 minutes. Keep an eye on them; the edges should appear set while the centers remain soft and slightly underbaked. This visual cue ensures a perfect chewy texture in your Homemade Peanut Butter Oreos once they cool down.
Step 6: Cool the Cookies
Remove the baking sheets from the oven and allow the cookies to cool on the sheets for about 5 minutes. This helps them firm up slightly without losing their softness. After that, transfer them to a cooling rack to cool completely. Proper cooling prevents melting when you add the peanut butter filling.
Step 7: Prepare the Peanut Butter Filling
In a mixing bowl, cream together the peanut butter and softened butter until smooth and fluffy. Gradually add the powdered sugar and vanilla extract, mixing thoroughly. If the filling is too thick, add a splash of milk to achieve a creamy consistency. This luscious filling is the star of your Homemade Peanut Butter Oreos.
Step 8: Assemble the Cookies
To assemble, spread or pipe a generous amount of the peanut butter filling onto the flat side of one cookie. Top it with another cookie, pressing down gently to create a sandwich. Repeat this process until all cookies are filled. Your delicious Homemade Peanut Butter Oreos are now ready to be enjoyed!
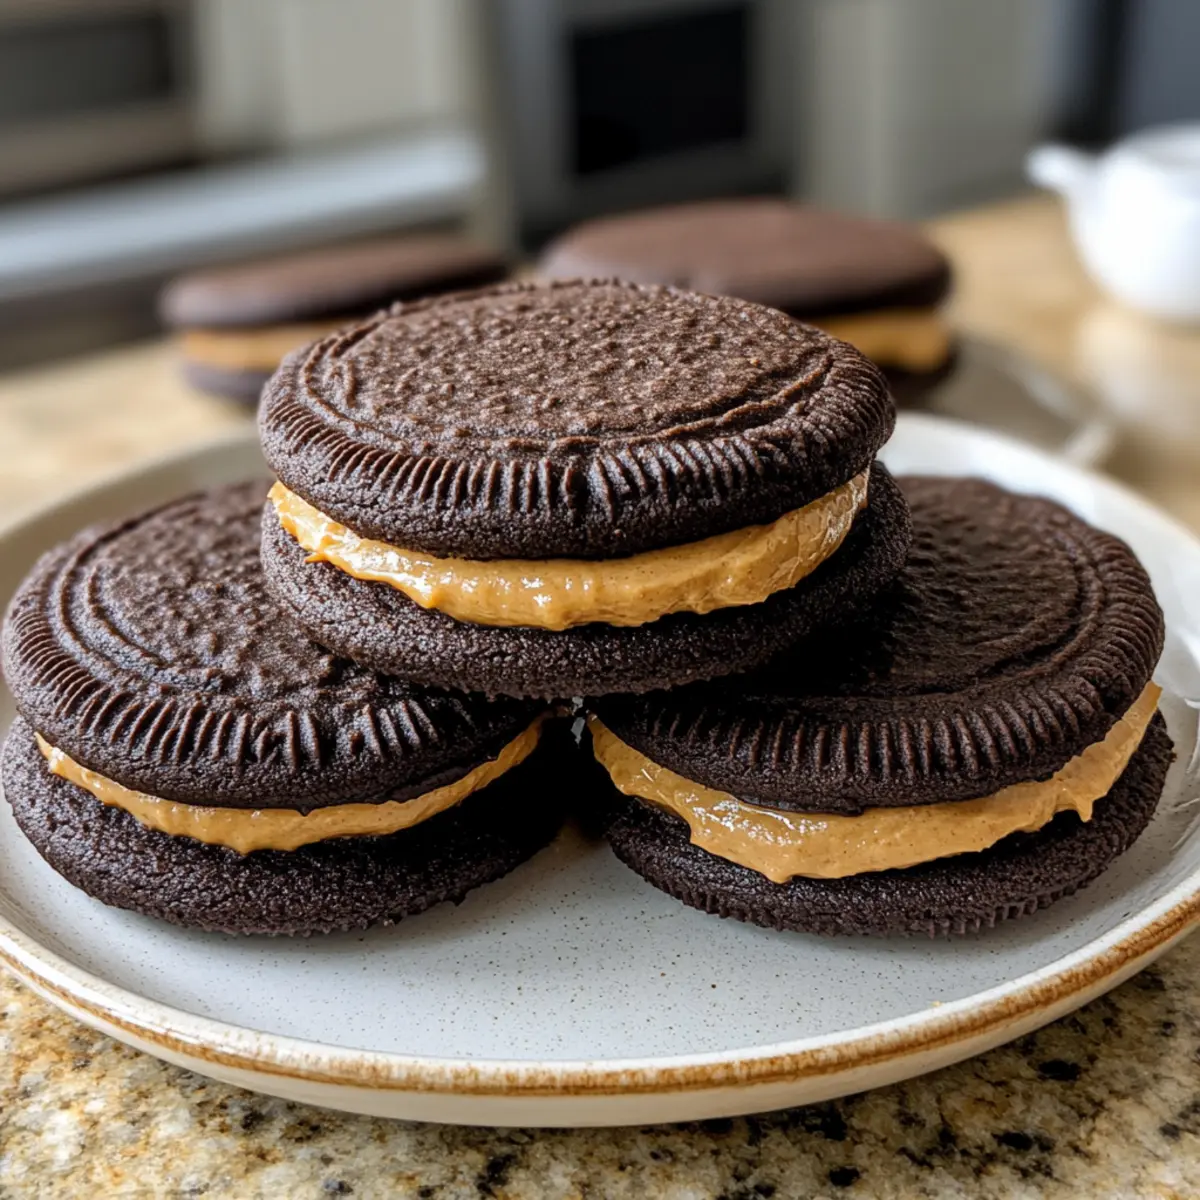
What to Serve with Soft Homemade Peanut Butter Oreos
The delightful pairing of flavors and textures elevates your baking experience into a full, delicious occasion.
- A Glass of Milk: Perfectly complements the rich chocolate and peanut butter, creating a classic combination that makes each bite even more satisfying.
- Vanilla Ice Cream: The creamy sweetness contrasts wonderfully with the cookies’ chewy texture, creating a dreamy dessert experience.
- Chocolate Dipped Strawberries: These fresh, sweet berries add a fruity touch to your dessert spread, enhancing the overall flavor profile.
- Coffee or Espresso: Sip alongside your cookies for a delicious pick-me-up; the bitterness of coffee balances the sweetness beautifully.
- Sweet Tea: A refreshing beverage that contrasts the indulgent cookies; its lightness adds a lovely touch to your dessert table.
- Peanut Butter Banana Smoothie: This deliciously creamy drink echoes the flavors of the cookies, making it a fun and satisfying pairing.
- Chocolate Cake: Create a chocolate lover’s dream with this rich dessert that harmonizes stunningly with the flavors of the peanut butter filling.
- Brownie Bites: Their fudgy texture complements your Homemade Peanut Butter Oreos splendidly, making for a chocolatey dessert platter.
- Mini Cheesecakes: These creamy, tangy desserts offer a delightful contrast to the soft cookies, adding variety to your indulgent spread.
Expert Tips for Homemade Peanut Butter Oreos
- Cool Completely: Ensure your cookies cool completely before adding the peanut butter filling; otherwise, the filling may melt and create a gooey mess.
- Measure Flour Accurately: Use a proper measuring technique for flour. Avoid packing it tightly to prevent dry cookies; spoon it into the measuring cup for best results.
- Even Filling: For a professional look, consider using a piping bag to distribute the peanut butter filling evenly on the cookies. This enhances the presentation of your Homemade Peanut Butter Oreos.
- Chill for Setting: If you prefer a firmer filling, refrigerate the assembled cookies for 30 minutes. This helps the filling set beautifully without weakening the cookie structure.
- Freezing Tips: To enjoy your Homemade Peanut Butter Oreos later, freeze them in an airtight container. They can be stored this way for up to 2 months—just thaw slightly before serving!
How to Store and Freeze Homemade Peanut Butter Oreos
Room Temperature: Keep cookies in an airtight container at room temperature for up to 4 days to maintain their chewiness and flavor.
Fridge: For up to a week, store your Homemade Peanut Butter Oreos in the fridge. Place them in an airtight container to prevent them from drying out.
Freezer: Freeze assembled cookies in a single layer, then transfer to an airtight container for up to 2 months. Thaw slightly before serving for the best taste and texture.
Reheating: If enjoyed warm, place cookies in a preheated oven at 350°F (175°C) for about 5 minutes to refresh their softness before indulging.
Make Ahead Options
These Soft Homemade Peanut Butter Oreos are perfect for meal prep, allowing you to save time on busy weeknights! You can prepare the cookie dough up to 24 hours in advance by mixing it and storing it in an airtight container in the refrigerator. The dough can also be frozen for up to 3 months; just thaw it overnight in the fridge before baking. Additionally, once you’ve assembled the cookies with their creamy peanut butter filling, they can be stored in an airtight container in the fridge for up to 1 week. To enjoy them at their best, let them sit at room temperature for about 30 minutes before serving, ensuring they remain just as delicious and soft!
Homemade Peanut Butter Oreos Variations
Feel free to get creative with these delightful treats; customize your Homemade Peanut Butter Oreos to suit your taste!
-
Chocolate Chips: Add semi-sweet or dark chocolate chips to the dough for an extra chocolatey bite. These little surprises melt beautifully within the cookies, creating pockets of gooey goodness.
-
Peanut Butter Cups: Mix in chopped peanut butter cups into the filling for a delightful crunch and an additional peanut flavor. This twist elevates the classic cookies into something truly decadent.
-
Marshmallow Fluff: Swap out some of the peanut butter for marshmallow fluff for a fluffy, marshmallow-like filling. This sweet twist adds a dreamy texture that pairs wonderfully with the chocolate cookies.
-
Nut Allergies: Replace peanut butter with sunflower seed butter or almond butter for a nut-free version. Your cookies will still be soft and delicious, allowing everyone to enjoy this treat!
-
Bite-Sized Joys: Dial down the size by making mini versions that are perfect for snacking. Smaller cookies also make for adorable party treats.
-
Gluten-Free: Use a gluten-free flour blend in place of regular flour to cater to gluten-sensitive friends without compromising flavor. Soft and chewy, these cookies will please everyone.
-
Spicy Kick: For a touch of heat, add a sprinkle of cayenne pepper to the filling or chocolate batter. It creates an exciting contrast to the sweetness and enhances the flavor complexity.
For more delightful concoctions, try pairing these cookies with a glass of milk, or serving them alongside my Brown Butter Cookie recipe for an unforgettable dessert experience!
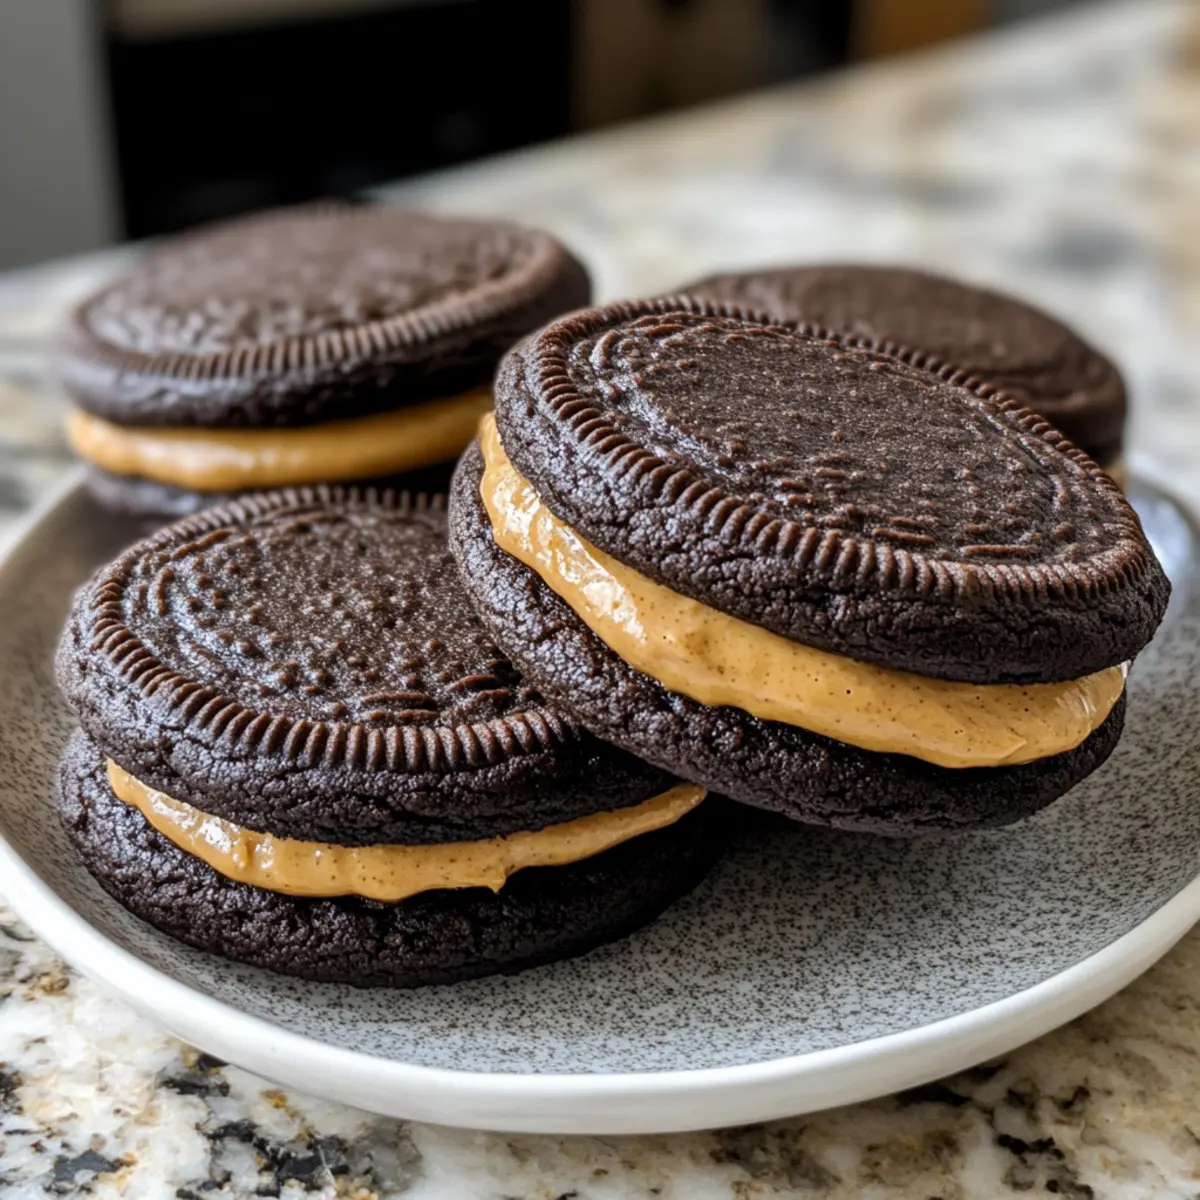
Homemade Peanut Butter Oreos Recipe FAQs
How do I select the best peanut butter for this recipe?
Absolutely! When choosing peanut butter, consider using a creamy variety for a smooth filling, as it blends effortlessly. For added texture, opt for crunchy peanut butter, which will give your filling delightful little surprises. Just ensure it’s labeled as “natural” or “no-stir” for the best flavor!
What is the best way to store leftover Homemade Peanut Butter Oreos?
To keep your Homemade Peanut Butter Oreos fresh, store them in an airtight container at room temperature for up to 4 days. If you want to prolong their life, refrigerate them in an airtight container for up to a week. This helps maintain their chewy texture, ensuring the treats remain delightful to the last bite!
Can I freeze the Homemade Peanut Butter Oreos?
Yes, you can! To freeze your Homemade Peanut Butter Oreos, arrange them in a single layer on a baking sheet and place it in the freezer until the cookies are solid. Then, transfer the cookies to an airtight container. They can be stored this way for up to 2 months. When you’re ready to enjoy one, simply thaw slightly at room temperature for the best taste and texture!
What should I do if the cookie dough is too dry?
If your cookie dough feels dry, don’t worry too much—it happens! Just add a little bit of milk, one tablespoon at a time, mixing after each addition until you reach the desired consistency. This way, your dough will become nice and pliable, and you’ll still achieve those irresistibly chewy Homemade Peanut Butter Oreos!
Are there any allergy concerns I should consider with these cookies?
It’s very important! These Homemade Peanut Butter Oreos contain peanuts and gluten from the flour. If you’re making them for someone with allergies, consider using gluten-free flour to avoid gluten exposure. Also, check for brands of peanut butter that are processed in nut-free facilities if you need to accommodate nut allergies. Always best to ensure everyone can enjoy them safely!
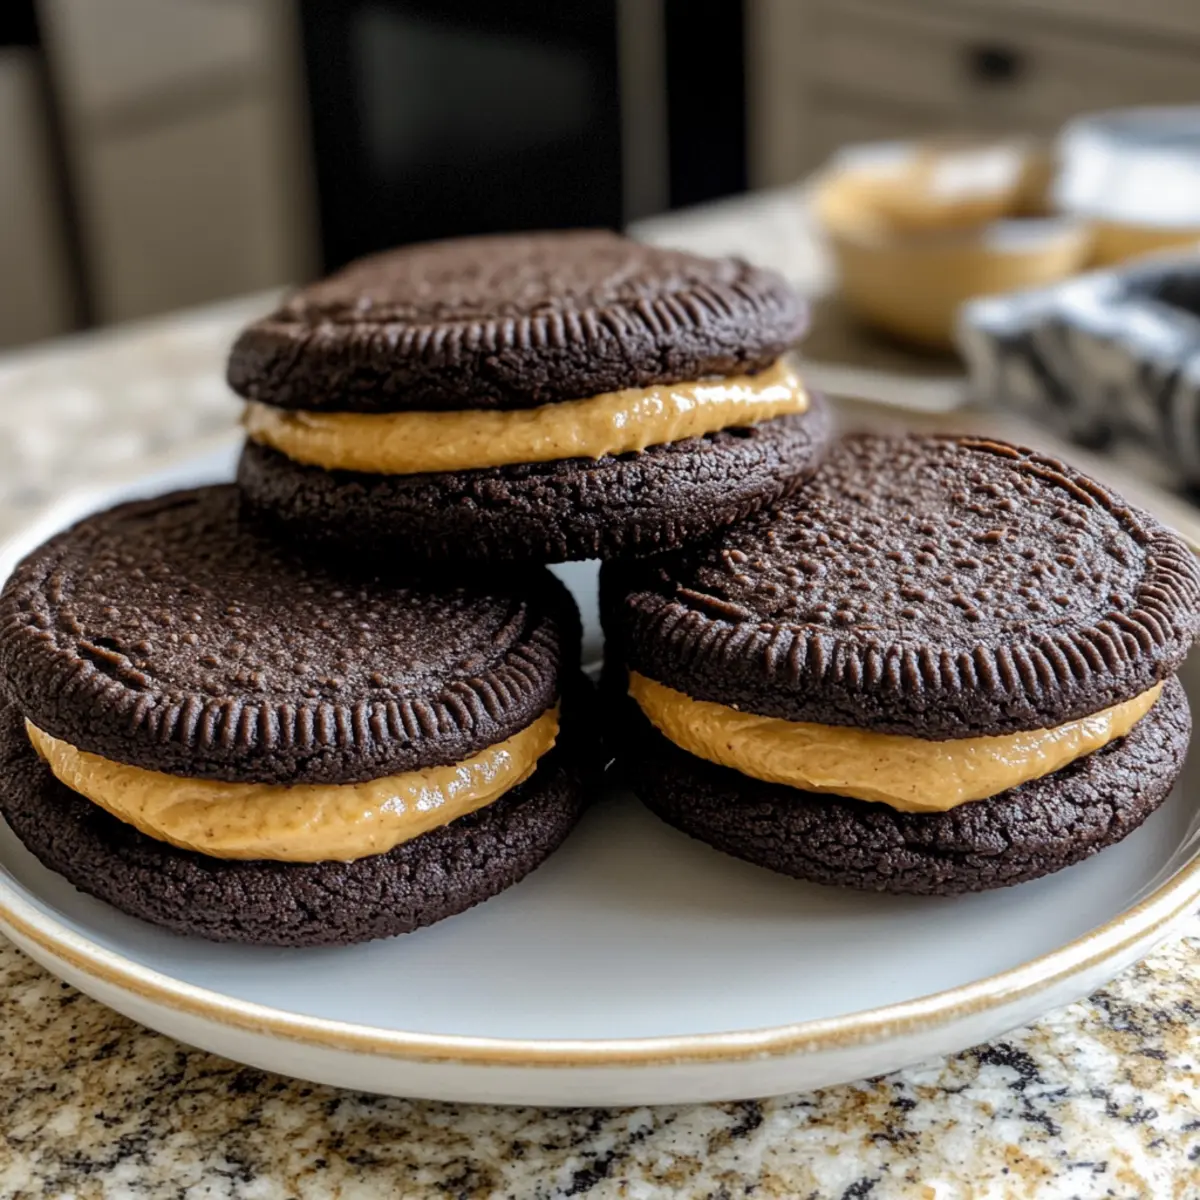
Homemade Peanut Butter Oreos: Chewy Bliss in Every Bite!
Ingredients
Equipment
Method
- Preheat your oven to 350°F (175°C) and line your baking sheets with parchment paper.
- In a large mixing bowl, beat together softened butter, brown sugar, and granulated sugar until creamy.
- Add the egg and vanilla extract, mixing until well combined.
- In a separate bowl, whisk together flour, cocoa powder, baking soda, and salt. Gradually add to the wet ingredients.
- Take small portions of dough and roll into balls, about 1 inch in diameter, and flatten gently.
- Bake for 8-10 minutes until edges are set and centers are soft.
- Let cookies cool on baking sheets for about 5 minutes, then transfer to a cooling rack.
- Cream together peanut butter and softened butter in a mixing bowl. Gradually add powdered sugar and vanilla extract.
- Assemble cookies by spreading peanut butter filling onto one cookie and topping with another cookie.
Leave a Reply