
As I reached for that first blissful bite of a strawberry milk ice pop, my taste buds danced with delight—this refreshing treat is like summer captured in a mold! These Strawberry Milk Ice Pops are not just incredibly easy to make, but they also offer a healthy way to indulge in the sweetness of ripe strawberries. Perfect for cooling down on sweltering days, these creamy delights are a hit with everyone, from kids to adults. Plus, there’s a wonderfully fun twist: you can easily customize these pops with dairy-free options, making them suitable for anyone. So, are you ready to whip up a batch of these delectable ice pops that promise to bring a smile to your face while keeping everyone cool? Let’s dive in!
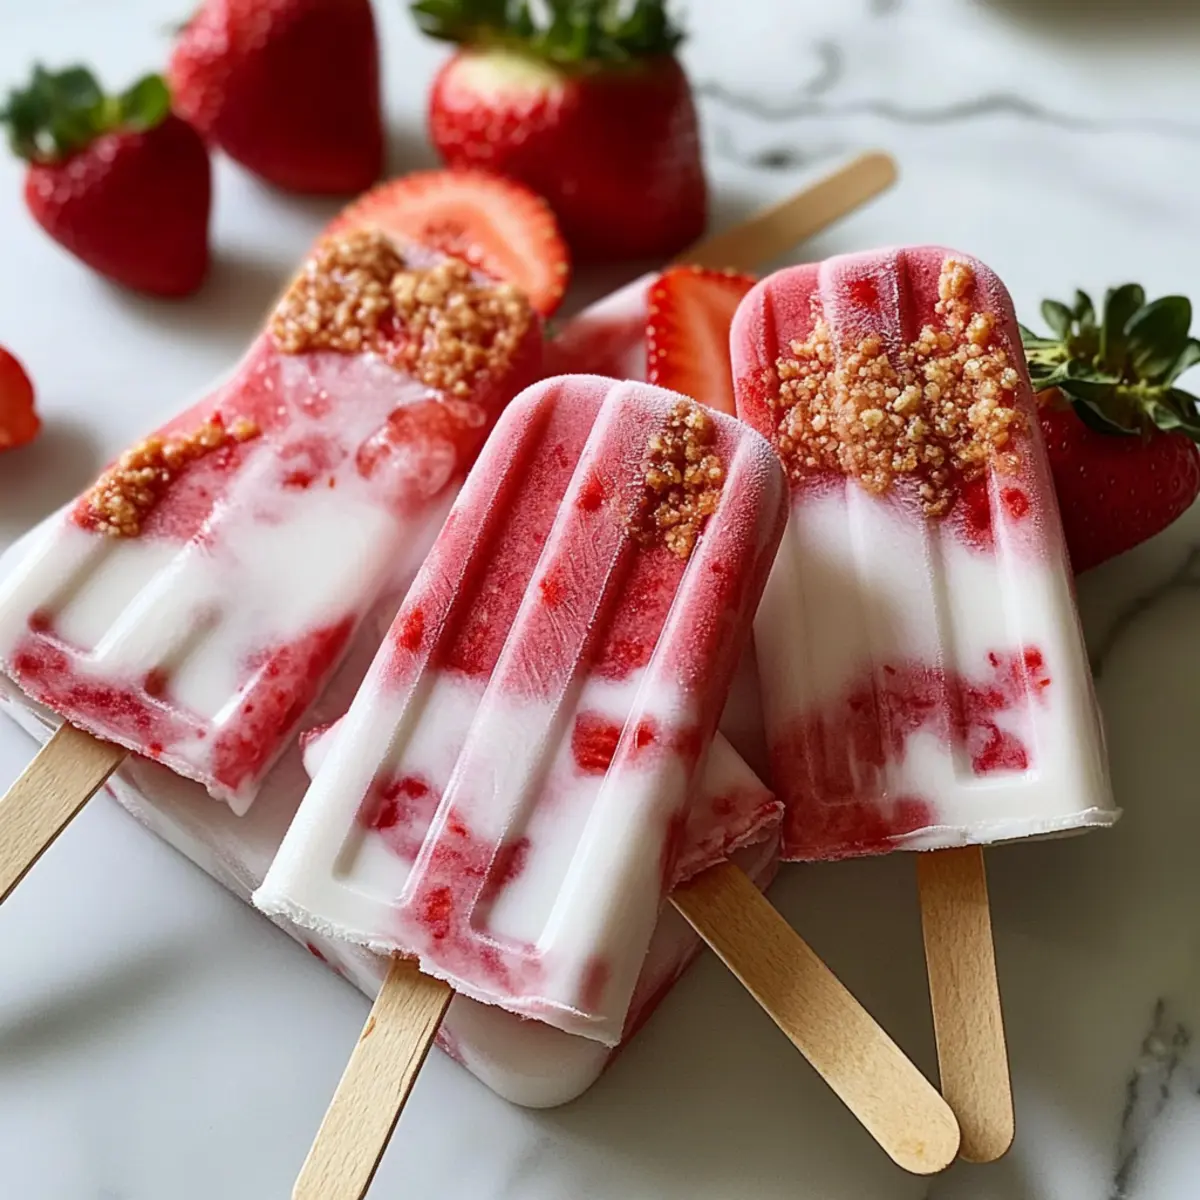
What Makes These Strawberry Milk Ice Pops Special?
Creamy Delight: These Strawberry Milk Ice Pops bring an indulgent creaminess that perfectly complements the fresh strawberry taste, making every bite feel like a mini celebration.
Quick and Easy: With just a handful of ingredients and minimal prep time, you can enjoy a homemade treat without the fuss.
Dairy-Free Option: Don’t worry if you’re avoiding dairy! You can easily substitute with almond or coconut milk to enjoy the same delightful flavor.
Endless Variations: Feel free to mix in other fruits or flavorings for unique twists that spice up your summer treats.
Healthy Indulgence: Packed with vitamins from fresh strawberries, these pops are the guilt-free dessert the whole family will love. Try pairing them with a refreshing glass of lemonade or a piece of Vanilla Cinnamon Buttermilk for a complete summer experience!
Strawberry Milk Ice Pops Ingredients
For the Pops
• Fresh Strawberries – The star of your pops, use ripe and sweet strawberries for the best flavor.
• Milk – Choose your preferred milk for creaminess; opt for almond or coconut milk to make these dairy-free.
• Greek Yogurt (optional) – Adds a creamy texture; omit for a lighter, dairy-free treat.
• Honey or Maple Syrup – A natural sweetener to balance the tartness of the strawberries; adjust to your taste.
• Vanilla Extract (optional) – Enhances the flavor of your pops; always choose pure vanilla for the best results.
• Lemon Juice (optional) – Brightens up the flavors; adds a vibrant zing to your strawberry milk ice pops.
Step‑by‑Step Instructions for Strawberry Milk Ice Pops
Step 1: Prep Strawberries
Begin by washing 2 cups of fresh strawberries under cool running water to remove any dirt or residues. Hull and slice the strawberries into halves or quarters, making it easier for blending. Use ripe, sweet strawberries for optimal flavor, and set them aside while you prepare the next step.
Step 2: Blend Mixture
In a blender, combine the sliced strawberries with 1 cup of your preferred milk (dairy or non-dairy), ½ cup Greek yogurt (if using), 2-3 tablespoons honey or maple syrup, and 1 teaspoon vanilla extract. Blend on high speed for about 30-60 seconds until the mixture is completely smooth and creamy, with no visible strawberry chunks remaining.
Step 3: Adjust Sweetness
Taste the blended mixture to ensure it meets your desired sweetness level. If you find it needs more sweetness, gradually add additional honey or maple syrup until you achieve the perfect balance. For an extra zing, consider adding a tablespoon of lemon juice and blend briefly to incorporate; this step enhances the freshness of your Strawberry Milk Ice Pops.
Step 4: Fill Molds
Carefully pour the blended strawberry milk mixture into ice pop molds, filling each one about three-quarters full to allow room for expansion while freezing. Make sure to avoid overfilling, as this could cause spills in the freezer. Use a funnel for easier pouring if desired, and prepare for the next step while the mixture is cold and creamy.
Step 5: Insert Sticks
Follow the instructions of your specific ice pop molds to insert sticks. If using wooden sticks, freeze the filled molds for about an hour before inserting them to help stabilize the mixture. Ensure the sticks are inserted straight and in the center of each pop for even freezing, creating perfectly shaped Strawberry Milk Ice Pops.
Step 6: Freeze
Place the filled ice pop molds into the freezer and let them freeze for at least 4 to 6 hours, or until completely solid. For best results, avoid opening the freezer during this time, as fluctuations in temperature can disrupt the freezing process. You’ll know they’re ready when they feel firm to the touch and have an icy exterior.
Step 7: Unmold
Once frozen solid, remove the molds from the freezer. If you encounter difficulty unmolding the Strawberry Milk Ice Pops, run warm water over the outside of the molds for about 10-15 seconds to loosen them. Then, gently pull on the sticks to release the pops; they should slide out easily, revealing their beautiful fruity layers.
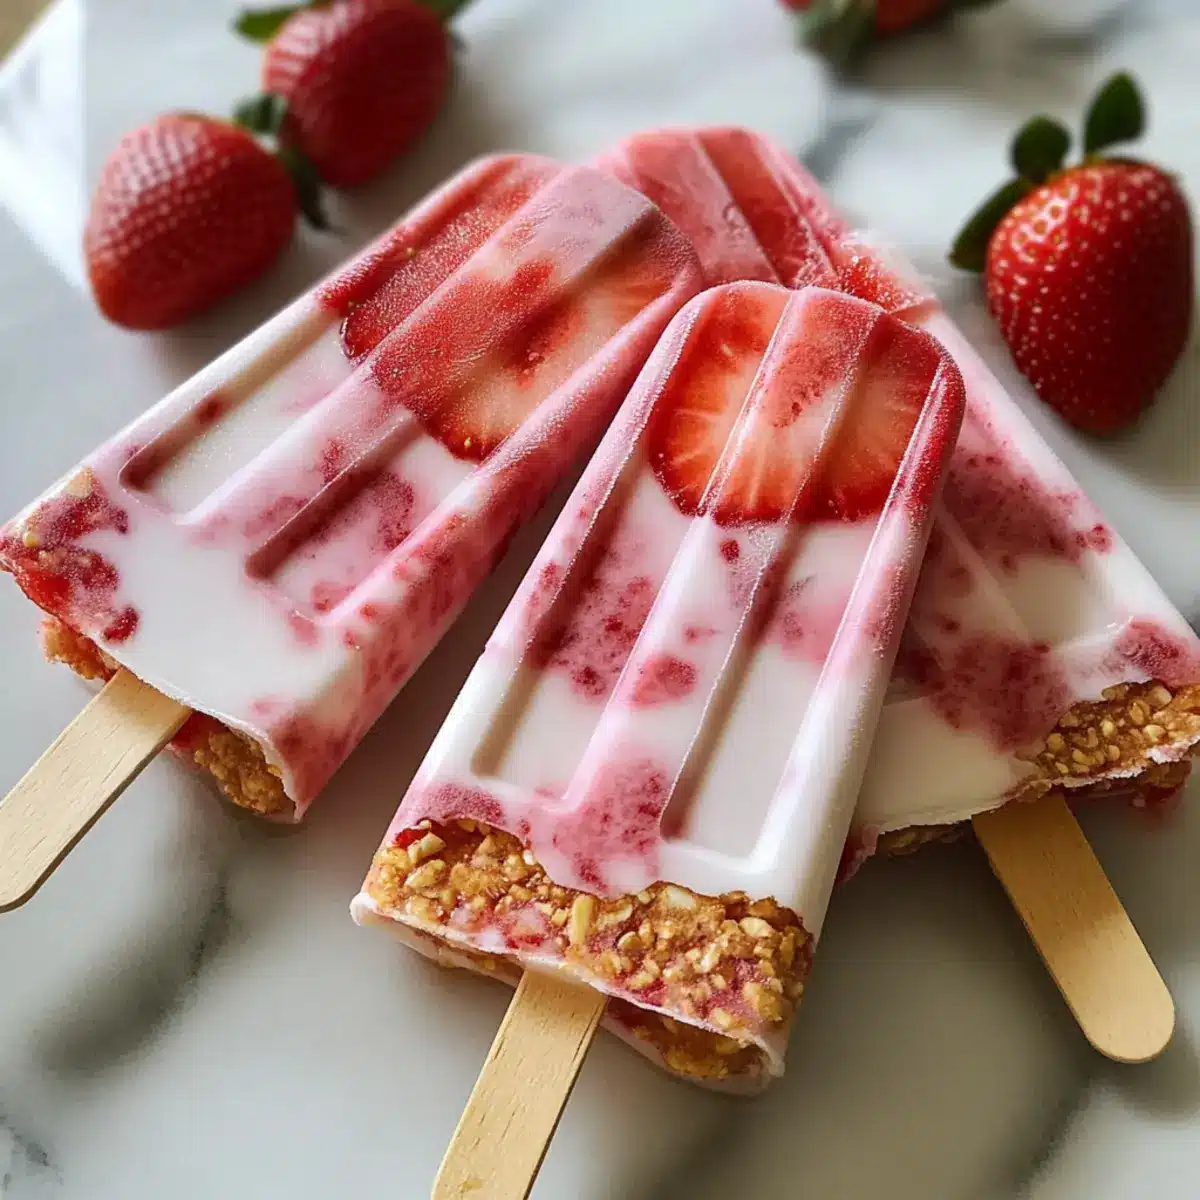
What to Serve with Strawberry Milk Ice Pops
As the sun shines and temperatures soar, these icy treats beautifully complement any summer gathering or sunny afternoon snack.
- Fresh Fruit Salad: A vibrant mix of seasonal fruits provides a refreshing contrast to the creamy pops, enhancing the overall sweetness of your summer spread.
- Lemonade Spritzer: A bubbly lemonade adds zing and refreshment, perfectly balancing the rich flavor of the strawberry milk ice pops.
- Minty Green Salad: Crisp greens with a mint dressing offer a light, herbal note that pairs delightfully with the sweet and creamy pops.
- Iced Tea: The subtle flavors of refreshing iced tea can cleanse the palate and enhance the experience of indulging in these flavorful treats.
- Grilled Chicken Skewers: Juicy, savory chicken brings a delicious contrast of flavors, making for a delightful family meal with a summery flair.
- Homemade Shortcakes: A light and fluffy shortcake topped with fresh strawberries echoes the rustic vibe of the pops, creating a delightful dessert duo.
Strawberry Milk Ice Pops Variations
Feel free to give your Strawberry Milk Ice Pops a personalized twist that tantalizes your taste buds!
-
Dairy-Free Delight: Swap the milk for almond or coconut milk to create a creamy, dairy-free version that’s just as delicious. This makes it suitable for lactose-intolerant friends!
-
Berry Blast: Mix in blueberries or raspberries for a vibrant color palette and an additional burst of flavor. The sweetness of strawberries and tartness of other berries creates a harmonious blend.
-
Banana Cream: Add half a ripe banana to the blender for a smooth, creamy texture that enhances the pops’ natural sweetness. It’s like a tropical vacation in every bite!
-
Nutty Twist: Incorporate a tablespoon of almond butter for a nutty finish that complements the strawberries beautifully. Not only does this add flavor, but it also ups the creamy factor!
-
Zesty Option: Enhance the flavor by mixing in a teaspoon of lime or orange zest. This citrus touch elevates the pops and makes them refreshing on a hot day.
-
Choco-Love: Drizzle melted dark chocolate over your finished pops for a decadent touch. Just imagine biting into your creamy strawberry goodness with a rich chocolatey shell!
-
Herbal Hint: Infuse some fresh mint leaves into your mixture while blending for a refreshing herbal note. It’s a pairing that screams summer!
-
Serving Style: Serve your pops with a dollop of Greek yogurt or Buttermilk Beignets Light on the side for a scrumptious treat combo. The contrasting textures create a delightful experience!
With these variations, the possibilities are endless! Embrace your creativity and let your imagination run wild, because every twist is a chance to create a lovely family favorite.
Make Ahead Options
These Strawberry Milk Ice Pops are a fantastic treat to prepare in advance, saving you precious time on busy summer days! You can blend the strawberry mixture and fill the molds up to 24 hours ahead of time; just be sure to keep them covered in the freezer to maintain their freshness and prevent ice crystals from forming. When you’re ready to enjoy, simply freeze the filled molds for 4-6 hours until solid. If you’re expecting guests, you can even prepare several batches and keep them frozen for up to 3 days. This way, you’ll have delicious, creamy pops at your fingertips whenever the craving strikes!
Helpful Tricks for Strawberry Milk Ice Pops
-
Choose Ripe Strawberries: For the best flavor, use strawberries that are sweet and perfectly ripe; look for vibrant red color without any green spots.
-
Blend Smoothly: Ensure that the mixture is blended until completely smooth to avoid chunks; this creates a uniform texture in your Strawberry Milk Ice Pops.
-
Watch Sweetness Levels: Start with less sweetener; you can always add more if needed. Taste before pouring into molds to achieve your desired sweetness!
-
Prevent Overfilling: When pouring the mixture into molds, fill them about three-quarters full. This allows room for expansion without spilling.
-
Easy Unmolding: If you struggle to release the pops, keep running warm water over the outside of the molds until they loosen; patience is key here!
-
Experiment with Variations: Feel free to mix other fruits or substitute ingredients for unique flavors. Creativity will make your Strawberry Milk Ice Pops even more delightful!
How to Store and Freeze Strawberry Milk Ice Pops
Fridge: If you plan to eat your pops within a few days, store them in the fridge in an airtight container for up to 2 days for best freshness.
Freezer: These Strawberry Milk Ice Pops can be kept in the freezer for up to 2 months. Ensure they are in airtight bags or containers to prevent freezer burn.
Unmolding Tips: If your pops are difficult to remove from molds, run warm water over the outside for about 10-15 seconds. This will help ease them out without breaking.
Serving Suggestion: For the best experience, enjoy your pops straight from the freezer for a cool, creamy treat whenever you crave something sweet!
Strawberry Milk Ice Pops Recipe FAQs
How do I know when my strawberries are ripe enough to use?
Absolutely! Look for strawberries that are vibrant red and have a sweet aroma. Avoid those with green spots or dark patches, as they may not be fully ripe. The best strawberries are slightly soft to the touch, indicating they’re juicy and ready for your ice pops!
How can I store my Strawberry Milk Ice Pops and how long will they last?
You can store your Strawberry Milk Ice Pops in the freezer for up to 2 months! Just make sure they’re in airtight bags or containers to prevent freezer burn. If you’re planning to enjoy them within a few days, an airtight container in the fridge works too, and they’ll stay fresh for about 2 days.
Can I freeze the pops for longer than 2 months?
While they can technically stay safe beyond 2 months, the texture and flavor may not be as good. Over time, ice crystals can develop, leading to an icy texture instead of that creamy goodness you want. So, for the best experience, try to enjoy your pops within the recommended period.
What should I do if my ice pops are hard to remove from the molds?
Very! If you’re having trouble getting your pops out, run warm water over the outside of the molds for about 10-15 seconds. This warms up the surface slightly, allowing the pops to slide out effortlessly. If you’re still stuck, just give it a little more time under the warm water.
Can I make these pops vegan-friendly?
Of course! To cater to a vegan diet, simply substitute the milk with almond or coconut milk and use agave syrup instead of honey. You can also omit the Greek yogurt for a lighter, healthier treat. These changes won’t compromise the taste; in fact, they enhance the versatility of your Strawberry Milk Ice Pops!
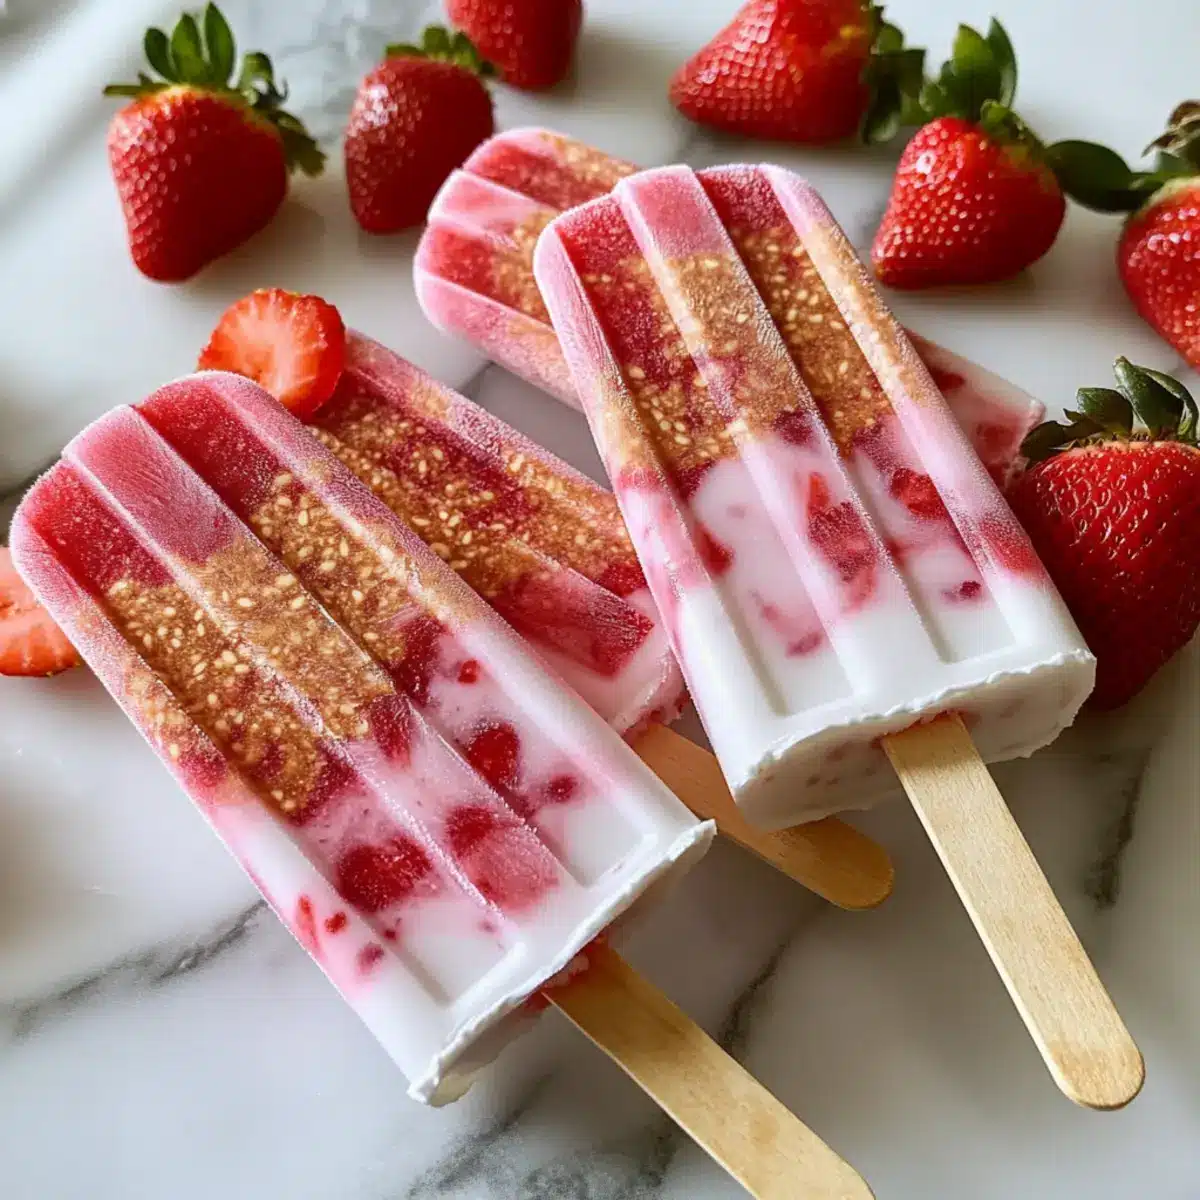
Delicious Strawberry Milk Ice Pops for a Refreshing Treat
Ingredients
Equipment
Method
- Wash 2 cups of fresh strawberries under cool running water, hull, and slice them.
- In a blender, combine the sliced strawberries, 1 cup of milk, 0.5 cup Greek yogurt (if using), 2-3 tablespoons honey or maple syrup, and 1 teaspoon vanilla extract. Blend until smooth.
- Adjust sweetness as needed and consider adding 1 tablespoon of lemon juice for extra freshness.
- Pour the mixture into ice pop molds, filling each about three-quarters full.
- Insert sticks according to mold instructions. If using wooden sticks, freeze for about an hour before inserting.
- Freeze for at least 4 to 6 hours, or until completely solid.
- Run warm water over the outside of the molds for 10-15 seconds if they're hard to unmold, then gently pull on the sticks.
Leave a Reply